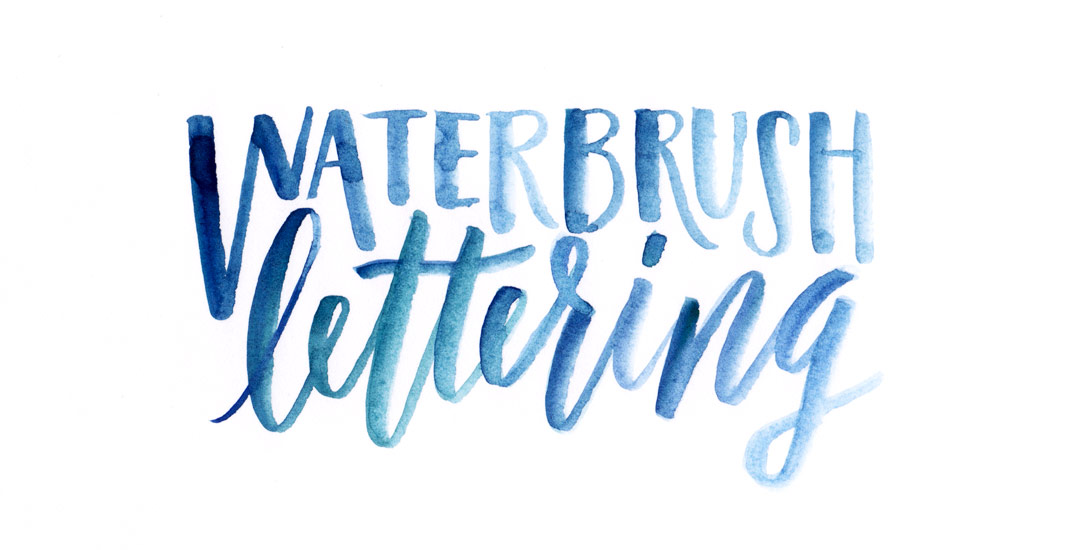
HomePosts Tagged "lettered" (Page 4)

lettered Tag

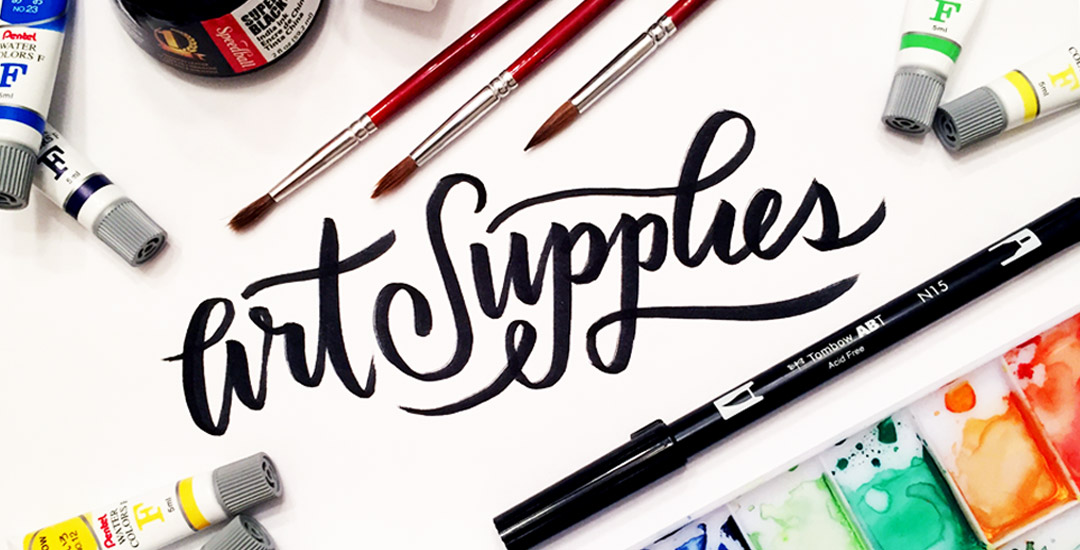
If you’ve been following my Instagram, you know how obsessed I’ve been lately with lettering using a waterbrush! It combines two strong passions of mine – watercolor and typography and I can’t get enough! Since I’ve been experimenting like a crazy woman, I wanted to share some tips I’ve learned over the past few weeks. I’m no expert by any means, but I’ve gotten into a rhythm and I’ve been really happy with how I’ve improved by remembering a few simple things. If this is something you’d like to try, my hope is that this video will save you time, money and supplies. Speaking of supplies, everything mentioned in the video that I’m currently using is listed below the vid 😉 For more on brush lettering with watercolor, check out my master course!

As the summer begins to wind down, things are already feeling busier! I’m finding myself constantly searching for a sheet of paper to scribble notes on, to-do reminders, or phone numbers to call. If this is you too, you might want a prettier sheet of paper to make your list a bit more achievable..I know I do! For that reason, this week’s freebie is a set of 3 watercolor notecard printables – print two notecards per any 8.5″x11″ or A4 cardstock or regular paper. The final printed size for each notecard is 5.5″x8.5″, full preview + download link below!

Welcome to Typins #5! This post is where I share my recent favorite typography pins from pinterest. I’m obsessed with (and if you’re here, I’m sure you are too!) and have boards for general typography (phrases, quotes, full words) written beautifully, just letters and just numbers. I pull from those boards for these posts, so there’s even more over there if you’re craving a bigger type fix 🙂  Here are 8 of my current favorite pins to get your type on!

As many of you know, I’ve been kind of crazy about watercolors lately (check out my new Skillshare class, this tutorial, or this one for proof!) and have started receiving emails asking what art supplies I’m using for creating my fine art assets – whether it’s textures, lettering, or just types of paper. Today I wanted to share the exact art supplies I’ve been using on a weekly basis to create everything you’ve seen here over the last few months. I hope this list will eliminate some of your own guess work (as I researched all of these supplies thoroughly before investing in them) – and help you to create your own future assets!

Can you believe Mother’s Day is next Sunday! NEXT Sunday! Mother’s Day never gets forgotten in my family – My mom was born on Mother’s Day (the year she was born, her birthday – May 13th – was Mother’s Day) and then my youngest sister was also born on May 13th, so she was born on my mom’s birthday AND it was Mother’s Day that year! It was so coincidental the local newspaper wrote an article about us, so we still have the clipping of me at 4 years old sitting on the hospital bed with my brother, my 2 sisters, my dad and mom. My Dad’s dad was born on New Year’s Day and my Mom’s dad was born on Christmas – so it actually gets even crazier, but we’ll save that for another time 😉

Anyway! In celebration of moms, this week’s freebie is a printable hand lettered Mother’s Day card. It’s sized 6″x4″ folded, so it’ll fit in any A4 envelope. Send it out early and get extra points! 🙂

A few weeks ago I posted about my first Skillshare class, Laying out Your Lettering for Letterpress, and I am so excited to say that over 400 students have enrolled! If you love letterpress and have always wanted to learn how to set up a file for letterpress printing, this class was made especially for you – and you can get one full month of free membership by using this link if you’d like to check out my class or others 🙂

Anyway! Getting down to business – for those students that have enrolled (and anyone that might still be sitting on the fence) I have 2 (Two!) FULL YEAR subscriptions to skillshare to give away! If you’ve checked out any Skillshare classes before, you know how valuable this is! All you have to do is watch the class, create any hand lettered invitation you’d like, and post your project which should follow the project description. Out of the projects posted, I’ll pick 2 to give the free full year memberships to which I’ll announce May 4th. So! If you’d like to participate, make sure your project is posted by then! To get your hand lettered invitation wheels turning, here are 10 swoon-worthy letterpress invitations for inspiration.

Happy Tuesday! This past weekend was reallllly busy for me! I designed our wedding invitations and recorded a Skillshare class on the entire process from start to finish: all of the research, sketches, lettering experiments, then finally setting up and saving the file correctly so it’s ready to hand off to my letterpress printer. You can watch the free intro to the class (called Laying out Your Lettering for Letterpress) here and just for my blog readers and YouTube watchers, I’m sharing one the other videos today. This video covers the sketching process of lettering based on research which determined the look and feel we were going for (Southern rustic). If you’re interested in seeing the rest of the class, you can sign up for Skillshare free of charge for an entire month using this sign up link.

There are a lot of tutorials out there on how to create hand lettering, but far fewer on what you can do once you create your lettering. In this week’s tutorial, we’ll create a hand lettered photo composition using just photoshop. We’ll start with placing and coloring our lettering on a chosen photo, then go over the basics of masking and applying environmental shadows to give the final piece a polished look. As a bonus, I’m including the lettering used in the tutorial so you can follow along exactly if you’d like. Let’s get started!

Happy Tuesday! I’ve had a few requests for more lettering tutorials, so I’m here to deliver! I’ve also made a lettering playlist which you can check out here where I’ll keep them all together 🙂

In this week’s quick tip video tutorial, we’ll digitally letter the number 3 two ways. For the first way, we’ll be using this Wacom tablet (or any of these) and the brush tool in Illustrator. After that, we’ll digitally letter the same number 3 from scratch using just the pen tool. We’ll go over the best way to plot your points and basic point handle adjustments using the direct select tool in Illustrator. Let’s get started!

If you haven’t guessed it by now, I’m a little bit obsessed with typography! Every year around my birthday (next Saturday!) or around the holidays, when my family asks what they could gift me, I always ask for some kind of book relating to lettering or type. I love these books because, although there is sooooo much online, there are always gems buried deep within those book jackets or paperback covers. And while it’s common to come across a lot of recycled material online, it’s nice to be inspired by something different. So if you’re looking for some lettering books to inspire your next project, here are some of my favorite lettering books – and I own all of them…except for #5, that’s getting delivered tomorrow 🙂 

I think this blog makes it pretty obvious I’m a big fan of anything handmade 🙂 And I loveeee typography – it’s the reason I got into design in the first place. So, if we put those two together, we get this post! Handmade fonts are gaining popularity in a big way, especially on Creative Market (the best seller from all of last year was a handmade font!). So here are 8 handmade fonts to add to your collection, all of which happen to be super affordable, too!

GDPR Icon

Your Privacy Matters

We use cookies to customize and create content that’s most important to you. We’ll never share the info we collect.

View Privacy Policy