HomePosts Tagged "tools"

tools Tag

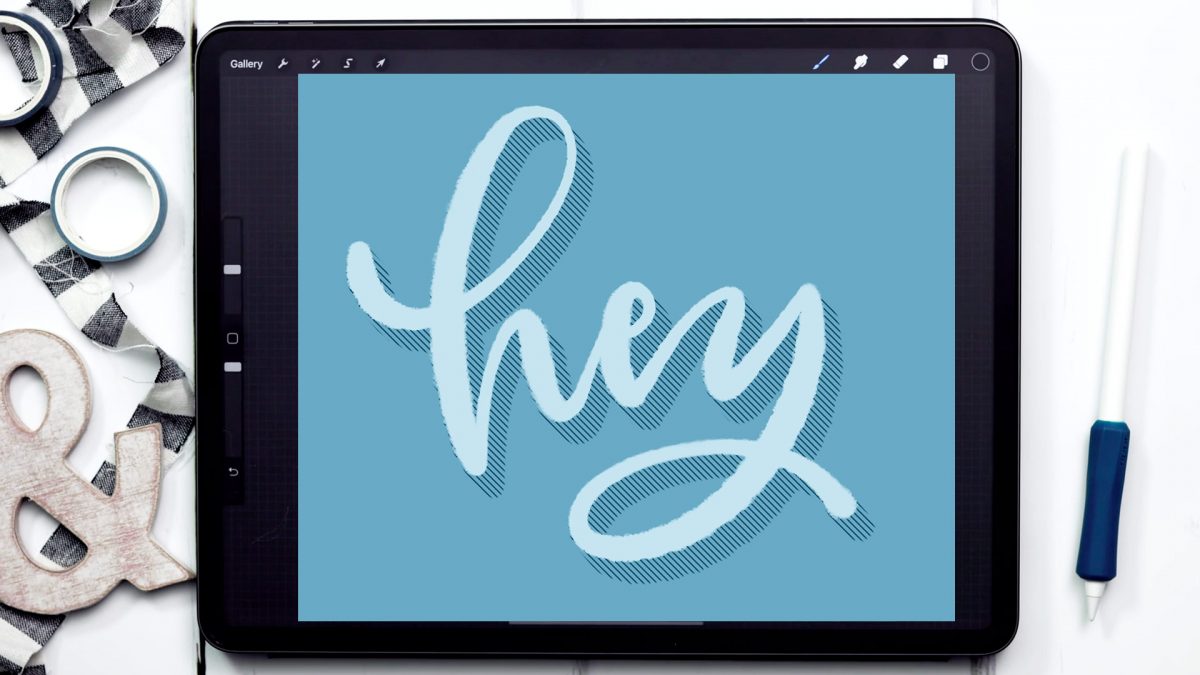
While I love creating and sharing project tutorials each week, I also want to start adding in some quick tip tutorials, too. These will be fun little tool tips or extras you can easily add into your own work. This week is one of those extras – a 3D hatched shadow effect! You can add this to lettering, typeable text or even shapes and it takes less than 5 minutes to do.

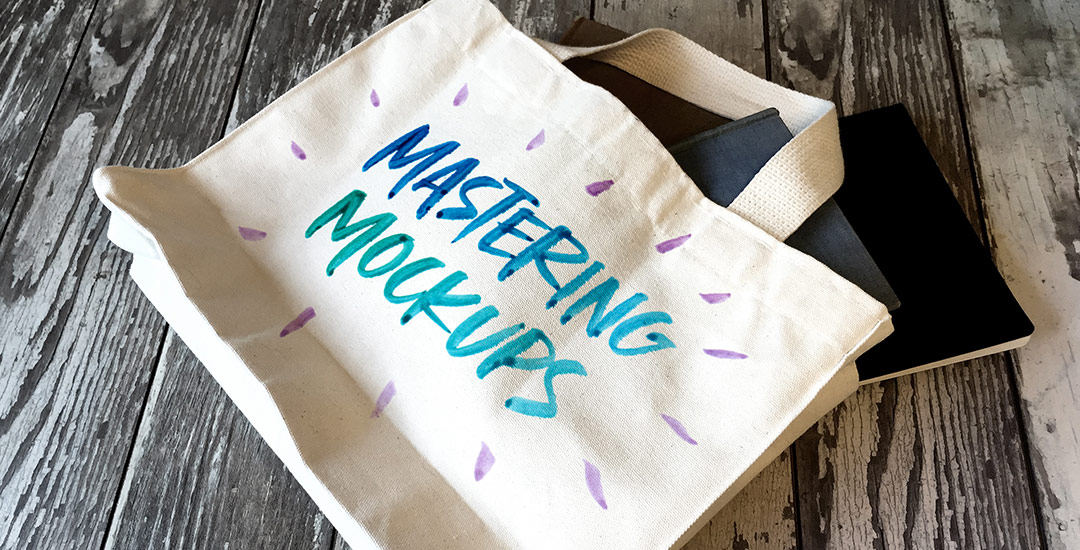
Happy Tuesday! I’m so excited I get to bring my newest online class to you this week, Mastering Mockups! In the class, we take original artwork, apply a little photoshop trickery, and put that artwork on products which look convincingly real. This is the perfect sales tool if you’re a seller on Etsy and need better product photography, if you’re a freelancer who wants to impress and convince your client to approve the artwork you created for them, or if you’d like to level up your design portfolio making fictitious projects come to life. You can also use the class’s techniques to create social media posts, blog images, digital product sales pages and more. Your enrollment in the class gets you all 4 base photos used in the class for free. With those photos, you’ll be able to follow along, completing every step as we go 😉

Keeping with tradition, I’m sharing the class trailer today, along with a bonus lesson from the class. In this lesson, we’ll create a single use, social media mockup. Are you ready to mock?! Everything below!

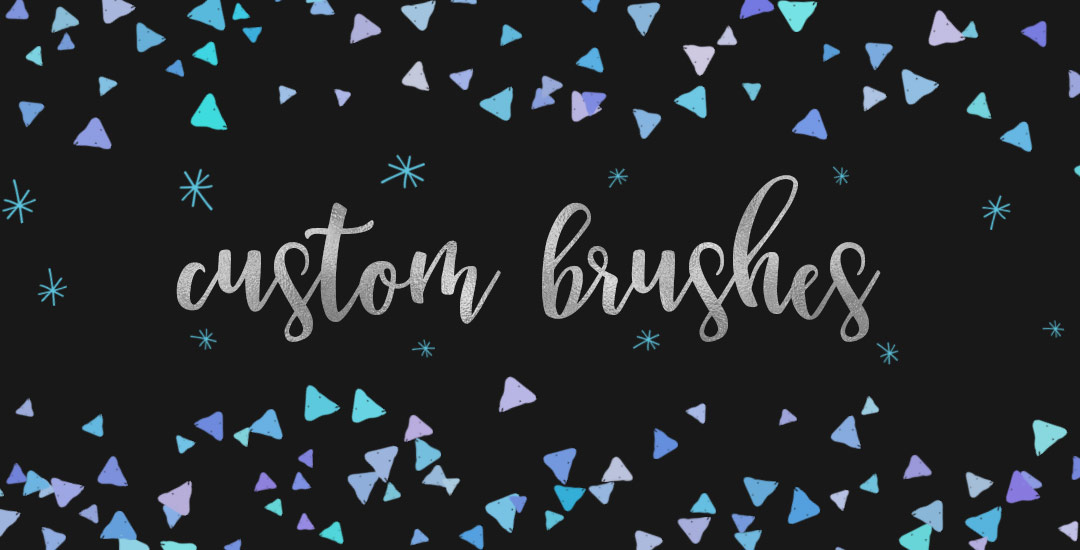
Creating custom brushes in Photoshop is one of my favorite things to do! I love using them for lettering (paired with a wacom tablet), extra decorative elements or just to add a little bit of unique style to whatever I’m making. What’s even better is that they are really quick and easy to make and Photoshop offers a ton of settings to truly make them original. If you’ve checked out my Intro to Photoshop class, you could easily integrate a custom brush to really make your layout special!

In this week’s tutorial, I’ll walk you through what all of those settings do and we’ll create a custom brush in Photoshop together. At the end of the tutorial, you’ll have everything you need to start creating and using your own brand spankin’ new brushes 🙂 Everything is below!

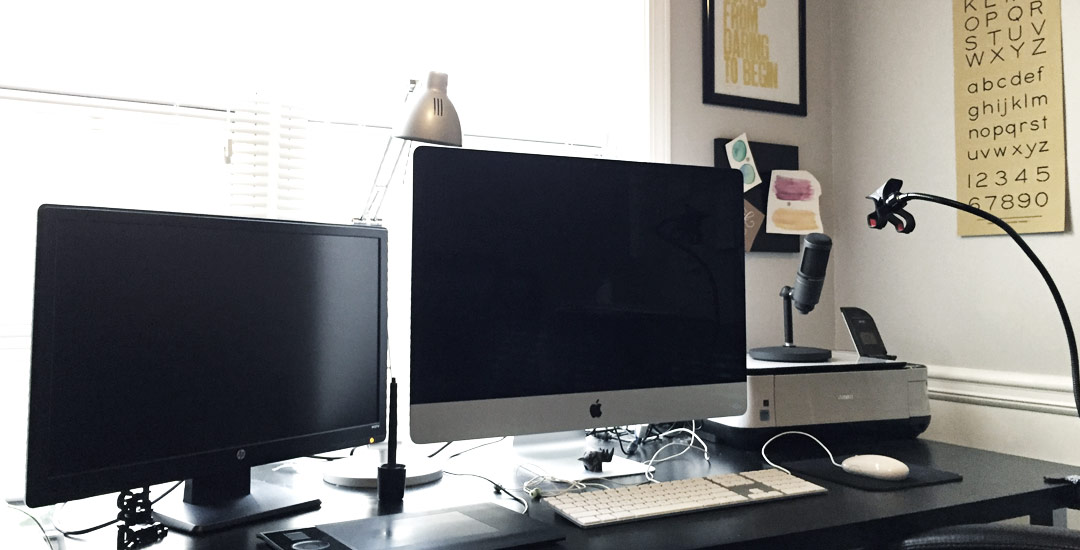
In Tuesday’s video, I shared my graphic design story and today I wanted to share what my current design workspace looks like, as well as some of my favorite desk items that I use every week, if not every day. I’ve definitely gone through my fair share of printers, tablets and computers, so listed below, you’ll find names and links to all of my top picks and why I chose and use what I do 🙂 I hope this helps anyone who may be on the fence with anything desk-related (I did a lot of thorough research before I started adding to cart, so I know how helpful a user review can be). I’m an open book, so if you have any questions about anything listed, feel free to ask!

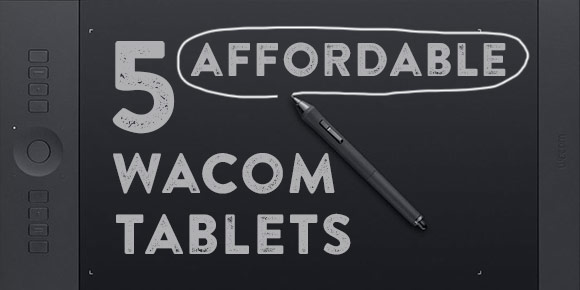
I remember when I received my first Wacom tablet in the mail. I was filled with pure excitement to finally interpret my doodles directly on screen. The brush tool in both Illustrator and Photoshop immediately became my favorite thing. Since then, I’ve used the tablet to create lettering professionally, edit detailed photography, and apply a hand drawn feel to other projects. As a designer, you typically think ‘expensive’ when you hear the word Wacom. Maybe because they’re known to be the best brand of tablets for designers that money can buy, but you’d be surprised to find out an affordable Wacom is within reach! So, if you’ve never owned a tablet before and you’ve always wanted to draw, edit or doodle on screen, it can be done for less than $100. Seriously!

GDPR Icon

Your Privacy Matters

We use cookies to customize and create content that’s most important to you. We’ll never share the info we collect.

View Privacy Policy