HomePosts Tagged "brush lettering" (Page 4)

brush lettering Tag

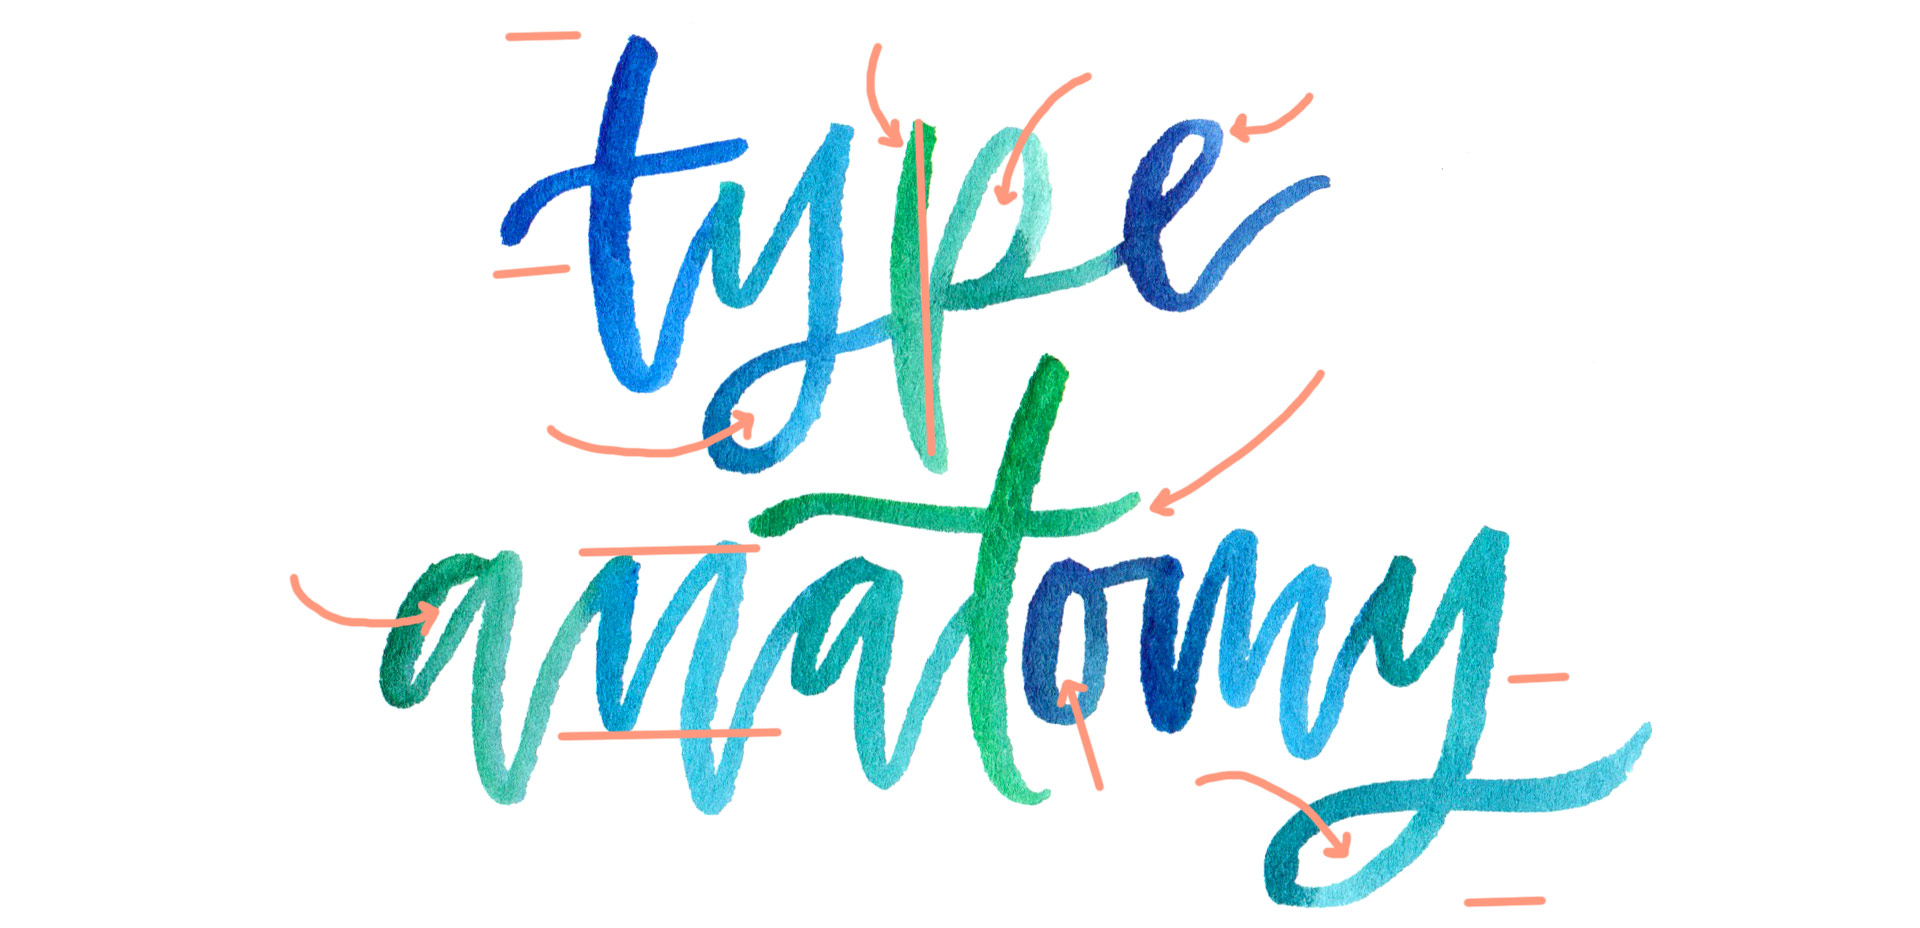
With the launch week of Brush Lettering with Watercolor coming to a close, I thought it would be fun to tie colorful letters into a quick tip design tutorial. And what better way to talk about type anatomy than getting colorful with it? 🙂 This is actually kind of perfect for hand letterers and graphic designers alike. For hand letterers, an intimate understanding of letterforms is essential, keeping qualities consistent for balanced, harmonious styles. For graphic designers, understanding style pairings and their character traits creates more strategic, thoughtful designs.

Over my (almost) 10 year career as a graphic designer, there’s definitely a short list of type characteristics that serve as an excellent base if you’re just starting. In this week’s video, I walk you through those base type anatomy qualities, with full descriptions throughout the video. Download the free cheat sheet below to reference later!

In Tuesday’s post when I introduced my newest course, Brush Lettering with Watercolor, I mentioned that when I started brush lettering with watercolor, it was the first time I had ever used watercolor. This is actually kind of awesome for two reasons:

#1 Since I had no idea what kind or brand of watercolor was best for lettering, I experimented with everything.
#2 If you want to brush letter with watercolor and you’ve never used watercolors before, I’m an example that is 100% ok!

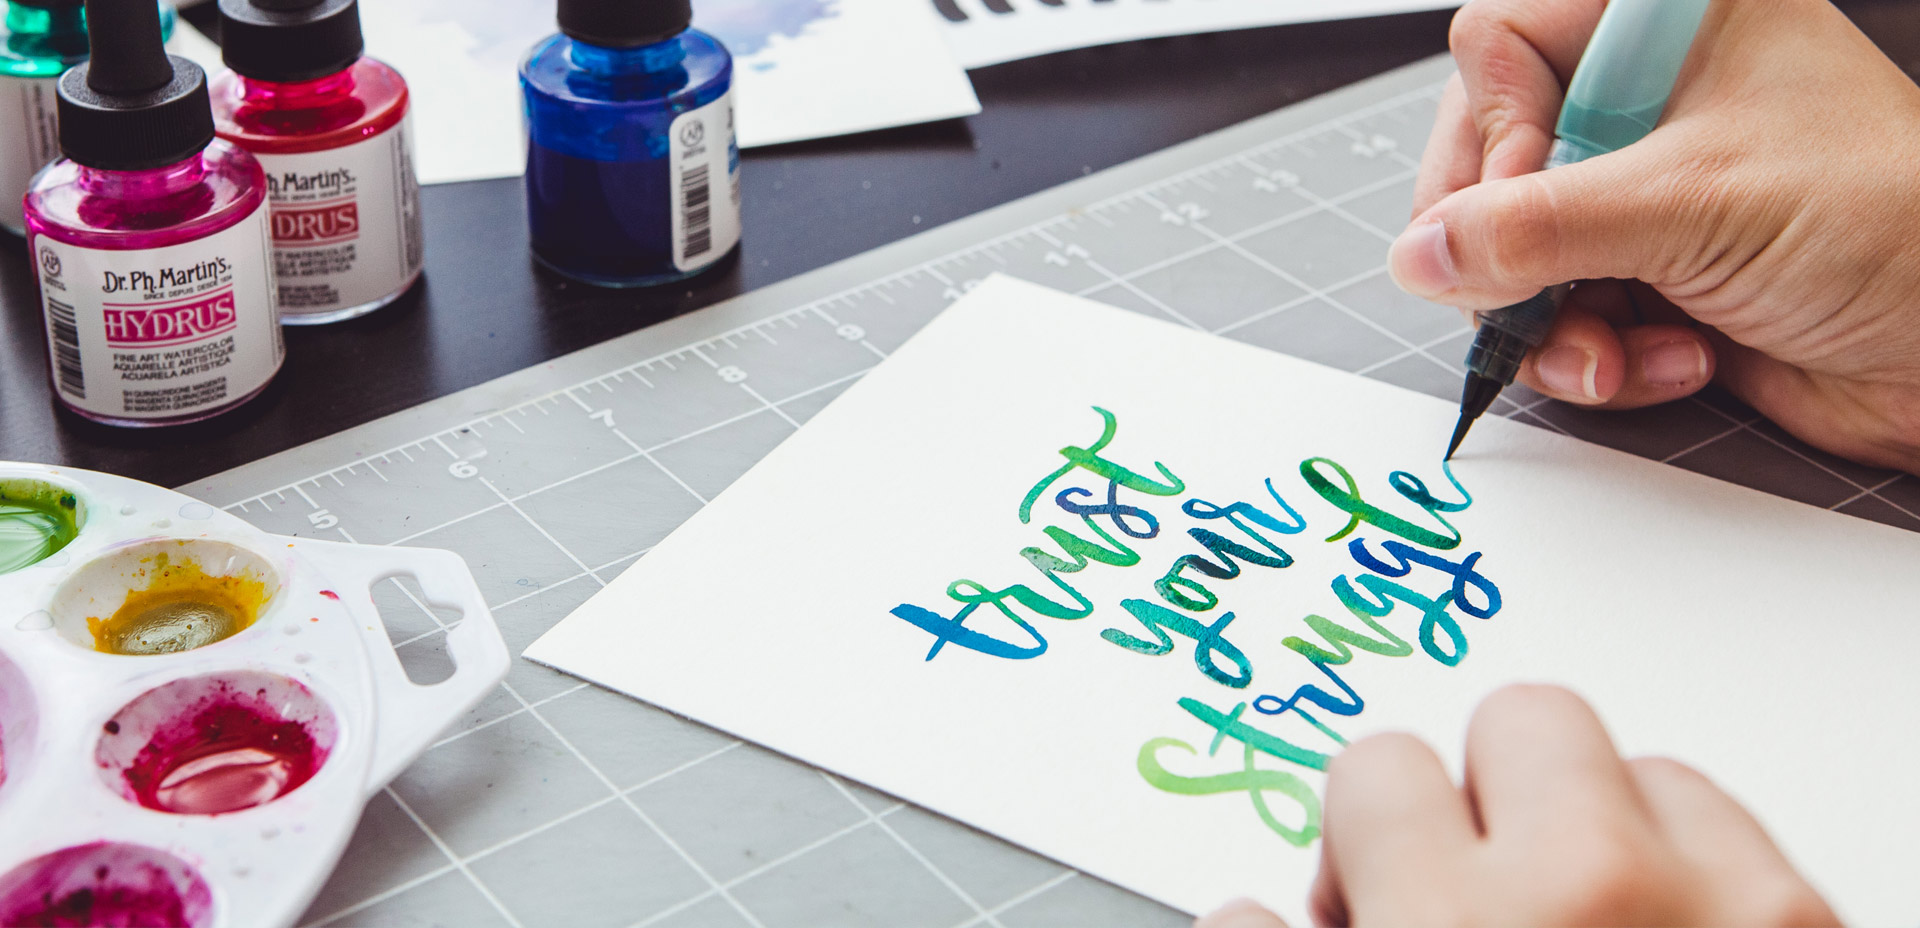
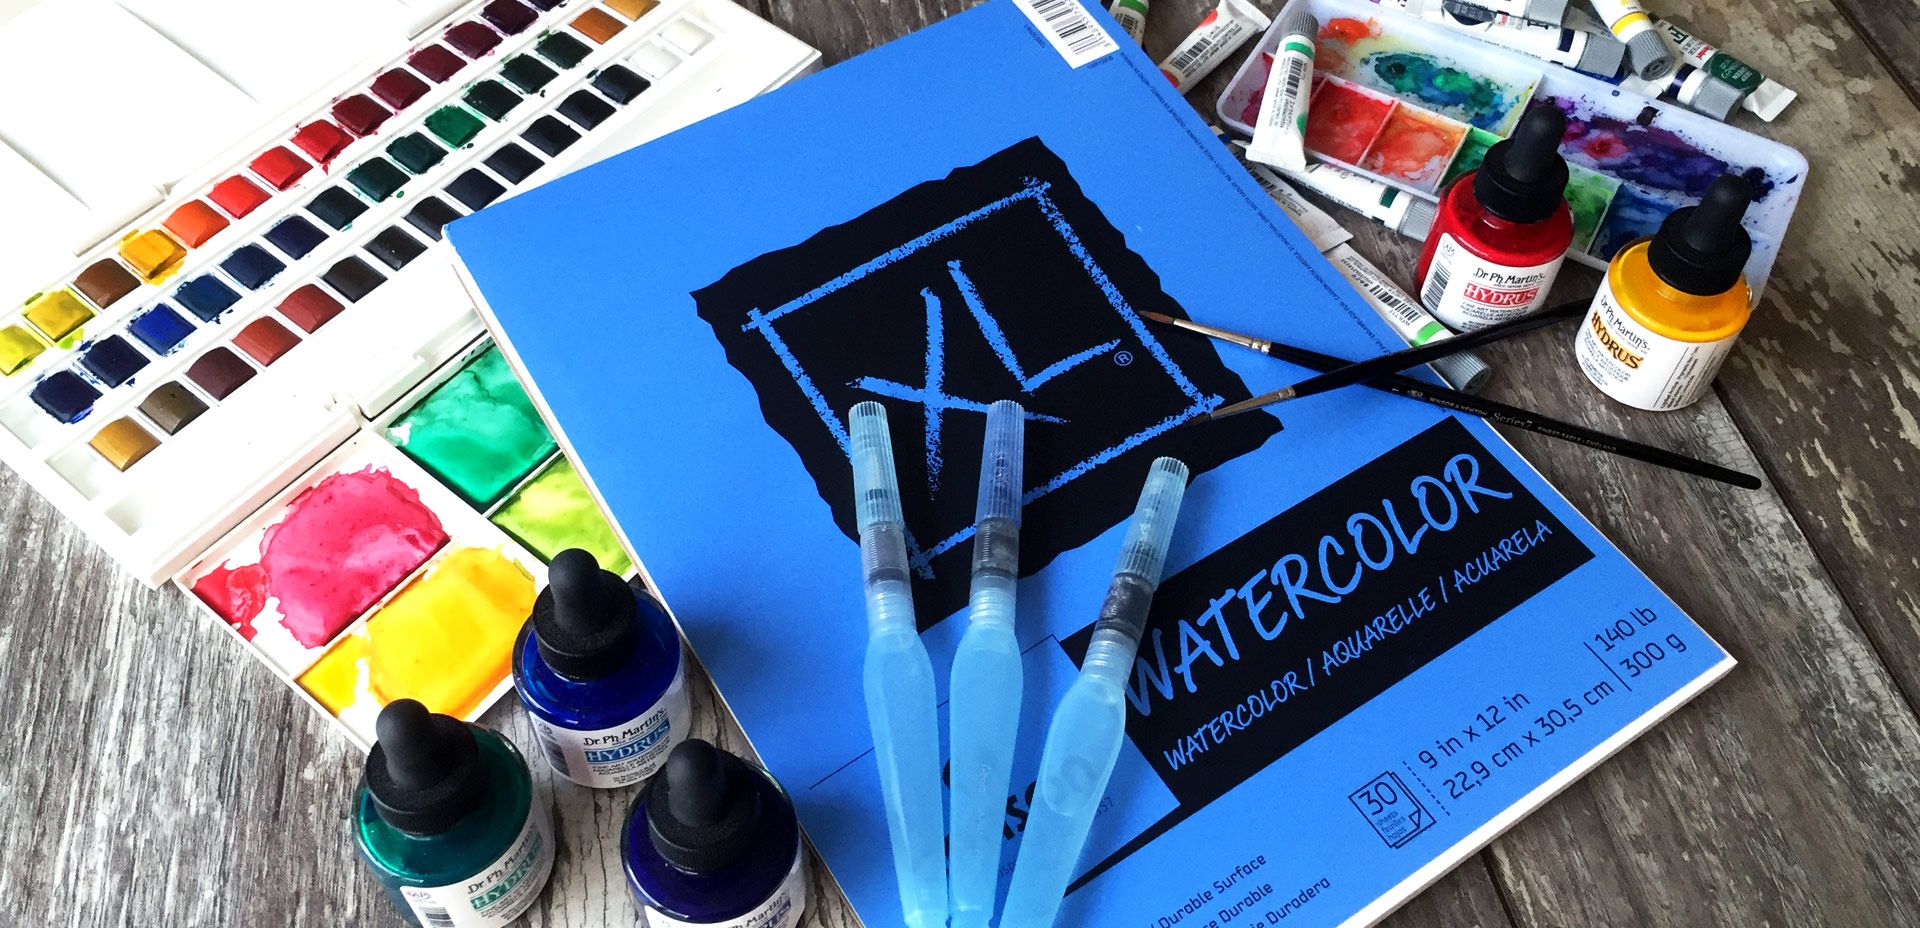
Throughout all of my experimentation, I learned what the 3 best watercolor types are for brush lettering. These are watercolors that blend nicely together, are flexible for being creative and all behave in different ways compared to one another. Yay, options! Read on for examples, my favorite brands, plus links and reviews!

Today is one of the biggest days to date on Every-Tuesday. Our very first long-form, self hosted course (only available on every-tuesday) is officially open today, titled Brush Lettering with Watercolor!

Two years ago, I decided to go all-in with my brush lettering. I tried (what felt like) every supply out there, watched demos, looked at inspiration, read books, you name it. My lettering was improving very slowly, and I experienced a lot of frustration. A lot of overwhelm. A lot of second guessing. It felt like I was doing everything right, but my outcomes just didn’t feel like they were quite there. I started implementing a few new techniques and that’s when things really took a turn for me. I remember the night it finally came together so well, like I had cracked a special code.

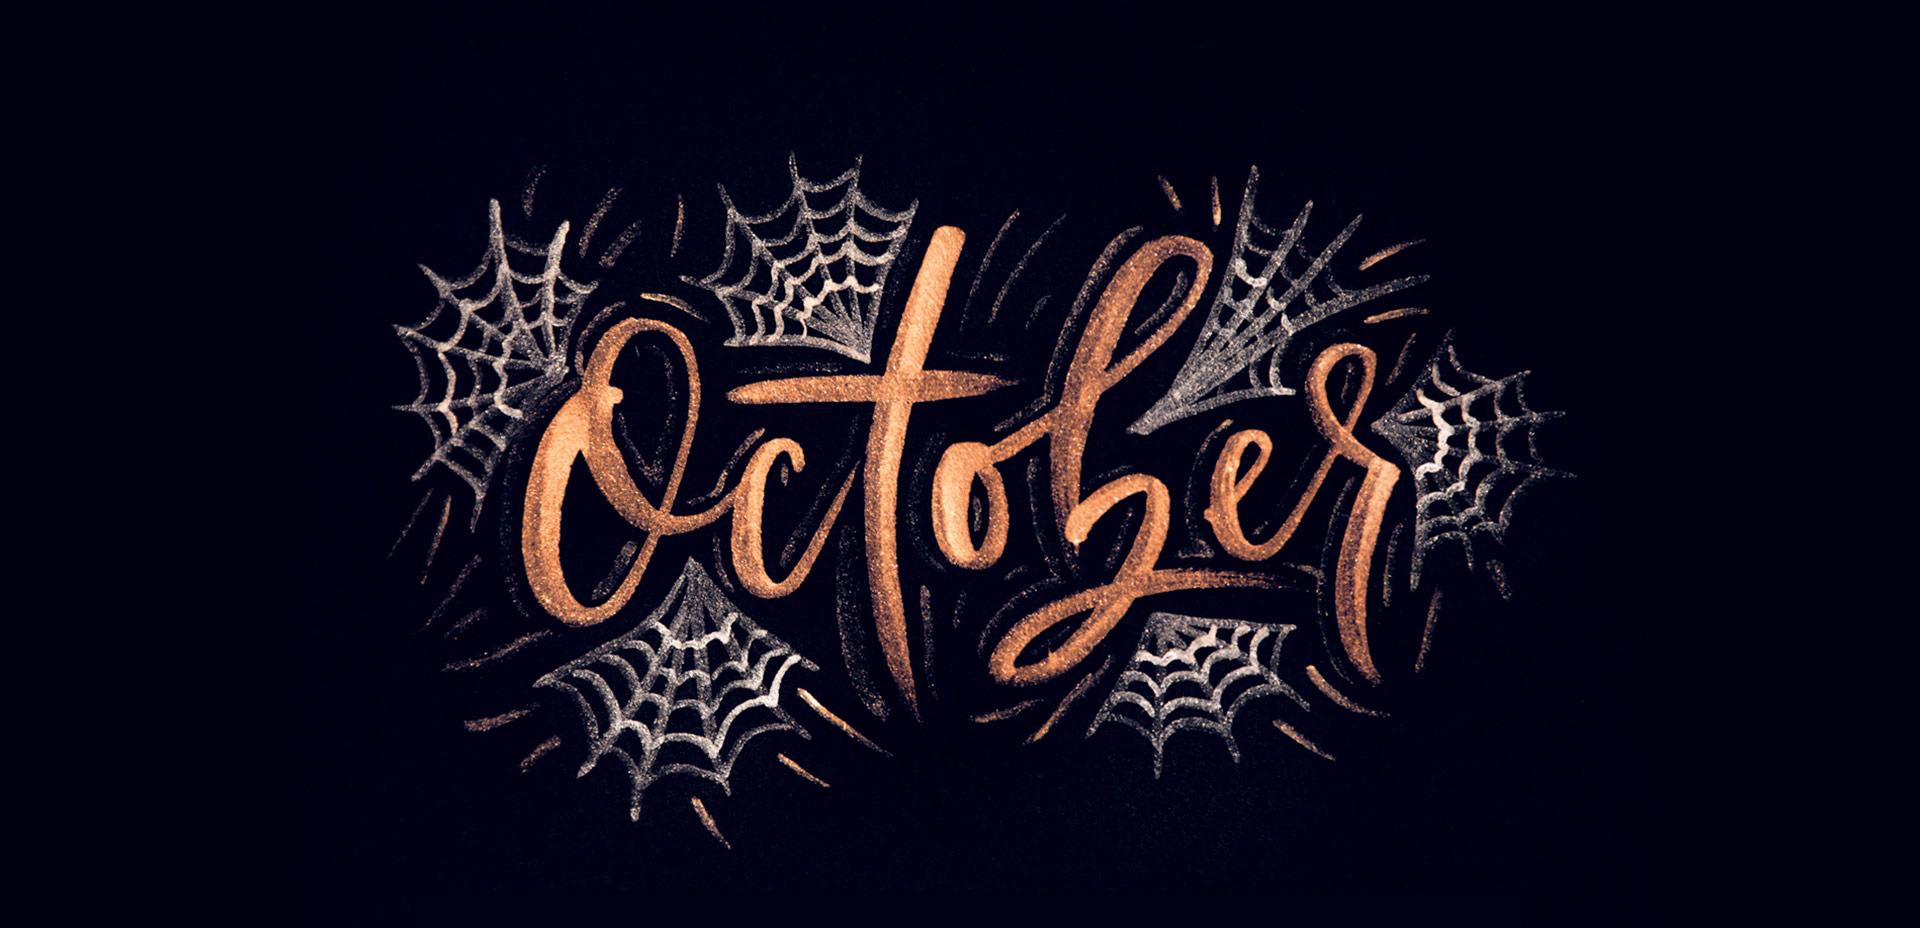
Today’s the last Thursday in September, so it’s time for your free October 2016 desktop wallpapers! This month’s wallpaper was hand lettered with the super-fun-to-play-with FineTec metallic watercolors. The paper is Neenah Astrobrights Eclipse Black, which actually holds up perfectly with the metallics. FineTecs are naturally on the thicker side, so they sit right on top of cardstock like they were meant to be together 🙂 . This download includes the wallpapers in two common resolutions: 1280x1024px and 1920x1080px, with and without dates. I’ve left ‘2016’ off of the ‘no-dates’ jpgs, so you can use this for any October in the future, too!

If you’re an Every-Tuesday subscriber, then you already received this brush lettering with watercolor supply list in your inboxes yesterday 🙂 It’s too useful of a resource not to share, so I wanted to also bring it into the blog this week. Having the right supplies can be a serious road block when you’re just getting started, and a costly one at that. After going through my fair share of supply testing (and cash), I’ve compiled a list of my absolute favorites. For those on a budget, or if you’re not sure if this is for you, I’ve also included a separate list of comparable, lower priced items 😉 My newest master course, Brush Lettering with Watercolor is now open if you’d like to put these supplies to use!

Happy Tuesday! I want to start by saying wow to everyone who has checked out Bounce Lettering! I’m so grateful for all of the kind feedback and I am so impressed and inspired by all of the wonderful projects that are coming out of the class! I thought I’d take bounce lettering/waterbrush lettering even a little further this week with a free add-on tutorial to both classes.

A style that is gaining in popularity over on Instagram is rainbow brush lettering. It would take foreverrrr to alternate colors to form a word, let alone form the word as pretty as you’d like with so many re-dips. In this week’s video, I’m sharing a trick for applying a rainbow of color to your brush lettering without a zillion re-dips in the process 🙂 There are two methods shown in the video – one to ease you into the process and the other to take full advantage of all the colors you’d like. Links to the products used + everything you need to know to start rainbow brush lettering below!

GDPR Icon

Your Privacy Matters

We use cookies to customize and create content that’s most important to you. We’ll never share the info we collect.

View Privacy Policy