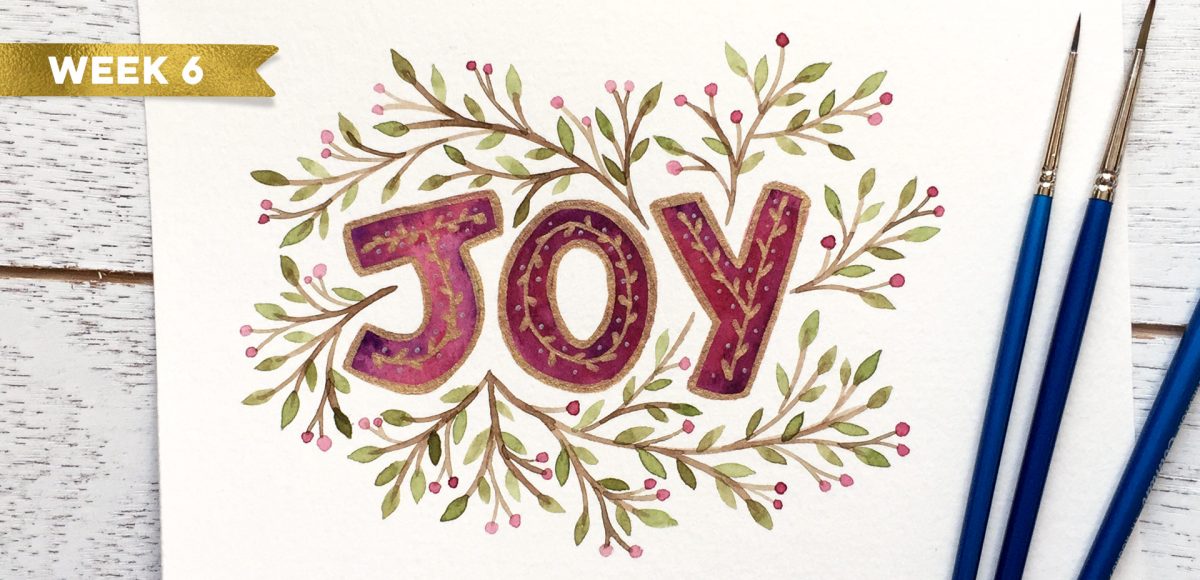
HomePosts Tagged "Holiday" (Page 3)

Holiday Tag

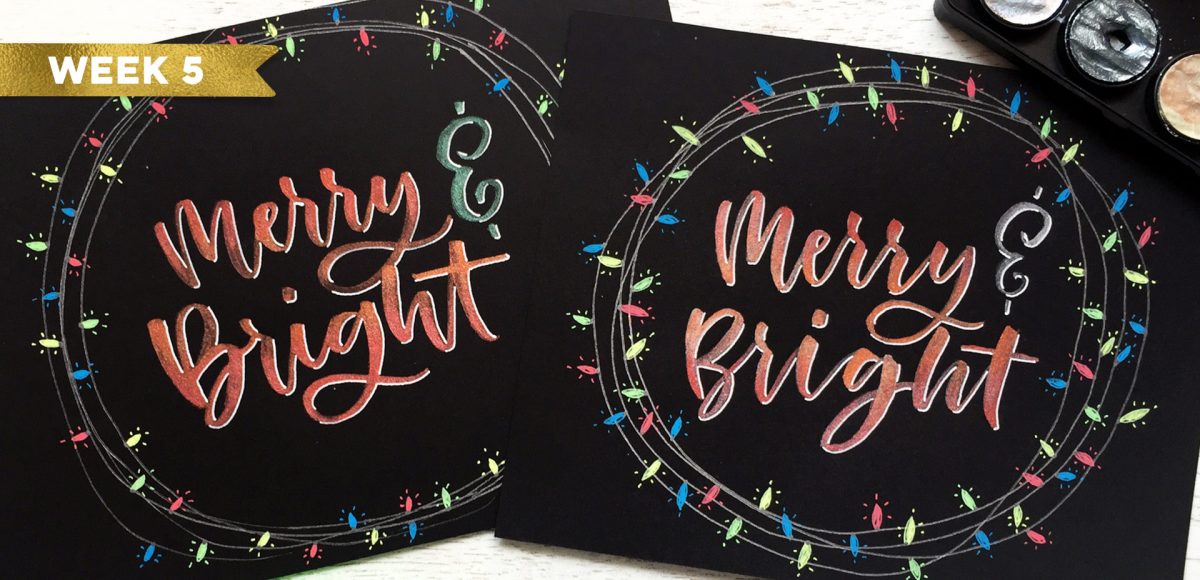
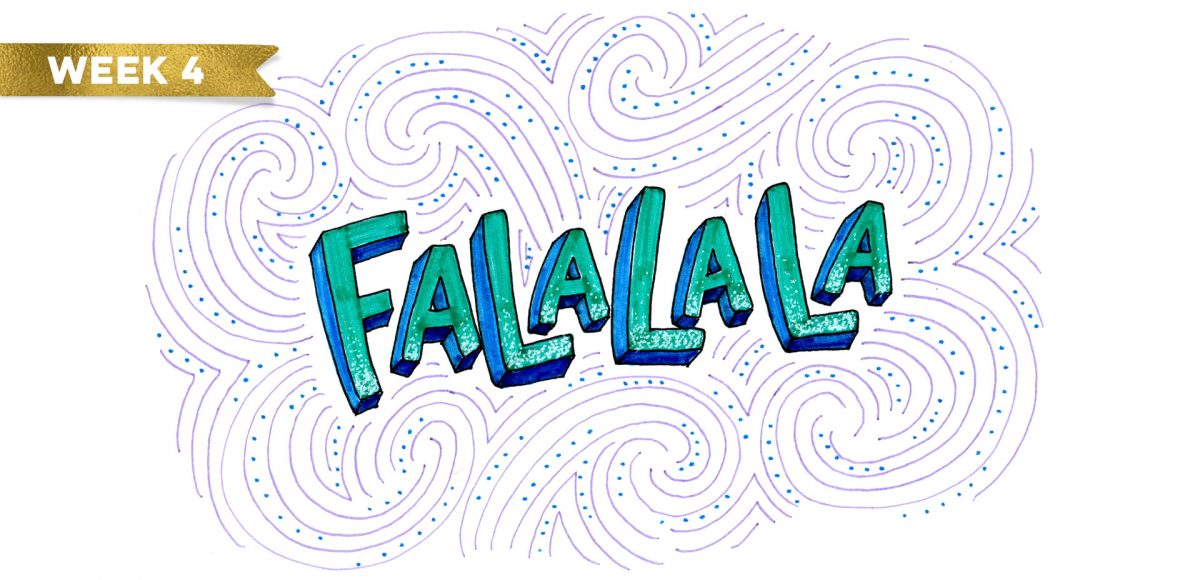
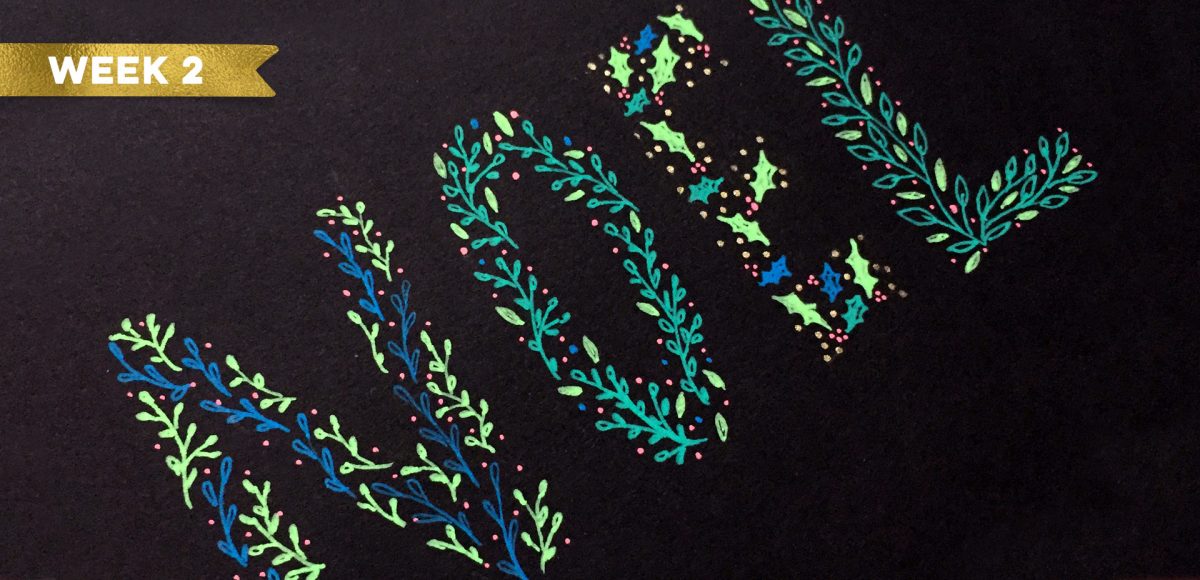
Welcome to week 6 of holiday hand lettering projects! If you missed the last five weeks, scroll below to click on links to all of them! This 6 week lettering tutorial series is wrapping up this week! The goal of the series was to gain new lettering tricks, learn about lettering supplies you might not have used before and create something you can use/gift right away. Each week we built on skills from the previous weeks, so if you need a refresher, be sure to rewatch any of the prior videos. This week, we’re creating watercolor JOY lettering, surrounded by seasonal branches and finished with gold and silver details! Read on for the step-by-steps!

Welcome to week 5 of holiday hand lettering projects! If you missed the last four weeks, you can catch up here, here, here and here 😉 This is a 6 week lettering tutorial series with the goal of gaining new lettering tricks, learning about lettering supplies you might not have used before and creating something you can use/gift right away. Every week we build on the skills from the previous week, so if you need a refresher, be sure to rewatch any of the previous videos. Check back every Tuesday from now until December 12th for a new holiday themed lettering project! This week, we’ll create metallic watercolor lettering surrounded by strings of lights! Read on to see how!

Welcome to week 4 of holiday hand lettering projects! If you missed the last three weeks, you can catch up here and here and here 😉 This is a 6 week lettering tutorial series with the goal of gaining new lettering tricks, learning about lettering supplies you might not have used before and creating something you can use/gift right away. Every week we build on the skills from the previous week, so if you need a refresher, be sure to rewatch any of the previous videos. Check back every Tuesday from now until December 12th for a new holiday themed lettering project! This week, we’ll create 3D block lettering embellished with simple decorative flourishes. Read on to see how!

Welcome to week 3 of holiday hand lettering projects! If you missed the last two weeks, you can catch up here and here 😉 This is a 6 week lettering tutorial series with the goal of gaining new lettering tricks, learning about lettering supplies you might not have used before and creating something you can use/gift right away. Every week we build on the skills from the previous week, so if you need a refresher, be sure to rewatch any of the previous videos. Check back every Tuesday from now until December 12th for a new holiday themed lettering project! This week, we’ll create decorative lettering by utilizing gel pens on top of black lettering that has a 3D feel to it. Read on to see how!

Welcome to week 2 of holiday hand lettering projects! If you missed last week’s project, pop over here to check it out! This is a 6 week lettering tutorial series with the goal of gaining new lettering tricks, learning about lettering supplies you might not have used before and creating something you can use/gift right away. Check back every Tuesday from now until December 12th for a new holiday themed lettering project! This week, we’ll create colorful and decorative NOEL lettering! Read on to see how 😉

Welcome to the first week of holiday hand lettering projects! This is a new tutorial series spanning 6 weeks, starting today. Every Tuesday, we’ll create a new holiday-inspired lettering project you can then use on your holiday stationery (like gift tags, greeting cards, homemade ornaments, etc.). The goal of this series is to gain some new lettering tricks, learn about lettering supplies you might not have used before and to create something you can use/gift right away. Since we’re starting in early November, you’ll have plenty of time to practice and prepare for December celebrations. I also have another surprise that comes with participating in these weekly projects below!

I’m so grateful for the kind feedback the watercolor floral save the date had a few months ago! I thought this week it would be fun to follow it up with a watercolor floral RSVP card in Adobe Illustrator. If you’re new to working with watercolor florals in Illustrator, you’ve come to the right place 😉 There’s a link below to my free watercolor floral mini kit and this tutorial is very beginner friendly. At the end of this video, you’ll be able to create a custom, print ready RSVP card ready for the mail. Read on to see how!

I created something similar to this watercolor fireworks trick last year and I couldn’t stop thinking about it this year. It’s soooo easy, quick and really fun to create. In celebration of Independence Day here in the US (and the fact it lands on a Tuesday this year), today we’re going to create watercolor fireworks together 🙂 Grab your favorite watercolors, a waterbrush, a straw and let’s go!

This week, I thought I’d go completely analog with a DIY watercolor ribbon Father’s Day card. I love taking handmade creations digital, but every now and then – especially for sentimental holidays, you can’t really beat 100% handmade 😉 With Father’s Day coming in less than a week, you’ll still have time to seal this in an envelope, stamp it up and get it in a mailbox in time. So, let’s get this card going; all the instructions, materials and full video are below!

First off, I want to tell you this isn’t the sexiest tutorial you’ll ever watch, but it can be a giant time saver and really make you look like you know your stuff. So, stick with me, because this is pretty handy to know: list format data merge in InDesign (sorry if that was a little eek-worthy to read, but you were warned 😉 ) To accompany our save the date postcard from last week, this week we’ll create a wedding seating chart to go with the big day. Traditionally, data merge is used to automate large amounts of data into multiple pages, but it’s different here: we’re placing lists of data onto one page, so there are a couple small tweaks that need to be made. I promise this is super simple and you’ll be glad to have this in your designer arsenal when you see what it can do.

A few years ago (ok, more like 8) when I started creating templates for others to use online, wedding templates were one of the first kinds I made. I loved putting together a stationery set that felt like it belonged together, but altering each piece slightly to still feel special. I realized – here we are in May, and it has been since 2014 since I created a wedding stationery tutorial. With my new watercolor leaves and florals kit now available, it makes wedding stationery that much easier and quicker to put together (grab a free mini kit below!). In this week’s tutorial, we’ll create a save the date postcard together in Illustrator which will be all ready to print at home, or send off for printing when we’re finished. Read on for all the details!

Happy Tuesday! This part of the year is always one of my favorites because it’s all about celebrating moms. My mom and I have always been really close – she was actually born on Mother’s Day the year she was born, and when she had my youngest sister, it was Mother’s Day that year *and* her birthday. Pretty crazy, especially since Mother’s Day doesn’t land on the same day each year. In case life has gotten a little crazy lately and you haven’t picked up a card yet, I’ve got you covered 😉 This week, we’ll create a simple (beginner friendly!) watercolor florals Mother’s Day card in Illustrator using a bouquet from my newest Watercolor Leaves and Florals kit, or you can use the free mini kit I’ve also included below. Read on to see it all!

GDPR Icon

Your Privacy Matters

We use cookies to customize and create content that’s most important to you. We’ll never share the info we collect.

View Privacy Policy