HomePosts Tagged "photoshop" (Page 3)

photoshop Tag

This week’s tutorial isn’t the sexiest thing ever, but it’s extremely useful if you work on multiple machines, need to share digital assets with clients + fellow designers, are a super organized person looking to be more digitally organized, or have an old computer you’re in constant fear will crap out on you at any moment. This one’s for you!

One thing’s for sure, if you’ve been designing for any length of time, a program has crashed on you at some point and when you reopen, things look a little different in the swatches, brushes and patterns department. If you never saved these digital assets pre-crash, they are lost (along with that pleasant mood you had 5 seconds before) in file purgatory.

In this week’s tutorial, we’ll dull the pain of lost assets by going over exactly how to save patterns and brushes in Illustrator and Photoshop so you’ll know where to find them if you ever need a reinstall, or if you just want to share them. Read on to see how!

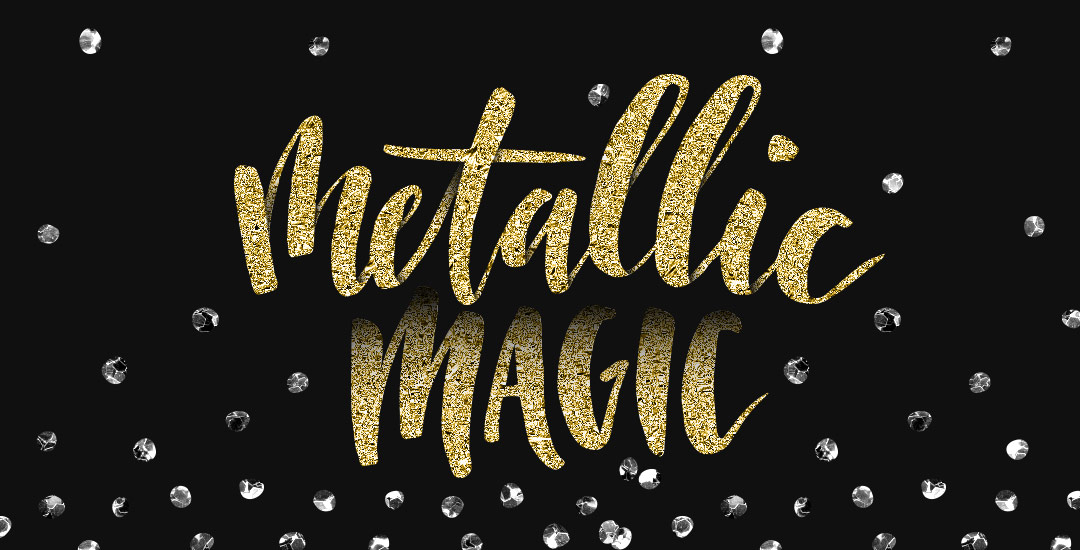
My brand new Skillshare class, Metallic Magic, just launched! I’m so excited to share the Photoshop tricks I learned when creating the Glitz + Glam Kit. In the class, I take you step by step, providing all of the color builds and settings you need to create your own digital foil from scratch in Photoshop. The class finishes up with us applying the foil textures we create to social media posts for quick sharing in any network you choose. By enrolling in the class, you’ll receive a free social media sizes cheat sheet, resources pdf and special glitter file ✨ If you’ve never tried Skillshare before, you can enroll in the class for free by using this link! In celebration of the class launch, I wanted to share the class trailer today so you can see everything you’ll be able to make after you take the class!

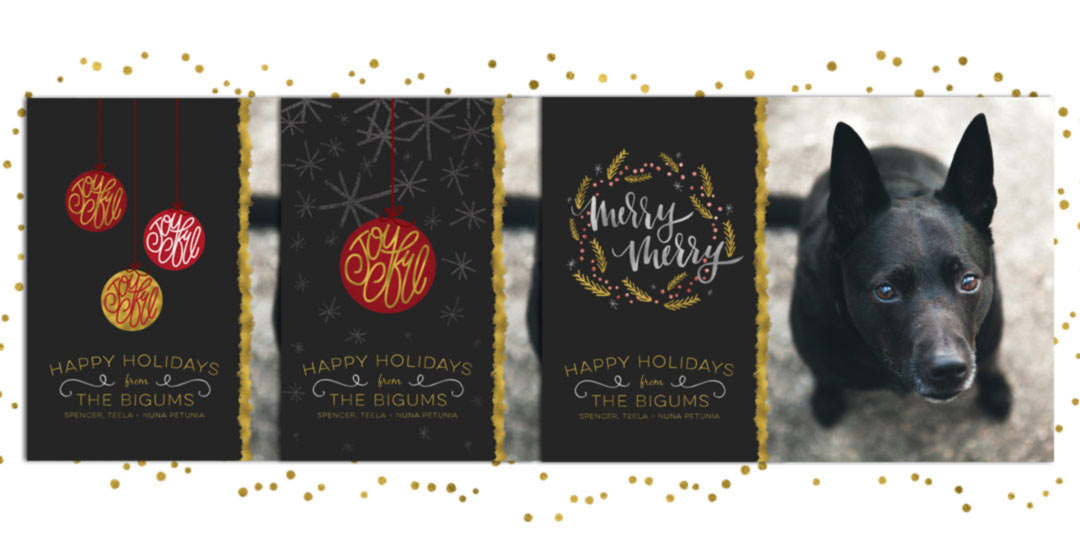
We are one week into December, which means we have one less week to send out holiday postcards! Since we created some nice holiday assets the last couple of weeks, I wanted to share how you could easily repurpose them for a holiday photo postcard, 3 ways. In this week’s tutorial, we’ll create a print ready holiday photo postcard in Photoshop with a little help from the Glitz + Glam Kit to quickly and easily get your holiday postcards off of your to do list 🙂 The final postcard is sized 7″x5″ and can fit snugly into any A7 sized envelope. Full tutorial, links to recommended online printers, fonts used and past tutorials all listed below!

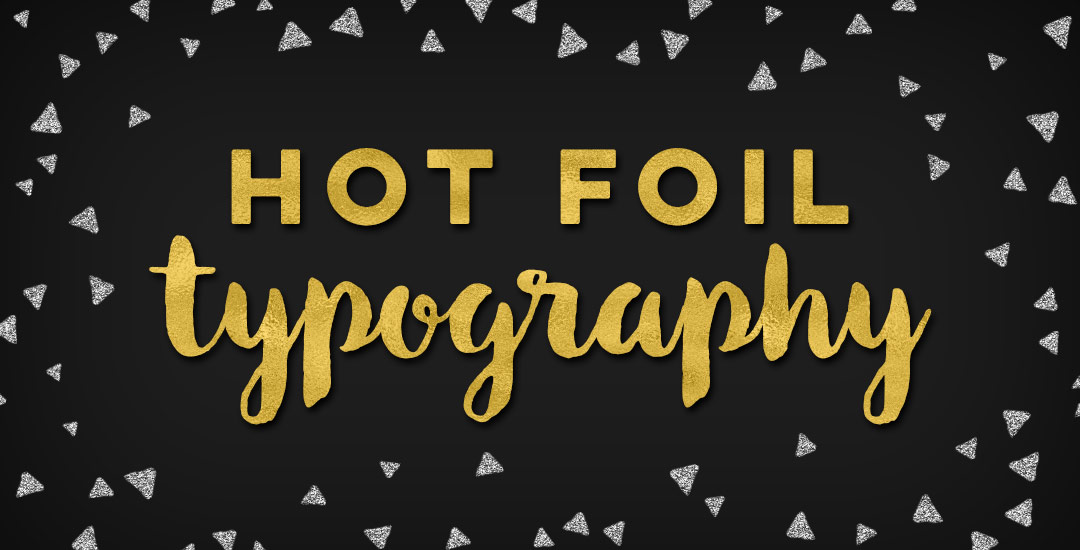
Today is a big Tuesday! I just went live with my newest kit, Glitz + Glam, Digital Hot Foil and Glitter Textures, AND I’m giving one of those textures away for free in this post! I’ve gotten a few questions on how I apply gold textures to some of my Instagram images, so with the release of the kit, the free texture, and the holidays coming up, I wanted to share how to create hot foil typography using Photoshop and Illustrator this week. This week’s freebie comes as a seamless pattern file, high res tileable jpg and layer style. Read on for the freebie, tutorial, and more info on the kit!

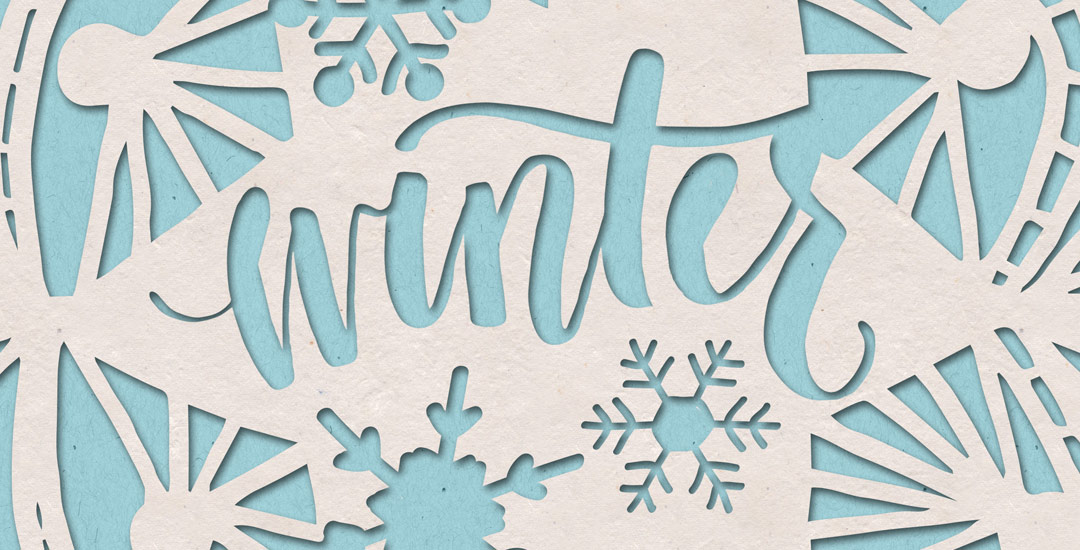
Happy Tuesday! This week’s tutorial comes to you courtesy of Lauren, who emailed me last week asking how to create a realistic paper cut out effect. With winter well on its way (my family in upstate NY has already had their first snowfall!), I thought a winter theme would work well with the effect. Do you remember these free hand drawn vector snowflakes from wayyy back? I thought it would be a good time to bring them back for this week’s tutorial and pair them with a more intricate snowflake to really show off the handmade look of this effect. I also happen to have a digital recycled paper pack and handmade paper pack which I thought would bring some nice authenticity to finish off the whole piece (pick up some free ones here). Read on to create your own!

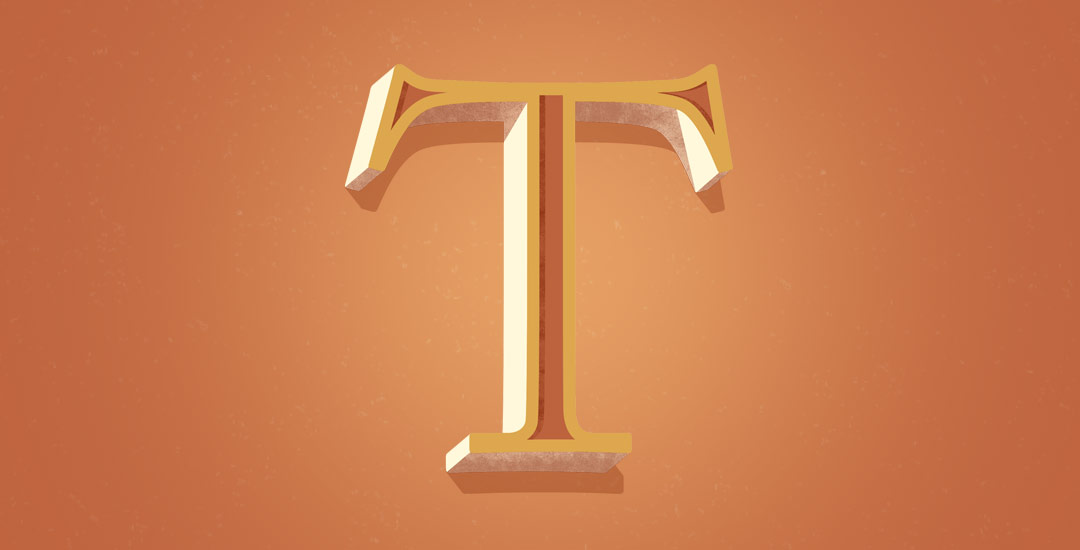
A while back, I shared how to create dimensional typography in Illustrator, which is perfect for artwork that needs to be rescaled to different dimensions. But what if you already know the biggest your type needs to be seen at and you’d like to use Photoshop instead? In this week’s tutorial, I share how to create that dimensional typography quickly and easily in Photoshop using the rectangular marquee + pen tool to create selections and a soft brush to create those dimensional shadows. And! Since it’s Thanksgiving month and all, we’ll finish everything off with a small fall detail 🍃 😉Feel free to use these ideas for Thanksgiving invitations or greeting cards! Let’s get started!

Today is an especially happy Thursday, because 2 years ago today was the very first Every-Tuesday post! I can’t believe how much has changed in that time and I couldn’t be happier delivering new design goodies and tutorials here every week. Speaking of design goodies – it wouldn’t be a proper birthday without a few design gifts! To celebrate 2 years, this week’s freebie is a set of birthday vectors as an ai, eps and psd for versions of Illustrator and Photoshop, CS3 or newer. See the full preview below!

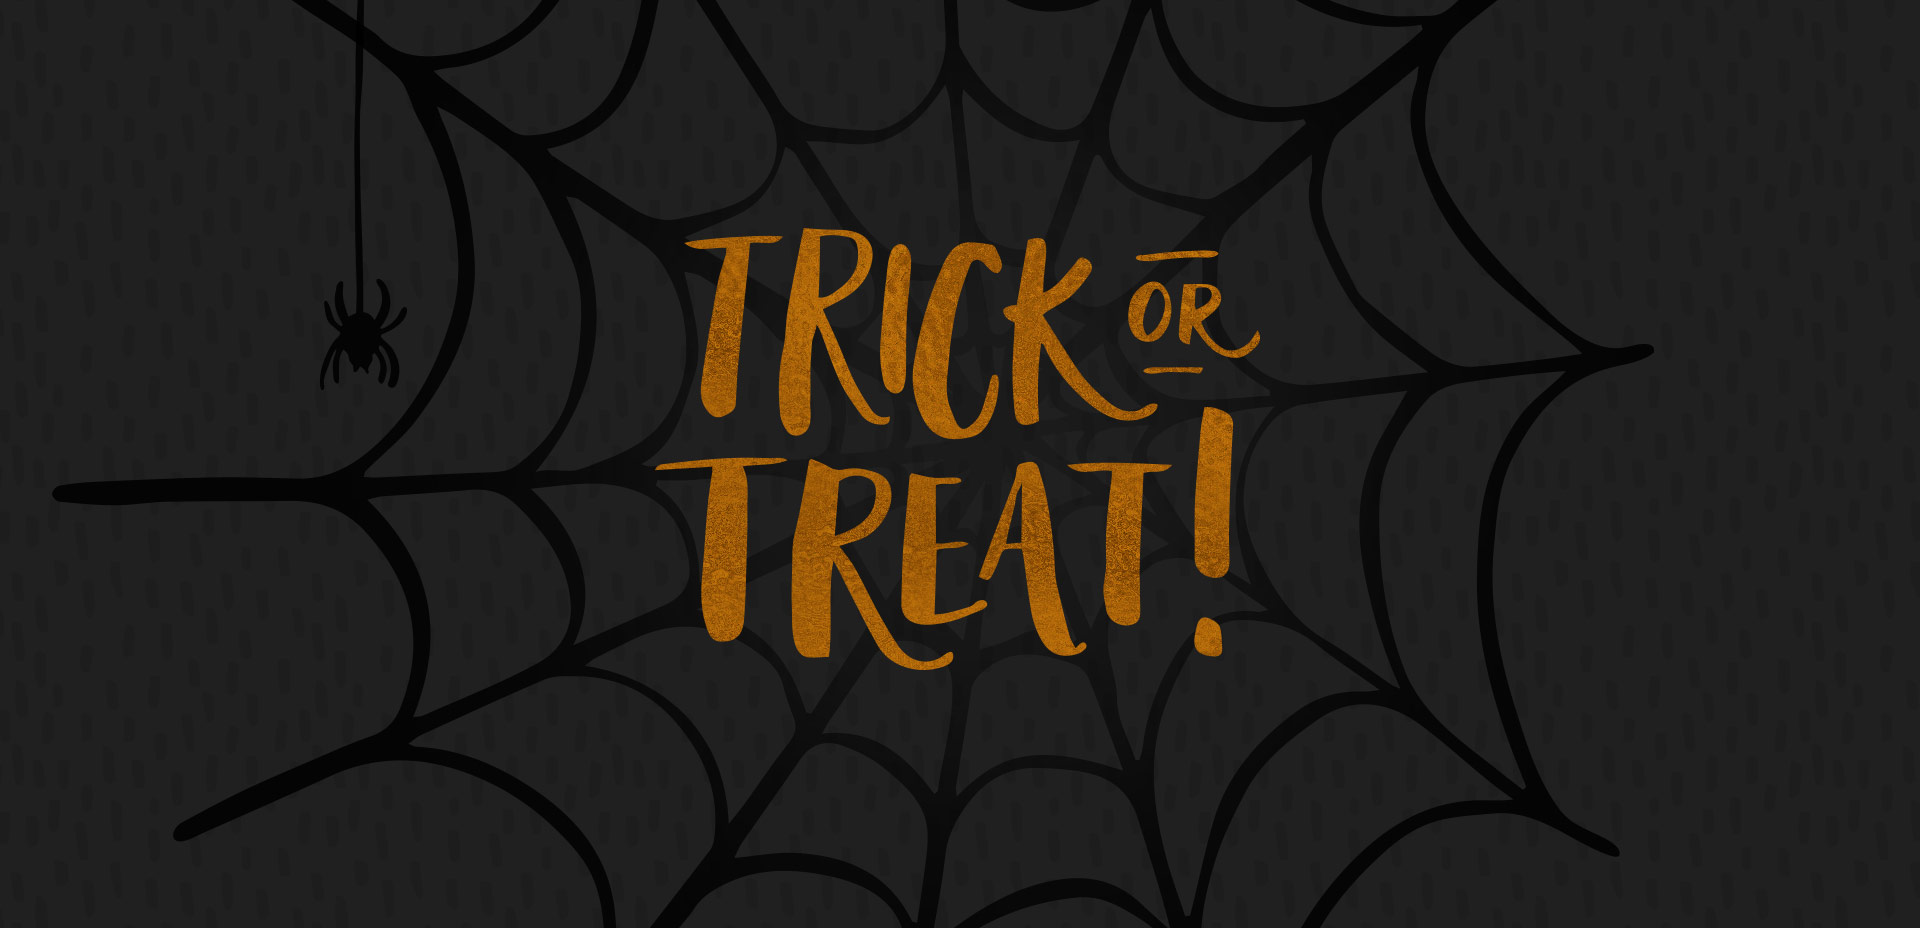
This week’s freebie is a set of 10 hand drawn vector spider webs to add a little more creepy crawly to your Halloween designs this year. 😉 Set includes corner webs and full spider webs to make positioning, cropping and usage a piece of cake. A bonus couple of dangling spider vectors also included for good measure. 🙂 All vector elements are included as an ai, eps and psd file for versions of Illustrator and Photoshop, CS3 or newer!

Welcome to Part 2 of how to create 3D typography from scratch! In this final video, we take everything we created in Part 1 using Illustrator and bring it into Photoshop. Using Photoshop, we’ll add custom shadows and texturize those shadows to add extra visual interest and dimension. At the end of this video, you’ll have your own custom, print ready 3D typography you can use for social media profiles, posters, prints and monogrammed stationery. Let’s get started!

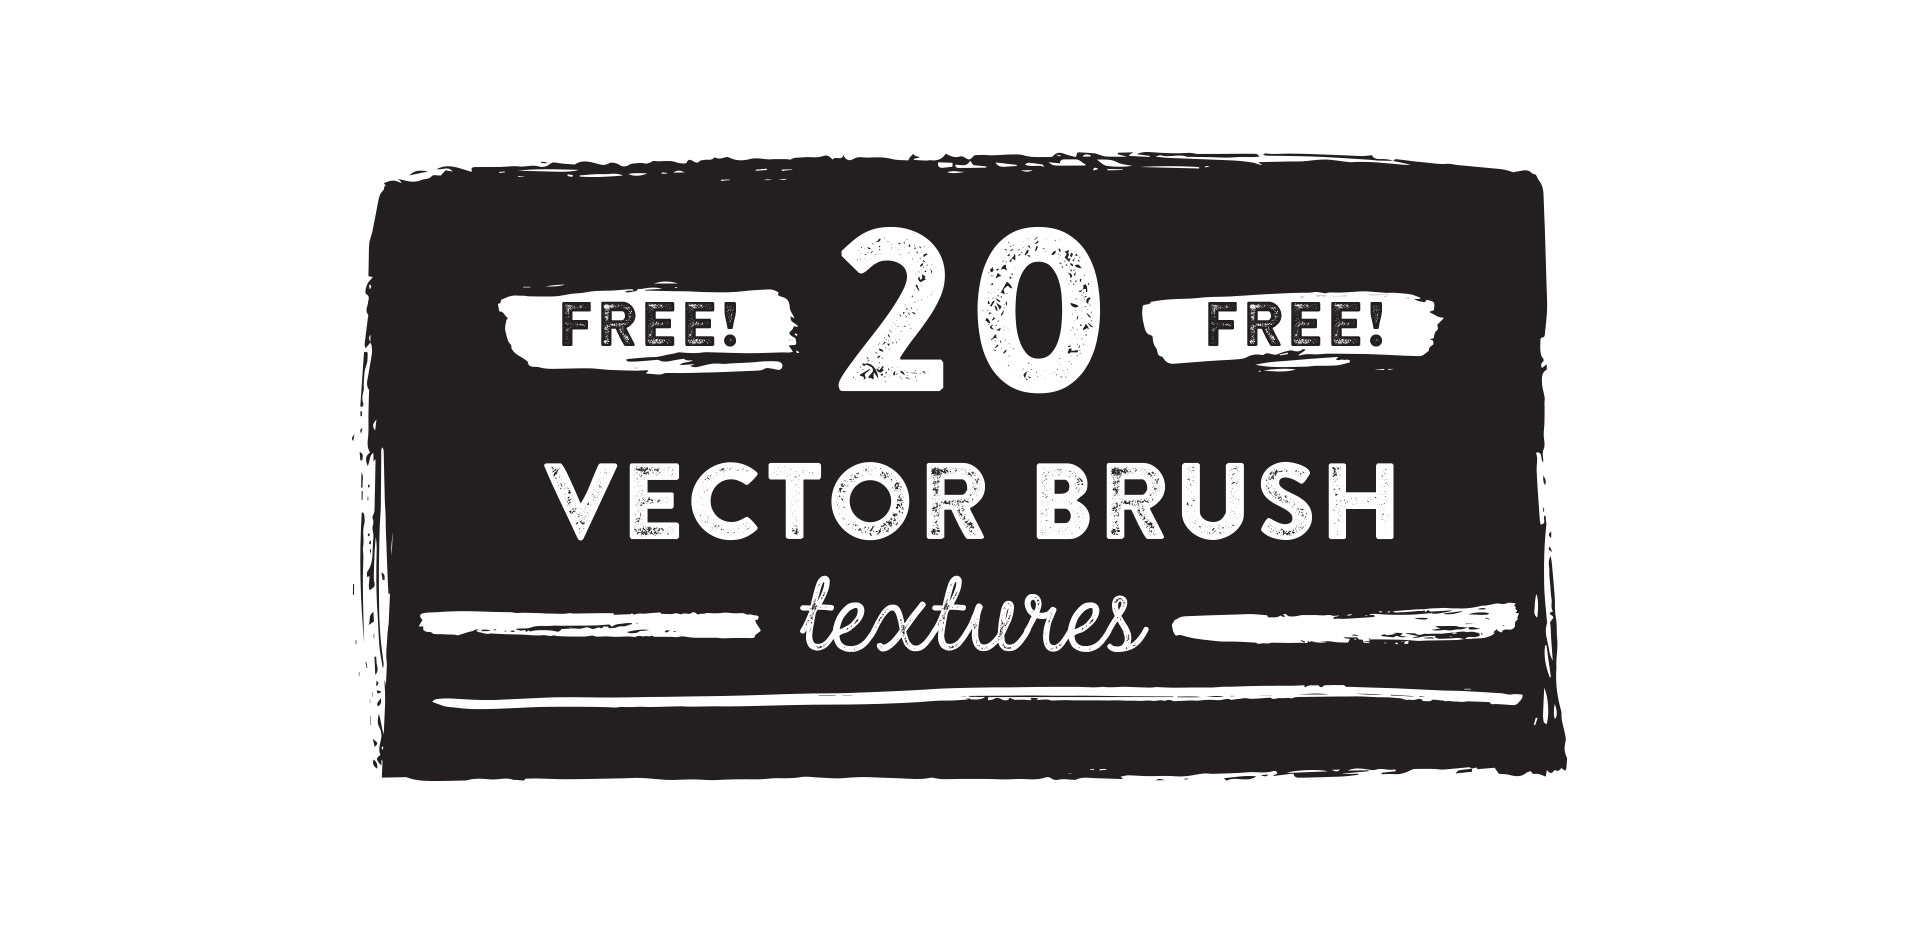
Keeping with the brush/india ink theme this week, this week’s freebie is a pack of 20 vector brush textures! Add quick texture to portions of your artwork or use as dividers. To add a faux screenprinted edge effect quickly, apply a brush texture to each side of a color filled rectangle. All textures are 100% vector and can be used with any version of Illustrator or Photoshop, CS3 or newer. Preview below; ai, eps + psd included in the download!

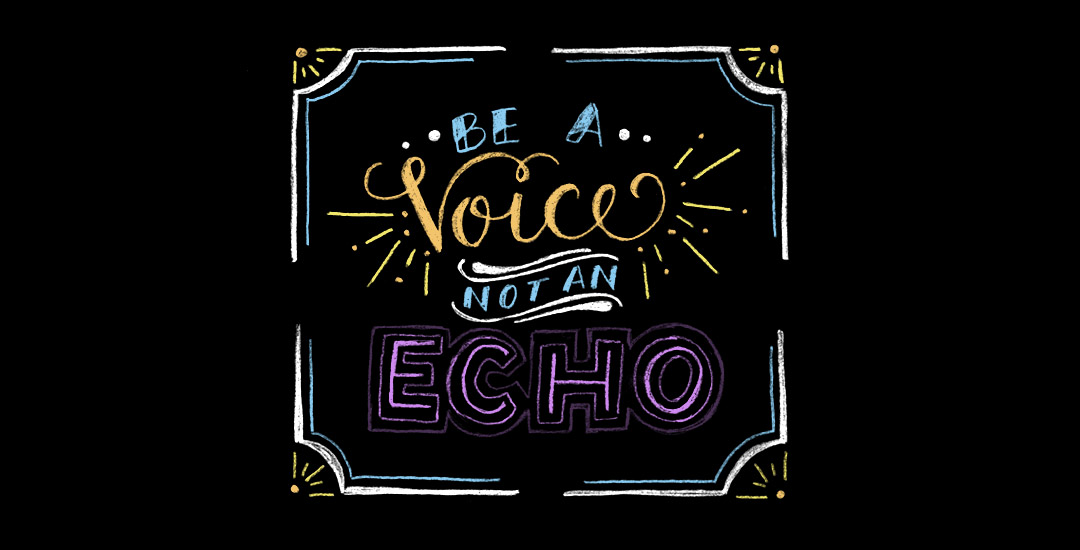
Happy Tuesday! Chalk lettering is still going strong these days, from outdoor signage, to indoor wall murals, to photographed magazine ads. But! What if you want a digital, more permanent and quickly editable outcome without all the mess (or dealing with the perfect lighting setup for photography)? There’s actually a super quick way to accomplish a chalk typography style in Photoshop in just a few simple steps. In this week’s tutorial, I share my exact process of taking a nothing-special pencil doodle or sketch and transforming it into white chalk, then colored chalk typography. Use this same method for illustrations too! Whatever you can doodle, you can change into the digital chalk look, and in only ~10 minutes! Try doing that with real chalk 😉 Let’s get started!

GDPR Icon

Your Privacy Matters

We use cookies to customize and create content that’s most important to you. We’ll never share the info we collect.

View Privacy Policy