HomePosts Tagged "photoshop" (Page 4)

photoshop Tag

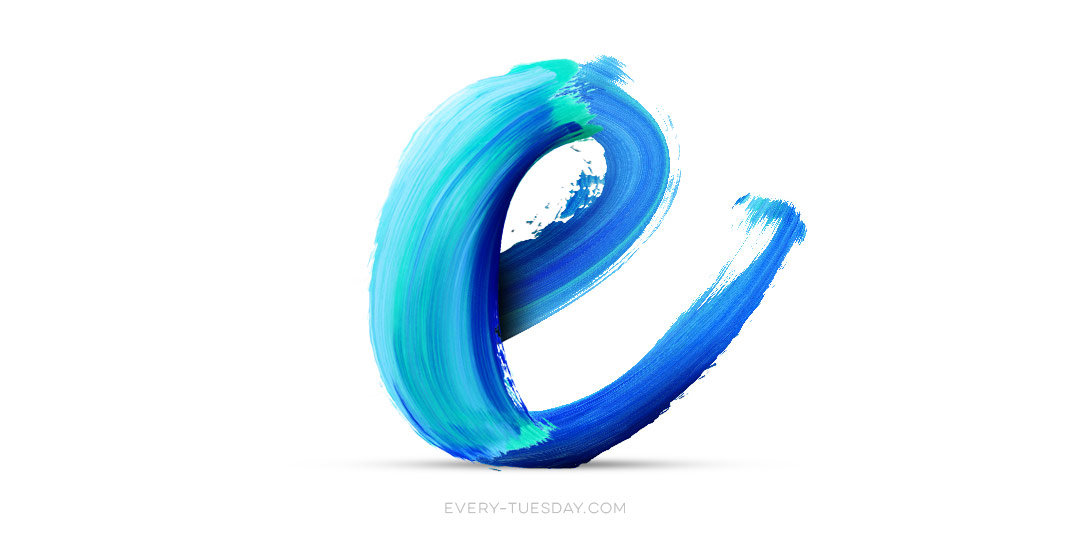
I came across Pawel Norbert‘s paint streak typography a while back and completely fell in love with it. There’s so much color, so much energy, so much personality displayed in just a single letter. With the addition of the Mega Paint Streak asset pack I created a few weeks back, Pawel’s work came rushing back to mind, as it paired similar textures with my most favorite element of design: typography. In this week’s tutorial, I share how I would create a similar type of paint streak typography using Photoshop. Once created, we’ll add shadows + highlights to finish it off with some extra dimension. You’ll be able to use the artwork you create to either gift, sell as a customized art print, wallpaper your desktop, or keep it for yourself + display it on your own wall! Not too shabby for ~15 minutes! Let’s get started!

It’s that time of the year when there are a bunch of events to celebrate: graduations, weddings and anniversaries from weddings before. Confetti is obviously a must have, real and digital. 🙂 That’s why we’re creating our own digital custom confetti brush in Photoshop in this week’s video tutorial! We’ll create the shape of our confetti, adjust color at the slide of a knob, and even control how much it scatters in a few quick and easy steps. Prepare to start confetti-tizing all of your digital celebration themed work from here on out 🙂 Let’s get started!

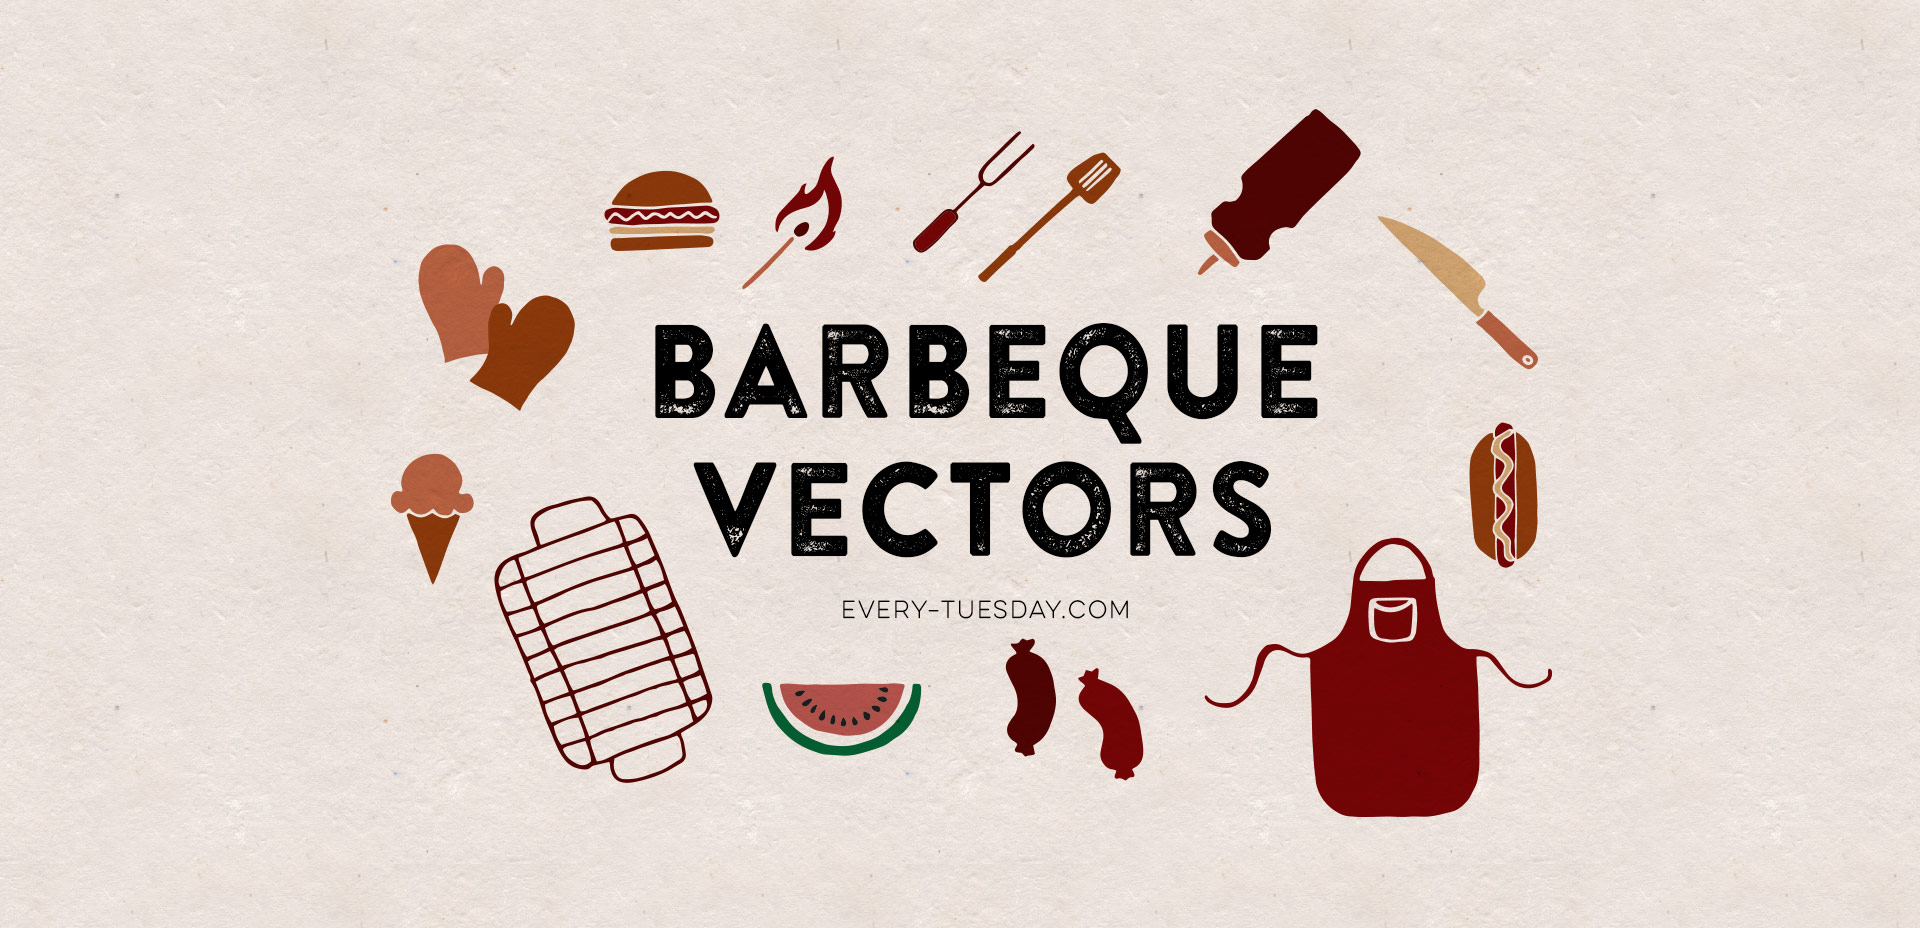
If you’re throwing a BBQ or are in need of some summer get-together themed vector elements, this week’s freebie is a set of hand drawn BBQ vectors! Slap them on your homemade sauce and marinades, create some party coasters, rubber stamp them on napkins, or stick them in your facebook BBQ party invite. Whatever you use them for, you’ll be able to ring in summer better than all of your friends. 🙂 Read on for the free download link!

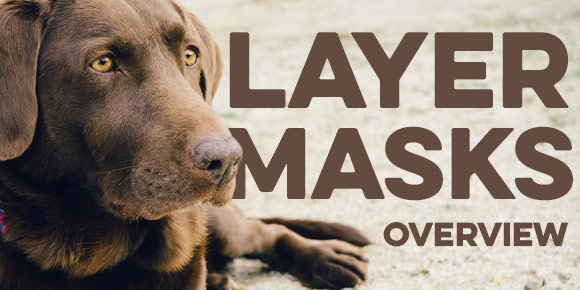
Hope you’re having a great week! I had a rough start to mine, but it’s finally coming around – almost Friday! Anyway, today we’re talking about a sometimes confusing subject: photoshop layer masks. I realize it’s not the sexiest topic ever, but I can’t stress enough how important it is to understand and use them. I was actually so scared of layer masks that I went through my entire 4 year degree avoiding them. I cringe thinking about all the extra work I made for myself in my college days. I’m still not sure what sounded so scary about them, but I’m so glad I got over my layer mask-ophobia because I’ve been empowered to create and edit images and artwork quickly and non destructively in photoshop ever since. Here’s a quick, everything-you-need-to-know-to-avoid-confusion overview 🙂

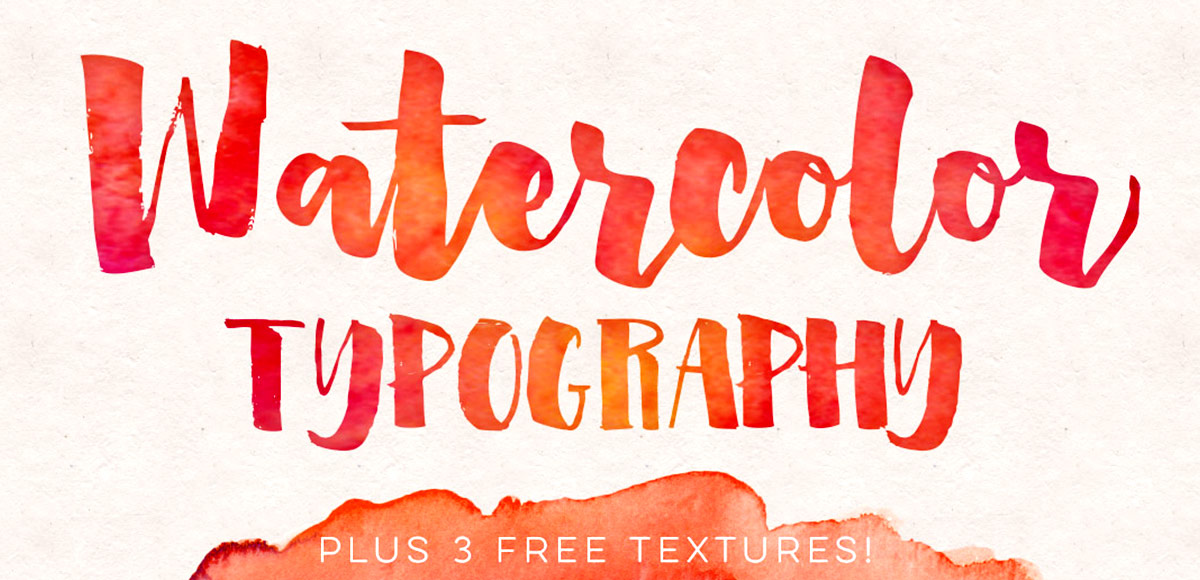
It’s hard not to see watercolor textures everywhere these days! And it makes sense why – they’re beautiful and add such a personal, handmade touch to anything they’re on. That’s why in this week’s tutorial, I’m pairing them with my favorite thing – typography. The same rules apply if you’d like to add watercolor textures to hand lettering, too for an even greater handmade look. As a bonus, I’m including 3 free high res watercolor textures so you can play around with your own type or hand lettering. Let’s get started!

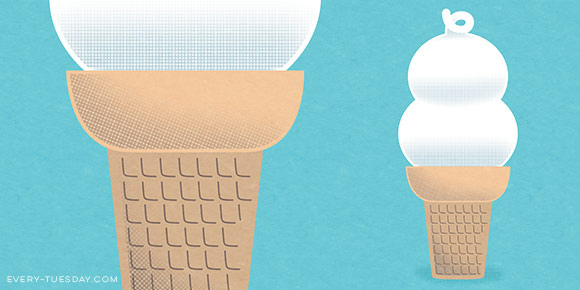
The other week on every-tuesday’s facebook page, Valarie asked how to replicate the texture seen on this ice cream cone. This week, I’m here to deliver the answer! In this tutorial, we’ll create our own halftone texture, then apply it to a similar ice cream cone to replicate the same effect. As a bonus, I’m including the ice cream cone used in the tutorial as a psd file for free so you can follow along exactly if you’d like. Click read more for the download and to see how it’s all done!

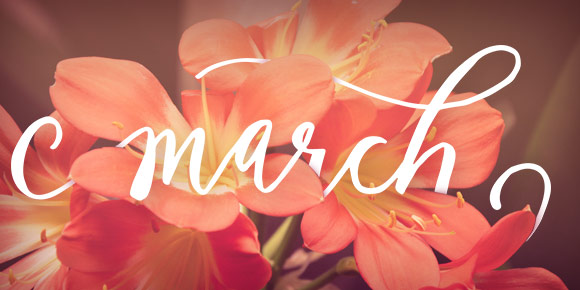
There are a lot of tutorials out there on how to create hand lettering, but far fewer on what you can do once you create your lettering. In this week’s tutorial, we’ll create a hand lettered photo composition using just photoshop. We’ll start with placing and coloring our lettering on a chosen photo, then go over the basics of masking and applying environmental shadows to give the final piece a polished look. As a bonus, I’m including the lettering used in the tutorial so you can follow along exactly if you’d like. Let’s get started!

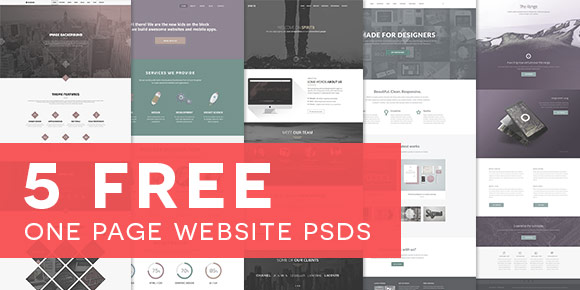
One page websites have gotten really popular these days! When I got hired at my current job, I split my time between design + working production for the first year. During that time, I looked at a lot of designers’ files and it taught me sooo much. My point to saying this is – even if you’re not looking to code up a psd, just download one or two of these 5 free one page website psds and check them out. Digging into even one file could inspire and even help with learning how to design your own.

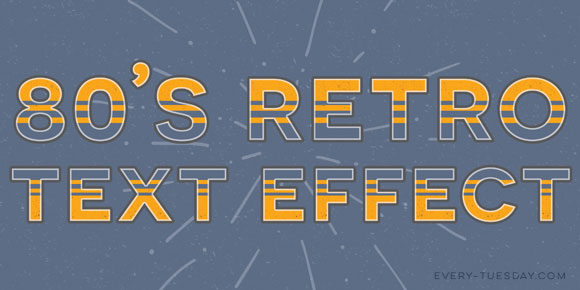
Happy Tuesday! In this week’s tutorial, we’ll create a retro text effect in Adobe Photoshop from scratch, inspired by the 80’s. I’m also giving away the exact style we create as an .asl file (layer style file) and in the tutorial I’ll show you how to save your own layer style and install it so you can have the exact settings that were mentioned. So it’s a 2 for one this week! Tutorial + freebie 🙂

GDPR Icon

Your Privacy Matters

We use cookies to customize and create content that’s most important to you. We’ll never share the info we collect.

View Privacy Policy