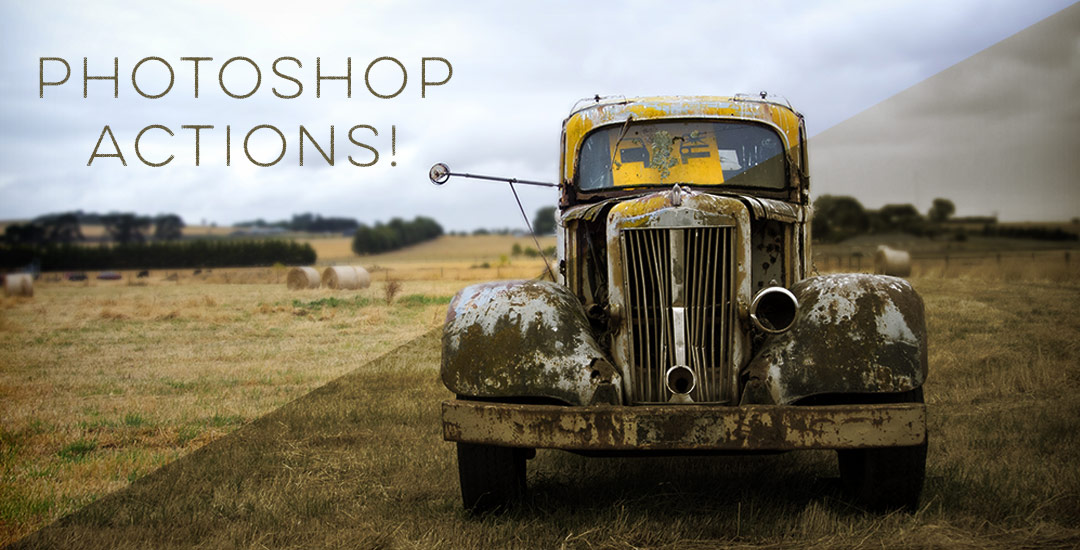
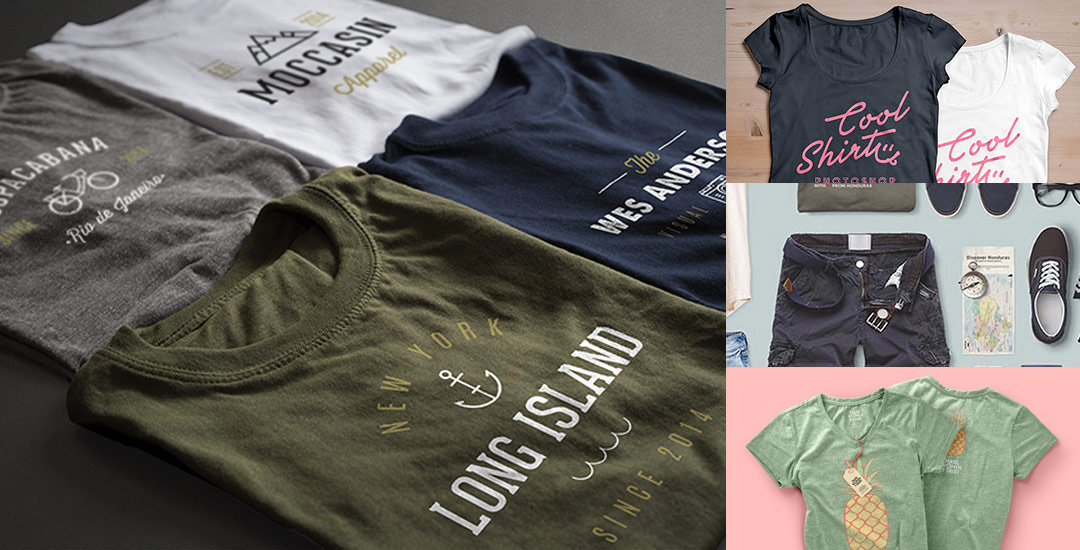
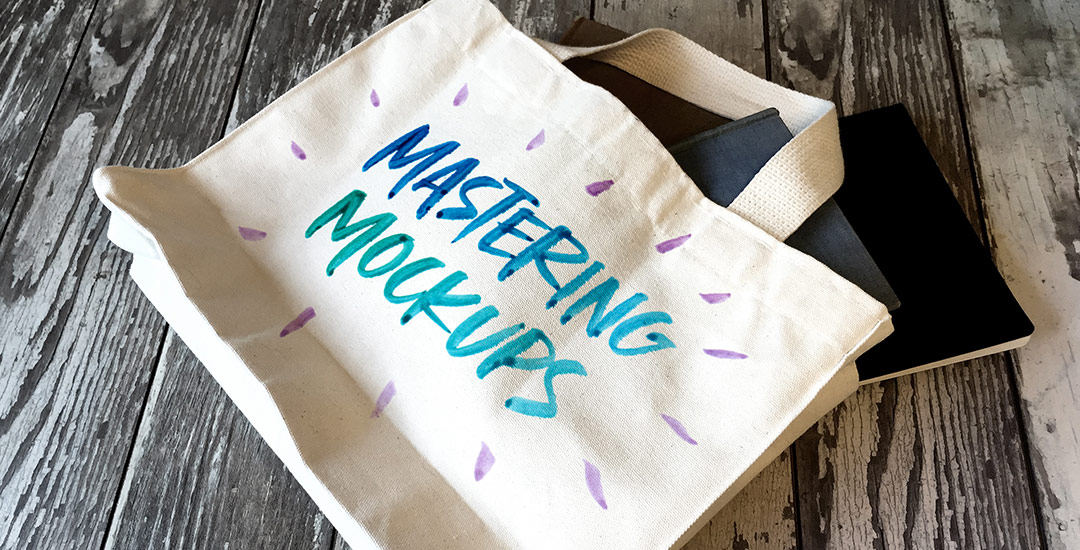
HomePosts Tagged "photoshop" (Page 2)

photoshop Tag

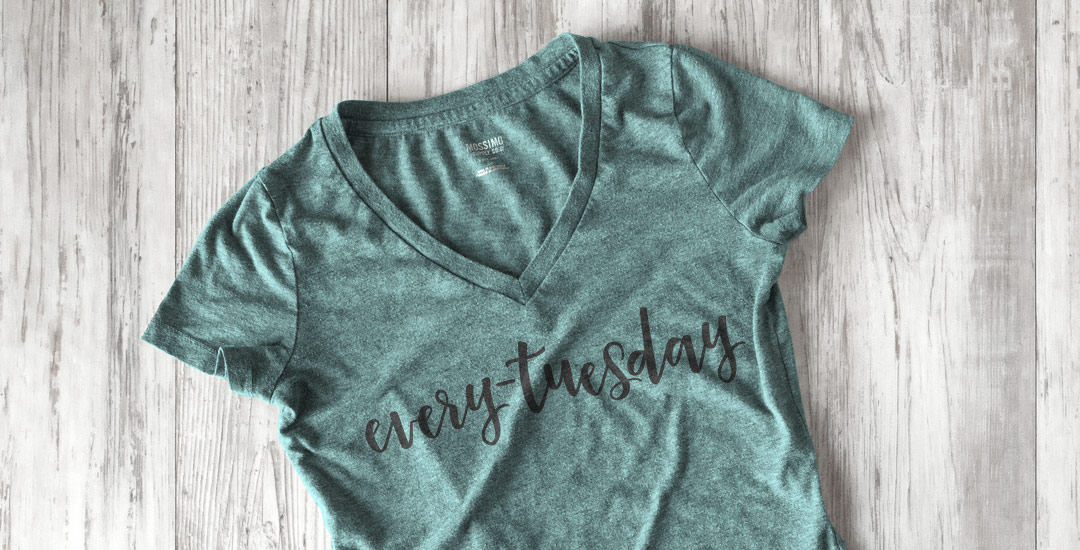
Happy Tuesday! I’m so excited I get to bring my newest online class to you this week, Mastering Mockups! In the class, we take original artwork, apply a little photoshop trickery, and put that artwork on products which look convincingly real. This is the perfect sales tool if you’re a seller on Etsy and need better product photography, if you’re a freelancer who wants to impress and convince your client to approve the artwork you created for them, or if you’d like to level up your design portfolio making fictitious projects come to life. You can also use the class’s techniques to create social media posts, blog images, digital product sales pages and more. Your enrollment in the class gets you all 4 base photos used in the class for free. With those photos, you’ll be able to follow along, completing every step as we go 😉

Keeping with tradition, I’m sharing the class trailer today, along with a bonus lesson from the class. In this lesson, we’ll create a single use, social media mockup. Are you ready to mock?! Everything below!

I’ve had a few requests on how to replicate the look of the incredible artwork by Eiko Ojala and I’m so excited to share my interpretation of it this week. This week’s tutorial is a little more advanced, but I have tutorials for every part I speed through and I’ve linked to all of them under the video if you’d like a more thorough explanation. This technique can be used for so many cool applications – logos, greeting cards, branding, web graphics, etc. We’ll start out in Illustrator creating our organic shapes and finish everything up in Photoshop, adding in shadows and textures to complete the layered letter look. See how it all comes together below!

In my Intro to iPad Lettering class, we went through the entire library of brushes Procreate offers (which is amazing) and we also went over how to alter those same default brushes. If you’re looking for something less standard and more custom, Procreate allows you to create your own brushes from scratch, too! I love thinking up a doodle or a texture I haven’t seen in their library and being able to start using my own right away. In this week’s tutorial, I’ll share my full process on how to create custom Procreate brushes from scratch using Photoshop to perfect the design or texture and Procreate to apply brush settings. All the details below!

To finish up Photoshop month, this week I wanted to share one of my favorite ways to work with watercolors in Photoshop – turning them into seamless texture patterns! If you’ve taken my Watercolor Textures for Graphic Design class over on Skillshare, this week’s tutorial will be a refresher for you, but I’m also sharing how to take the pattern you create and convert it into an Illustrator pattern swatch (check out around 8:20 for that), so there’s something new for everyone 🙂 My newest watercolor texture kit (vol. 3) just went live today, so I’m excited to share textures from the new kit throughout the video – these are my most detailed and colorful ones to date! Click below to get yo’ pattern on!

One of my favorite time saving tools when using Photoshop is Photoshop actions. I have used these for batch photo and file delivery to clients in a professional setting, and batch editing when putting together photos for family. Whenever you need to apply (the same) multiple settings to many files or photos at once, you create an action, then just run it for all of the others and you’re done in no time 🙂 It’s basically the closest thing to magic I’ve seen Photoshop do. In this week’s tutorial, we take 3 photos (this one, this one, and this one) and create a unique action for them that sets all of their widths to 1000px and also applies a sepia tone effect to the photos. We apply everything we need to one photo, then hit a single button to apply the same exact multiple steps to the others. It’s cool. You should definitely check out the video below to see!

In this past Tuesday’s tutorial, we walked through how quick and easy it is to create your own tshirt mockup in Photoshop. Sometimes time can get pretty short, though, and if you’re in a pinch for a nice mockup, luckily there are a bunch of apparel mockup resources peppered into the internet 🙂 This week I’m sharing a roundup of 5 free apparel mockups – (yep, free!) so you can get your mockup on in no time. Extra bonus: many of these sites have plenty of other kinds of mockups, too! Links and preview images below! 👇

One of the most common types of Photoshop mockups is apparel mockups – most specifically, tshirts. And it makes sense – there are plenty of cool tshirt companies out there who need to quickly show their designs off in a consistent fashion, and photographing each shirt when there are dozens can be very time consuming. Enter the tshirt mockup – one photoshop file that allows you to change the design of the tshirt in just a couple of quick clicks. Setting up the file is actually much simpler than you might think, and in this week’s tutorial, we set one up, step by step in just a few minutes. See the full method of creating your own Photoshop tshirt mockup below!

It’s been far too long since I created a freebie outside of the monthly desktop wallpapers, so today that is changing! If you checked out Tuesday’s tutorial, we went over all of the settings to create any custom Photoshop brush you’d like. Today’s freebie puts those settings into practice and includes 2 dynamic Phototshop brushes for you to use at will, on anything you’d like. If you have a Wacom tablet, pressure settings for size variation are already built into each brush 🙂 If you don’t have a Wacom, no sweat – the size will vary randomly instead of based on pressure. Install instructions are also included so you can begin using both brushes right away (use with Photoshop, CS3 or newer). Preview images and download link below!

Creating custom brushes in Photoshop is one of my favorite things to do! I love using them for lettering (paired with a wacom tablet), extra decorative elements or just to add a little bit of unique style to whatever I’m making. What’s even better is that they are really quick and easy to make and Photoshop offers a ton of settings to truly make them original. If you’ve checked out my Intro to Photoshop class, you could easily integrate a custom brush to really make your layout special!

In this week’s tutorial, I’ll walk you through what all of those settings do and we’ll create a custom brush in Photoshop together. At the end of the tutorial, you’ll have everything you need to start creating and using your own brand spankin’ new brushes 🙂 Everything is below!

I’m so excited to announce that my newest class, Intro to Photoshop in partnership with Brit + Co, is officially available! If you’ve ever wanted to learn Photoshop but felt intimidated, weren’t sure where to start, or just couldn’t find a class that taught more than the interface, this class was made just for you 🙂

We cover all of the basics to give you the confidence to begin editing and enhancing photos on your own, and if you’d like to incorporate some design elements, we go over that, too. This is an online class that you can watch at your own pace (stop, pause, play) whenever it’s convenient for you. We go step by step to create this instagram post together (or use for any purpose you’d like!) in quick and easy, digestible steps.. steps that you’ll be able to repeat on your own for any project of yours in the future.

Welcome to Photoshop month! Because Photoshop plays such a large role in taking my designs further, this month I’m sharing some of the tools and tricks I use all the time in Photoshop. This month is specifically in celebration of my new Intro to Photoshop class with Brit + Co which launches tomorrow (today’s the last day to sign up and get 15% off using this link!). In the class, we create this outcome, which uses watercolor textures and lettering, so today I wanted to share some quick tips on adjusting watercolor textures for your specific needs.

I’ve been asked quite a bit lately how to change any watercolor texture to a specific color, so I think this tutorial was meant to be! Say you want to incorporate a custom watercolor texture into your branding – you love the texture, but it’s not the right color for your brand. Or, you just want it to be something else. In this week’s video, I walk you through three methods using Photoshop: changing all of the colors within the watercolor to something different, changing the entire watercolor into one specific color (which is great for branding), and changing just a portion of the watercolor to a different, specific color. All the tips in the video below!

GDPR Icon

Your Privacy Matters

We use cookies to customize and create content that’s most important to you. We’ll never share the info we collect.

View Privacy Policy