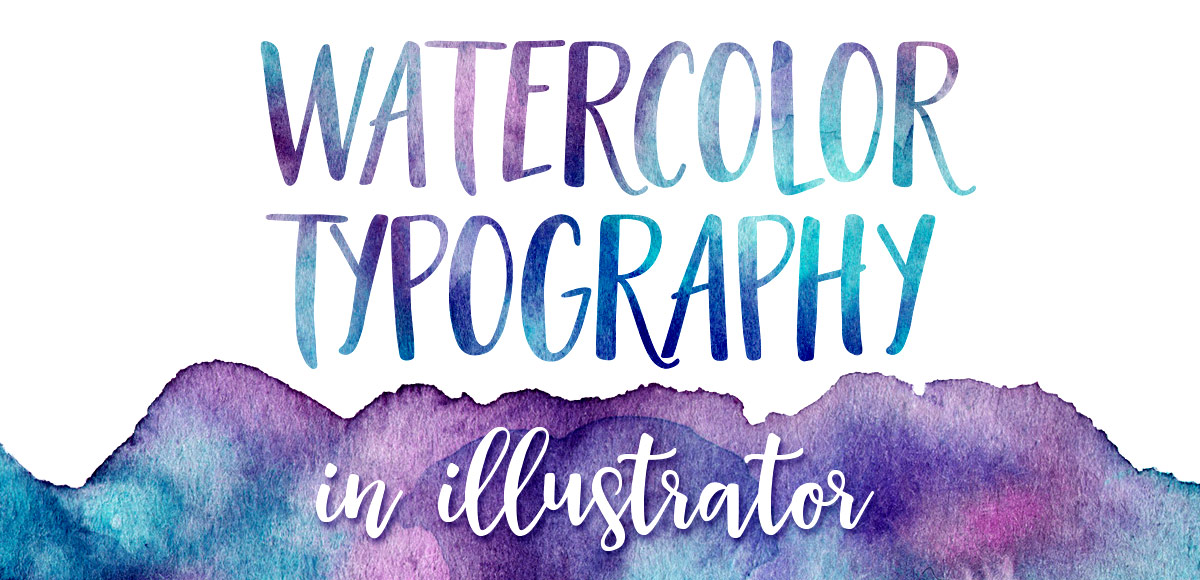
HomePosts Tagged "textures" (Page 4)

textures Tag

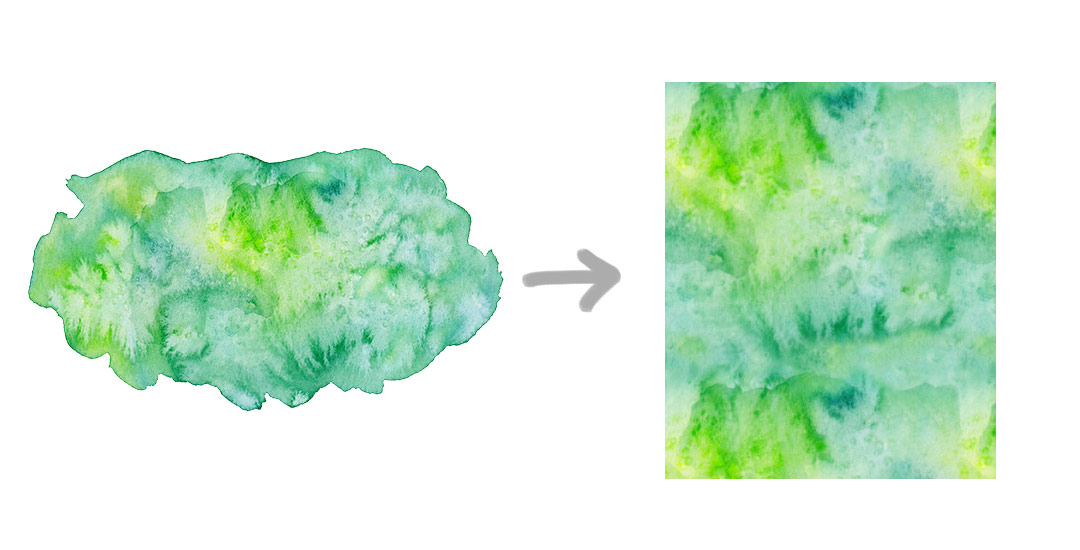
There’s no doubt you’ve encountered it before: typography with a watercolor texture built in. A while back, I shared how to replicate this cool effect in Photoshop. Today, I want to share how easy it is to create watercolor typography in Illustrator using 3 different methods. If you saw last week’s tutorial, then you’ve already gotten a peek at one of them. 😉 But! If you don’t have a seamless watercolor pattern on hand, it’s still cake to create the same effect. I’ll even help you out by giving you a free texture from Watercolor Texture Kit Vol. 3 so you can follow along and start experimenting asap! Read on for everything you need to know to get started!

I’ve been creating more patterns in the last year than I ever have before. Patterns are such a wonderful tool to add personality quickly to designs without a ton of effort, or overthinking. One of the best parts: they can be added to backgrounds, text and design elements with just a click of a button in both Photoshop and Illustrator. Say you have a Photoshop pattern, maybe a watercolor texture pattern, like we created in this tutorial. If you’d like to use it as a pattern swatch in Illustrator, how do you convert that Photoshop pattern file? In this tutorial, we go step by step on how to convert any Photoshop pattern into an Illustrator pattern swatch in a few quick steps. Read on for everything you need to know!

It’s been a little while since I shared a freebie texture, so today I’m sharing some ink textures! I started using these rolled ink textures in my artwork a while ago, the most recent example being this one to show off Tuesday Script. I’ve even masked these into typography using the same method as watercolor typography for some really nice textured type results. If nothing else, they are sooooo fun to play around with and add that little extra handmade feel to any kind of artwork. The best part? Every texture comes as a vector ai file for versions of Illustrator, CS3 or newer PLUS every texture comes as a transparent png, so it’s cake to use with any other kind of software 😉 Preview images + download link below!

To finish up Photoshop month, this week I wanted to share one of my favorite ways to work with watercolors in Photoshop – turning them into seamless texture patterns! If you’ve taken my Watercolor Textures for Graphic Design class over on Skillshare, this week’s tutorial will be a refresher for you, but I’m also sharing how to take the pattern you create and convert it into an Illustrator pattern swatch (check out around 8:20 for that), so there’s something new for everyone 🙂 My newest watercolor texture kit (vol. 3) just went live today, so I’m excited to share textures from the new kit throughout the video – these are my most detailed and colorful ones to date! Click below to get yo’ pattern on!

I’m so excited to announce that my newest class, Intro to Photoshop in partnership with Brit + Co, is officially available! If you’ve ever wanted to learn Photoshop but felt intimidated, weren’t sure where to start, or just couldn’t find a class that taught more than the interface, this class was made just for you 🙂

We cover all of the basics to give you the confidence to begin editing and enhancing photos on your own, and if you’d like to incorporate some design elements, we go over that, too. This is an online class that you can watch at your own pace (stop, pause, play) whenever it’s convenient for you. We go step by step to create this instagram post together (or use for any purpose you’d like!) in quick and easy, digestible steps.. steps that you’ll be able to repeat on your own for any project of yours in the future.

Welcome to Photoshop month! Because Photoshop plays such a large role in taking my designs further, this month I’m sharing some of the tools and tricks I use all the time in Photoshop. This month is specifically in celebration of my new Intro to Photoshop class with Brit + Co which launches tomorrow (today’s the last day to sign up and get 15% off using this link!). In the class, we create this outcome, which uses watercolor textures and lettering, so today I wanted to share some quick tips on adjusting watercolor textures for your specific needs.

I’ve been asked quite a bit lately how to change any watercolor texture to a specific color, so I think this tutorial was meant to be! Say you want to incorporate a custom watercolor texture into your branding – you love the texture, but it’s not the right color for your brand. Or, you just want it to be something else. In this week’s video, I walk you through three methods using Photoshop: changing all of the colors within the watercolor to something different, changing the entire watercolor into one specific color (which is great for branding), and changing just a portion of the watercolor to a different, specific color. All the tips in the video below!

My newest Skillshare class, Watercolor Textures for Graphic Design, went live on Monday, and I’m so excited to share that nearly 1,000 wonderful creatives have already enrolled in the class! Creating watercolor textures from scratch – the act of sitting with a brush in hand, swirling colors together in unique ways – is one of my favorite times to relax and kind of let the art be made without thinking too hard. It’s definitely easy to lose track of time once you get started, but also awesome to then have so many cool new textures to work with. If you’re ever short on ideas on how you can start using those newly created textures, today I’m rounding up a bunch of inspiration with ways to start applying your watercolor textures in graphic design. Read on to see them all!

Happy Tuesday! This week I’m excited to announce my newest Skillshare class, Watercolor Textures for Graphic Design. If you’ve ever wondered how watercolor textures like this and this are created, color enhanced and removed from their backgrounds, this class covers it all! We even finish the class creating seamless, repeatable watercolor texture patterns you’ll be able to apply to any of your Photoshop designs in just a couple of clicks 🙂 As a special gift to blog readers and youtube subscribers, this week I’m sharing the class trailer, as well as one of the videos from the class you wouldn’t otherwise get to see without enrolling. If you’ve never tried Skillshare before, you can watch the full class for free (and any other Skillshare classes for an entire month) using this link. Hope to see you in the class!

My brand new Skillshare class, Metallic Magic, just launched! I’m so excited to share the Photoshop tricks I learned when creating the Glitz + Glam Kit. In the class, I take you step by step, providing all of the color builds and settings you need to create your own digital foil from scratch in Photoshop. The class finishes up with us applying the foil textures we create to social media posts for quick sharing in any network you choose. By enrolling in the class, you’ll receive a free social media sizes cheat sheet, resources pdf and special glitter file ✨ If you’ve never tried Skillshare before, you can enroll in the class for free by using this link! In celebration of the class launch, I wanted to share the class trailer today so you can see everything you’ll be able to make after you take the class!

Today is a big Tuesday! I just went live with my newest kit, Glitz + Glam, Digital Hot Foil and Glitter Textures, AND I’m giving one of those textures away for free in this post! I’ve gotten a few questions on how I apply gold textures to some of my Instagram images, so with the release of the kit, the free texture, and the holidays coming up, I wanted to share how to create hot foil typography using Photoshop and Illustrator this week. This week’s freebie comes as a seamless pattern file, high res tileable jpg and layer style. Read on for the freebie, tutorial, and more info on the kit!

GDPR Icon

Your Privacy Matters

We use cookies to customize and create content that’s most important to you. We’ll never share the info we collect.

View Privacy Policy