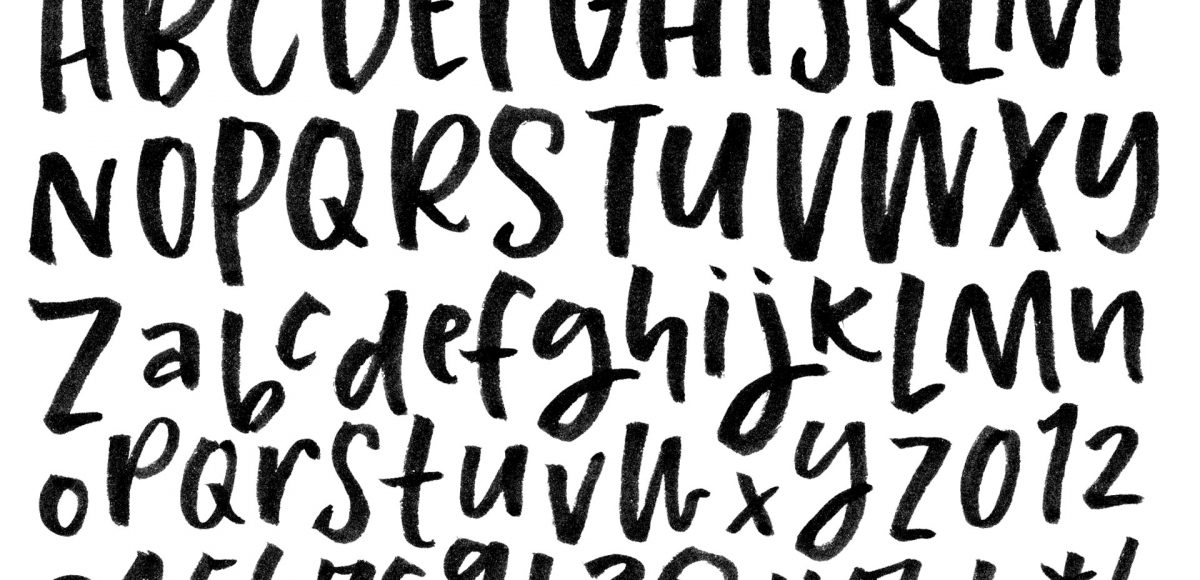
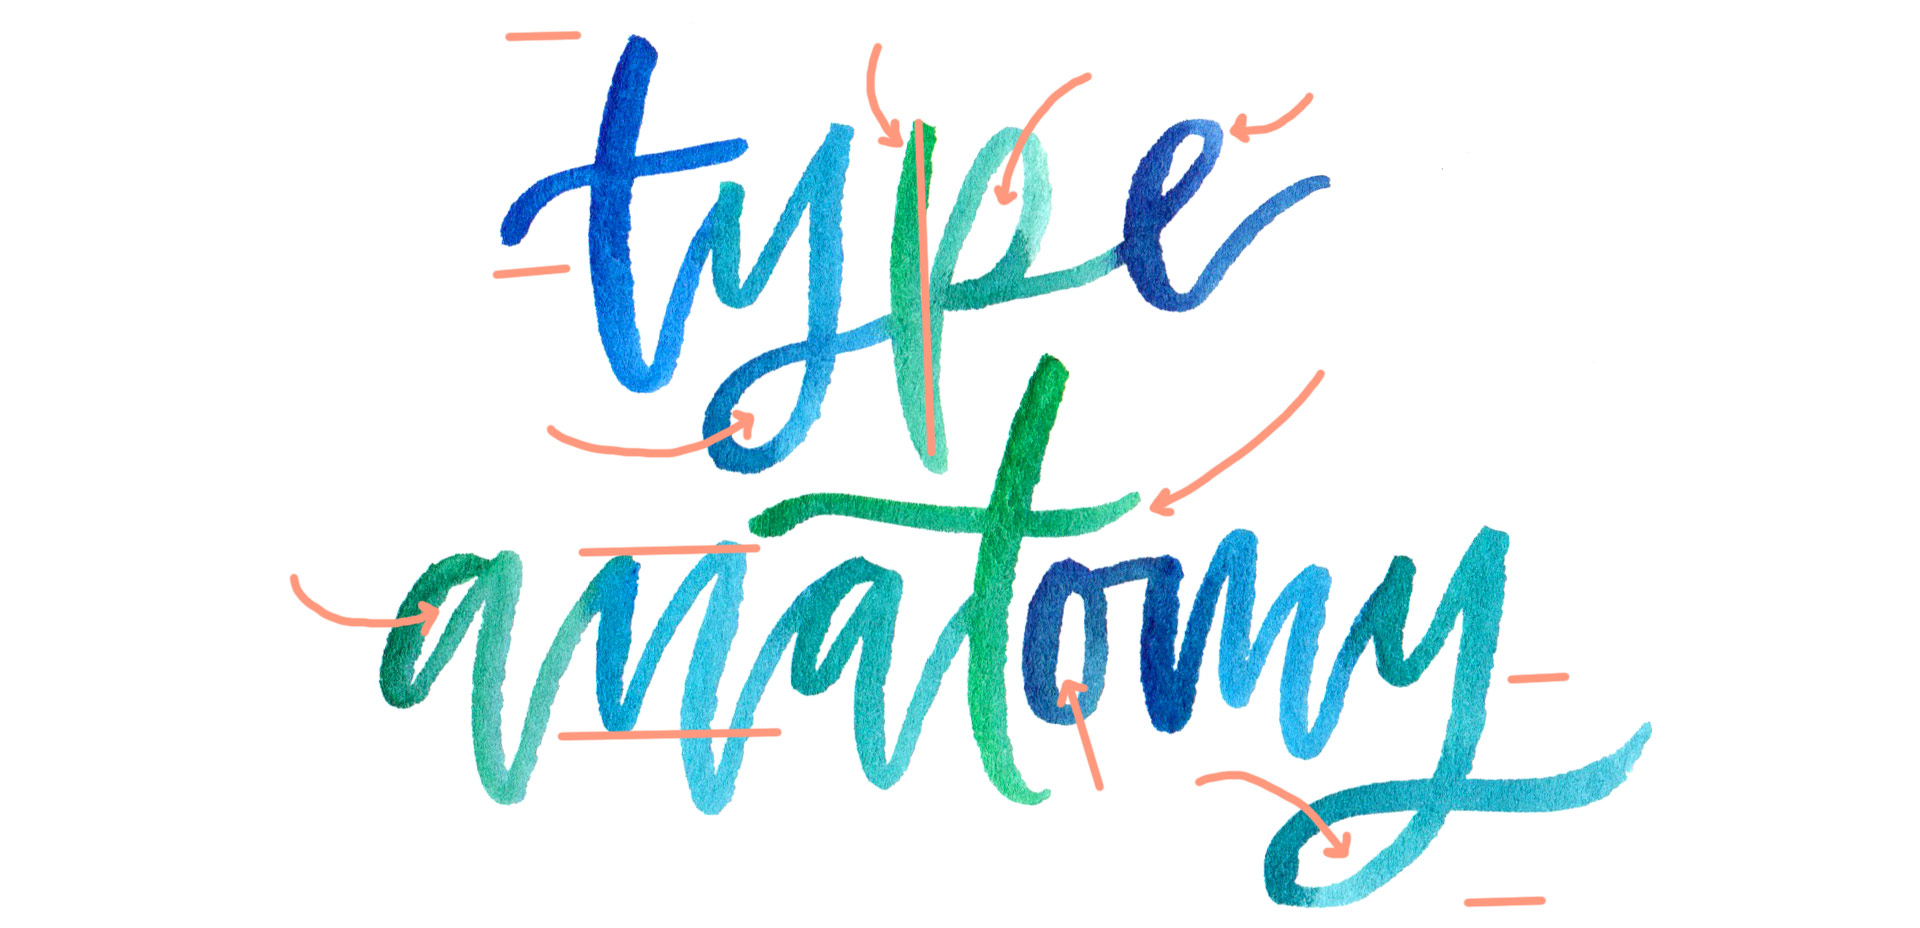
HomePosts Tagged "writing" (Page 2)

writing Tag

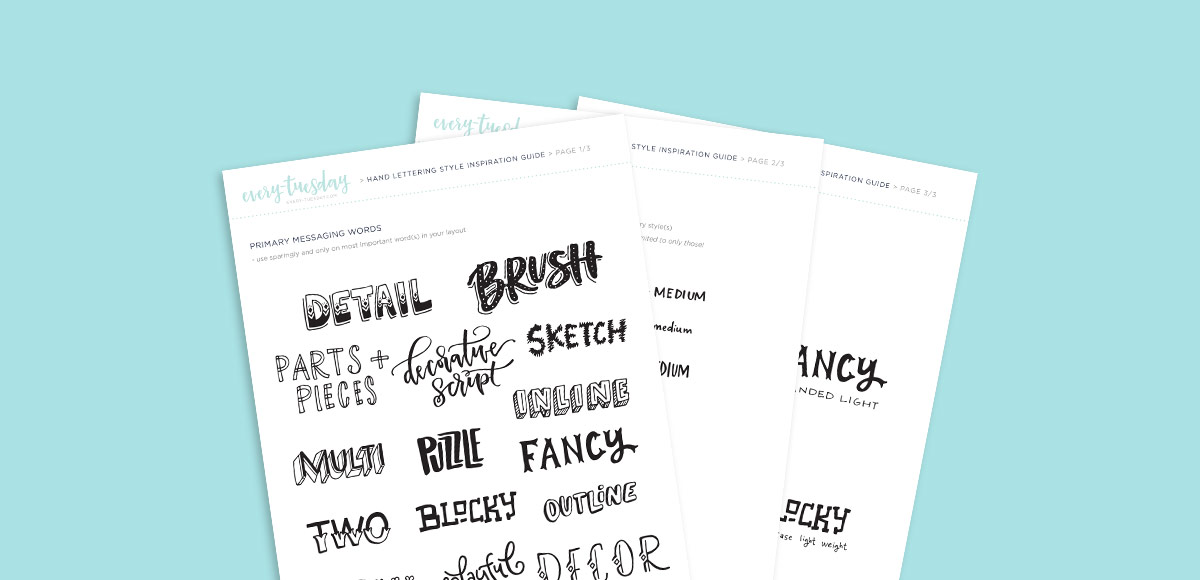
In my online course, Lettering Layouts, we talk about how to pair different styles of lettering and creates beautiful, impactful messages with them. Sometimes it can be tough just coming up with some different lettering ideas, though! To make things a little easier, this week I’m sharing 10 super easy hand lettering enhancements anyone can do. We’ll slowly increase in complexity as we go along, but you’ll see quickly how easy they are to apply. I’ve also included a free pdf of everything we covered below 😉 All you need is a pen and/or pencil and some paper, so let’s get lettering!

It’s the last Thursday in August, which means it’s time for your free September 2017 desktop wallpapers! I’ve been experimenting with freehand brush lettering quite a bit lately (check out some examples on my instagram), so I thought it would be fun to bring that into a wallpaper. I’ve never created a wallpaper like this before, or fully black and white, so it felt good to change things up a little 🙂 The lettering was created using this no.0 round Winsor & Newton Cotman brush with this slightly diluted Dr. Ph. Martin’s black concentrated watercolor (3-4 drops of water per drop of watercolor) on copy paper. It was scanned in, with contrast enhanced in photoshop and a watercolor paper texture added to the background. All days of the week (R is for Thursday to avoid two same sized T’s) and numbers were typeset using the caps style of my font, Espresso Roast.

The download includes the wallpapers in two common resolutions: 1280x1024px and 1920x1080px, with and without dates. I’ve left the year off of the ‘no-dates’ versions, so you can use it for any September in the future, too!

Ever dreamed of creating your own hand lettered font? Actually typing with *your* letterforms? I promise there are fewer better feelings when it comes to loving lettering than that 😉 But where do you even begin? How do you create those initial letters so you can convert them into a font? While the topic of how to prepare your lettering for font making is covered extensively in my course, Learn Font Making, I wanted to share a bit of my process in this week’s tutorial. In this video, we’ll talk about how to prepare lettering traditionally (writing utensil + paper) so you get all the characters you need for your font. If you’d prefer to prepare lettering on an iPad instead, that’s covered specifically inside the course. For now, read on for the traditional method!

Almost two years ago, I created some freelance lettering for a ‘spicy’ greeting card company called Get Feisty. One of the styles requested was what I call wave lettering, or lettering that looked like waves from far away. I hadn’t lettered in that layout style before, but it was a fun challenge figuring out my process for it. After a few (or 20+) tries, I had a solid process and it has become one of my favorite layout styles. In this week’s video, I’m sharing the exact process I use to create wave lettering. Read on for the simple materials and full video below!

One of my favorite parts about this year was experimenting with more art supplies than I ever have before. I definitely didn’t love everything I tried, but I do have a list of favorite art supplies from 2016. I thought it would be nice to compile them this week into one nice, review-like list. If you’re looking to try some new ones in 2017, I hope this will help with the decision making. Reading actual (unbiased) user reviews is always so helpful for me, so that’s exactly what I wanted to offer. See the full list below!

Three years ago this week, before I ever thought a full time design blogger was something I’d be, I published my first blog post on Every-Tuesday. The post was a halloween character free vector set and it wasn’t in my style at all. I’m also far from an Illustrator, but I decided I was going to blog consistently and it was almost Halloween, so why not. Let’s put up some Halloween vectors – there’s a way to start a blog. That’s actually kind of funny.

I’m certainly not proud of that particular post, but I’m proud that I started, regardless of not being quite sure where I was going to go with my concept of consistent Tuesdays. Here’s a little background on why that post and this blog began in the first place, along with 3 very unexpected truths that I’ve learned by being a full time design blogger.

With the launch week of Brush Lettering with Watercolor coming to a close, I thought it would be fun to tie colorful letters into a quick tip design tutorial. And what better way to talk about type anatomy than getting colorful with it? 🙂 This is actually kind of perfect for hand letterers and graphic designers alike. For hand letterers, an intimate understanding of letterforms is essential, keeping qualities consistent for balanced, harmonious styles. For graphic designers, understanding style pairings and their character traits creates more strategic, thoughtful designs.

Over my (almost) 10 year career as a graphic designer, there’s definitely a short list of type characteristics that serve as an excellent base if you’re just starting. In this week’s video, I walk you through those base type anatomy qualities, with full descriptions throughout the video. Download the free cheat sheet below to reference later!

I am truly so flattered by the response to Lettering Layouts this week (it’s the #1 trending class on Skillshare as I type this!). I have loved, LOVED seeing everyone’s experiments they’ve shared either by tagging me on instagram or posting in the class. So much talent! To say a giant thank you, I wanted to share a little something extra to inspire any new layouts you may have up your sleeves: a hand lettering style inspiration guide!

I wanted to change things up a little this week and go super down to basics. The truth is, when it comes to learning, a lot of the times, I’m most inspired by just *watching* the thing happen. Seeing it take place, someone else’s process without all the nitty gritty little details along the way – just the ‘have-to-knows’ first. Maybe you’re like that too. On the chance you are when it comes to lettering, this week I want to go super simple and just share how I would do a basic lettered quote/phrase on the iPad – what I think about as I’m writing, what I’m paying attention to, and what I do to change course when maybe things aren’t going exactly how I like them. If this is something you’d like to see more of, let me know! I want to provide all I can on clearing up anything that might be holding you back 🙂 Full process below – and if you want to go further after this, my Intro to iPad Lettering course is located here. Let’s go!

I experiment with new materials and supplies constantly for my (traditional) hand lettering. I would actually be scared to know how much time I’ve spent eyeing different hand lettering supplies (and reading their reviews) over on Amazon. I’ve invested in a lot of new ones this year and currently I have 5 favorites that I find myself always returning to and reordering. If you’re just starting out with lettering, or if you’re on the hunt for some new supplies but would like to read a real (almost every day) user review, here are my current top 5 favorite hand lettering supplies (totally unbiased, with no affiliation to any of em) 🙂

I am beyond thrilled to introduce my newest font today, Hawthorne Script! A lot of love and many, manyyyy hours went into this baby and I couldn’t be happier with how it came out. I packed more into this font than any other before it so you can take it much further than a typical, standard font.

Along with the regular style, a second style is included that contains a full alternate lowercase – just highlight any regular letter and switch it to the ‘alternates’ style to create words that look even more original and handmade! 10 bonus swashes are included (5 left side, 5 right side) as well as 9 standard ligatures. I enjoyed creating this font so much that the language compatibility is a little off the charts: English, German, Dutch, Italian, French, Portuguese, Spanish, Turkish, Polish, Hungarian, Croatian, Czech, Slovak, Slovenian, Bosnian, Albanian, Estonian, Catalan, Danish, Faroese, Finnish, Icelandic and Norwegian. Phew.

Font previewer below so you can take it for a spin, as well as some additional preview images!

In my newest Skillshare class, Intro to iPad Lettering, we start lettering on the iPad using some guide sheets to get comfortable writing on a tablet vs. paper. If you’re on your way to iPad lettering, guide sheets are wonderful tools. Practicing on paper before making the leap allows a more seamless transition when you’re ready. To help the transition along, this week’s freebie is a set of printable hand lettering guide sheets to improve consistency with uniform letters.

GDPR Icon

Your Privacy Matters

We use cookies to customize and create content that’s most important to you. We’ll never share the info we collect.

View Privacy Policy