HomePosts Tagged "printing"

printing Tag

This is one of those questions that has a lot of variables, so I’m sharing my process specifically this week. The main variables include what kind of monitor you have, what kind of printer you’re using and what type of paper you’re printing on. There are SO many different combinations of those three items that it’s difficult to say, ‘do this and you’re set!’ I’ll break down everything to keep in mind, though, and share my best tips for how to print artwork from Procreate. Read on to see all my tips!

I was surprised to receive a number of emails lately asking which home inkjet printers I recommend. After using different printers at all of the jobs I’ve held, plus using my own home printers (which I used for a stationery biz I once had – story for another time), there are two that have always stood out for me. Both are listed below with specific reasons why they’re my favorites, along with my favorite paper to use with them!

Last week, we created a realistic foil stamp effect using only illustrator and a seamless foil texture. This week, we’re borrowing some of the same tips, but simplifying. If you don’t have a texture on hand, but still want to add an element of cool, a letterpress effect is a great option. The letterpress effect simulates the impression a polymer plate makes on paper when it’s pressed into it. Letterpress has become increasingly popular over the last 5 years, but fun fact: letterpressing was never meant to be a final print effect. Letterpressing first began as a ‘test’ print before metal plates were developed which create stronger, deeper (and more expensive) impressions. In this week’s tutorial, adjust the settings for however strong of an impression you’d like as we create a letterpress effect entirely in Illustrator.

It’s been a little while since I shared a freebie texture, so today I’m sharing some ink textures! I started using these rolled ink textures in my artwork a while ago, the most recent example being this one to show off Tuesday Script. I’ve even masked these into typography using the same method as watercolor typography for some really nice textured type results. If nothing else, they are sooooo fun to play around with and add that little extra handmade feel to any kind of artwork. The best part? Every texture comes as a vector ai file for versions of Illustrator, CS3 or newer PLUS every texture comes as a transparent png, so it’s cake to use with any other kind of software 😉 Preview images + download link below!

I’ve been asked quite a few times recently how to take one layout and have multiples of it on a single page when printing. In other words, if you have an invitation that’s 4″ wide by 6″ tall, you’d want to fit two of them on an A4 or 8.5″x11″ sheet of paper instead of just one. This is an especially great idea for anyone who sells digital printables through etsy, or delivers digital printables to clients which are editable/customizable in Adobe Reader, like in this tutorial I created awhile back. If you’ve ever wondered what the quickest way of doing this in Illustrator is (with trim marks included so you get the exact size you need), here’s the answer 🙂

Happy Thursday! So, today I’m doing something a little different..a written craft tutorial 🙂 I created a Happy Birthday block print a few months back to save a little dough on birthday cards this year (plus, who doesn’t love a hand made card better anyway?!), and I took process photos as I carved. I came across the process shots the other night and thought they’d be fun to share. Lucky timing too, if anyone wants to block print some holiday cards this year (wink, wink). The process is super simple and the final outcome has such a crafty, love-injected feel that just looking through the photos again makes me want to break out my carving tools 🙂 Photos, instructions + links to the products used all listed below!

Happy Tuesday! This week’s tutorial comes courtesy of Jodie who asked a great DIY question I think will help a lot of people. Personal business card printing can get pricey pretty quickly if you’re looking for anything better than a paper thin glossy card (ick). I’ve DIY’d every personal business card I’ve ever made. Yup. And you know what? Even fancy shmancy design studios loved em. So say you’ve designed up a killer card design in Illustrator and don’t want to be wasteful with your paper. Say you also have a back of the card designed that you need to match up to the front when you print on your home printer. What’s the best way to make the most of your paper and have things work out perfectly front to back? In this week’s tutorial, I share how to bulk print DIY business cards using Illustrator to print 8 cards, front and back using one sheet of 8.5″x11″ paper. You can also use the same method in InDesign if you’d prefer using that instead. Let’s go!

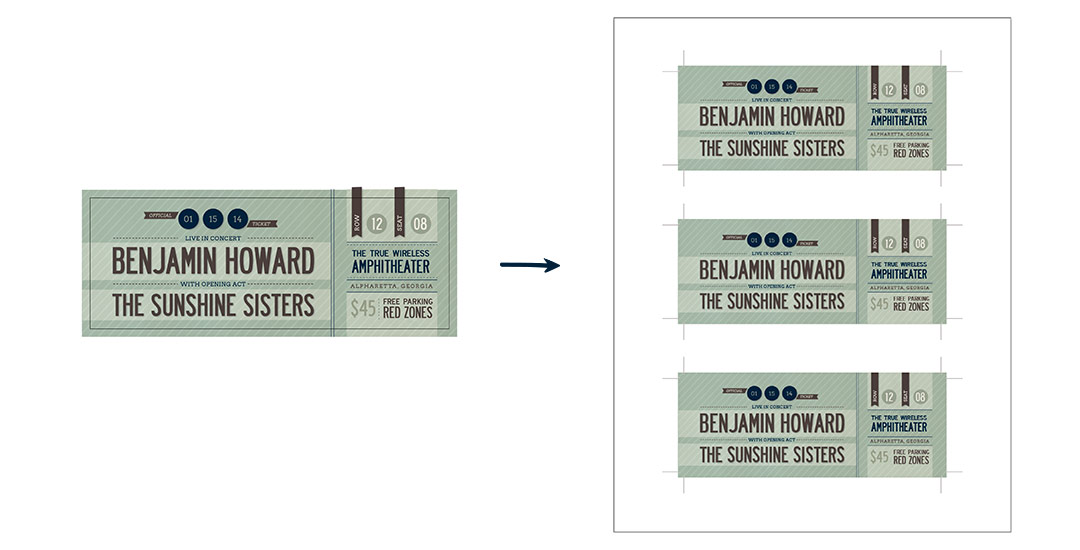
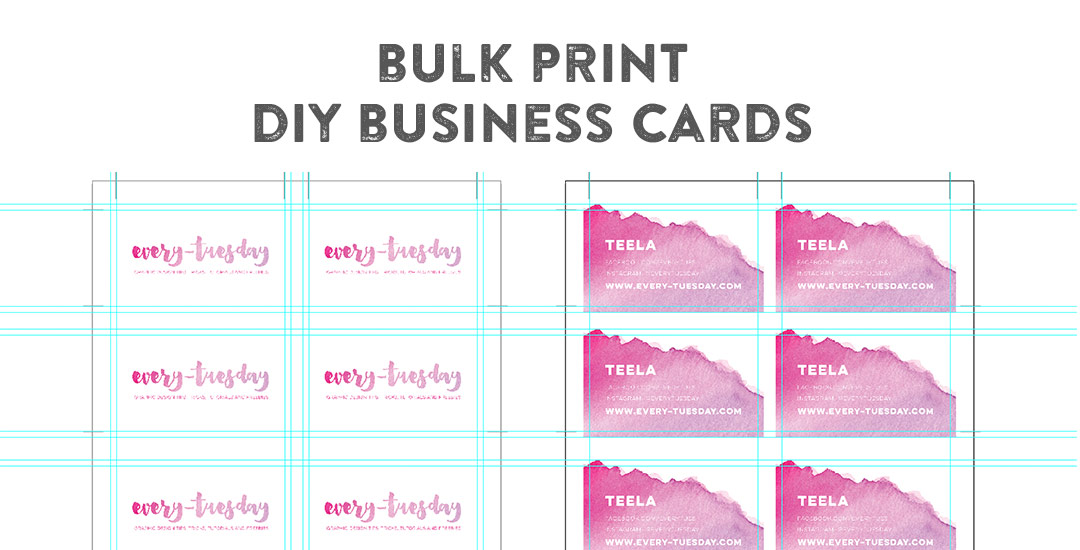
A few weeks ago I posted about my first Skillshare class, Laying out Your Lettering for Letterpress, and I am so excited to say that over 400 students have enrolled! If you love letterpress and have always wanted to learn how to set up a file for letterpress printing, this class was made especially for you – and you can get one full month of free membership by using this link if you’d like to check out my class or others 🙂

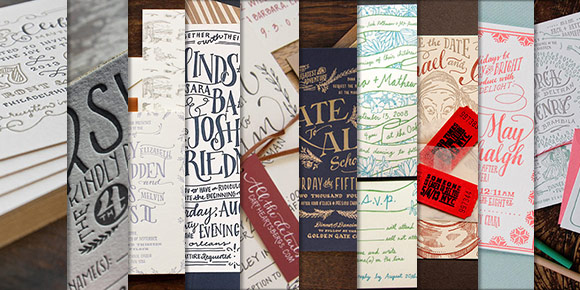
Anyway! Getting down to business – for those students that have enrolled (and anyone that might still be sitting on the fence) I have 2 (Two!) FULL YEAR subscriptions to skillshare to give away! If you’ve checked out any Skillshare classes before, you know how valuable this is! All you have to do is watch the class, create any hand lettered invitation you’d like, and post your project which should follow the project description. Out of the projects posted, I’ll pick 2 to give the free full year memberships to which I’ll announce May 4th. So! If you’d like to participate, make sure your project is posted by then! To get your hand lettered invitation wheels turning, here are 10 swoon-worthy letterpress invitations for inspiration.

Happy Tuesday! This past weekend was reallllly busy for me! I designed our wedding invitations and recorded a Skillshare class on the entire process from start to finish: all of the research, sketches, lettering experiments, then finally setting up and saving the file correctly so it’s ready to hand off to my letterpress printer. You can watch the free intro to the class (called Laying out Your Lettering for Letterpress) here and just for my blog readers and YouTube watchers, I’m sharing one the other videos today. This video covers the sketching process of lettering based on research which determined the look and feel we were going for (Southern rustic). If you’re interested in seeing the rest of the class, you can sign up for Skillshare free of charge for an entire month using this sign up link.

GDPR Icon

Your Privacy Matters

We use cookies to customize and create content that’s most important to you. We’ll never share the info we collect.

View Privacy Policy