Home2018 (Page 2)

August 2018

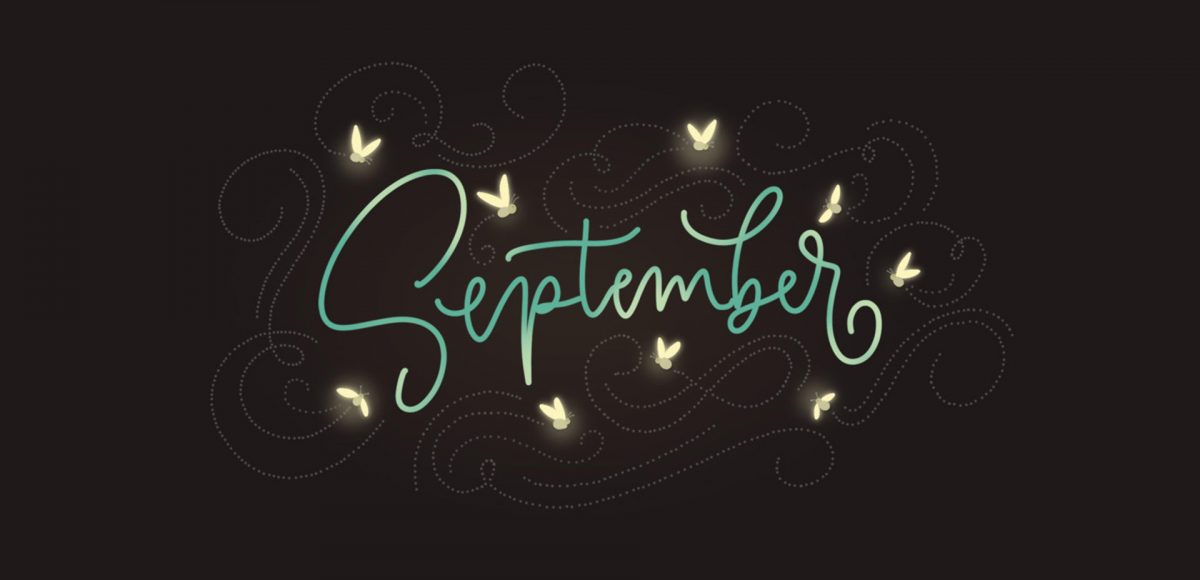
It’s the last Thursday in August, which means it’s time for your free September 2018 desktop wallpapers! This month’s wallpaper was entirely created in Procreate, with just the dates added in using Photoshop and my font, Miss Magnolia. Although summer is coming to an end, I can’t help but love the few fireflies we still see in our southern evenings, so this wallpaper is for them 🙂 I used my custom monoline procreate brush for the lettering and doodle details, which is available for free in the Every-Tuesday Resource Library. For the dates, ‘R’ is for Thursday, to distinguish it from a same-sized Tuesday ‘T’ at a glance. 

The download includes the September 2018 desktop wallpapers in two common resolutions: 1280x1024px and 1920x1080px, with and without dates. I’ve left the year off of the ‘no-dates’ versions, so you can use it for any September in the future, too!

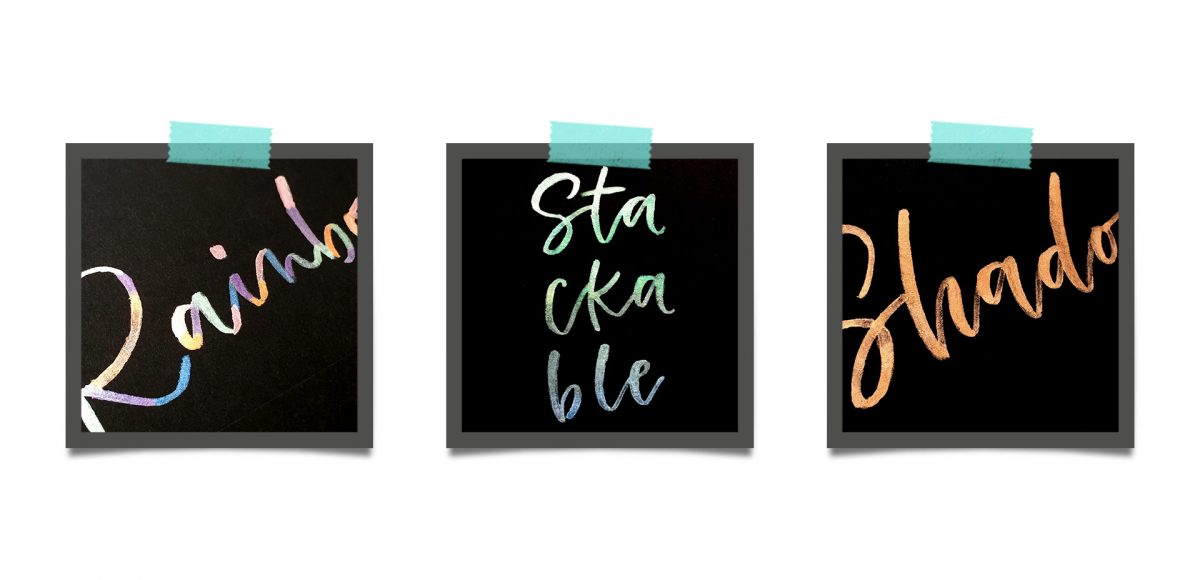
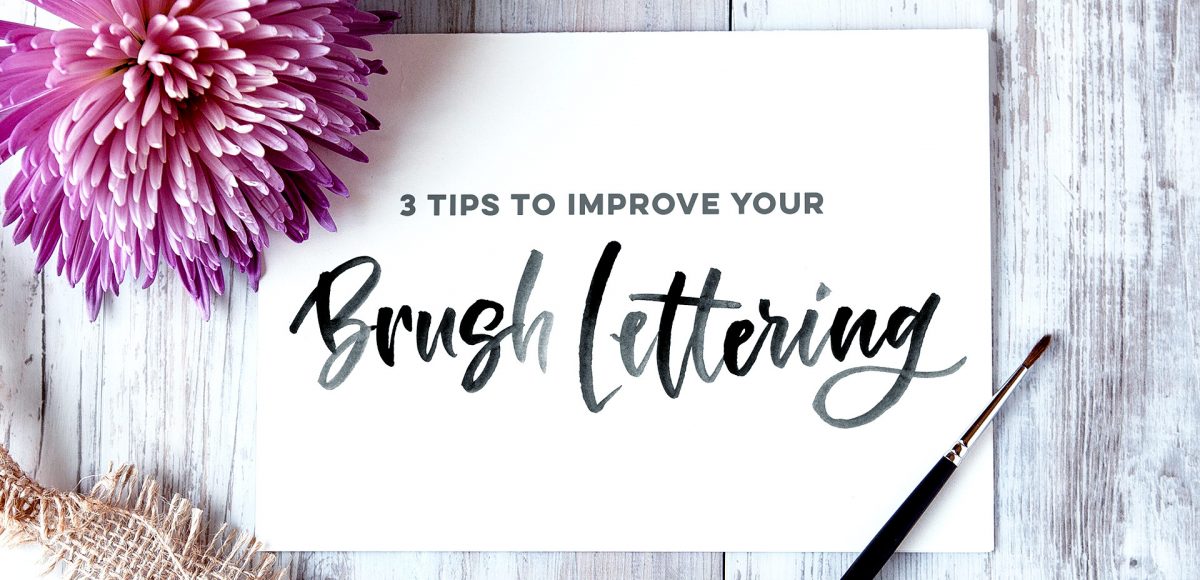
Last year, I bought myself a big pack of Coliro Colors FineTec metallic watercolors for my birthday. I had experimented with their gold collection earlier and couldn’t wait to have more colors to play with. The rest of the year, I obsessed with using them on new lettering pieces, custom greeting cards for friends and family – anything I could think of. The way they glimmer in the sunlight is so beautiful, I was constantly looking for ways to create other shiny outcomes 🙂 I broke them out again the other day and realized I never shared my blending methods in a tutorial, so it was time for that to change! These watercolors get thick + dry pretty fast, so blending can be a little more complicated than traditional watercolors. In this week’s tutorial, I walk you through 3 blending effects using metallic watercolors with all of my favorite, long-tested tricks 😉 Read below for them all!

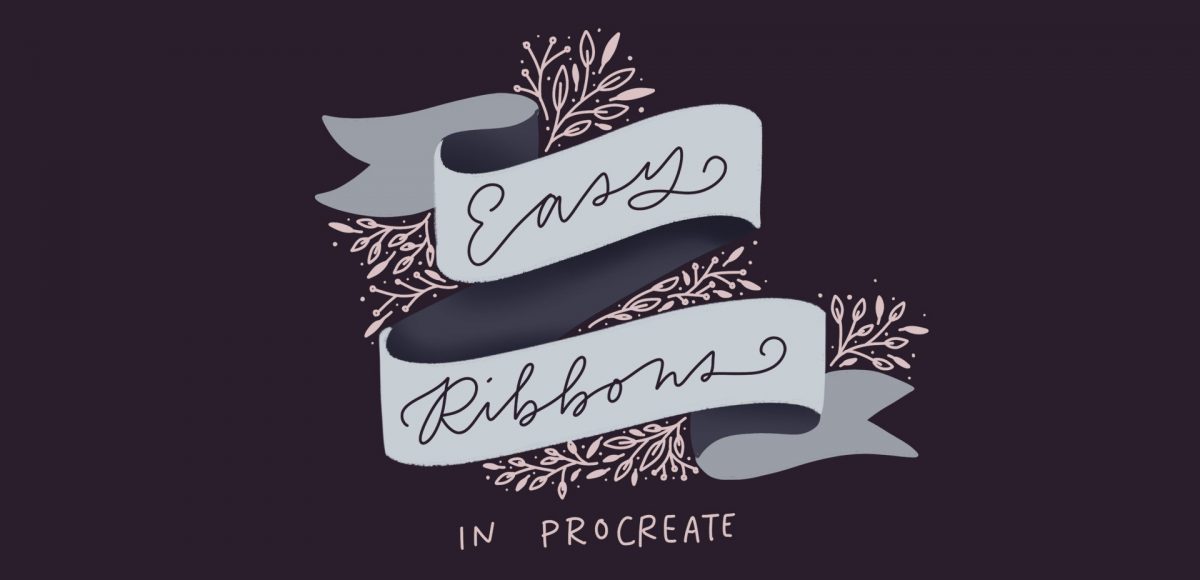
If you’re just getting started with Procreate – especially after all the recent updates – it’s totally normal to feel a bit overwhelmed! This week, I wanted to do a super simple Procreate tutorial for beginners that will also give you some great insight into the capabilities Procreate now has. In this tutorial, we’ll create 2 easy ribbons in Procreate and you’ll pick up some tips you can use for your future digital artwork, as well. Read on to get started!

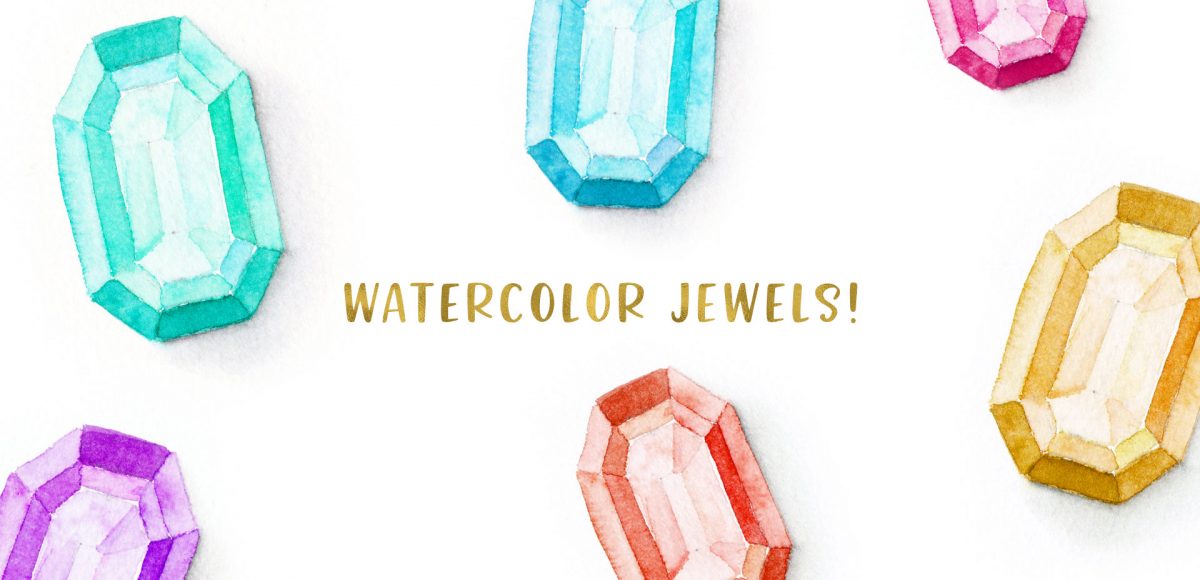
We kept things all digital last month, so I thought we could start this month with some watercolor! Even if gemstones or jewels aren’t your thing, this is a great exercise on mixing colors and how those colors can inform the depth of an object. We also sketch out the geometry from scratch without using a ruler and you can use these methods for other geometric-based layouts in the future, too! Since we’re using water-based brush pens, this is something you can create on the go with limited materials. Read on to paint a watercolor jewel using brush pens!

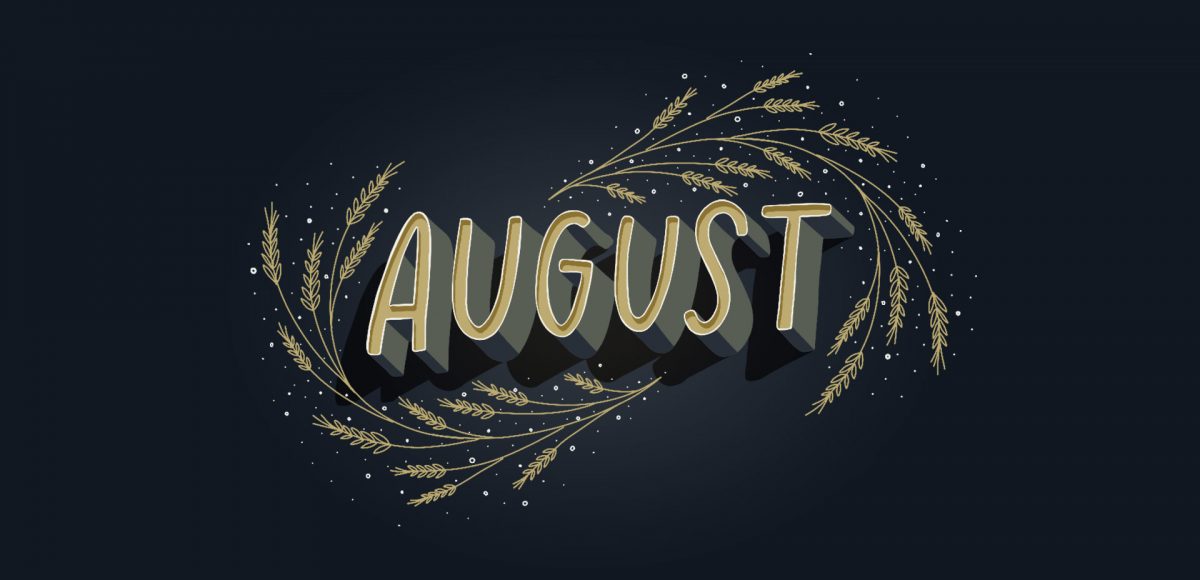
It’s the last Thursday in July, which means it’s time for your free August 2018 desktop wallpapers! This month’s wallpaper was entirely created in Procreate, with just the dates added in using Photoshop and my font, Miss Magnolia. I’ve really enjoyed experimenting with 3D lettering in Procreate this year, so it was time to bring it into another wallpaper 🙂 I used my custom monoline procreate brush for the lettering and doodle details, which is available for free in the Every-Tuesday Resource Library. For the dates, ‘R’ is for Thursday, to distinguish it from a same-sized Tuesday ‘T’ at a glance. 

The download includes the August 2018 desktop wallpapers in two common resolutions: 1280x1024px and 1920x1080px, with and without dates. I’ve left the year off of the ‘no-dates’ versions, so you can use it for any August in the future, too!

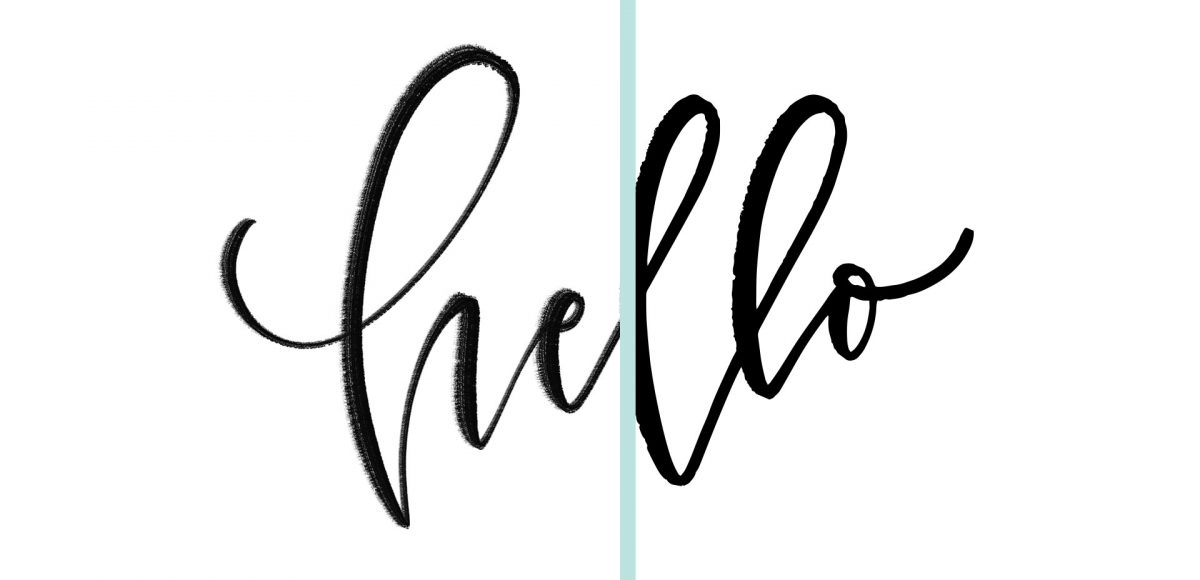
If you love lettering – whether it’s on paper or an iPad, you’re probably familiar with how powerful your lettering becomes when it’s vectorized. Vectorization allows your lettering to be infinitely rescaled without losing quality. This means it can be put on anything, at any size and look as great as the day it was drawn. Since it’s a digital copy, it can exist for forever without fear of it being buried in past stacks of lettering experiments, too. It’s also a crucial step in creating open type fonts!

In this week’s video, I’m sharing my favorite, most reliable Illustrator trace settings when it comes to vectorizing lettering. These are the settings I use every time I vectorize to keep as much original quality as possible. Read on for it all!

One of my most viewed tutorials on YouTube is how to create seamless patterns in Illustrator (though you should be using the pattern tool in this tutorial if you’re using CS6 or newer!). Once you create a custom pattern, though, how do you save it, or export it to sell? Illustrator actually behaves a bit differently than Photoshop, since the version of Illustrator the user is on affects their ability to see the pattern or use it. In this week’s tutorial, I share everything you’ll need to know and consider when you save and export patterns in Illustrator.

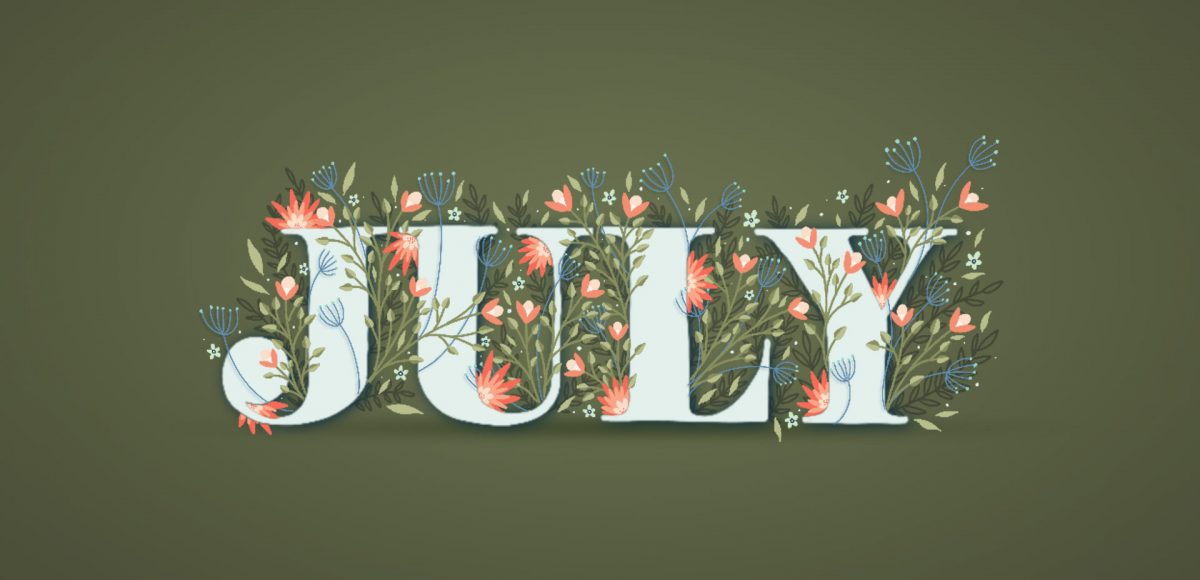
It’s the last Thursday in June, which means it’s time for your free July 2018 desktop wallpapers! This month’s wallpaper was entirely created in Procreate, with just the dates added in using Photoshop and my font, Miss Magnolia. One of my favorite things to doodle in Procreate are little flowers + foliage, and since we’re right at the beginning of summer here in the US, I couldn’t resist! I used my custom monoline procreate brush for all of the flowers + foliage, which is available for free in the Every-Tuesday Resource Library. For the dates, ‘R’ is for Thursday, to distinguish it from a same-sized Tuesday ‘T’ at a glance. 

The download includes the July 2018 desktop wallpapers in two common resolutions: 1280x1024px and 1920x1080px, with and without dates. I’ve left the year off of the ‘no-dates’ versions, so you can use it for any July in the future, too!

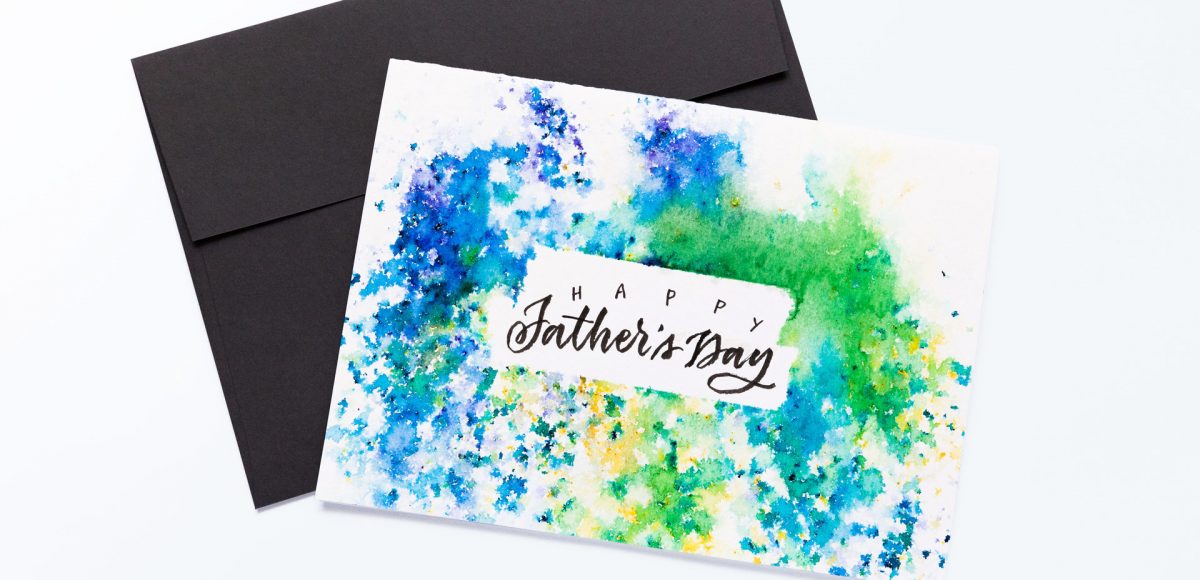
One of my favorite discoveries of the past year is a product called BRUSHO. It’s essentially concentrated, powdered watercolor, and it’s awesome. It took me some time to find the best process for using it with my DIY artwork, so in this week’s tutorial, I’m sharing everything I’ve learned! Skip all the troubleshooting/wasted material I went through and let’s create a Father’s Day card using BRUSHO together!

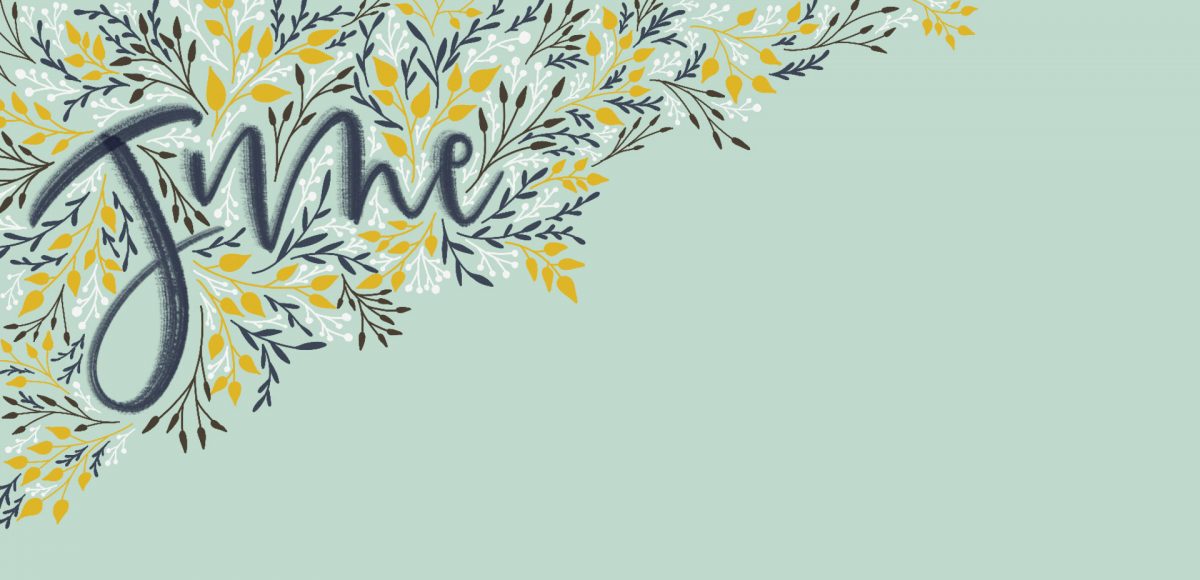
It’s the last Thursday in May, which means it’s time for your free June 2018 desktop wallpapers! This month’s wallpaper was entirely created in Procreate, with just the dates added in using Photoshop and my font, Miss Magnolia. I decided to use a soft, simple palette this month with some simple foliage doodles. I used my custom monoline procreate brush for all of the foliage, which is available for free in the Every-Tuesday Resource Library. For the dates, ‘R’ is for Thursday, to distinguish it from a same-sized Tuesday ‘T’ at a glance. 

The download includes the June 2018 desktop wallpapers in two common resolutions: 1280x1024px and 1920x1080px, with and without dates. I’ve left the year off of the ‘no-dates’ versions, so you can use it for any June in the future, too!

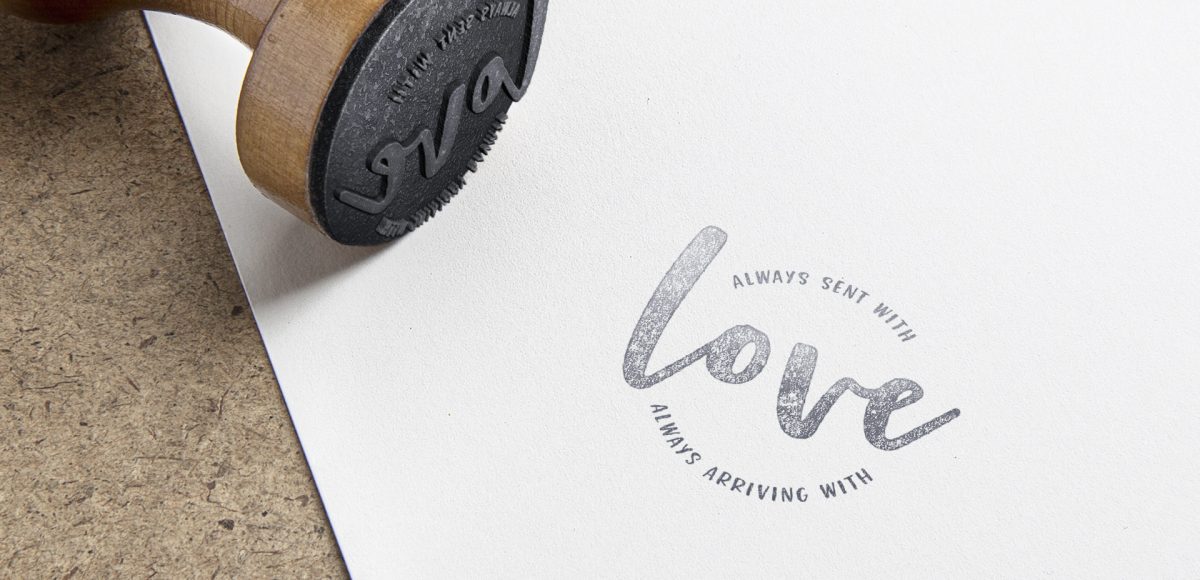
A while back, I shared how to type along a path in Illustrator, but what if that path is circular or closed? How to you get the text to run perfectly along the outside or inside of the circle? And if you start on one side, how do you nudge it just slightly without ruining everything? These are some questions that evaded me longer than they should have when I was starting out. Circular text is important! It’s great for logos, icons, stickers and custom rubber stamps just to name a few. Read on to master circular text in Illustrator and never wonder again!

GDPR Icon

Your Privacy Matters

We use cookies to customize and create content that’s most important to you. We’ll never share the info we collect.

View Privacy Policy