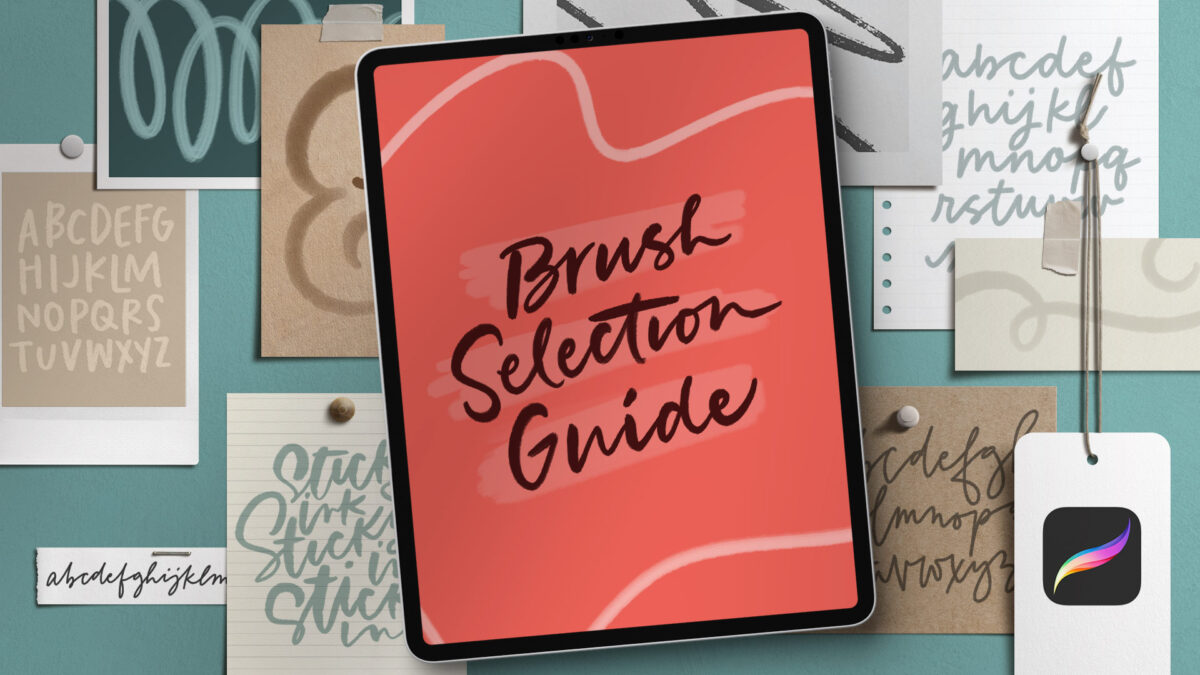
HomePosts Tagged "brushes"

brushes Tag

If you use Procreate for hand lettering, you’ve likely experienced the struggle of finding just the right brush for your needs. It can be an overwhelmingly time consuming task testing brushes and readjusting them only to try the next one, hoping for the best.

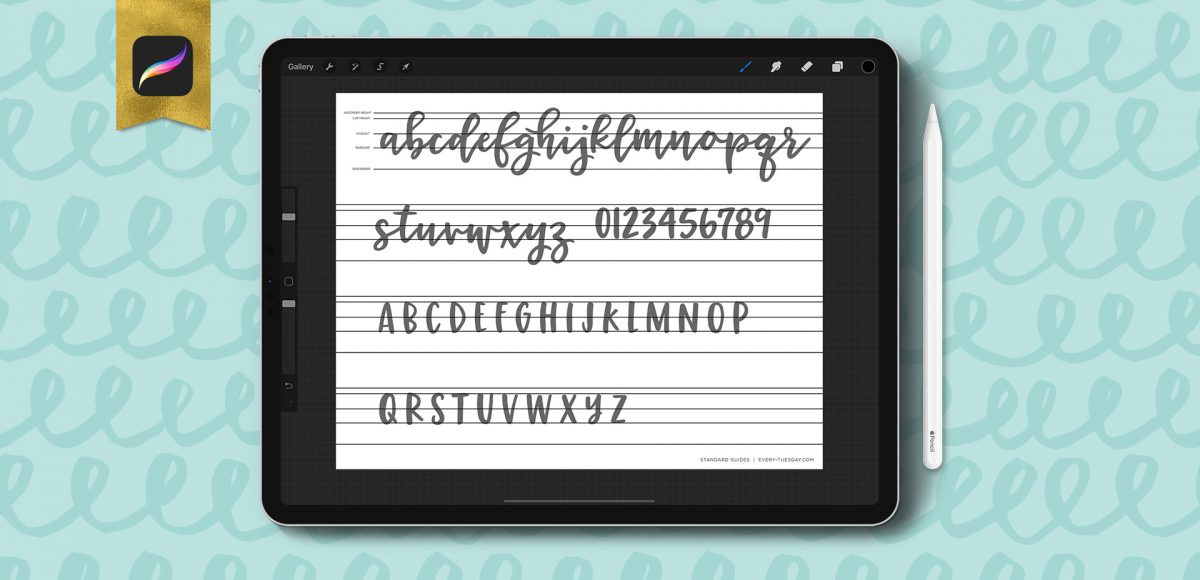
While nearly any brush in Procreate can be used for lettering, not all are designed specifically for it. Today I’m sharing the specific settings to look for in a lettering brush, a list of my favorite free and premium hand lettering brushes as well as some free practice sheets, too! Read on to get it all!

This week, we’re making a custom neon Procreate brush! Becoming familiar with the basics when it comes to custom brushes can be so powerful in personalizing any brush to fit your needs. And what could be more fun than a brush that glows when you use it?! If you’d like to change up this one’s shape, I’m also sharing how to make any brush appear to be glowing 😉

Happy Tuesday! Today we’re creating something I love, love to make – digital stickers! This is such a fun effect to apply to your work because it looks like they’re actually lifting up off the screen!

I’m labeling this tutorial as advanced because there are several steps utilizing different methods to achieve our look. If you’re an intermediate Procreate user, this will be a fun challenge project to do! Once you have the steps down, you can apply the effect to any graphic you’d like.

This is one of my new favorite lettering effects in Procreate! A couple years ago, I showed how to do something similar in Photoshop, so I thought, “Why not try it in Procreate?” Turns out, it’s even easier in Procreate! I love how it looks with multiple letters, too. This week, we’re creating a paper cut out effect in Procreate. Read on to see how and pick up the colors + brush used in the tut for free!

I have a big freebie for you this week: I’ve put together 10 different lettering guides, including italics! You can grab them as traditional, printable guides (use tracing paper or a lightbox with them), as well as a Procreate version. Since there are so many different ones in one Procreate file, I thought a video would help show exactly how to use them. Read on to grab your free Procreate lettering guides (and printable ones), as well as some simple tips with how to use them!

I’m really excited to announce today that my newest course, Procreate for Beginners, is available! And yep, it’s free! You can check out all the course details (over 2 hours worth!) and sign up right here. If you’re new to Procreate or are just looking to pick up some workflow, tools or technique tips, this course was made for you. I take a slower pace, still describing every step as I go (as with all my courses), so you’ll know exactly what does what and why it does it, too. A few more details about the course as well as the course trailer are below!

Many of you likely know I teach a comprehensive course on creating and selling hand lettered fonts (check it out here!). The course reopens next week for the last time this year, so if you plan to get started, I thought some lettering supply recommendations were in order!

There are 2 ways you can create your initial lettering for converting into a font: digitally or analog. If you choose the digital route, I recommend using Procreate on an iPad with pressure sensitivity since there are amazing brush options for different looks. This post is all about the analog, though – as much as I love the iPad, there’s still something about lettering supplies on paper (not to mention the much lower price point!). Read on for my favorite lettering supplies for font making, analog-style 😉

I’ve been breaking out my watercolors a bit more lately and have found myself painting a lot of autumn and winter themed illustrations. I thought I’d change things up a bit this week and share my method for painting an autumn watercolor branch. This is one of the first illustrations I learned how to paint and I love that there’s no pressure to get anything perfect. Add as many leaves, branches and organic curves as you’d like – there really is endless creative freedom here. We’ll go through the wet on dry technique, mix up custom pan set watercolors and talk about a few tips for painting leaves. This is the first Every-Tuesday watercolor painting tutorial – let me know if you’d like to see more in the future!

A couple weeks ago, I shared 3 tricks for creating unique grit textures. This week, I’m sharing how to create a gritty photoshop texture brush using a texture we created! This texture brush can be used for borders, backgrounds, illustrations and more (tutorial on those coming soon!). In the video, I share my scan settings and how I edit the texture before ever creating a brush with it. Once the texture is optimized, I share some of my favorite Photoshop texture brush settings. These are settings that you can easily implement into future texture brushes, too. This tutorial is perfect for beginners, so if you’re just getting started with Photoshop, be sure to read on to see it all!

Happy Tuesday! I’m not gonna lie, this week’s tutorial is one of my favorites. Essentially, we’re combining the watercolor photoshop brush tutorial from a few weeks ago with last week’s ribbon tutorial. And we’re doing it all in Illustrator and keeping things simple and easy 😉 We’ll start by taking some watercolor textures on transparent backgrounds (like these, these or these), and then directly convert them into watercolor texture brushes in Illustrator. You’ll be able to transform the textures into any shape using the brush tool to create beautiful results. Create them once, then save them out for infinite future uses, too! Read on to see how!

If you’re just diving into Illustrator, this week’s tutorial is perfect for beginners! We’ll go over some very basic, but powerful tools that you can use in different ways well into the future. In this tutorial, we create a simple ribbon brush together (from scratch) using Adobe Illustrator. We’ll talk about different brush settings, customizing your ribbon before and afterwards, and even how to save it for future use. Everything you need to get started is below!

GDPR Icon

Your Privacy Matters

We use cookies to customize and create content that’s most important to you. We’ll never share the info we collect.

View Privacy Policy