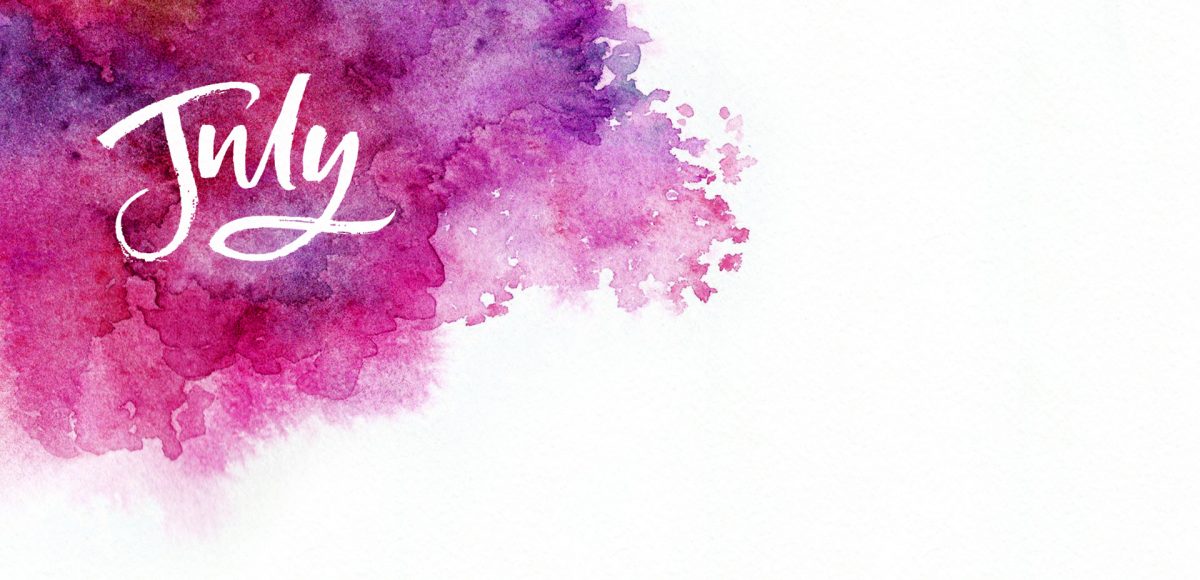
HomePosts Tagged "design" (Page 20)

design Tag

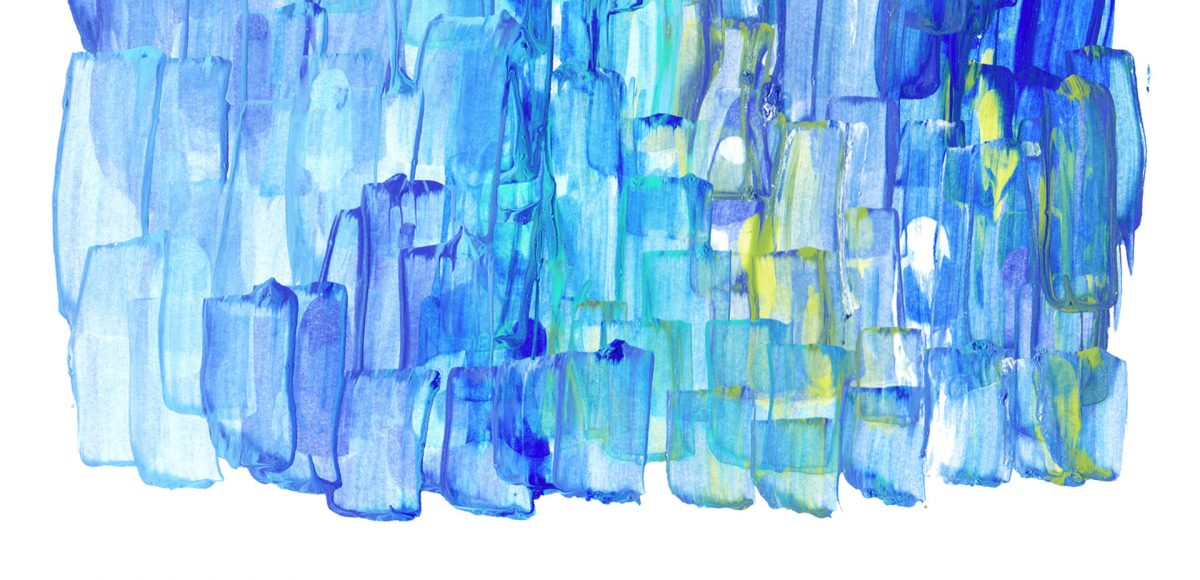
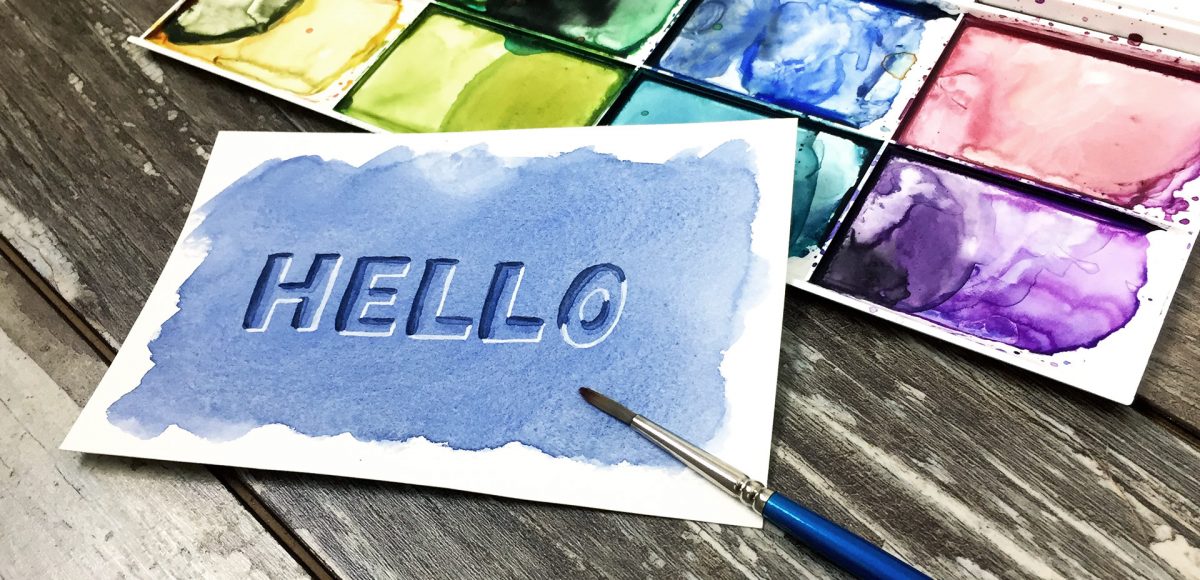
It’s the last Thursday in June, which means it’s time for your free July 2017 desktop wallpapers! This month, I wanted to experiment with a new technique for creating watercolor textures. I picked up these small spray bottles, filled one with regular water and used it, along with this no.4 round brush to create the texture. Each new layer, I let *almost* dry before adding a little extra color to create more depth/vibrancy. It was created using this pan set – I was on the fence when I originally bought it since it’s a little pricey, but it has hands down become my favorite watercolor set (even beating out liquid concentrated!). I scanned the final texture in, made a few minor color enhancements in Photoshop, added July which I hand lettered, and typeset the dates using Miss Magnolia.

The download includes the wallpapers in two common resolutions: 1280x1024px and 1920x1080px, with and without dates. I’ve left the year off of the ‘no-dates’ versions, so you can use it for any July in the future, too!

Almost two years ago, I created some freelance lettering for a ‘spicy’ greeting card company called Get Feisty. One of the styles requested was what I call wave lettering, or lettering that looked like waves from far away. I hadn’t lettered in that layout style before, but it was a fun challenge figuring out my process for it. After a few (or 20+) tries, I had a solid process and it has become one of my favorite layout styles. In this week’s video, I’m sharing the exact process I use to create wave lettering. Read on for the simple materials and full video below!

A few weeks ago, I shared how to create this effect using an iPad with Procreate. This week, I wanted to share how easy it is to create typographic floating shadows in Adobe Illustrator, too! The method I use utilizes the blend tool and pathfinder palette and a few simple steps. This effect is perfect for headlines, special art projects or even signage. Read on to see it in action!

Happy Thursday, friends! Earlier this week (on Tuesday, as fate would have it), my youtube channel hit 100,000 subscribers, so I wanted to make it extra special by celebrating with a free font!

I’ve been posting a new tutorial/video every single Tuesday for nearly three years now. Your support over that time – whether you are a new follower or have been along for the full ride, has meant more to me than I can possibly express. Each tutorial takes a minimum of 4-6 hours to complete. From concept, to figuring out the best possible process for it (*making it before teaching it* time), recording, editing, tagging, uploading, writing the accompanying blog post, creating images and announcing it on various social channels. It’s a labor of love I’m happy to continue each week because of all of you.

To celebrate properly, today I’m giving away my new font, Corner Bakery, which is all yours to pick up below 🙂

First off, I want to tell you this isn’t the sexiest tutorial you’ll ever watch, but it can be a giant time saver and really make you look like you know your stuff. So, stick with me, because this is pretty handy to know: list format data merge in InDesign (sorry if that was a little eek-worthy to read, but you were warned 😉 ) To accompany our save the date postcard from last week, this week we’ll create a wedding seating chart to go with the big day. Traditionally, data merge is used to automate large amounts of data into multiple pages, but it’s different here: we’re placing lists of data onto one page, so there are a couple small tweaks that need to be made. I promise this is super simple and you’ll be glad to have this in your designer arsenal when you see what it can do.

It’s the last Thursday in May, which means it’s time for your free June 2017 desktop wallpapers! I’ve been wanting to play with acrylics a bit more lately, so this month’s wallpaper was an experiment of color mixing and texture. I went with a blue/green/teal palette for Father’s Day this month, keeping a balanced mix of all (without getting too muddy) throughout. Let me know if you’d like a tutorial on how I made the paint texture and I’ll put one together 😉 Once created (and dry), I scanned the artwork into the computer, color adjusted in Photoshop, then added the dates using my font, Miss Magnolia.

The download includes the wallpapers in two common resolutions: 1280x1024px and 1920x1080px, with and without dates. I’ve left the year off of the ‘no-dates’ versions, so you can use it for any June in the future, too!

Happy Tuesday, friends! Today we’re jumping into procreate with some tips on how you can quickly improve your iPad lettering by using the skeleton technique and a mono weight brush. The Skeleton Technique is a trick that, when used, can give your lettering dramatic results fast. We’ll start the tutorial by creating our own mono weight brush by altering a default/standard brush in procreate. Then, I’ll share my process for utilizing the skeleton technique, along with a few examples to get you started. Read on to see how!

I actually stumbled upon this effect while playing around in Photoshop with this Instagram post awhile back. It felt like it needed a little something extra, and after playing around with some settings, I was able to get a watercolor glitter effect I really loved. I had completely forgotten about it, then that instagram post randomly appeared in my pinterest feed the other day. That’s when I knew I had to create a tutorial 🙂 If you’re not ready to use your own watercolor lettering yet, I’ve included another option for achieving the same effect using your favorite fonts. Read on to see it all!

While browsing pinterest last week, I came across this ‘A’ and I knew I had to recreate it digitally. I loved the way the shadows ‘stair stepped’ the different sides, and how those shadows made the letter feel raised. I also liked the fact that I could integrate a bunch of colors without it seeming too busy, and that I could put my own spin on it with some glitter textures. In this week’s tutorial, I’m sharing my process for creating this layered letter effect, using both Illustrator and Photoshop. You can stay in Illustrator the entire way if you’d like, but I discuss my reasons for hopping into Photoshop to finish things off. Read on to see it all!

It’s time for your free May 2017 desktop wallpapers! This month’s (May flowers) wallpaper was created using this Winsor & Newton watercolor pan set with a no. 1, no.4 + no.8 round brush on this Canson watercolor paper. I then scanned the individual flower + leaf elements, enhanced them and cut them out in Photoshop using the methods from this course (vid no.7 covers cutting them out). I hand lettered ‘May’ and applied it to the center within Photoshop, then added the dates using my font, Miss Magnolia.

The download includes the wallpapers in two common resolutions: 1280x1024px and 1920x1080px, with and without dates. I’ve left the year off of the ‘no-dates’ versions, so you can use it for any May in the future, too!

Happy Tuesday! This week, I’m excited to revisit the world of watercolor lettering – one of my favorites, for sure 🙂 When Spence and I left our previous jobs, our coworkers gifted us the book, Shadow Type, by Steven Heller and Louise Fili. The binding is already breaking on it, from obsessing over the perfectly executed lettering from back in the day. It’s high on my list of type books, without a doubt. Anyway! As I was looking through it the other day, one of the images caught my attention and I wanted to try it with watercolor. I practiced it over and over until I had a process I was happy with. This week I’m sharing that process – of how to create a debossed watercolor lettering effect.

Happy Tuesday! It’s been a little while since we made some iPad lettering, so this week we’re creating floating shadows in Procreate. I’ve seen this effect referred to as ‘off shade’ before, but I’ve always thought of them as floating shadows. Essentially, it’s a drop shadow that’s disconnected, or there’s a space between your lettering and the shadow itself. I love how simple this effect is, but also how it adds that cool factor/semi 3D look right away. See how to apply this exact effect to your lettering below!

GDPR Icon

Your Privacy Matters

We use cookies to customize and create content that’s most important to you. We’ll never share the info we collect.

View Privacy Policy