HomePosts Tagged "handwriting" (Page 3)

handwriting Tag

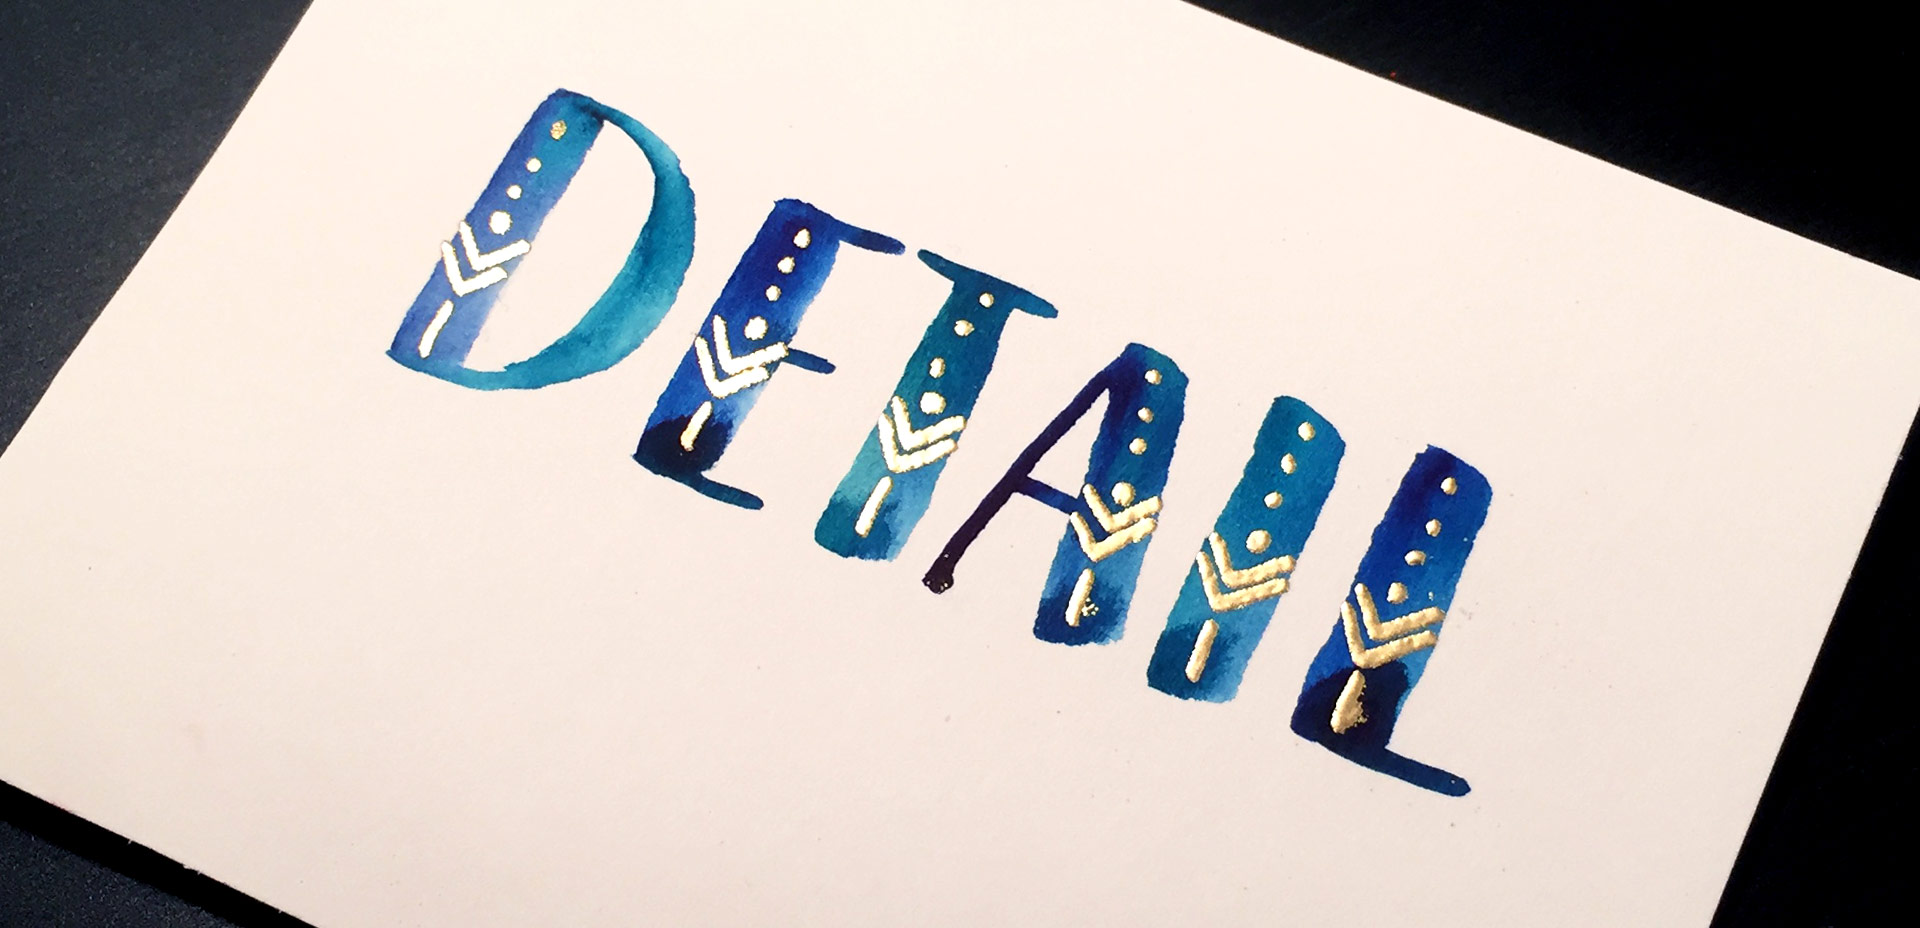
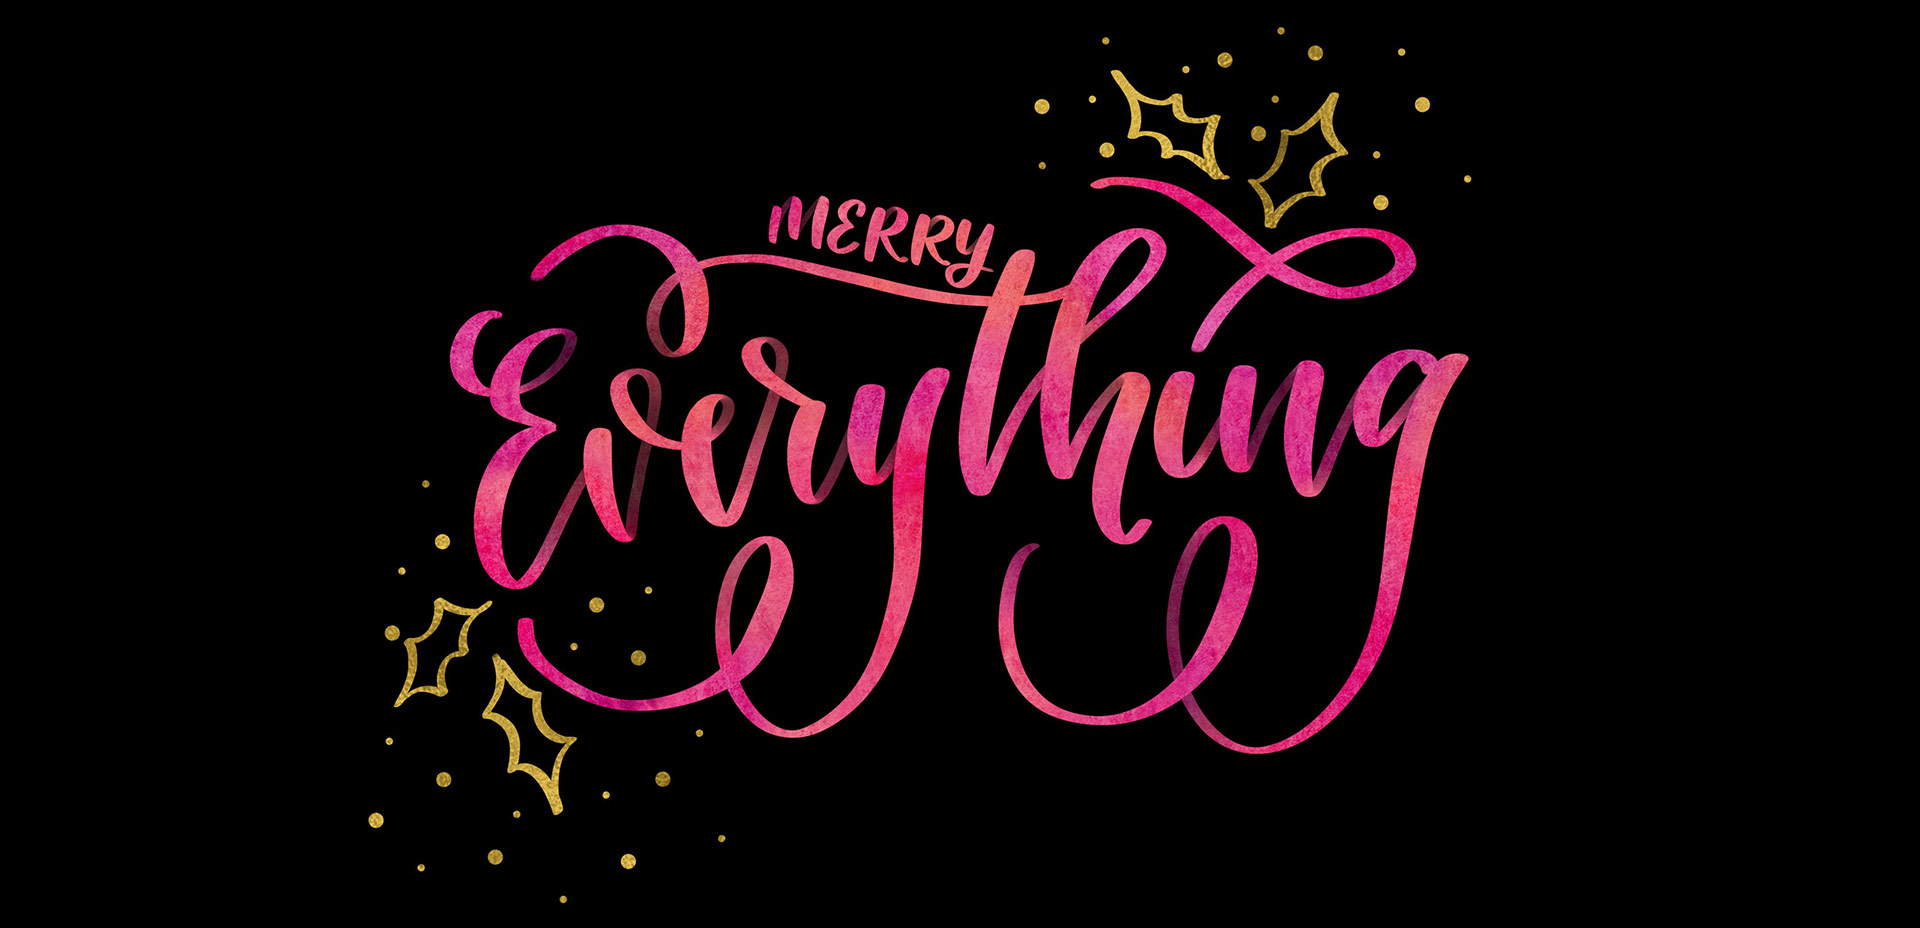
Since Procreate’s latest update is less than a month old, it’s time for a new iPad lettering tutorial! If you checked out my iPad Lettering class from a couple versions earlier, you saw how fun it is to work with Procreate textures. One texture works wonderfully, but things can get a little trickier when you want to get other textures involved. In this week’s tutorial, I’m sharing one quick trick that makes introducing other textures super simple. In this tutorial, we’ll use a foil and watercolor texture, plus add a little holiday flair for good measure 🙂 Read on to see how!

In Tuesday’s post when I introduced my newest course, Brush Lettering with Watercolor, I mentioned that when I started brush lettering with watercolor, it was the first time I had ever used watercolor. This is actually kind of awesome for two reasons:

#1 Since I had no idea what kind or brand of watercolor was best for lettering, I experimented with everything.
#2 If you want to brush letter with watercolor and you’ve never used watercolors before, I’m an example that is 100% ok!

Throughout all of my experimentation, I learned what the 3 best watercolor types are for brush lettering. These are watercolors that blend nicely together, are flexible for being creative and all behave in different ways compared to one another. Yay, options! Read on for examples, my favorite brands, plus links and reviews!

I think it’s pretty fair to say that diy embossing is reallllly popular right now. It’s easy to see why; First, there’s watching colorful powder stick magically to invisible ink. Next, there’s witnessing it look completely different (especially metallics) once heat is applied. The results look like they came from a pro print shop! I haven’t come across many videos of a watercolor/embossing combo, so it was time for that to change 🙂 I recently started applying embossing designs to my watercolor lettering and it makes for some really tactile + impressive outcomes.  This week I wanted to have some fun by sharing watercolor lettering with DIY embossing 3 ways. Everything used in the video listed with links below!

I am beyond thrilled to introduce my newest font today, Hawthorne Script! A lot of love and many, manyyyy hours went into this baby and I couldn’t be happier with how it came out. I packed more into this font than any other before it so you can take it much further than a typical, standard font.

Along with the regular style, a second style is included that contains a full alternate lowercase – just highlight any regular letter and switch it to the ‘alternates’ style to create words that look even more original and handmade! 10 bonus swashes are included (5 left side, 5 right side) as well as 9 standard ligatures. I enjoyed creating this font so much that the language compatibility is a little off the charts: English, German, Dutch, Italian, French, Portuguese, Spanish, Turkish, Polish, Hungarian, Croatian, Czech, Slovak, Slovenian, Bosnian, Albanian, Estonian, Catalan, Danish, Faroese, Finnish, Icelandic and Norwegian. Phew.

Font previewer below so you can take it for a spin, as well as some additional preview images!

In my newest Skillshare class, Intro to iPad Lettering, we start lettering on the iPad using some guide sheets to get comfortable writing on a tablet vs. paper. If you’re on your way to iPad lettering, guide sheets are wonderful tools. Practicing on paper before making the leap allows a more seamless transition when you’re ready. To help the transition along, this week’s freebie is a set of printable hand lettering guide sheets to improve consistency with uniform letters.

Happy Friday! I’m so excited to announce the conclusion of the Font Project this week! It’s been a great 6 weeks learning how to really take a font from some doodled letters on paper, to typing on screen. I know I still have a ways to go with learning the ins and outs of Glyphs Mini (as with any kind of software), but it’s a challenge I’m looking forward to take on. I have a few final tips I wanted to share from this week’s work, and I also want to announce that my new font has a name and it’s available for download! Read on for it all!

Happy Friday and welcome to Week 5 of the Every-Tuesday Font Project! I can’t believe next week is our last week! This past week was such a HUGE week of learning for me. Taking your letters from Illustrator and putting them into Glyphs Mini is definitely not as simple as copy/paste – but it isn’t hard, I promise! Just a *little* tedious. You shall see 😉 Below I have a full video on how I set up Glyphs Mini and how I set up my Illustrator file to bring everything in at the right sizes and finished the video off with kerning in Glyphs Mini and exporting the font, then typing with it in Illustrator. As tedious as this week was with a learning curve and just the steps in general, it was so incredibly satisfying. Read on to see these letters become a font!

Welcome to week #4 of the Every-Tuesday Font Project! See the previous 3 weeks here. This past week was spent vectorizing the lowercase portion of the alphabet in Illustrator in the same manner the uppercase was vectorized last week. Since the uppercase portion has a pretty smooth/clean aesthetic compared to the original live trace, I worked to maintain that same cleanliness with similar weight contrasts throughout the lowercase. One of the biggest lessons this week was that creating consistency throughout the lowercase is definitely more challenging than with the uppercase. There are far more details in the lowercase letterforms that you don’t really realize until you get into it. For example: the weight contrasts and curvature of the ‘c’ should be the same as in the lowercase ‘o’ should be the same in the lowercase ‘e’, etc. This created quite a few differences in the original drawn letters to the cleaned versions, but when placed together to form simple words, the font really started to come to life! The personality I had intended is coming through and it has me really excited about getting this into Glyphs Mini. As with last week, I took a bunch of timelapse videos of my Illustrator work where you can see me pulling portions of other letterforms to define new ones. Read on to see it all!

Welcome to week #3 of the Every-Tuesday Font Project! See Week 1 here and Week 2 here. This past week was spent vectorizing the uppercase portion of the alphabet in Illustrator, which was created last week. I followed the same methods of vectorizing + cleaning paths as seen in this tutorial and this one. I found my pen tool and occasionally using my Wacom tablet to be the most helpful when it came to cleaning up lines (here are my Wacom recommendations if interested), but anyone handy with a mouse could do a very similar job. I tweaked my initial live trace slightly (exact settings I used are below) to create rougher outlines to start with, which gave me more room to decide how ‘hand drawn’ each letter could feel. Read on for more of my process and some time lapse videos!

Welcome to week #2 of the Every-Tuesday Font Project! This past week was spent drawing letters out…a lot. My font is inspired by the free font, Amatic, whose hand drawn quality and character I really like, but wish it had a lowercase and a bit of a stronger presence structure-wise.

I started out with a .25mm Micron using the 2nd font guide sheet which had a taller x-height. I really liked how things were looking, but decided to go with my medium waterbrush filled with speedball super black since it naturally gave my letters some nice varied line weights which will give the font more character overall. I played around with applying different levels of pressure on my downstrokes with the waterbrush and liked a lighter pressure best since it makes the letters more readable (and small counters wouldn’t risk being accidentally filled in with extra ink from the pressure). Process shots from the last week below!

This is a big post for me. Like, bucket-list big. No kidding, Spence has heard me talk about creating my own font every week (if not every day!) for over a year.

If you’ve ever been here before, you know my love for type is pretty intense and I know I have some fonts in me waiting to get out. Maybe that’s you, too. On the chance that it is, I’ve decided to create a weekly post for the next 6 weeks for us to hold each other accountable and really do it – really create our own handmade fonts! I’ve never made a font before, so we are definitely in this together 🙂

Every week on Friday, I’ll share the progress I’ve made, resources I’ve used and tips/tricks I’ve learned. I’ll keep posting process shots over on Instagram with the tag #etfontproject and I’ll share the steps I plan to make for the next week’s font project post. At the end of this, we’ll have our own handmade fonts we can share with each other or sell online.

GDPR Icon

Your Privacy Matters

We use cookies to customize and create content that’s most important to you. We’ll never share the info we collect.

View Privacy Policy