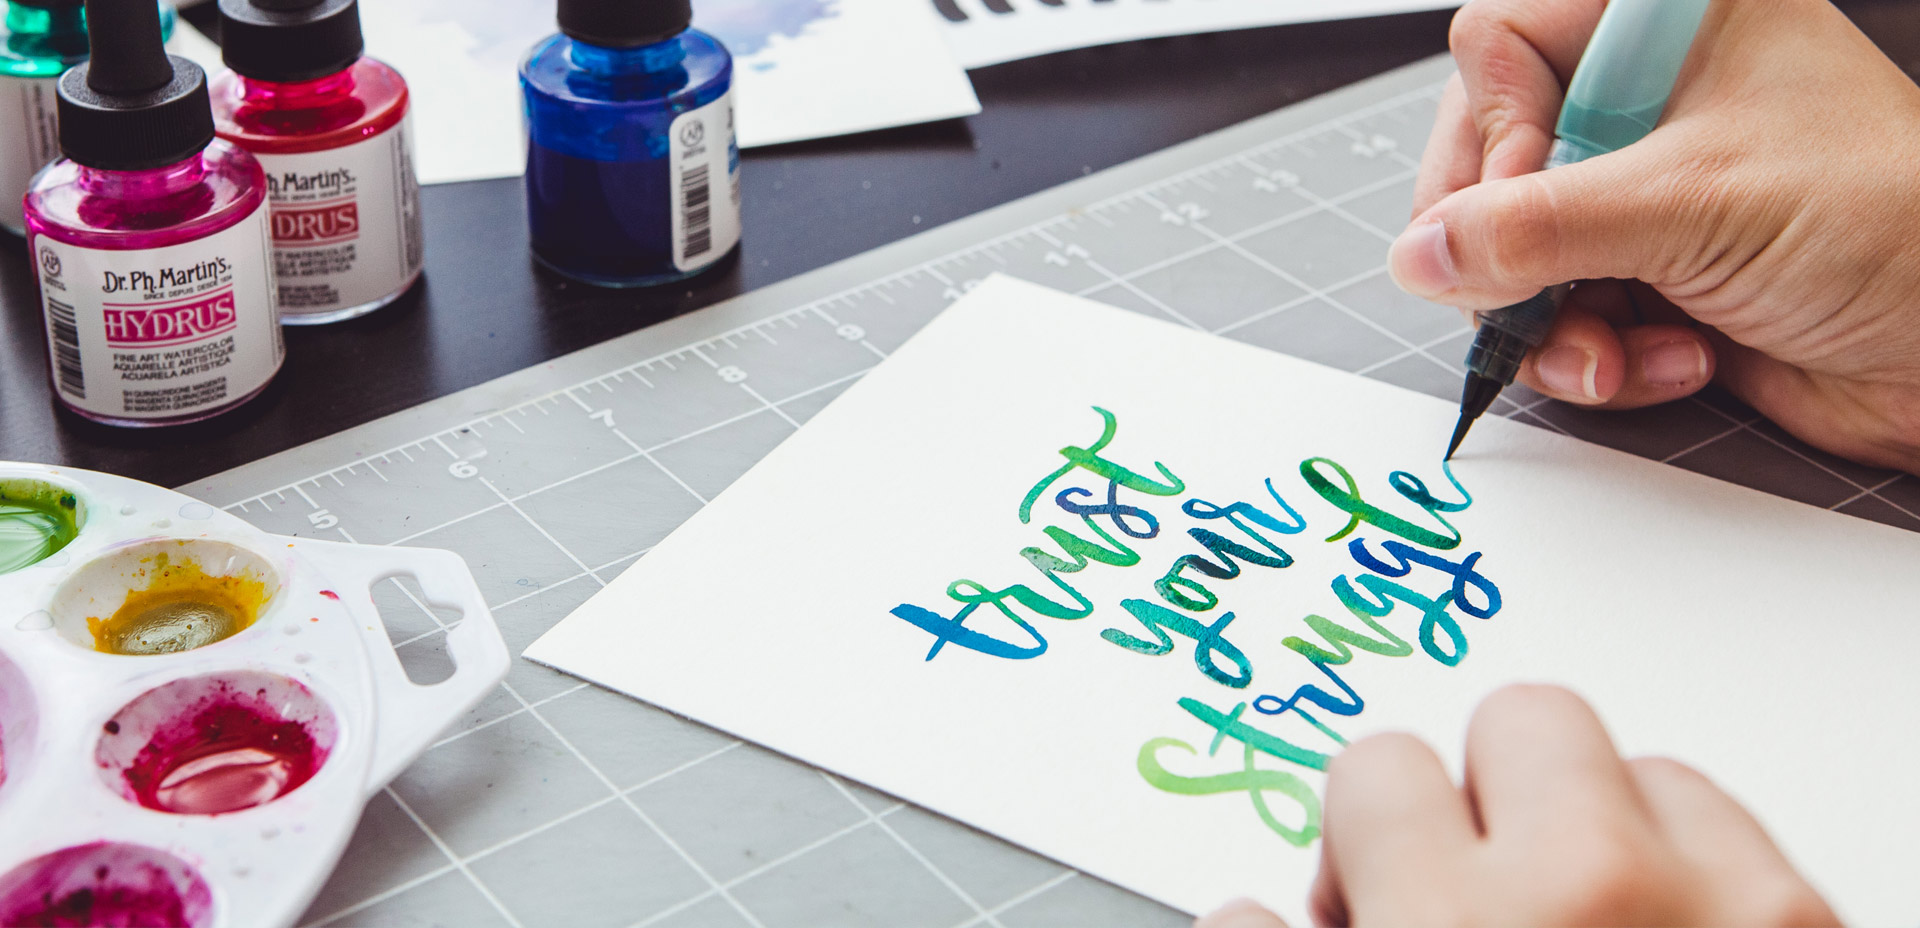
HomePosts Tagged "how to" (Page 20)

how to Tag

Happy Tuesday! These Tuesdays are my favorite because I get to share a class I love and send it out into the world. Today’s class, Fantastic Flourishes, is no different. Being the obsessed-with-lettering kind of person I am, flourishes have a big place in my heart. If you’ve ever wanted to draw better flourishes, integrate them into letters or create hand lettered layouts with beautiful flourishing, this class was made for you. The class is packed with helpful guides, practice sheets, cheat sheets and more. Get all the details and see the full class trailer below!

Happy December! Now that the holiday season is in full swing, I wanted to offer up a fun hand lettering technique for your (any time of the year) stationery, too! This ombre embossing effect is SO eye catching *and* I have a technique that avoids mixing your embossing powders together. Using this technique, you’re able to maximize the life of your powder purchases and create beautiful outcomes, too. Plus, look at the colors on black! I love the vibrancy and contrast embossing straight onto black produces. Swoon. Read on to see it all!

I really hope you’ve been enjoying these holiday Adobe Illustrator tutorials! They’ve been extra fun for me to share, and today’s video is no different. In this tutorial, we’ll create seamless pattern wreaths, once again utilizing the free holiday vector pack. These are really impressive looking and so, so easy to create! In the video, I walk you through the one thing to keep in mind when you make yours and then show how easy they are to use! Read on to see the full video!

Get ready to add some extra beauty to your gifts this year with some custom designed holiday gift tags in Adobe Illustrator! Creating stationery items in Illustrator is honestly one of my favorite parts of graphic design. This week, keeping with the holiday theme, we’ll utilize the free holiday vector pack once again. Grab that vector pack, Adobe Illustrator and about 10 minutes and you’ll have your new gift tags ready for print. Read on to see how!

Happy Thursday! This week was a big week as I finally completed and released the Espresso Roast font trio. As you can imagine, a trio of fonts that all work together and pair stylistically is not a quick accomplishment. This was my first time creating a font trio, so I wanted to post a little about my process to help any aspiring font makers out there 🙂 Here’s a peek inside, along with a font previewer, so you can play with Espresso Roast directly in the post!

Piggybacking off of last week’s tutorial, this week we’re creating a holiday postcard in Adobe Illustrator! We’ll be using the free vectors from the holiday vector pack, so be sure to grab those if you haven’t already. Today is extra exciting, because I just released my newest font Espresso Roast, which we’ll be using, as well. It’s a font trio, so you get an all caps version, a script version and a symbols font. It’s full of fun personality and was designed so all styles pair perfectly together 🙂 Read on to see how to create a complex wreath design quickly using a few easy tips!

Welcome to the first holiday tutorial of the season! To kick things off, I thought it would be fun to create custom holiday gift wrap in Adobe Illustrator. Since gift wrap is essentially a repeating pattern, we’ll be walking through all of the steps of a seamless pattern using the pattern tool. Be sure to pick up last week’s free holiday vectors to follow along exactly! This pattern tutorial is a little different; not only will we create a seamless swatch, I’ll also share how to apply any background color to your pattern quickly (without re-entering the pattern tool)! Once our pattern is complete, we’ll export it and use an online service to upload and customize our gift wrap. By the end of the video, you’ll have everything you need to create your pattern and also get your custom holiday gift wrap printed for real! Everything you need included below!

Last week, we created a realistic foil stamp effect using only illustrator and a seamless foil texture. This week, we’re borrowing some of the same tips, but simplifying. If you don’t have a texture on hand, but still want to add an element of cool, a letterpress effect is a great option. The letterpress effect simulates the impression a polymer plate makes on paper when it’s pressed into it. Letterpress has become increasingly popular over the last 5 years, but fun fact: letterpressing was never meant to be a final print effect. Letterpressing first began as a ‘test’ print before metal plates were developed which create stronger, deeper (and more expensive) impressions. In this week’s tutorial, adjust the settings for however strong of an impression you’d like as we create a letterpress effect entirely in Illustrator.

This past January, we created a foil stamp effect in Photoshop, and I’ve recently had a few requests on how to accomplish the same look in Illustrator. With the holidays fast approaching, now you’ll have plenty of time to use it in Illustrator, too! Not only can this look be applied to typography like in the example, but you can also export it as a graphic style. Exporting graphic styles allows the foil stamp effect in Illustrator to be applied to any vector element, as well. Pretty powerful stuff. At the end of the video, I share how to export those graphic styles to use them in new documents or share them with others. Read on to see it all!

Today is one of the biggest days to date on Every-Tuesday. Our very first long-form, self hosted course (only available on every-tuesday) is officially open today, titled Brush Lettering with Watercolor!

Two years ago, I decided to go all-in with my brush lettering. I tried (what felt like) every supply out there, watched demos, looked at inspiration, read books, you name it. My lettering was improving very slowly, and I experienced a lot of frustration. A lot of overwhelm. A lot of second guessing. It felt like I was doing everything right, but my outcomes just didn’t feel like they were quite there. I started implementing a few new techniques and that’s when things really took a turn for me. I remember the night it finally came together so well, like I had cracked a special code.

If you’ve been here for any length of time, then you know I  have a slight obsession with watercolor. Part of it is mixing beautiful color combinations together, and another is creating abstract and unique textures. Creating unique textures allows you to then use them in designs, producing an outcome no other person is capable of replicating – ever. And that makes everything even more special. As you might imagine, I’ve spent many hours experimenting with watercolors and this week I want to let you in on 3 simple tricks to create unique watercolor textures of your own. It doesn’t matter which kind of watercolors you have on hand, either – these tricks will work with em all 😉

One of my favorite uses for the hand lettering I create is vectorizing it and using it digitally. When it’s digital, you don’t just have one copy anymore; you have unlimited copies. Unlimited copies leaves the door to digital and physical prints massively wide open. By taking a few simple steps, you can quickly digitize your lettering, clean it up in Illustrator and create a print ready file in a matter of minutes. Like I said, one of my favorite things 🙂 This week, I share my full process on how I do it by creating a hand lettered birthday card in Illustrator!

GDPR Icon

Your Privacy Matters

We use cookies to customize and create content that’s most important to you. We’ll never share the info we collect.

View Privacy Policy