HomePosts Tagged "lettering effect"

lettering effect Tag

I am SO excited to announce my newest course today: Watercolor Lettering in Procreate! I’ve spent the last two months refining my process and making all of the projects, then creating bonuses, a brand new brush set, recording + editing and today is finally the day! In this 8 project course, you’ll learn how to create beautiful + realistic watercolor lettering in Procreate! I’ve also included a bonus on floral + foliage foundations since we have a few floral typography projects, too. And to set you up best for success, I’ve included ALL of my watercolor lettering brushes and paper textures, so you can follow along exactly. Read on for all the details + course trailer!

A while back, I created this tutorial where I shared 10 lettering enhancements anyone can do. The responses to the video have been amazing, so this week I wanted to take things a step further with a lettering shadows version! Adding shadows to lettering can really takes things to the next pop-off-the-page level. The best part is they are super simple to implement! Today I’m sharing 10 lettering shadows anyone can do – I even included a free download with them all listed out below 😉 Read on to see the full video!

A few weeks ago, I asked on my Instagram if anyone wanted to learn how to make animated gifs in Procreate. After reading through the responses, I knew I couldn’t stop with just one! So I created 2 tutorials 😉 The first one is meant for beginners: getting the basics down + understanding how the file needs to be built. The second tutorial is a bit more advanced, since we utilize masking to make ‘drawn in’ lettering. Now that Procreate offers an export option for animated mp4s, it’s even easier to post your animations straight to instagram. Read on to see both tutorials!

Within the past week, Procreate released their latest version, which allows you to add text! It’s been really fun playing around with the new feature and seeing how I’ll integrate text into future Procreate artwork. This week, I thought I’d share an easy way to create artwork with text, as well as sharing some masking tips, too. Read on for how to use text in Procreate!

Happy almost-Halloween! With all the fun crafts that Halloween inspires, I couldn’t let it pass without adding a DIY to the mix! It’s been a little while since we had a craft tutorial and this is my biggest one yet. This week, we’ll create some mixed media 3D Halloween lettering you can use as decoration anywhere! We’ll plan it out + paint it with watercolor, add details with fineliner pens AND add some sparkle to finish it off. I’ll take you through my process of painting 3D, pop-off-the-page lettering, as well as how I plan out flourishing to frame the final piece. Read on to create your own mixed media 3D Halloween lettering!

A lot of lettering lovers snagged an iPad Pro this past holiday season! I’m so excited for you to experience the total joy and possibilities that iPad lettering brings: no wasted paper or supplies, endless brush + color combinations and fewer stacks of artwork scattered around the house (just me?). As a graphic designer, I’ve been using Photoshop for nearly 15 years now and Procreate is similar in many, many ways. I’m constantly experimenting with Procreate, seeing if some of my Photoshop tricks carry over there + how to adapt them when the tools operate slightly differently.

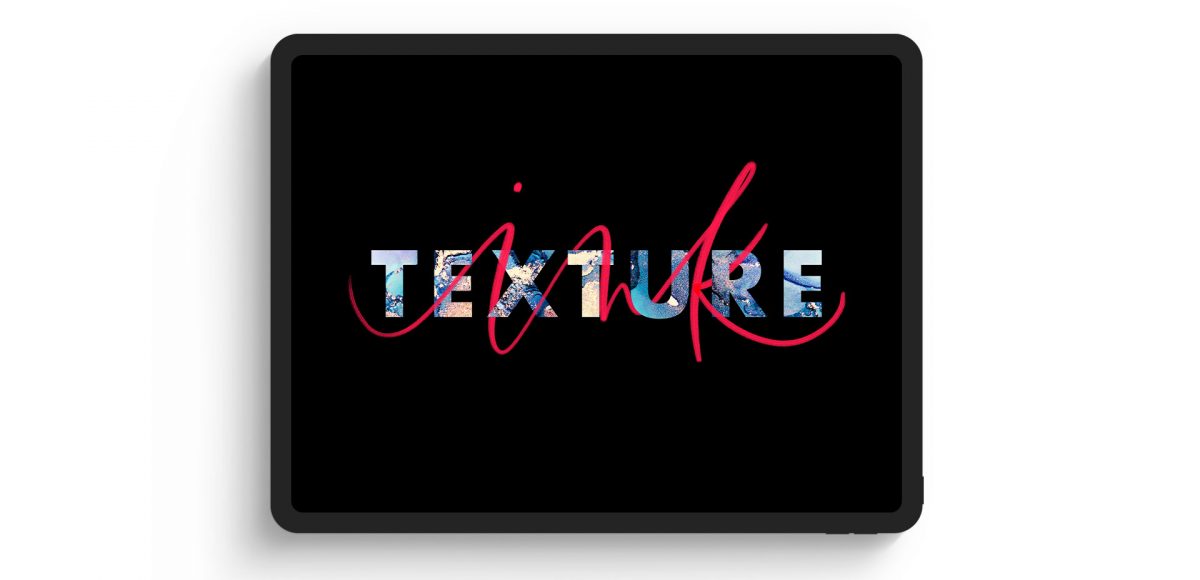
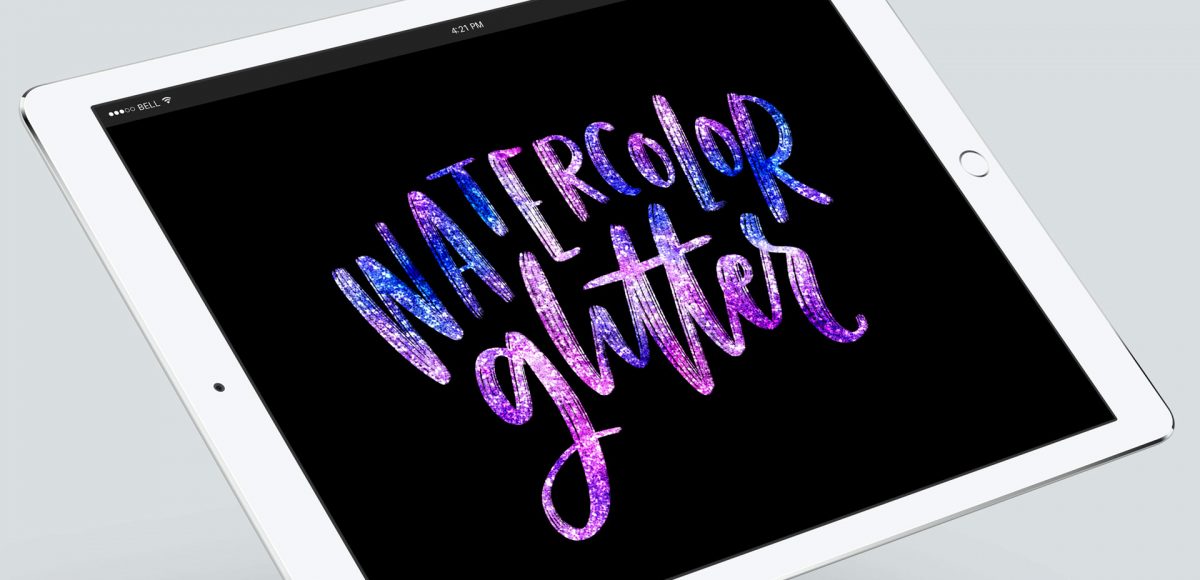
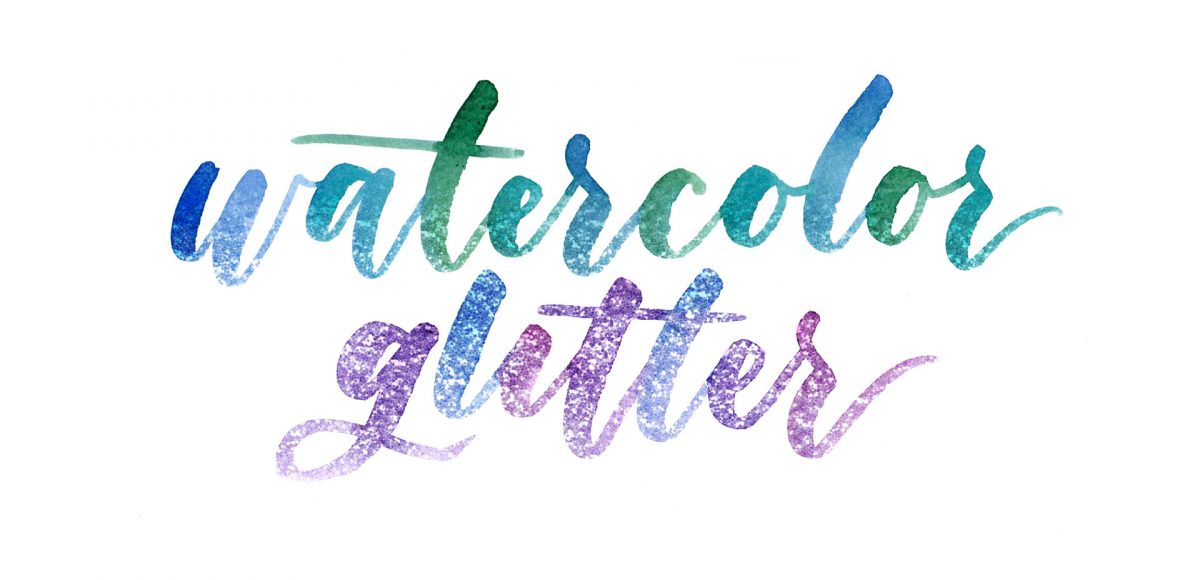
This week, I want to share one of my favorites: combining textures for a watercolor glitter lettering effect! You might already know how to blend textures on top of white for this effect (which I share in the vid), but my little trick will make it possible on any colored background, too, opening up even more possibilities 😉

I actually stumbled upon this effect while playing around in Photoshop with this Instagram post awhile back. It felt like it needed a little something extra, and after playing around with some settings, I was able to get a watercolor glitter effect I really loved. I had completely forgotten about it, then that instagram post randomly appeared in my pinterest feed the other day. That’s when I knew I had to create a tutorial 🙂 If you’re not ready to use your own watercolor lettering yet, I’ve included another option for achieving the same effect using your favorite fonts. Read on to see it all!

Happy Tuesday! This week, I’m excited to revisit the world of watercolor lettering – one of my favorites, for sure 🙂 When Spence and I left our previous jobs, our coworkers gifted us the book, Shadow Type, by Steven Heller and Louise Fili. The binding is already breaking on it, from obsessing over the perfectly executed lettering from back in the day. It’s high on my list of type books, without a doubt. Anyway! As I was looking through it the other day, one of the images caught my attention and I wanted to try it with watercolor. I practiced it over and over until I had a process I was happy with. This week I’m sharing that process – of how to create a debossed watercolor lettering effect.

GDPR Icon

Your Privacy Matters

We use cookies to customize and create content that’s most important to you. We’ll never share the info we collect.

View Privacy Policy