HomePosts Tagged "text effect"

text effect Tag

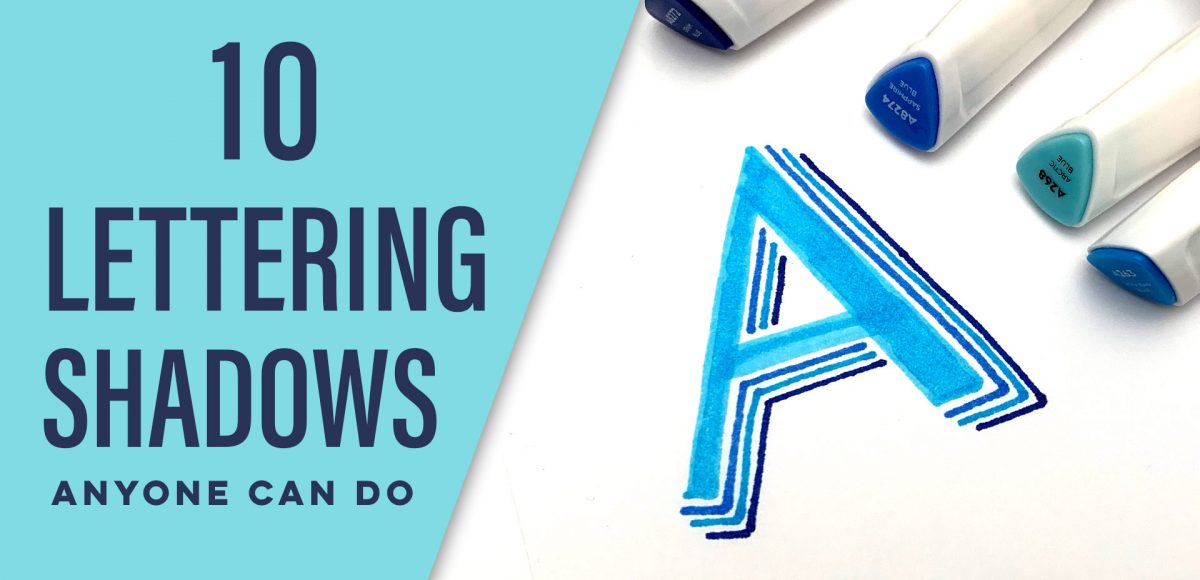
A while back, I created this tutorial where I shared 10 lettering enhancements anyone can do. The responses to the video have been amazing, so this week I wanted to take things a step further with a lettering shadows version! Adding shadows to lettering can really takes things to the next pop-off-the-page level. The best part is they are super simple to implement! Today I’m sharing 10 lettering shadows anyone can do – I even included a free download with them all listed out below 😉 Read on to see the full video!

A few weeks ago, I asked on my Instagram if anyone wanted to learn how to make animated gifs in Procreate. After reading through the responses, I knew I couldn’t stop with just one! So I created 2 tutorials 😉 The first one is meant for beginners: getting the basics down + understanding how the file needs to be built. The second tutorial is a bit more advanced, since we utilize masking to make ‘drawn in’ lettering. Now that Procreate offers an export option for animated mp4s, it’s even easier to post your animations straight to instagram. Read on to see both tutorials!

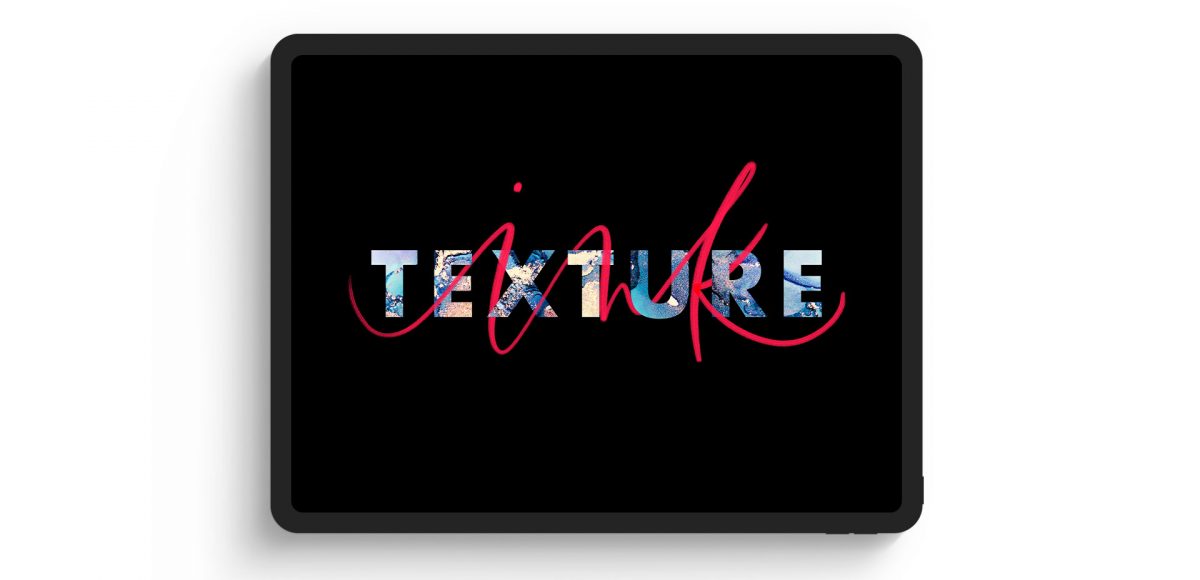
Within the past week, Procreate released their latest version, which allows you to add text! It’s been really fun playing around with the new feature and seeing how I’ll integrate text into future Procreate artwork. This week, I thought I’d share an easy way to create artwork with text, as well as sharing some masking tips, too. Read on for how to use text in Procreate!

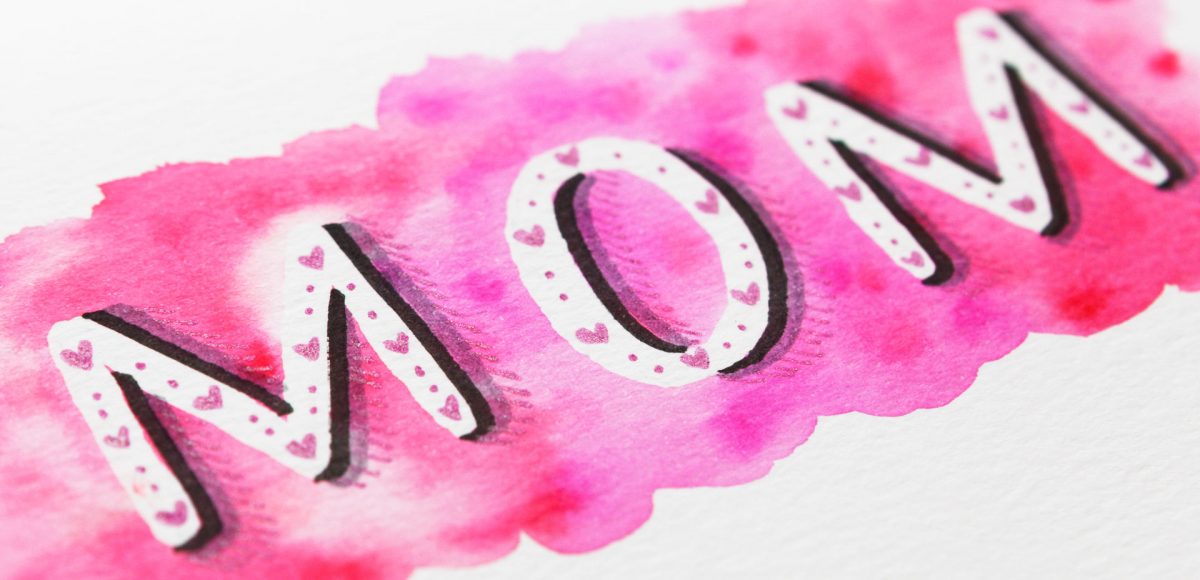
With Mother’s Day right around the corner, this week, we’re DIY’ing a hand lettered watercolor Mother’s Day card! My mom’s birthday is actually on Mother’s Day this year, so I had to think of something extra special 🙂 Cue masking fluid, brush pens, a watercolor effect and some lettering enhancements! In this week’s video, I share my trick for protecting your paint brush with masking fluid, how I cut down watercolor paper for greeting cards, use brush pens to create a watercolor texture and use regular lettering supplies to add final details. Pick up all the supplies shown and catch the full video below!

One of my favorite typography books is Shadow Type by Steven Heller + Louise Fili. I’ve broken the hardcover spine with all of the times I’ve paged through, sticky noted the tops of others and left it flat open, absorbing as much as possible. What’s most impressive is the consistency and creativity with all of that 3D type, perfectly executed by hand. I’m constantly reminded of how lucky we are to have a program like Adobe Illustrator, making things in seconds that once took hours. One shadow type project I’ve been working to perfect is dimensional signage typography. I love how the typography looks 3D and oftentimes has a long shadow, extending in the opposite direction. In this week’s tutorial, I’m sharing my method of creating that signage typography look using Illustrator!

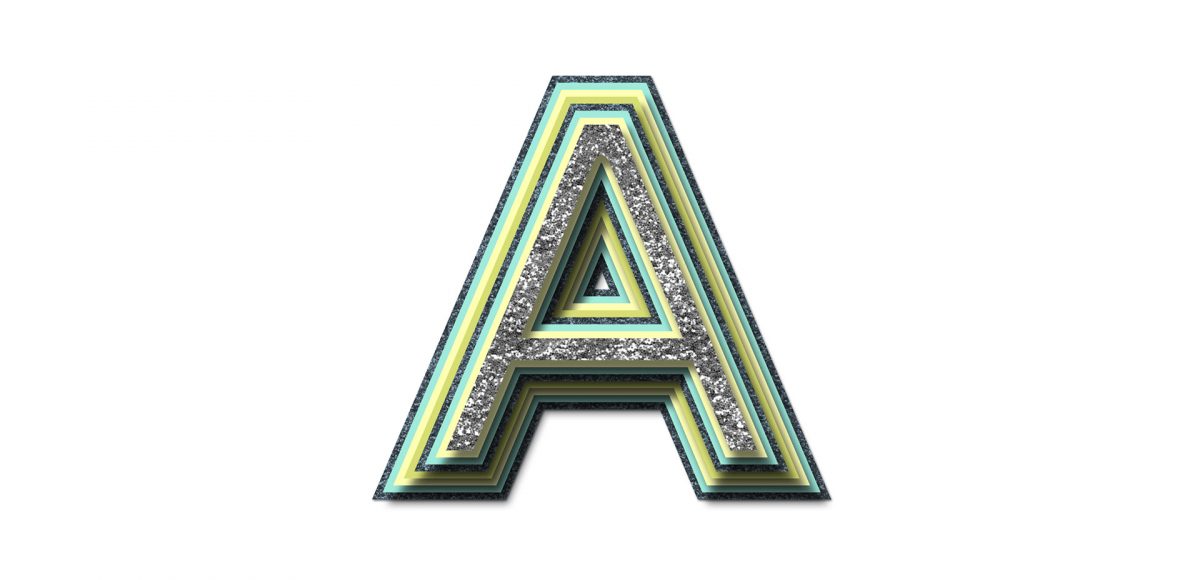
While browsing pinterest last week, I came across this ‘A’ and I knew I had to recreate it digitally. I loved the way the shadows ‘stair stepped’ the different sides, and how those shadows made the letter feel raised. I also liked the fact that I could integrate a bunch of colors without it seeming too busy, and that I could put my own spin on it with some glitter textures. In this week’s tutorial, I’m sharing my process for creating this layered letter effect, using both Illustrator and Photoshop. You can stay in Illustrator the entire way if you’d like, but I discuss my reasons for hopping into Photoshop to finish things off. Read on to see it all!

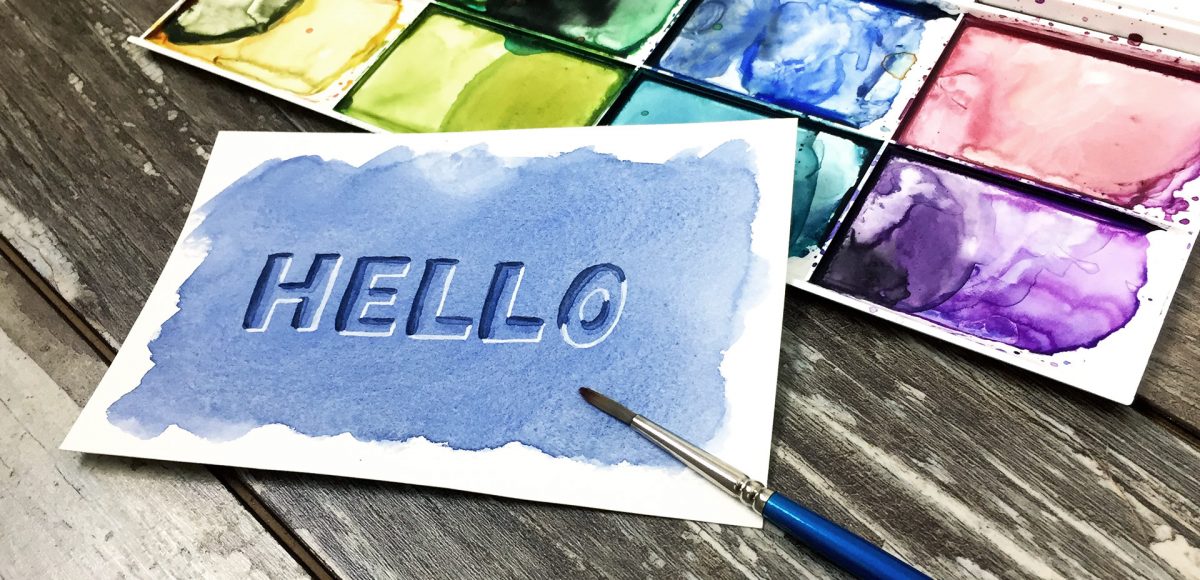
Happy Tuesday! This week, I’m excited to revisit the world of watercolor lettering – one of my favorites, for sure 🙂 When Spence and I left our previous jobs, our coworkers gifted us the book, Shadow Type, by Steven Heller and Louise Fili. The binding is already breaking on it, from obsessing over the perfectly executed lettering from back in the day. It’s high on my list of type books, without a doubt. Anyway! As I was looking through it the other day, one of the images caught my attention and I wanted to try it with watercolor. I practiced it over and over until I had a process I was happy with. This week I’m sharing that process – of how to create a debossed watercolor lettering effect.

Last week, we created a realistic foil stamp effect using only illustrator and a seamless foil texture. This week, we’re borrowing some of the same tips, but simplifying. If you don’t have a texture on hand, but still want to add an element of cool, a letterpress effect is a great option. The letterpress effect simulates the impression a polymer plate makes on paper when it’s pressed into it. Letterpress has become increasingly popular over the last 5 years, but fun fact: letterpressing was never meant to be a final print effect. Letterpressing first began as a ‘test’ print before metal plates were developed which create stronger, deeper (and more expensive) impressions. In this week’s tutorial, adjust the settings for however strong of an impression you’d like as we create a letterpress effect entirely in Illustrator.

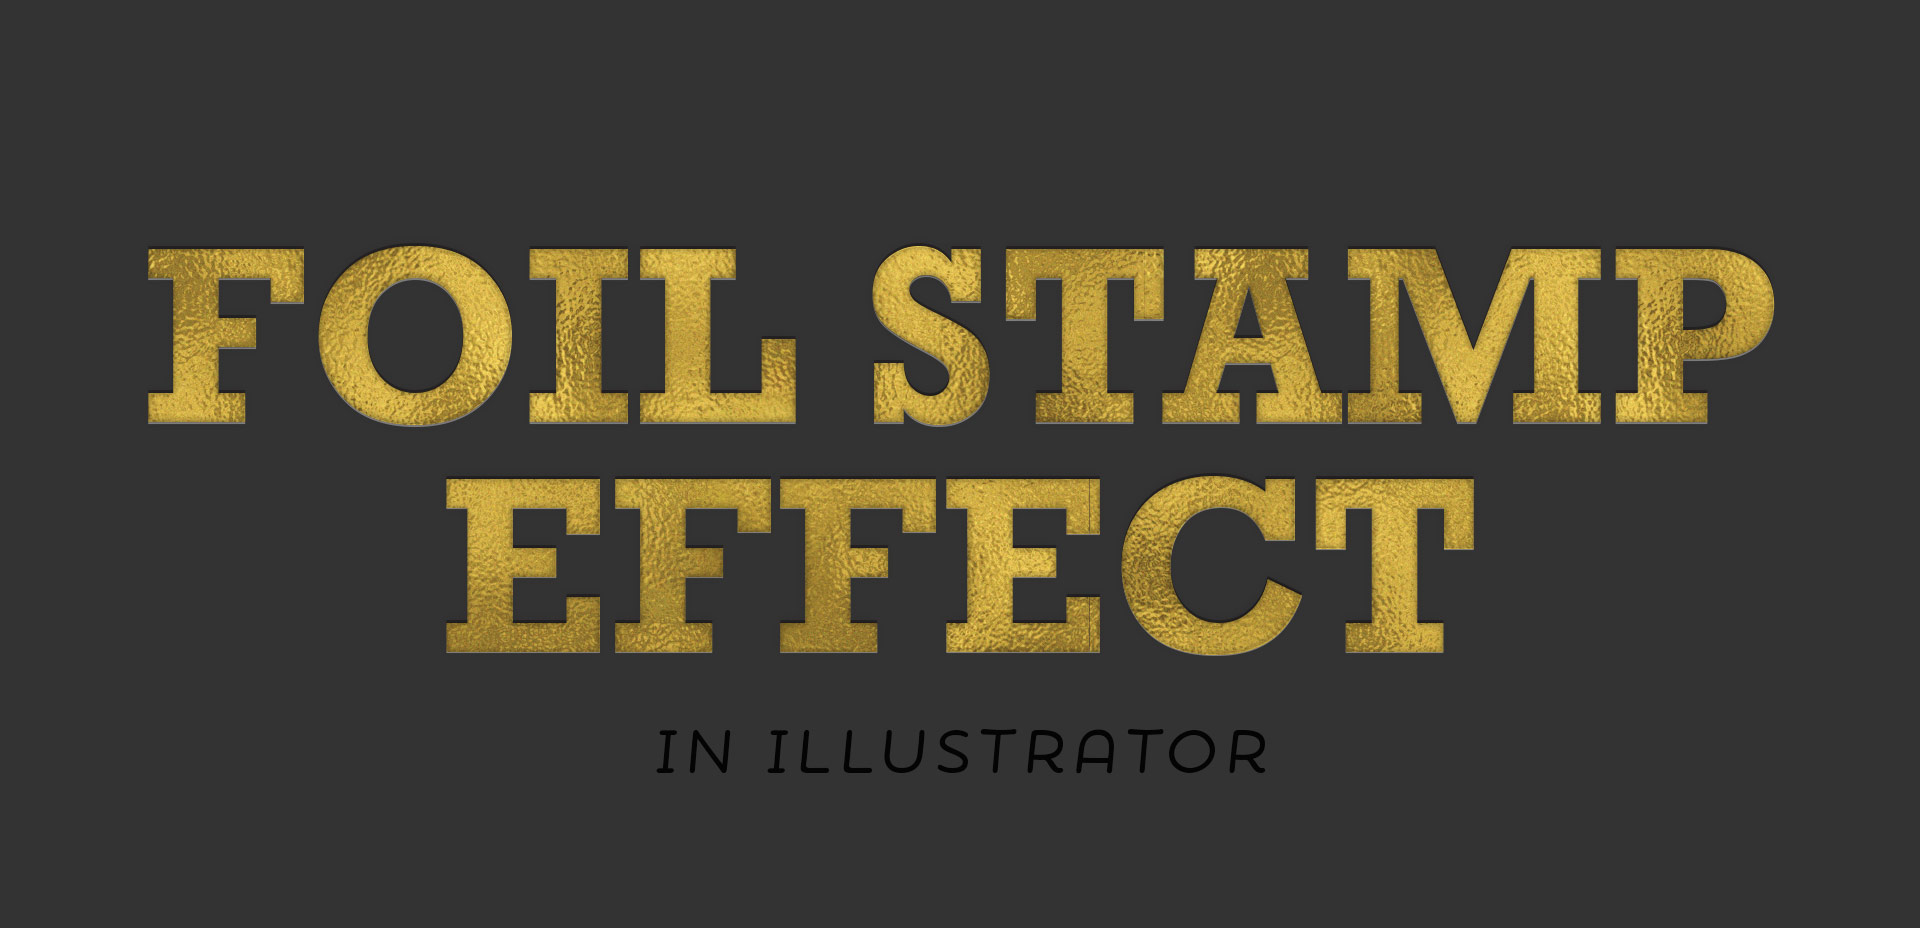
This past January, we created a foil stamp effect in Photoshop, and I’ve recently had a few requests on how to accomplish the same look in Illustrator. With the holidays fast approaching, now you’ll have plenty of time to use it in Illustrator, too! Not only can this look be applied to typography like in the example, but you can also export it as a graphic style. Exporting graphic styles allows the foil stamp effect in Illustrator to be applied to any vector element, as well. Pretty powerful stuff. At the end of the video, I share how to export those graphic styles to use them in new documents or share them with others. Read on to see it all!

I’ve had a few requests on how to replicate the look of the incredible artwork by Eiko Ojala and I’m so excited to share my interpretation of it this week. This week’s tutorial is a little more advanced, but I have tutorials for every part I speed through and I’ve linked to all of them under the video if you’d like a more thorough explanation. This technique can be used for so many cool applications – logos, greeting cards, branding, web graphics, etc. We’ll start out in Illustrator creating our organic shapes and finish everything up in Photoshop, adding in shadows and textures to complete the layered letter look. See how it all comes together below!

GDPR Icon

Your Privacy Matters

We use cookies to customize and create content that’s most important to you. We’ll never share the info we collect.

View Privacy Policy