HomePosts Tagged "watercolor" (Page 5)

watercolor Tag

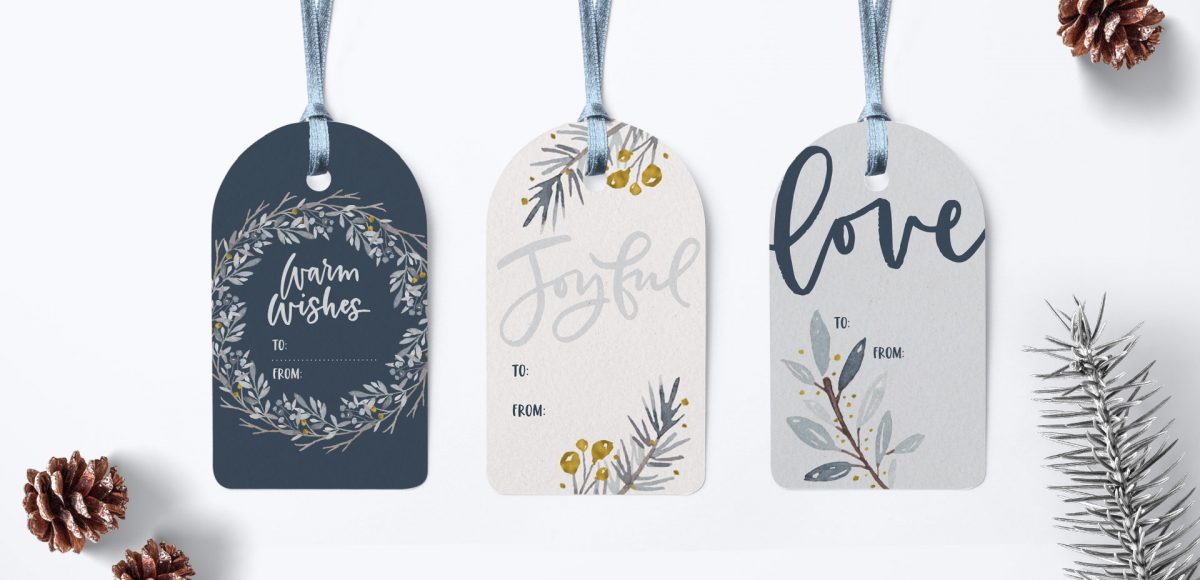
We’re continuing the winter watercolor stationery theme this week with another holiday tutorial! If you missed the holiday postcard a couple weeks ago, be sure to check out this post! This week, we’re creating winter watercolor gift tags in Illustrator and we’ll once again be using watercolor elements from the free mini kit (download it below!) as well as the full kit. If you’re looking for more Illustrator gift tags tutorials, I’ve got you covered here, too 😉 Read on for how we create these winter watercolor ones!

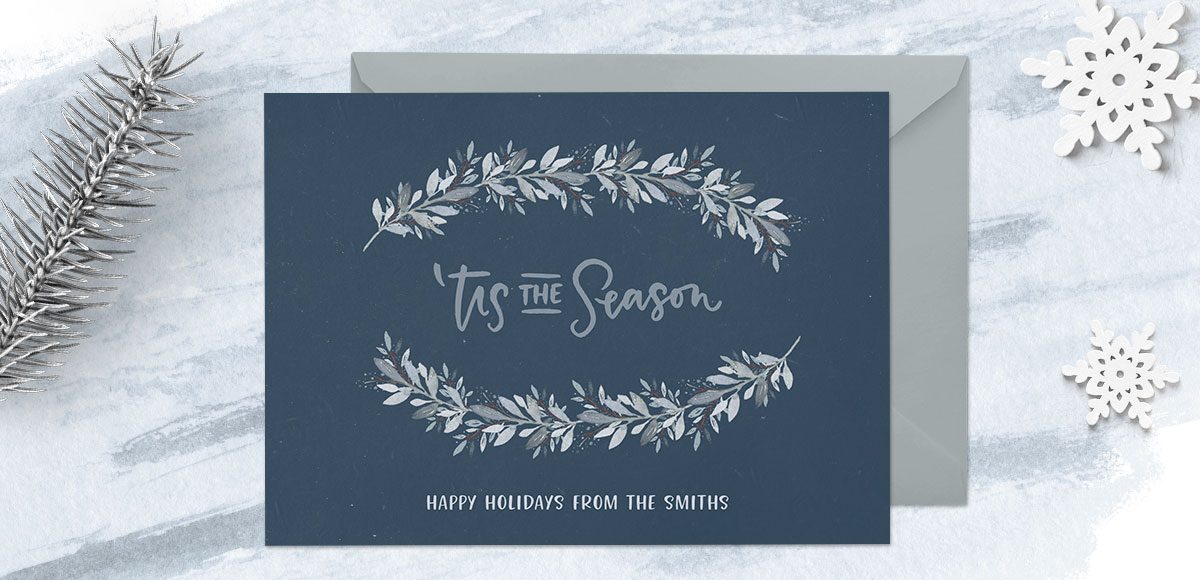
With the holidays fast approaching, Spence and I decided to create a special gift for Every-Tuesday readers this year! Introducing the Winter Watercolor Mini Kit! Below, you can download a kit of winter watercolors as transparent pngs which I painted and Spence enhanced in Photoshop for your holiday needs 🙂 Over the next month and a half, I’ll be sharing tutorials using elements from the mini kit and elements from the full kit available here. Let’s kick this off with a winter watercolor holiday postcard!

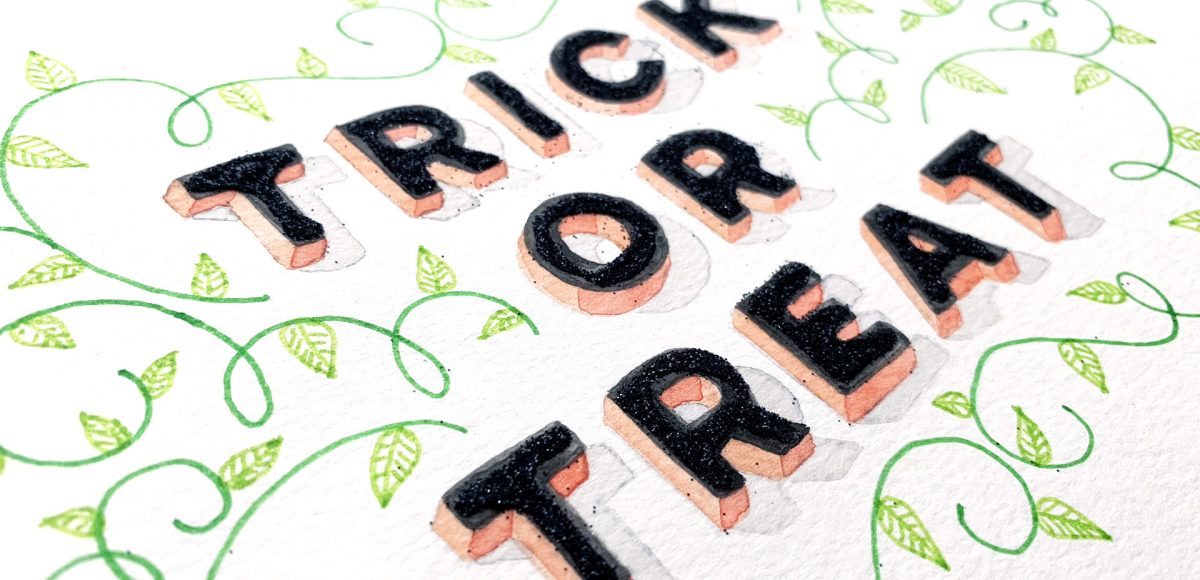
Happy almost-Halloween! With all the fun crafts that Halloween inspires, I couldn’t let it pass without adding a DIY to the mix! It’s been a little while since we had a craft tutorial and this is my biggest one yet. This week, we’ll create some mixed media 3D Halloween lettering you can use as decoration anywhere! We’ll plan it out + paint it with watercolor, add details with fineliner pens AND add some sparkle to finish it off. I’ll take you through my process of painting 3D, pop-off-the-page lettering, as well as how I plan out flourishing to frame the final piece. Read on to create your own mixed media 3D Halloween lettering!

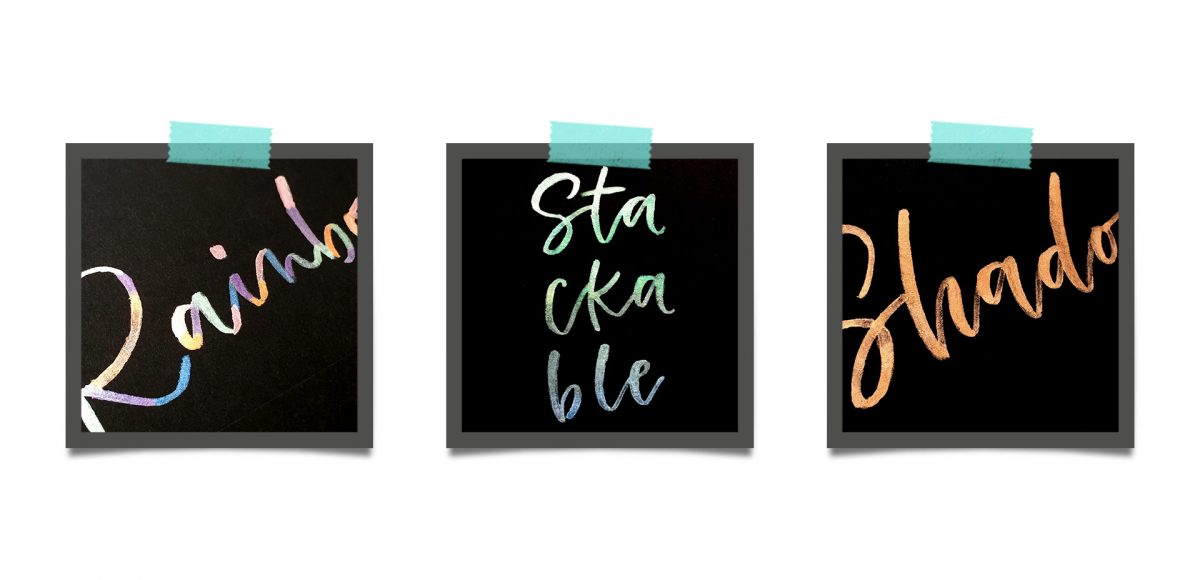
Last year, I bought myself a big pack of Coliro Colors FineTec metallic watercolors for my birthday. I had experimented with their gold collection earlier and couldn’t wait to have more colors to play with. The rest of the year, I obsessed with using them on new lettering pieces, custom greeting cards for friends and family – anything I could think of. The way they glimmer in the sunlight is so beautiful, I was constantly looking for ways to create other shiny outcomes 🙂 I broke them out again the other day and realized I never shared my blending methods in a tutorial, so it was time for that to change! These watercolors get thick + dry pretty fast, so blending can be a little more complicated than traditional watercolors. In this week’s tutorial, I walk you through 3 blending effects using metallic watercolors with all of my favorite, long-tested tricks 😉 Read below for them all!

We kept things all digital last month, so I thought we could start this month with some watercolor! Even if gemstones or jewels aren’t your thing, this is a great exercise on mixing colors and how those colors can inform the depth of an object. We also sketch out the geometry from scratch without using a ruler and you can use these methods for other geometric-based layouts in the future, too! Since we’re using water-based brush pens, this is something you can create on the go with limited materials. Read on to paint a watercolor jewel using brush pens!

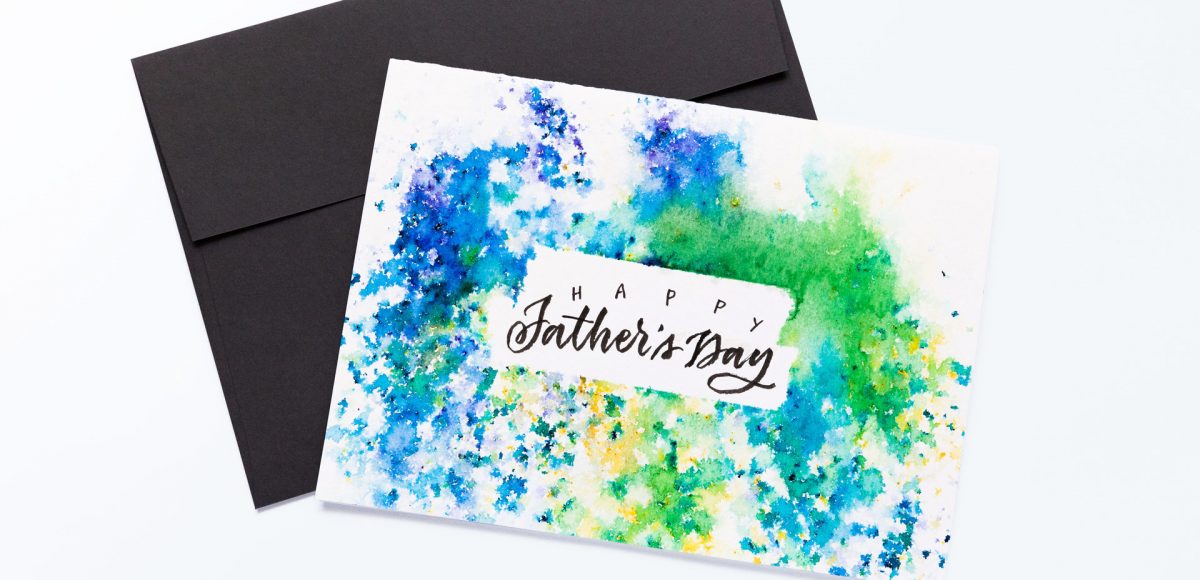
One of my favorite discoveries of the past year is a product called BRUSHO. It’s essentially concentrated, powdered watercolor, and it’s awesome. It took me some time to find the best process for using it with my DIY artwork, so in this week’s tutorial, I’m sharing everything I’ve learned! Skip all the troubleshooting/wasted material I went through and let’s create a Father’s Day card using BRUSHO together!

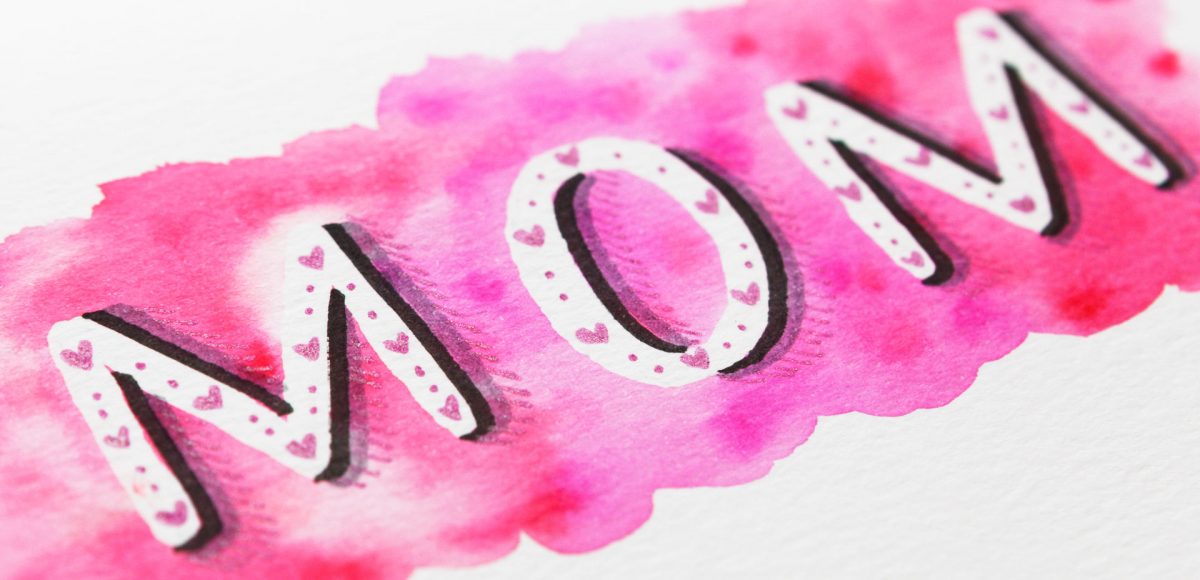
With Mother’s Day right around the corner, this week, we’re DIY’ing a hand lettered watercolor Mother’s Day card! My mom’s birthday is actually on Mother’s Day this year, so I had to think of something extra special 🙂 Cue masking fluid, brush pens, a watercolor effect and some lettering enhancements! In this week’s video, I share my trick for protecting your paint brush with masking fluid, how I cut down watercolor paper for greeting cards, use brush pens to create a watercolor texture and use regular lettering supplies to add final details. Pick up all the supplies shown and catch the full video below!

Happy Tuesday! This Tuesday is one of my favorites because a new course just went live! I’m often asked how I created my watercolor leaves and florals kit, so instead of describing it, I decided to teach it all! All 4 hours of the *entire* process from painting to selling 😉 In Watercolor Florals for Graphic Design, you’ll learn how to paint, digitize, enhance and sell digital watercolor florals online. This week I wanted to share the course’s trailer and go over a summary of all the class details. The course’s clickable resources list is available as a free download below, so you have everything you need to get started. Read on to grab those details!

Next Monday, March 26th, I’ll be releasing my newest course titled Watercolor Florals for Graphic Design! I’m often asked how I created this watercolor leaves and florals kit, so I thought I’d share the entire process, from start to finish. In the course, you’ll learn how to paint, scan, digitize, enhance and sell digital watercolor florals. Part of creating florals meant to be used digitally (in Illustrator, Photoshop or templates you’d like to sell) require them to be created individually (vs. painting a full bouquet). Once they’re created and edited, you can then create an infinite number of arrangement and bouquet combinations using them. This makes painting just a few florals to start with really powerful, because they can lead to a large kit full of options.

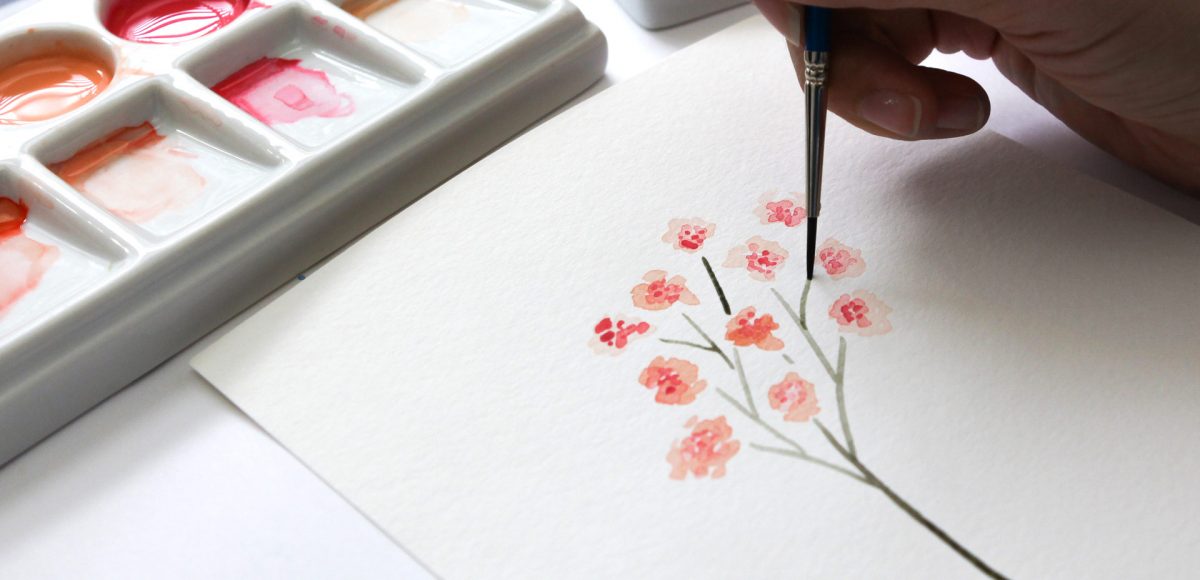
Even though the course officially opens next Monday, today I wanted to share a video from the course on how to paint 4 loose style small watercolor florals. I’m giving away the course’s clickable resources list for free in this post, so you’ll have everything  you need to get started. If you’re an Every-Tuesday subscriber, you’ll also receive a special gift in your email the day the course opens 😉 Read on for the full tutorial and free resources download!

A few weeks ago, I shared some watercolor texture tricks using brush pens and I thought it’d be fun to follow it up with lettering effects! If you’re short on space, brush pens are a great alternative for creating beautiful + vibrant watercolor creations. In this week’s video, I’ll take you through 3 of my favorite watercolor lettering effects using brush pens!

Can you believe Valentine’s Day is next week?! If you’d like to DIY this year, this watercolor florals Valentine’s Day card in Adobe Illustrator can be created on a lunch break 😉 In this week’s tutorial, we create a quick and simple vector heart, then surround it with watercolor florals and a radial gradient background. It’s a print ready file, so you’ll be good to go for printing at home from start to finish. If you’re new to working with digital watercolor florals, there’s a free mini kit below to get you started!

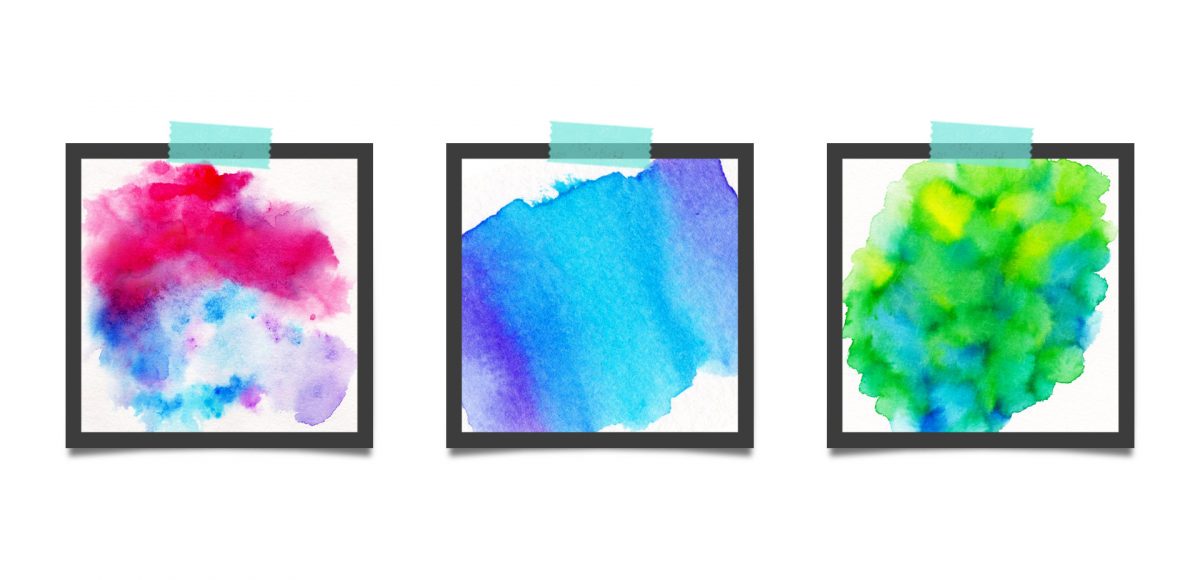
This week, we’re returning to one of my favorite topics: watercolor textures! Ever since I received these brush pens in the mail, I have been swooning over all of the cool textures I’m able to create – and quickly, too! These are the most vibrant watercolor-simulated outcomes I’ve been able to achieve with brush pens, which makes the creation process that much more fun. Use these as backgrounds for your lettering, or even scan them in and make a digital texture or repeat pattern out of them! Read on to see 3 different watercolor texture tricks using brush pens below.

GDPR Icon

Your Privacy Matters

We use cookies to customize and create content that’s most important to you. We’ll never share the info we collect.

View Privacy Policy