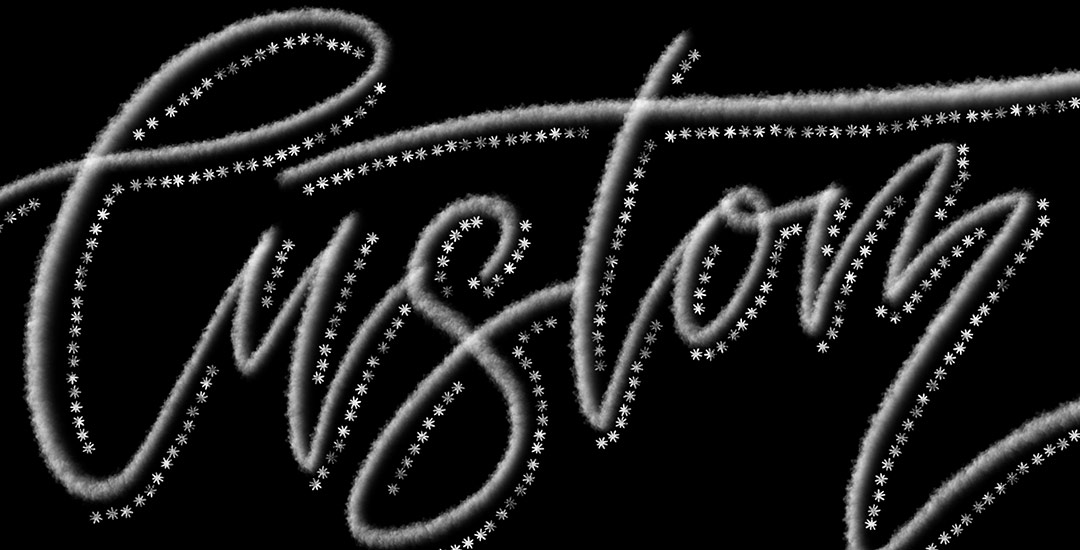
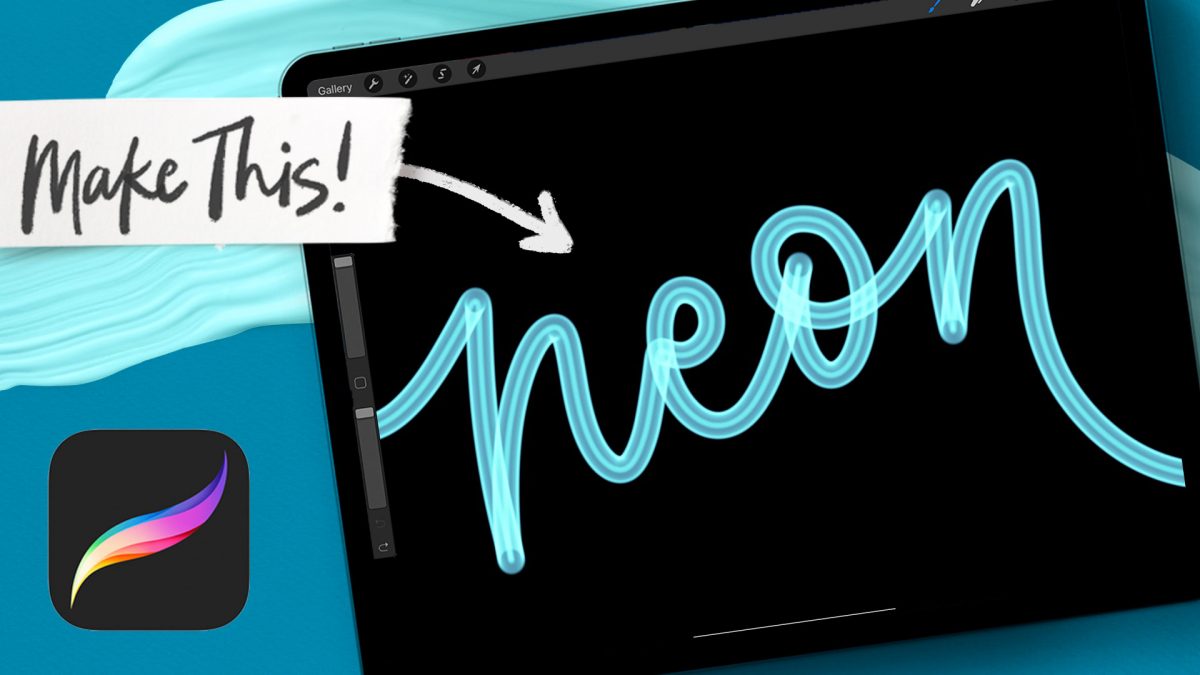
HomePosts Tagged "custom"

custom Tag

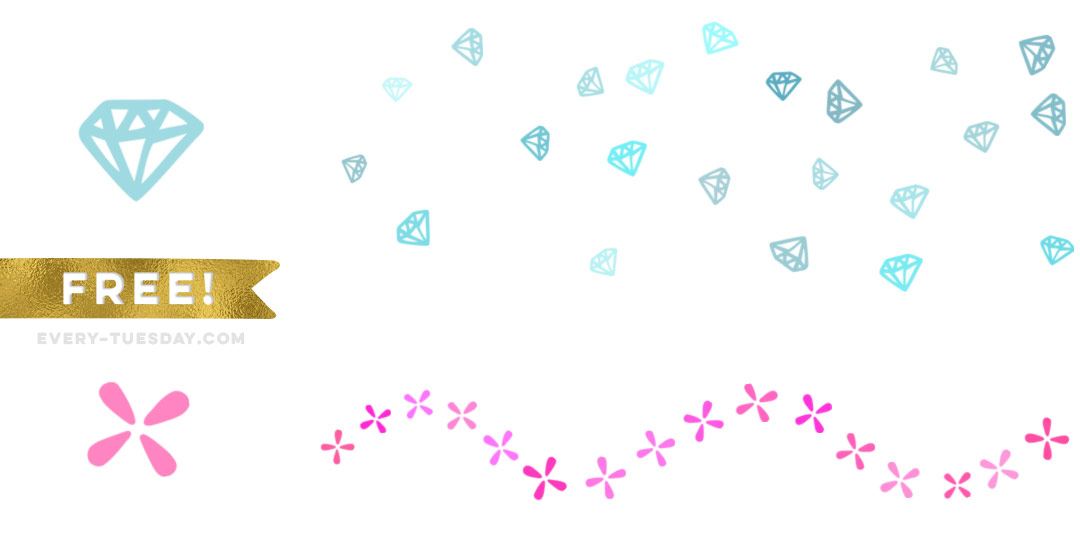
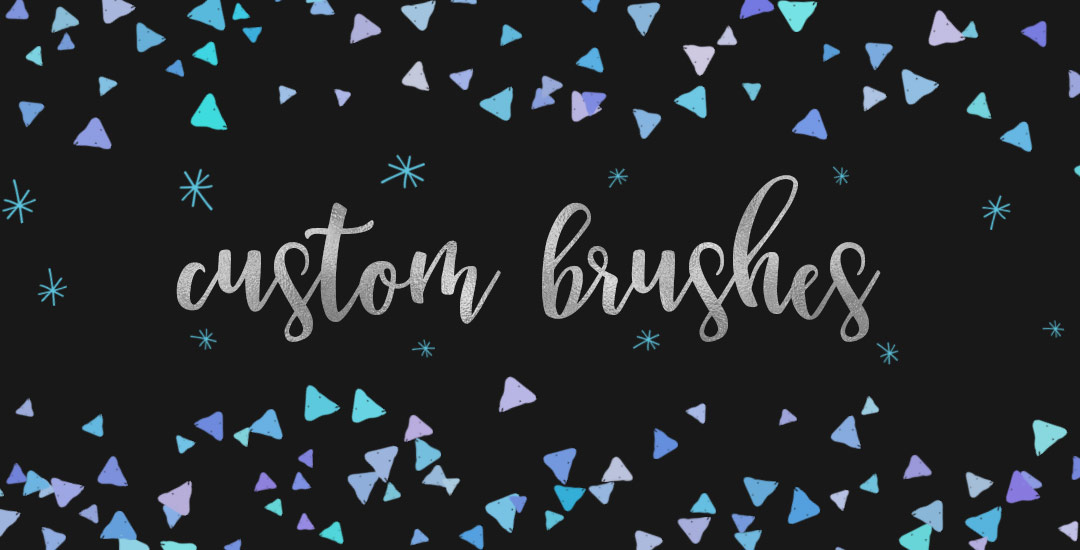
This week, we’re making a custom neon Procreate brush! Becoming familiar with the basics when it comes to custom brushes can be so powerful in personalizing any brush to fit your needs. And what could be more fun than a brush that glows when you use it?! If you’d like to change up this one’s shape, I’m also sharing how to make any brush appear to be glowing 😉

I realized I haven’t made a tutorial on custom brushes in awhile and especially since Procreate has added so many new options to making them. In the spirit of springtime (my favorite season), this week I’m sharing how to create a custom watercolor floral scatter brush *and* 3 quick ideas on how you can use it after it’s made!

Happy Tuesday! I’m not gonna lie, this week’s tutorial is one of my favorites. Essentially, we’re combining the watercolor photoshop brush tutorial from a few weeks ago with last week’s ribbon tutorial. And we’re doing it all in Illustrator and keeping things simple and easy 😉 We’ll start by taking some watercolor textures on transparent backgrounds (like these, these or these), and then directly convert them into watercolor texture brushes in Illustrator. You’ll be able to transform the textures into any shape using the brush tool to create beautiful results. Create them once, then save them out for infinite future uses, too! Read on to see how!

If you’re just diving into Illustrator, this week’s tutorial is perfect for beginners! We’ll go over some very basic, but powerful tools that you can use in different ways well into the future. In this tutorial, we create a simple ribbon brush together (from scratch) using Adobe Illustrator. We’ll talk about different brush settings, customizing your ribbon before and afterwards, and even how to save it for future use. Everything you need to get started is below!

One of the questions I’m asked most often about iPad lettering is how to use vectors with Procreate. The very short answer is: you can’t. But! There *are* some workarounds you can use if you’d like to either integrate your vectors within Procreate or vectorize your Procreate artwork later on. Everything you need to know about why that is and how to adjust is below!

In my Intro to iPad Lettering class, we went through the entire library of brushes Procreate offers (which is amazing) and we also went over how to alter those same default brushes. If you’re looking for something less standard and more custom, Procreate allows you to create your own brushes from scratch, too! I love thinking up a doodle or a texture I haven’t seen in their library and being able to start using my own right away. In this week’s tutorial, I’ll share my full process on how to create custom Procreate brushes from scratch using Photoshop to perfect the design or texture and Procreate to apply brush settings. All the details below!

It’s been far too long since I created a freebie outside of the monthly desktop wallpapers, so today that is changing! If you checked out Tuesday’s tutorial, we went over all of the settings to create any custom Photoshop brush you’d like. Today’s freebie puts those settings into practice and includes 2 dynamic Phototshop brushes for you to use at will, on anything you’d like. If you have a Wacom tablet, pressure settings for size variation are already built into each brush 🙂 If you don’t have a Wacom, no sweat – the size will vary randomly instead of based on pressure. Install instructions are also included so you can begin using both brushes right away (use with Photoshop, CS3 or newer). Preview images and download link below!

Creating custom brushes in Photoshop is one of my favorite things to do! I love using them for lettering (paired with a wacom tablet), extra decorative elements or just to add a little bit of unique style to whatever I’m making. What’s even better is that they are really quick and easy to make and Photoshop offers a ton of settings to truly make them original. If you’ve checked out my Intro to Photoshop class, you could easily integrate a custom brush to really make your layout special!

In this week’s tutorial, I’ll walk you through what all of those settings do and we’ll create a custom brush in Photoshop together. At the end of the tutorial, you’ll have everything you need to start creating and using your own brand spankin’ new brushes 🙂 Everything is below!

Happy Tuesday! A few months ago, I shared how to create a confetti brush in Photoshop and I’ve gotten a few requests since then on how to do the same in Illustrator. It’s a slightly different process, but can absolutely be done! In this week’s quick tip tutorial, I share how to create a confetti brush in Illustrator using two different examples: uniformly sized circular confetti and randomly scaled and rotated star confetti. This time of year, when real confetti is imminent, now you’ll have limitless digital confetti potential, too! Read on to see how!

We are one week into December, which means we have one less week to send out holiday postcards! Since we created some nice holiday assets the last couple of weeks, I wanted to share how you could easily repurpose them for a holiday photo postcard, 3 ways. In this week’s tutorial, we’ll create a print ready holiday photo postcard in Photoshop with a little help from the Glitz + Glam Kit to quickly and easily get your holiday postcards off of your to do list 🙂 The final postcard is sized 7″x5″ and can fit snugly into any A7 sized envelope. Full tutorial, links to recommended online printers, fonts used and past tutorials all listed below!

Happy Friday! I’m so excited to announce the conclusion of the Font Project this week! It’s been a great 6 weeks learning how to really take a font from some doodled letters on paper, to typing on screen. I know I still have a ways to go with learning the ins and outs of Glyphs Mini (as with any kind of software), but it’s a challenge I’m looking forward to take on. I have a few final tips I wanted to share from this week’s work, and I also want to announce that my new font has a name and it’s available for download! Read on for it all!

GDPR Icon

Your Privacy Matters

We use cookies to customize and create content that’s most important to you. We’ll never share the info we collect.

View Privacy Policy