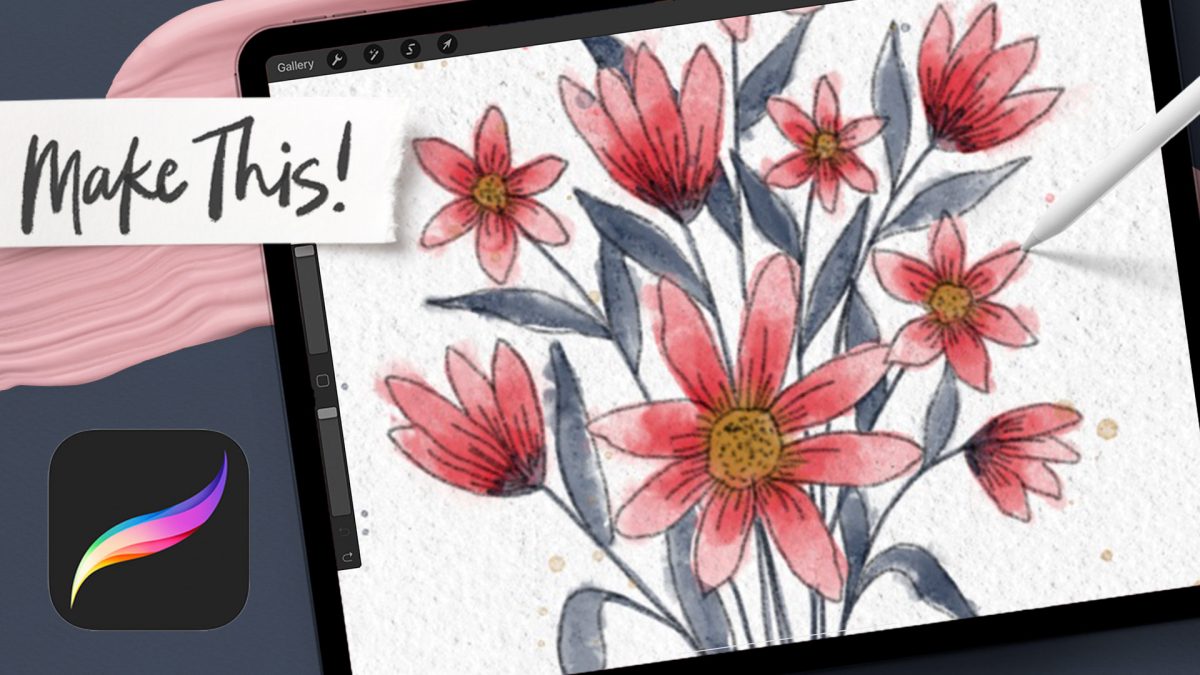
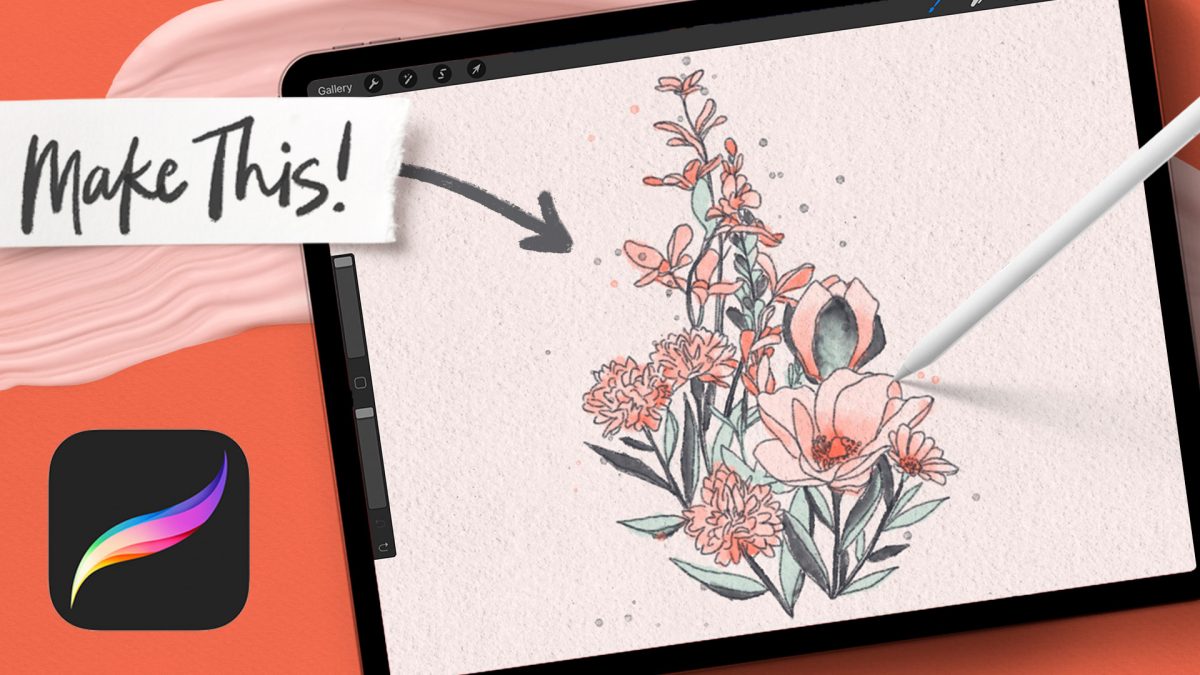
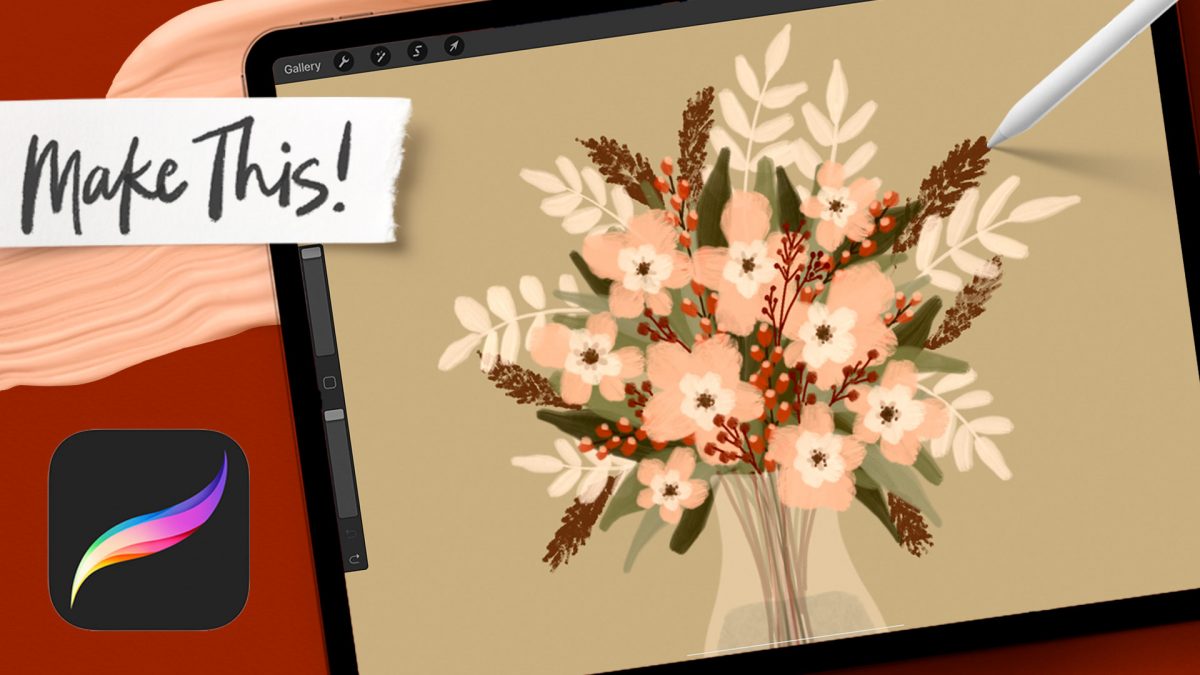
Home2021 (Page 2)

October 2021

I just loooove a layered illusion, especially when it’s made of simple elements where your eyes don’t have to focus on a zillion things. What’s better is being able to replicate that same process with any element! Today I’m sharing a really easy method for an impactful depth illusion and we’re doing it all with *one* brush. Use this on stationery, social media posts, quote graphics…you name it!

Ok, I know summer is coming to an end (I’m probably in the minority here, but I’m not ready!) and we’ve had the sweetest little wild strawberries growing by the country roadside in Georgia, so this is me clinging onto what’s left of the season in one last summer-ish tutorial. Plus, how cute and delicious does this little gem of a berry look?! 🍓 (Don’t worry, I’ve got brand new fall tuts in the queue – they’re on their way!)

Happy Tuesday! This week, we’re focusing on embellishing lettering with some simple, but striking 3D effects! We’ll begin by centering stacked lettering, adding an inline, then we’ll add in that 3D goodness with an extrusion, extrusion details, an extrusion long shadow and we’ll finish it off with a hairline highlight.

I’ve had a few requests for advanced tutorials, so if you’re up for a challenge, this week’s tutorial is for you! This is one of my favorite depth effects when it comes to lettering; I love how it starts out completely flat and things pop forward more and more as you go – soooo satisfying! You can use this same effect on overlapping shapes or even your favorite font if you don’t want to use lettering – win, win!

Spoiler: anyone who freehands beautiful line art florals practiced them by tracing or copying them at some point in time. Instead of just tracing them this week with one line, we’ll be pulling a section of florals from an existing bouquet, customize it to fit our needs, then bring the line drawing to life by adding some digital watercolor with pretty blends to finish it off. Although it starts with a basic trace, it finishes with a completely original piece of work you can use for any occasion. ✨

This week, we’re making a custom neon Procreate brush! Becoming familiar with the basics when it comes to custom brushes can be so powerful in personalizing any brush to fit your needs. And what could be more fun than a brush that glows when you use it?! If you’d like to change up this one’s shape, I’m also sharing how to make any brush appear to be glowing 😉

GDPR Icon

Your Privacy Matters

We use cookies to customize and create content that’s most important to you. We’ll never share the info we collect.

View Privacy Policy