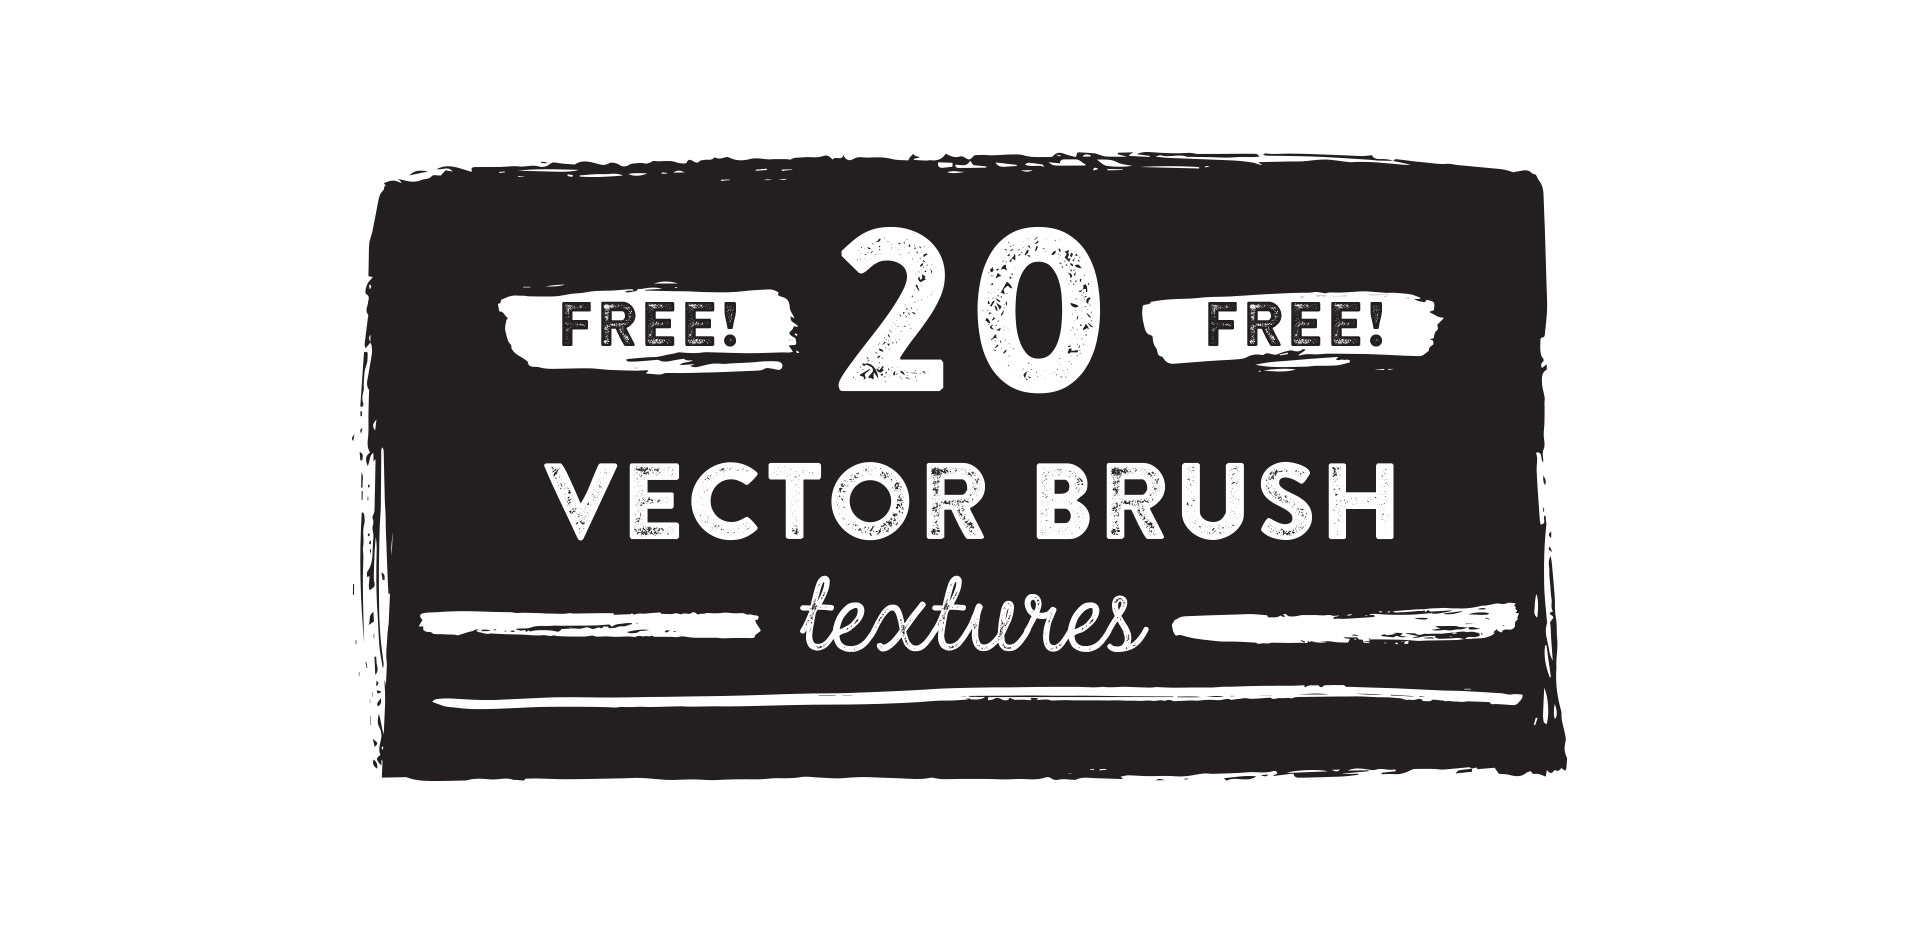
HomePosts Tagged "brush" (Page 3)

brush Tag

It’s been far too long since I created a freebie outside of the monthly desktop wallpapers, so today that is changing! If you checked out Tuesday’s tutorial, we went over all of the settings to create any custom Photoshop brush you’d like. Today’s freebie puts those settings into practice and includes 2 dynamic Phototshop brushes for you to use at will, on anything you’d like. If you have a Wacom tablet, pressure settings for size variation are already built into each brush 🙂 If you don’t have a Wacom, no sweat – the size will vary randomly instead of based on pressure. Install instructions are also included so you can begin using both brushes right away (use with Photoshop, CS3 or newer). Preview images and download link below!

Creating custom brushes in Photoshop is one of my favorite things to do! I love using them for lettering (paired with a wacom tablet), extra decorative elements or just to add a little bit of unique style to whatever I’m making. What’s even better is that they are really quick and easy to make and Photoshop offers a ton of settings to truly make them original. If you’ve checked out my Intro to Photoshop class, you could easily integrate a custom brush to really make your layout special!

In this week’s tutorial, I’ll walk you through what all of those settings do and we’ll create a custom brush in Photoshop together. At the end of the tutorial, you’ll have everything you need to start creating and using your own brand spankin’ new brushes 🙂 Everything is below!

Happy Tuesday! I want to start by saying wow to everyone who has checked out Bounce Lettering! I’m so grateful for all of the kind feedback and I am so impressed and inspired by all of the wonderful projects that are coming out of the class! I thought I’d take bounce lettering/waterbrush lettering even a little further this week with a free add-on tutorial to both classes.

A style that is gaining in popularity over on Instagram is rainbow brush lettering. It would take foreverrrr to alternate colors to form a word, let alone form the word as pretty as you’d like with so many re-dips. In this week’s video, I’m sharing a trick for applying a rainbow of color to your brush lettering without a zillion re-dips in the process 🙂 There are two methods shown in the video – one to ease you into the process and the other to take full advantage of all the colors you’d like. Links to the products used + everything you need to know to start rainbow brush lettering below!

This week’s tutorial isn’t the sexiest thing ever, but it’s extremely useful if you work on multiple machines, need to share digital assets with clients + fellow designers, are a super organized person looking to be more digitally organized, or have an old computer you’re in constant fear will crap out on you at any moment. This one’s for you!

One thing’s for sure, if you’ve been designing for any length of time, a program has crashed on you at some point and when you reopen, things look a little different in the swatches, brushes and patterns department. If you never saved these digital assets pre-crash, they are lost (along with that pleasant mood you had 5 seconds before) in file purgatory.

In this week’s tutorial, we’ll dull the pain of lost assets by going over exactly how to save patterns and brushes in Illustrator and Photoshop so you’ll know where to find them if you ever need a reinstall, or if you just want to share them. Read on to see how!

Oh my gosh, you guys. It’s finalllllly done! Today I’m happy to announce the debut of my first ever brush script font, Tuesday Script! I started this font in early December, following the same processes as the font project, but this time in script form, so there were a few adjustments to make sure all the letters flowed and connected properly together. Plus – this font comes with international supported characters so how those were made in the program was another learning experience 🙂 I took the leap and purchased the pro version of Glyphs (which is not so cheap, but I was able to get a discount by providing them with my itunes receipt from my Glyphs Mini purchase). I’m no expert yet, and when I figure some of the fancier features out, I may create a full class (is that something you’d want?), but for now, I’m celebrating the win of having the font complete and ready for you!

Spencer coded up another text editor, so you can try the full font out below. I’d love to hear what you think!

With January already well underway, it was definitely time for a desktop wallpaper update! Since we didn’t travel for the holidays, Spence and I have started our 2016 working hard on some exciting new projects! My first ever brush script font is getting ready to enter the font-editor phase (will be available later this month!) and every other extra minute has been spent creating classes, new tutorials, and writing the ebook on getting a full time graphic design job (coming in March!). Spence just finished designing our first Every-Tuesday products page (launching this coming Monday) and created this cool barbershop website template, which he’s currently converting into wordpress. Yep. Haven’t left our computers much, haha. Whatever you’re up to this month or have plans for in the coming weeks, I hope this January 2016 hand lettered desktop wallpaper will get you excited for the new beginnings of new things 🙂

One of my favorite things is taking a doodle and reimagining it digitally. If you’ve been here before, you know that’s true! One thing I find myself doing a lot with my mini doodles lately is turning them into seamless pattern brushes so they can connect to make (any length) dividers, laurels – you name it. There’s a little trick to getting them seamless and once you do, they are so much fun to play with. In this week’s tutorial, we’ll take a mini doodle, vectorize it, make it seamless, then convert it into a multi-purpose, seamless pattern brush in Illustrator. Read on to see how easy it is!

Happy Tuesday! A few months ago, I shared how to create a confetti brush in Photoshop and I’ve gotten a few requests since then on how to do the same in Illustrator. It’s a slightly different process, but can absolutely be done! In this week’s quick tip tutorial, I share how to create a confetti brush in Illustrator using two different examples: uniformly sized circular confetti and randomly scaled and rotated star confetti. This time of year, when real confetti is imminent, now you’ll have limitless digital confetti potential, too! Read on to see how!

It’s time for a new hand lettered desktop wallpaper! I’ve really enjoyed making these the last few months and plan to keep these going all next year – it’s also nice to get a frequent refresh on my own desktop 🙂 This month’s wallpaper doubles as a sneak peek! I’m half way through creating my next font – a brush script this time, and I just finished up the full lowercase portion. The December lettering you see will soon be an available font! Look for it next month 😉 Until then – grab the wallpaper in two different sizes: 1920×1080 and 1280×1024 with and without dates below!

With November right around the weekend, it’s time for a new desktop wallpaper! Here in Georgia, all of the green has officially transitioned into oranges and browns and sidewalks carry a little rustle of leaves with every step. I’m really enjoying the cooler breezes, the absence of humidity, and I’m soaking in every fall walk we can squeeze in before I’m bundled head to toe 🙂

I decided to go a little ‘harvest’ themed with these November desktop wallpapers, incorporating the geometric feather we created in Illustrator this week, along with a hand drawn leafy stem from the leaves + flourishes pack. The download includes two common resolutions: 1920×1080 and 1280×1024 with and without dates; preview images below!

Happy October! I had so much fun creating the September wallpaper, I think I’m going to make wallpapers a new regular monthly post (it’ll also keep me from having the same wallpaper for 2 years – eek!). Since it’s Halloween month here in the US, I had to go a little spooky with this one 😉 . In the spirit of ghosts and goblins, I created some hand drawn skeleton lettering for your October desktop wallpapers! The download includes two common resolutions: 1920×1080 and 1280×1024 with and without dates; preview images below!

Keeping with the brush/india ink theme this week, this week’s freebie is a pack of 20 vector brush textures! Add quick texture to portions of your artwork or use as dividers. To add a faux screenprinted edge effect quickly, apply a brush texture to each side of a color filled rectangle. All textures are 100% vector and can be used with any version of Illustrator or Photoshop, CS3 or newer. Preview below; ai, eps + psd included in the download!

GDPR Icon

Your Privacy Matters

We use cookies to customize and create content that’s most important to you. We’ll never share the info we collect.

View Privacy Policy