HomePosts Tagged "every tuesday tutorial" (Page 9)

every tuesday tutorial Tag

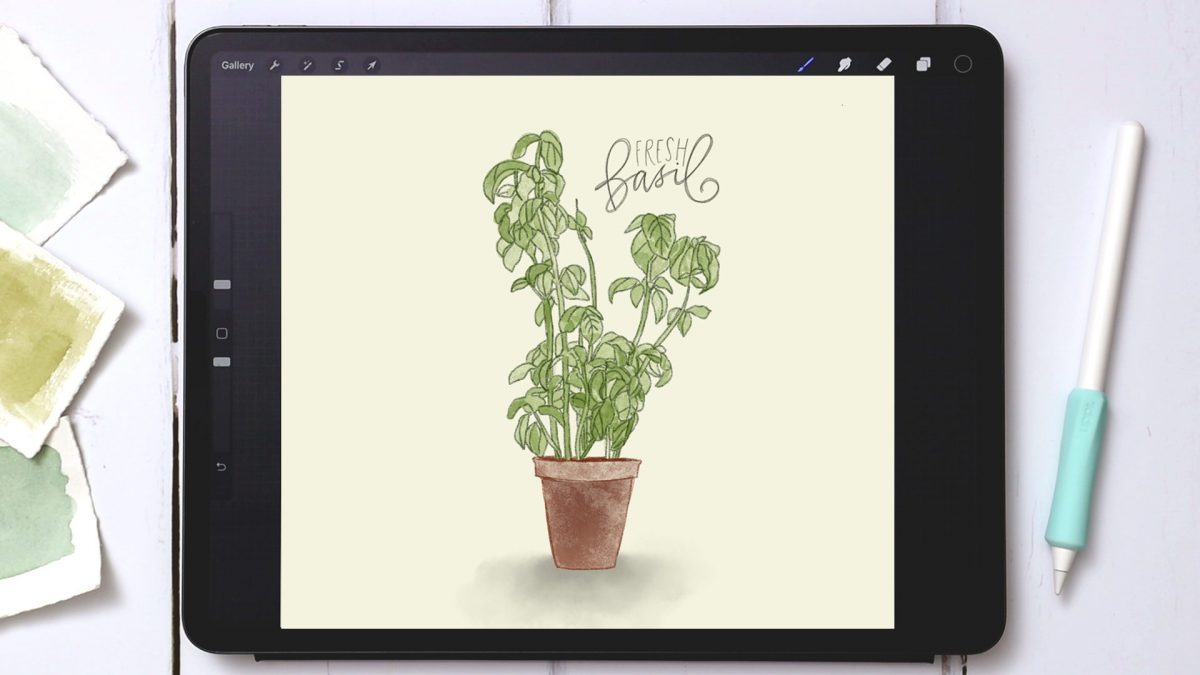
Happy Tuesday! This week, we’re changing things up a bit and trying out a new style! In this week’s video, we’re creating watercolor sketch style basil in Procreate. This is a loose, fun style that gives you a lot of freedom and permission to experiment (also perfect for beginners ;). In the video, we create a sketch based on a photograph, then layer in limited color to build a little depth. We finish things up with a texture and color layered shadow for extra dimension and add in some sketch style lettering to tie everything together.

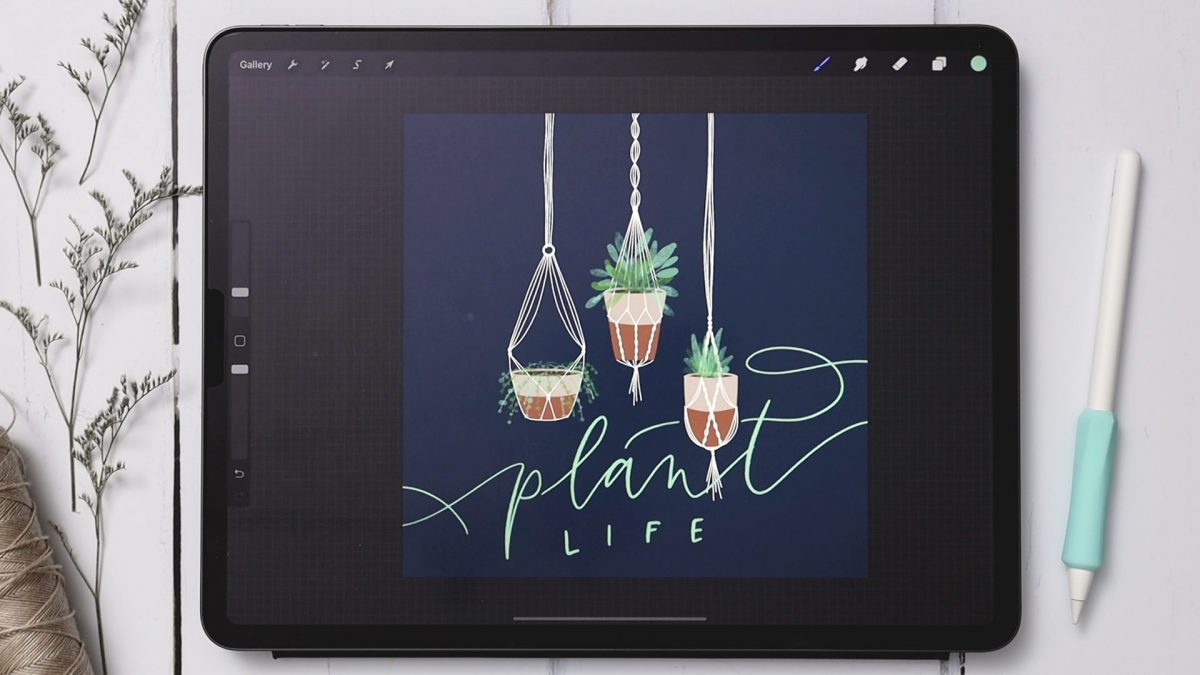
Hope your Tuesday is off to a great start! This week, I had planned to teach one macrame hanging planter, but once I did one, I did another…and then another, so you’re getting 3 of them today 😉 These are all drawn with my free monoweight brush and I put in some simple watercolor plant doodles with this brush set and lettering with this set, but please feel free to create any style of plant or flowers you’d like! This tutorial is a little more advanced, so if the pace is too quick, check out some of my other tutorials first. I can’t wait to see what you do with these – there are a bunch of beginner-friendly flower + plant tutorials in this playlist if you’d like some extra practice!

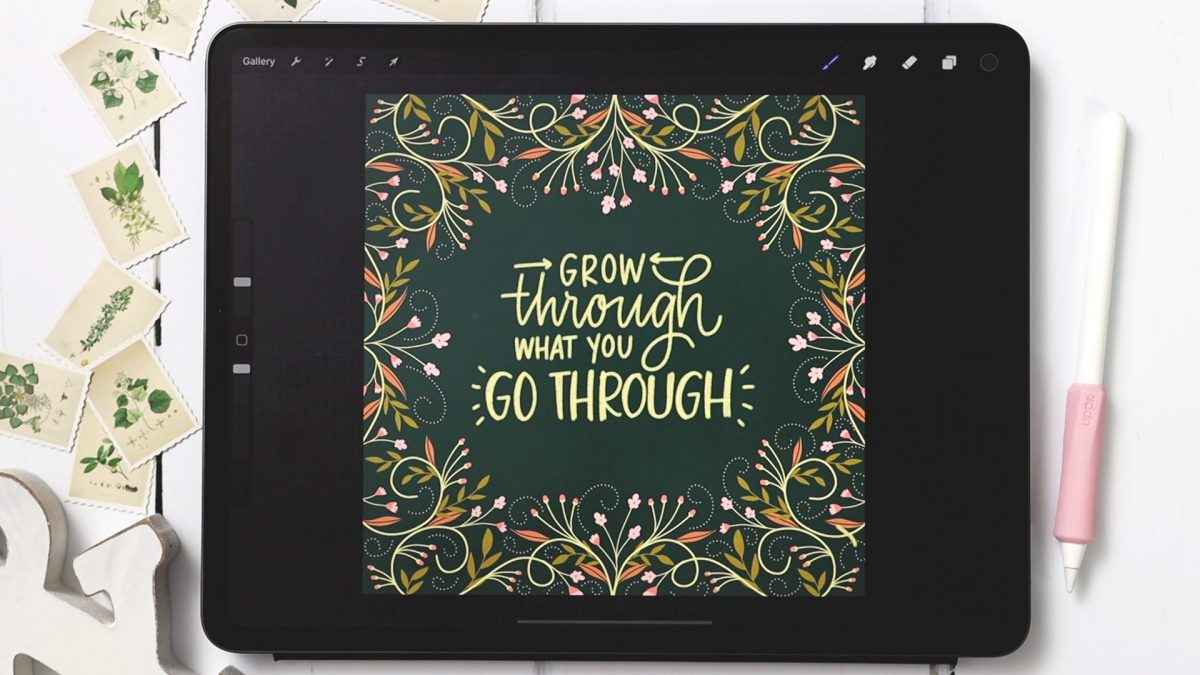
Happy Tuesday! This week, we’re using a few simple tricks to create easy floral borders quickly in Procreate! This tutorial is extremely beginner friendly and uses two free brushes: my monoweight brush and dotted brush. For the lettering, I’m using the Round Marker brush from my Font Lovers Procreate Brush Set, but you can use any lettering brush you’d like. As always, the color palette is free + also available in the Resource Library along with those free brushes.

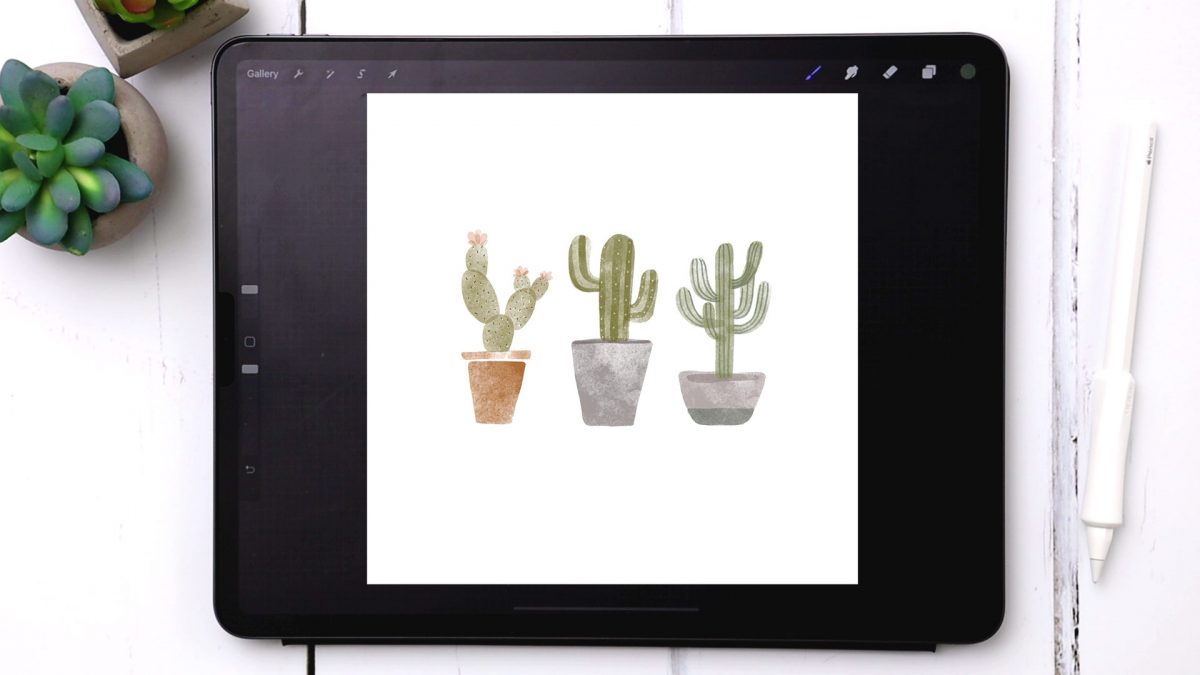
It’s Tuesday! Time for another tutorial 😉 This week, we’re painting 3 watercolor cactus doodles in Procreate! If you caught this tutorial a few weeks ago, this is the cactus version 🙂 In the video, we create simple containers filled with an Indian fig cactus and two versions of a saguaro cactus. You can use any brushes you’d like, though the ones shown are my watercolor illustration brushes. As always,the color palette is free + also available in the Resource Library

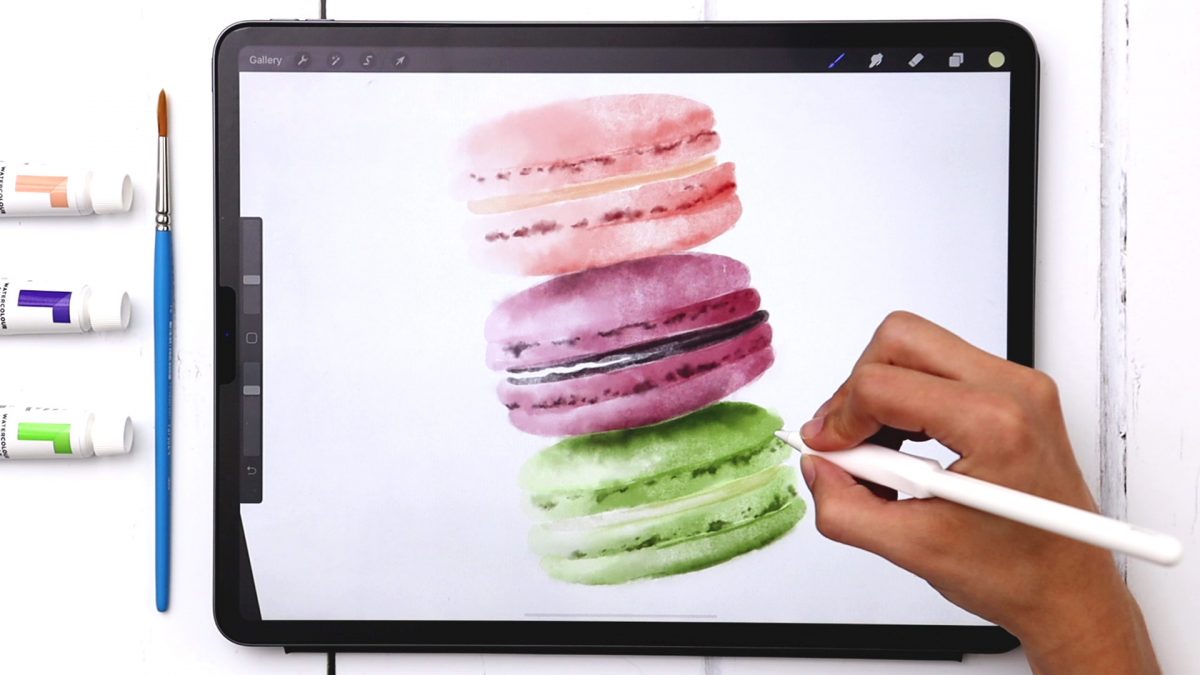
Happy Tuesday! This week, I have a sweet treat for you..macarons! I won’t lie, these def gave me cravings as I was painting, so beware (or have some handy ahead of time ;). In the video, we trace a reference photo to establish our sketch template, then use the photo loosely for painting in our midtones, highlights and shadows. We use several brushes from my watercolor illustration brush set to paint, smudge and add final details, like a watercolor paper texture, hand lettering and paint splatter. Pick up the free color palette and head to the full tut here!

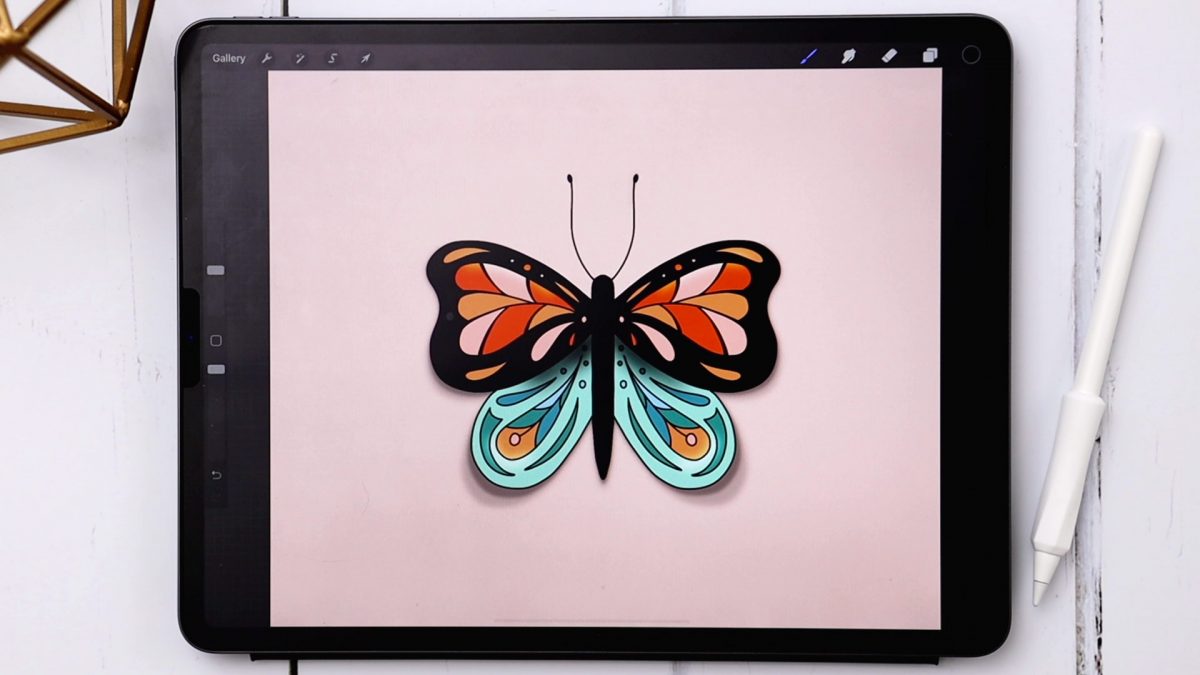
This week, we’re creating a colorful butterfly in Procreate! In support of racial equality + the need for change happening globally and especially today, I bring you a symbol of beautiful transformation 🦋 This is very beginner friendly, uses only one (free) brush and the color palette is free, as always (both are also available in the Resource Library

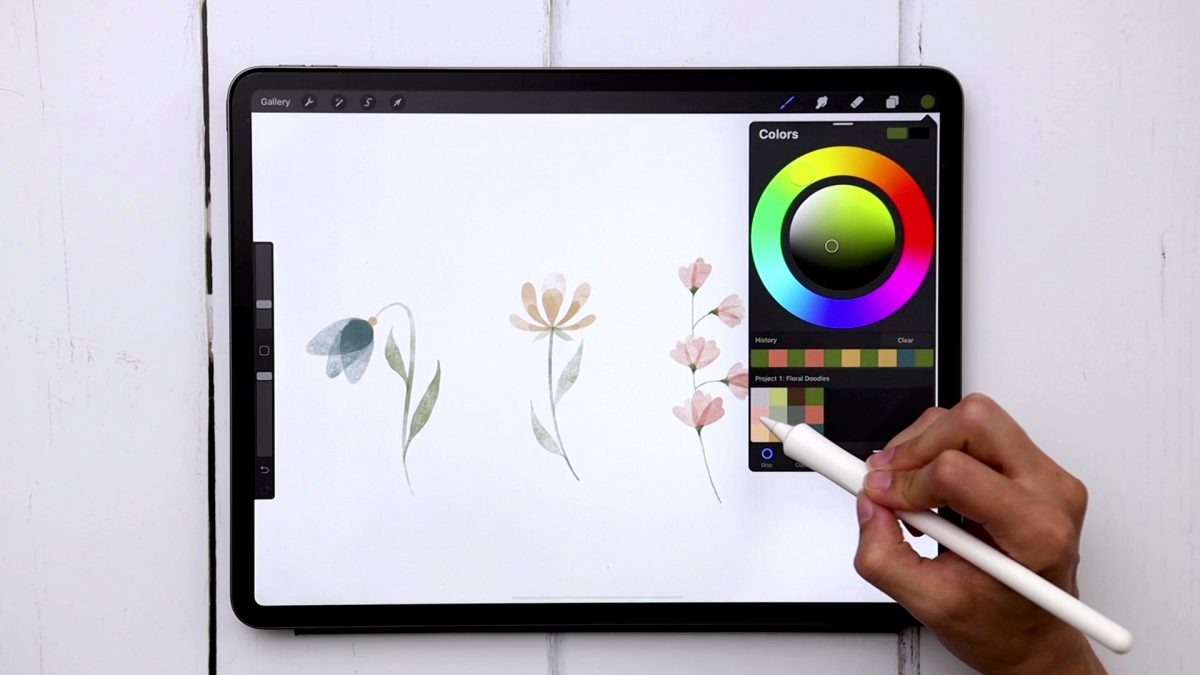
Another Tuesday, another tutorial! In case you missed it, I just released my newest class, Watercolor Florals in Procreate, yesterday! The course covers how to create a variety of different florals and today, I wanted to share one of the first lessons from the class – how to create watercolor floral doodles! You can use the brushes shown in the video or you can use your own brushes if you’d like to change up the style. Use these on stationery, social media or even create a logo out of them. They’re really fun (and easy) to make and you’ll be able to follow along, even if you’re opening Procreate for the very first time.

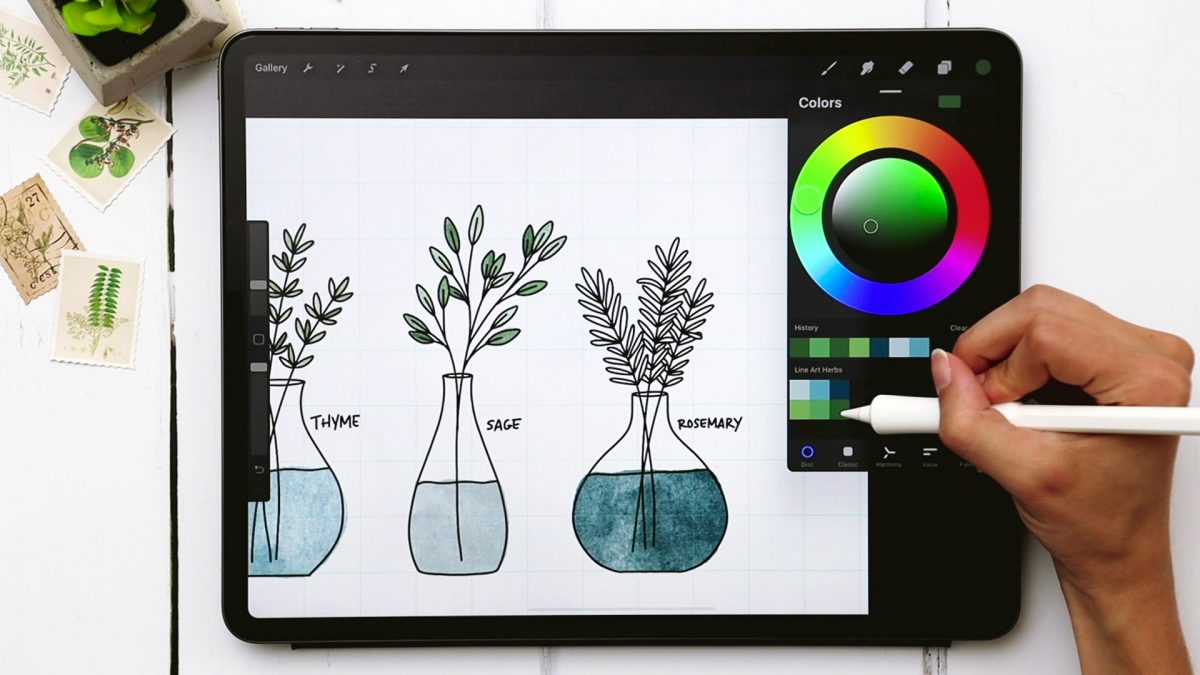
It’s Tuesday! This week I have a very beginner friendly tutorial for you: we’re creating 3 different line art herbs (and even adding in some watercolor, too!) in Procreate. You’ll learn how to use the symmetry tool to create 3 different, symmetrical vases, how to allow a reference photo to influence your illustration (I share exactly what I look for + consider), and how to layer extra color for added depth on an otherwise flat image. We’re using my free monoweight brush for all of the illustrating portions and my paid set of watercolor lettering brushes for the painting + lettering at the end (optional).

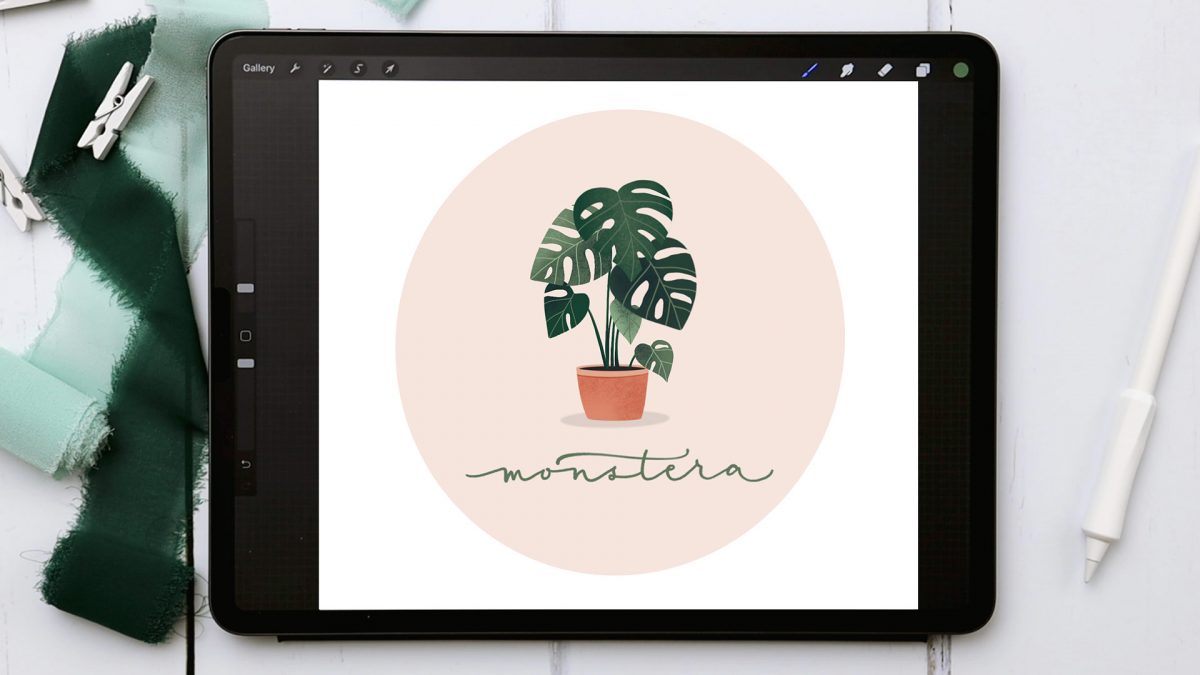
Happy Tuesday! This week (by request), I’ve got a potted monstera for you! It’s even complete with some textured shading, so if you caught last week’s tutorial, you’re perfectly prepared for this one 😉 Just like last week, we’re using 2 free brushes (my monoweight brush and a default charcoal brush), with the Jittery Ink brush from my Font Lovers Procreate Brush Set being used for some lettering at the end.

GDPR Icon

Your Privacy Matters

We use cookies to customize and create content that’s most important to you. We’ll never share the info we collect.

View Privacy Policy