HomePosts Tagged "hand drawn" (Page 5)

hand drawn Tag

Get ready to add some extra beauty to your gifts this year with some custom designed holiday gift tags in Adobe Illustrator! Creating stationery items in Illustrator is honestly one of my favorite parts of graphic design. This week, keeping with the holiday theme, we’ll utilize the free holiday vector pack once again. Grab that vector pack, Adobe Illustrator and about 10 minutes and you’ll have your new gift tags ready for print. Read on to see how!

Piggybacking off of last week’s tutorial, this week we’re creating a holiday postcard in Adobe Illustrator! We’ll be using the free vectors from the holiday vector pack, so be sure to grab those if you haven’t already. Today is extra exciting, because I just released my newest font Espresso Roast, which we’ll be using, as well. It’s a font trio, so you get an all caps version, a script version and a symbols font. It’s full of fun personality and was designed so all styles pair perfectly together 🙂 Read on to see how to create a complex wreath design quickly using a few easy tips!

Welcome to the first holiday tutorial of the season! To kick things off, I thought it would be fun to create custom holiday gift wrap in Adobe Illustrator. Since gift wrap is essentially a repeating pattern, we’ll be walking through all of the steps of a seamless pattern using the pattern tool. Be sure to pick up last week’s free holiday vectors to follow along exactly! This pattern tutorial is a little different; not only will we create a seamless swatch, I’ll also share how to apply any background color to your pattern quickly (without re-entering the pattern tool)! Once our pattern is complete, we’ll export it and use an online service to upload and customize our gift wrap. By the end of the video, you’ll have everything you need to create your pattern and also get your custom holiday gift wrap printed for real! Everything you need included below!

Happy November! This year is seriously cruising by. Before we know it, we’ll need to start sending out holiday cards, and if you’re feeling ambitious, diy’ing some printable design work. I’ve got a bunch of holiday design tutorials planned, so I want to make things super easy on you this year. This holiday vector pack includes all the vectors you’ll need to create every upcoming tutorial! These come as vector-only since we’ll be working mostly in Adobe Illustrator. Working in Illustrator will allow us to use our artwork at any size we please, without ever losing quality or resolution. Get a head start with any projects you have in progress and grab all 33 unique vectors below!

I think it’s pretty fair to say that diy embossing is reallllly popular right now. It’s easy to see why; First, there’s watching colorful powder stick magically to invisible ink. Next, there’s witnessing it look completely different (especially metallics) once heat is applied. The results look like they came from a pro print shop! I haven’t come across many videos of a watercolor/embossing combo, so it was time for that to change 🙂 I recently started applying embossing designs to my watercolor lettering and it makes for some really tactile + impressive outcomes.  This week I wanted to have some fun by sharing watercolor lettering with DIY embossing 3 ways. Everything used in the video listed with links below!

I want to start by saying a gigantic THANK YOU! for all of your kind comments from Tuesday’s tutorial (it even got a shout out from Adobe!). Spence and I have been doing some serious planning these days to make your experience here as best as it can be. The first baby step was implementing the new keyboard shortcuts on videos, a Tuesday Tips section and easy-to-pin images. But, that’s just the beginning. 😉 I can’t wait to share some of the other new ideas we’re planning to implement in the months and year to come!

Until then, if you’re a little short on list-designing time, I wanted to give away the design created in the tutorial this week as a free printable in 3 color schemes. There are 2 of each color per sheet, so you can print them all, or just print the color you like best 😉 Download link and preview images below!

To learn how to create your very own digital planner, check out this tutorial here!

I wanted to change things up a little this week and go super down to basics. The truth is, when it comes to learning, a lot of the times, I’m most inspired by just *watching* the thing happen. Seeing it take place, someone else’s process without all the nitty gritty little details along the way – just the ‘have-to-knows’ first. Maybe you’re like that too. On the chance you are when it comes to lettering, this week I want to go super simple and just share how I would do a basic lettered quote/phrase on the iPad – what I think about as I’m writing, what I’m paying attention to, and what I do to change course when maybe things aren’t going exactly how I like them. If this is something you’d like to see more of, let me know! I want to provide all I can on clearing up anything that might be holding you back 🙂 Full process below – and if you want to go further after this, my Intro to iPad Lettering course is located here. Let’s go!

I experiment with new materials and supplies constantly for my (traditional) hand lettering. I would actually be scared to know how much time I’ve spent eyeing different hand lettering supplies (and reading their reviews) over on Amazon. I’ve invested in a lot of new ones this year and currently I have 5 favorites that I find myself always returning to and reordering. If you’re just starting out with lettering, or if you’re on the hunt for some new supplies but would like to read a real (almost every day) user review, here are my current top 5 favorite hand lettering supplies (totally unbiased, with no affiliation to any of em) 🙂

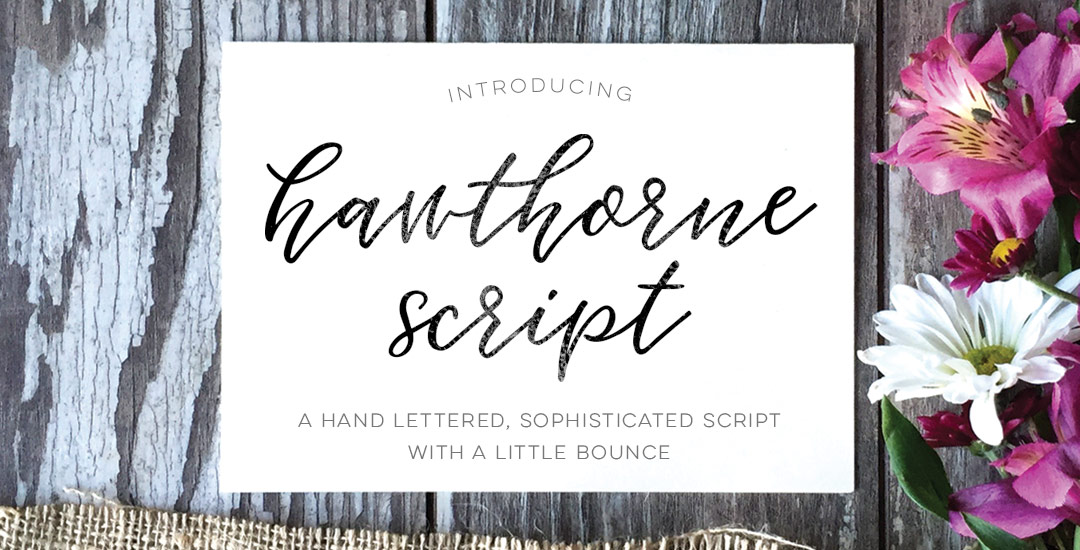
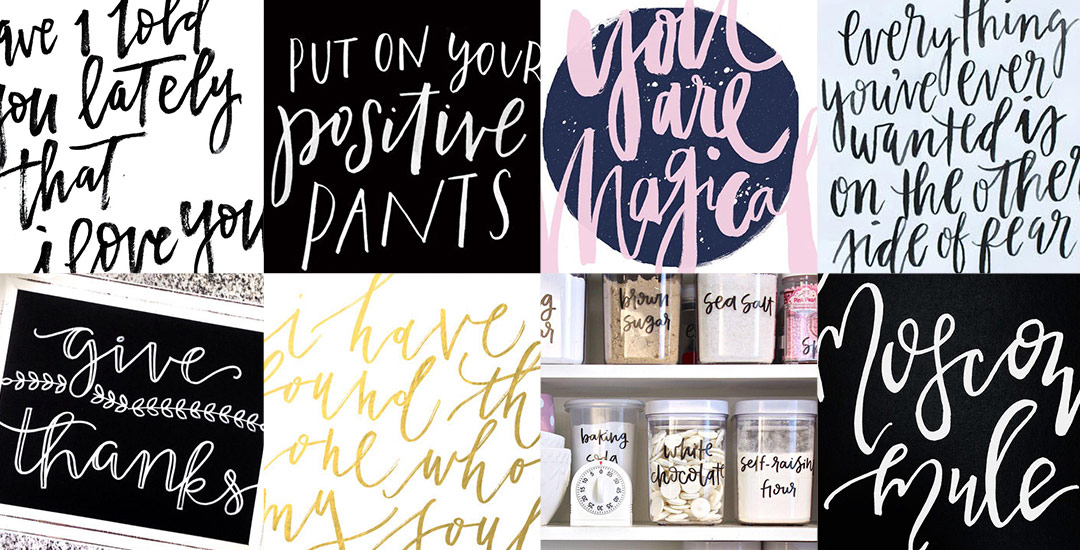
I am beyond thrilled to introduce my newest font today, Hawthorne Script! A lot of love and many, manyyyy hours went into this baby and I couldn’t be happier with how it came out. I packed more into this font than any other before it so you can take it much further than a typical, standard font.

Along with the regular style, a second style is included that contains a full alternate lowercase – just highlight any regular letter and switch it to the ‘alternates’ style to create words that look even more original and handmade! 10 bonus swashes are included (5 left side, 5 right side) as well as 9 standard ligatures. I enjoyed creating this font so much that the language compatibility is a little off the charts: English, German, Dutch, Italian, French, Portuguese, Spanish, Turkish, Polish, Hungarian, Croatian, Czech, Slovak, Slovenian, Bosnian, Albanian, Estonian, Catalan, Danish, Faroese, Finnish, Icelandic and Norwegian. Phew.

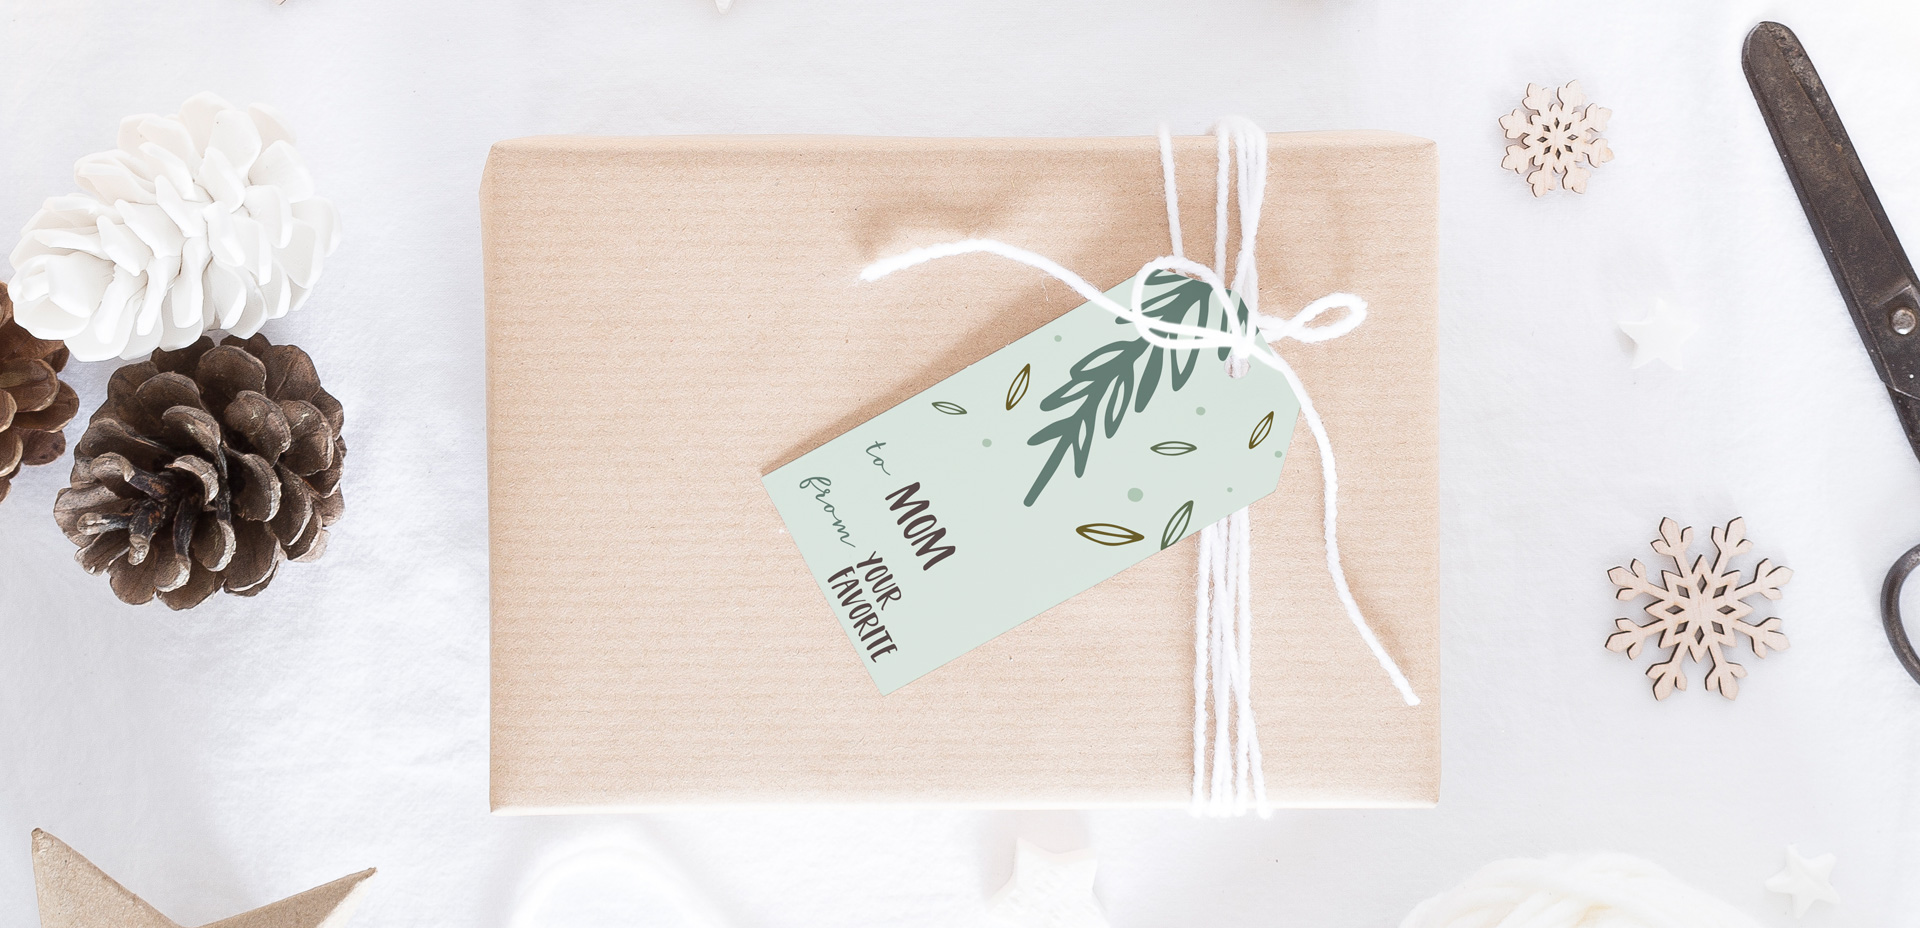
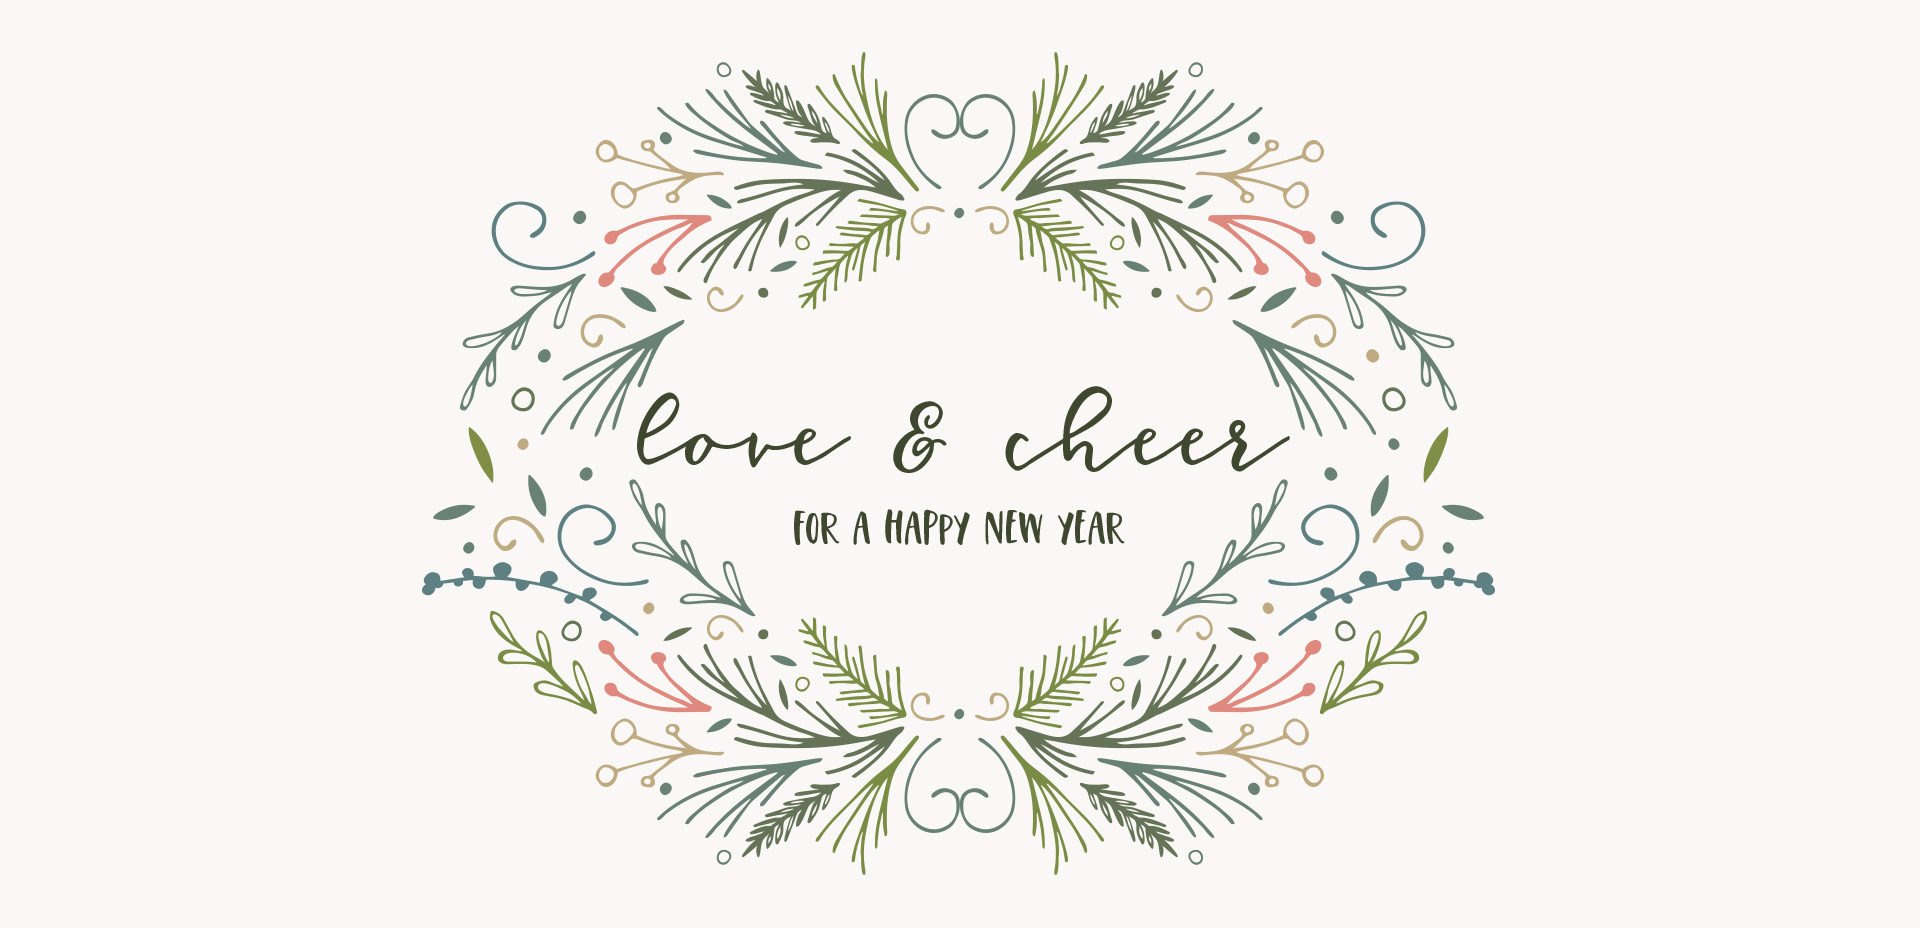
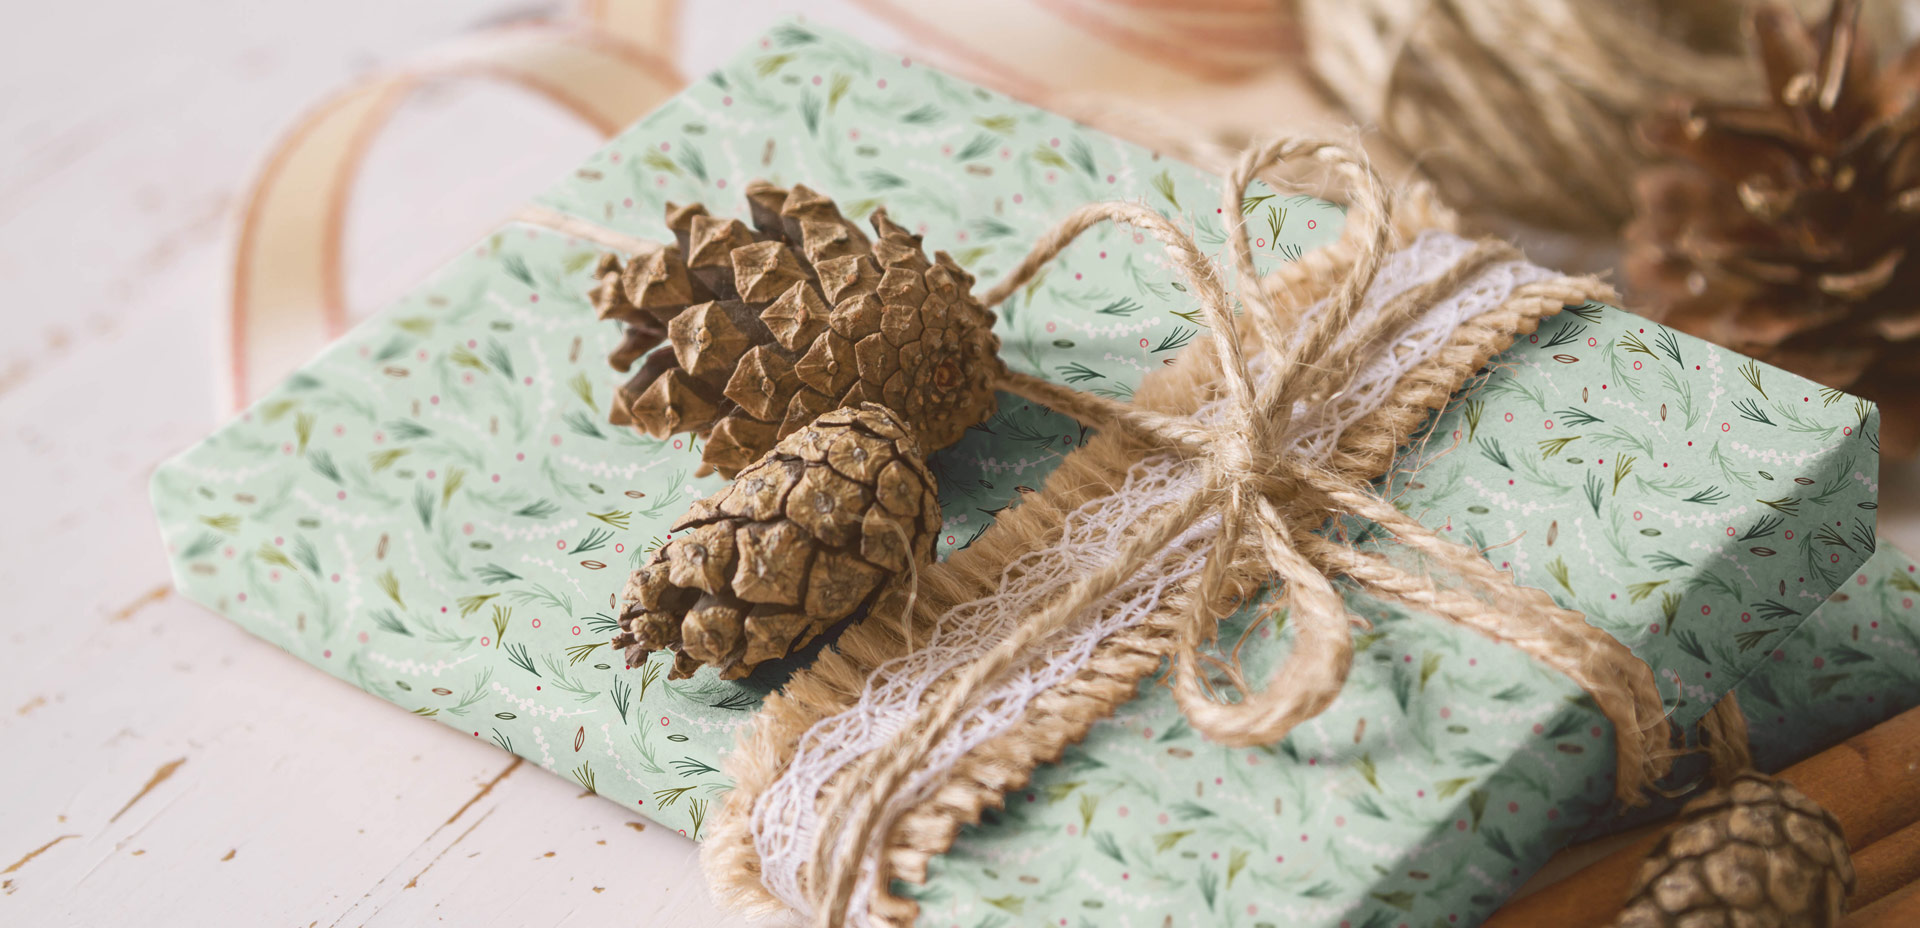
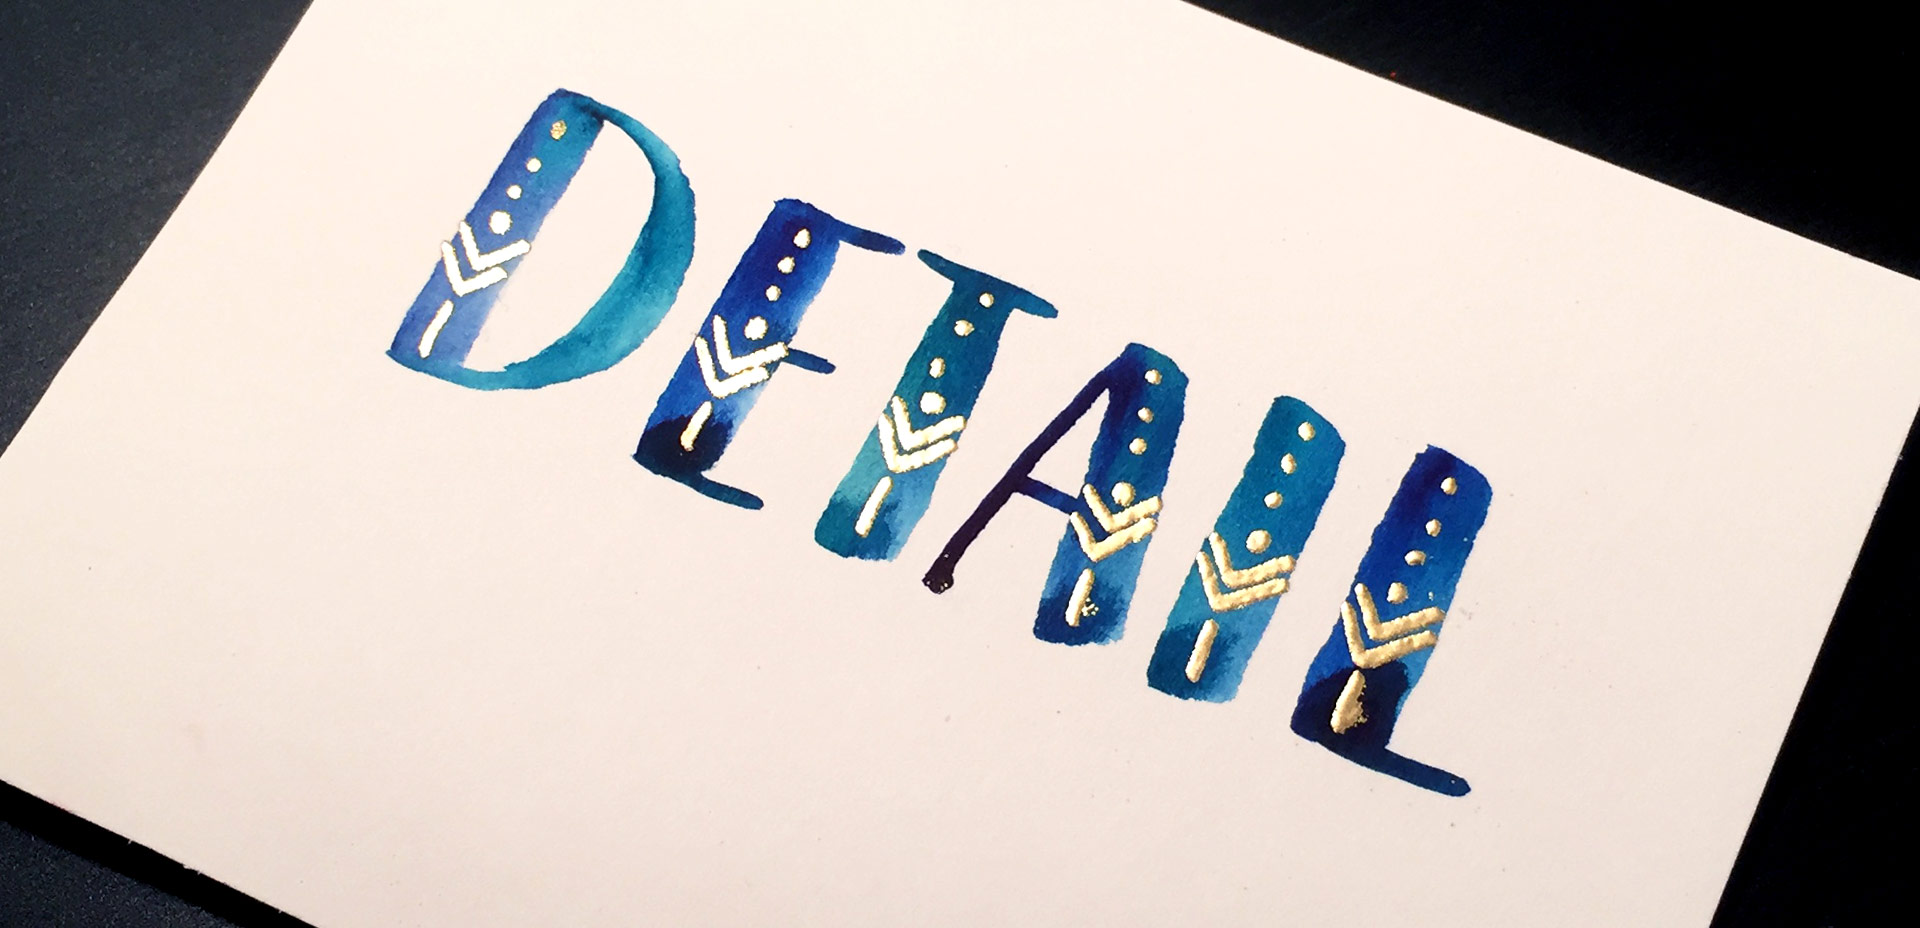
Font previewer below so you can take it for a spin, as well as some additional preview images!

It’s been far too long since I created a freebie outside of the monthly desktop wallpapers, so today that is changing! If you checked out Tuesday’s tutorial, we went over all of the settings to create any custom Photoshop brush you’d like. Today’s freebie puts those settings into practice and includes 2 dynamic Phototshop brushes for you to use at will, on anything you’d like. If you have a Wacom tablet, pressure settings for size variation are already built into each brush 🙂 If you don’t have a Wacom, no sweat – the size will vary randomly instead of based on pressure. Install instructions are also included so you can begin using both brushes right away (use with Photoshop, CS3 or newer). Preview images and download link below!

Happy Tuesday! I want to start by saying wow to everyone who has checked out Bounce Lettering! I’m so grateful for all of the kind feedback and I am so impressed and inspired by all of the wonderful projects that are coming out of the class! I thought I’d take bounce lettering/waterbrush lettering even a little further this week with a free add-on tutorial to both classes.

A style that is gaining in popularity over on Instagram is rainbow brush lettering. It would take foreverrrr to alternate colors to form a word, let alone form the word as pretty as you’d like with so many re-dips. In this week’s video, I’m sharing a trick for applying a rainbow of color to your brush lettering without a zillion re-dips in the process 🙂 There are two methods shown in the video – one to ease you into the process and the other to take full advantage of all the colors you’d like. Links to the products used + everything you need to know to start rainbow brush lettering below!

With the release of my new class, Bounce Letters: Adding Character to your Hand Lettering this week, I thought it was only right to share a little bit of bounce lettering inspiration! I love how the bounce effect can really be used with any kind of lettering style. From quotes, to pantry labels, to plain old phrases, the addition of a bounce can give something plain or simple a pretty big personality. So grab a pen, paintbrush, marker, or crayon and put your new skills to work because you’re about to get hit with inspiration 😉 Click on any image below to be brought to its source!

GDPR Icon

Your Privacy Matters

We use cookies to customize and create content that’s most important to you. We’ll never share the info we collect.

View Privacy Policy