HomePosts Tagged "patterns"

patterns Tag

It’s Tuesday! Time for another tutorial 😉

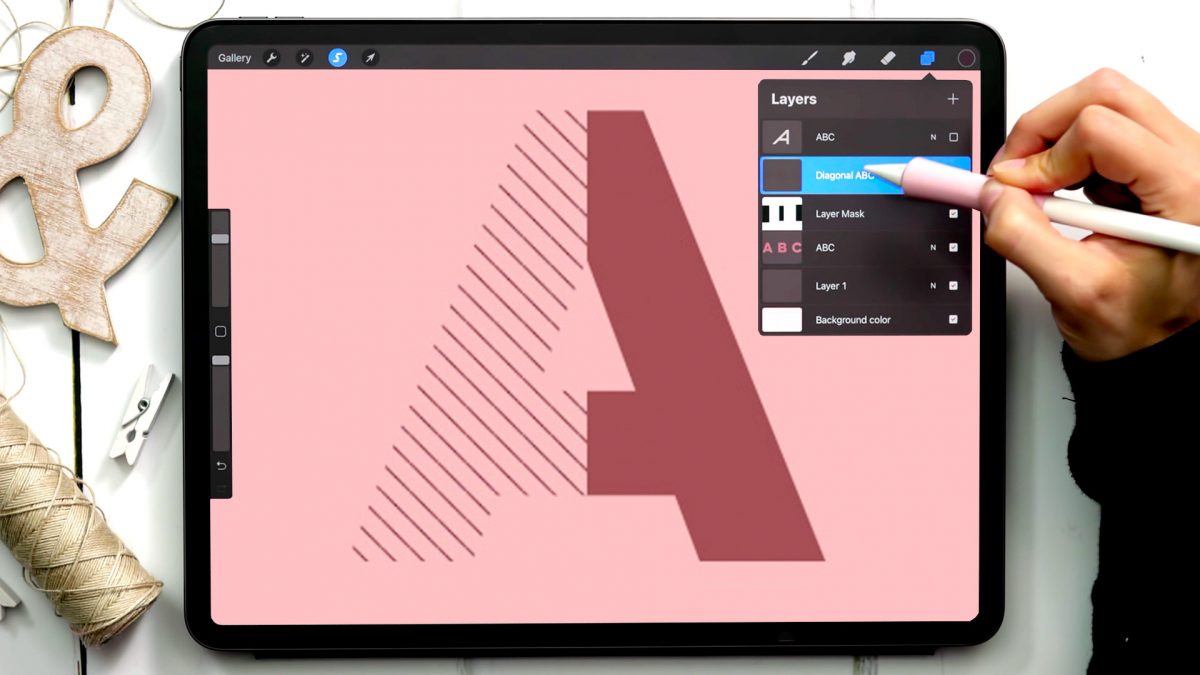
A few years ago, I shared how to create a pattern letter effect using Adobe Illustrator and I randomly came across that tutorial and wanted to give it a try in Procreate, too. With a few masking tricks and a custom diagonal line pattern brush, pattern letters in Procreate were born! This tutorial is one of my most advanced ones to date, so if you haven’t taken my free Procreate 5X for Beginners course yet, you’ll want to watch the masking module in that first. Once you understand the steps, though, this is a super fun effect you can apply to your typography or even abstract shapes for some really unique outcomes!

One of my most viewed tutorials on YouTube is how to create seamless patterns in Illustrator (though you should be using the pattern tool in this tutorial if you’re using CS6 or newer!). Once you create a custom pattern, though, how do you save it, or export it to sell? Illustrator actually behaves a bit differently than Photoshop, since the version of Illustrator the user is on affects their ability to see the pattern or use it. In this week’s tutorial, I share everything you’ll need to know and consider when you save and export patterns in Illustrator.

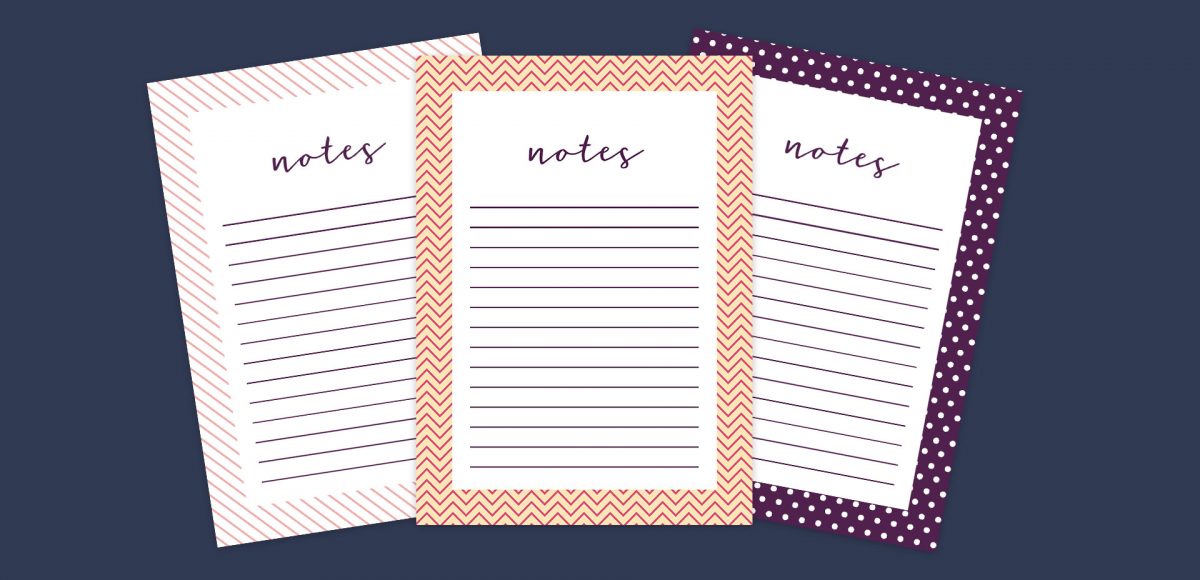
This week, we’re keeping things quick and easy with 3 simple pattern hacks applied to stationery borders in Adobe Illustrator: striped, chevron and polka dot. Borders in stationery design are a great tool to create focus on a message while still adding personality. With simpler projects, a seamless pattern swatch isn’t always needed and that’s where these pattern hacks come in 😉 Ideas for using these pattern stationery borders could be: shopping lists, memo pads/notepads and greeting cards. In this beginner friendly tutorial, we’ll utilize an offset path, the blend tool and stroke palette. See it all below!

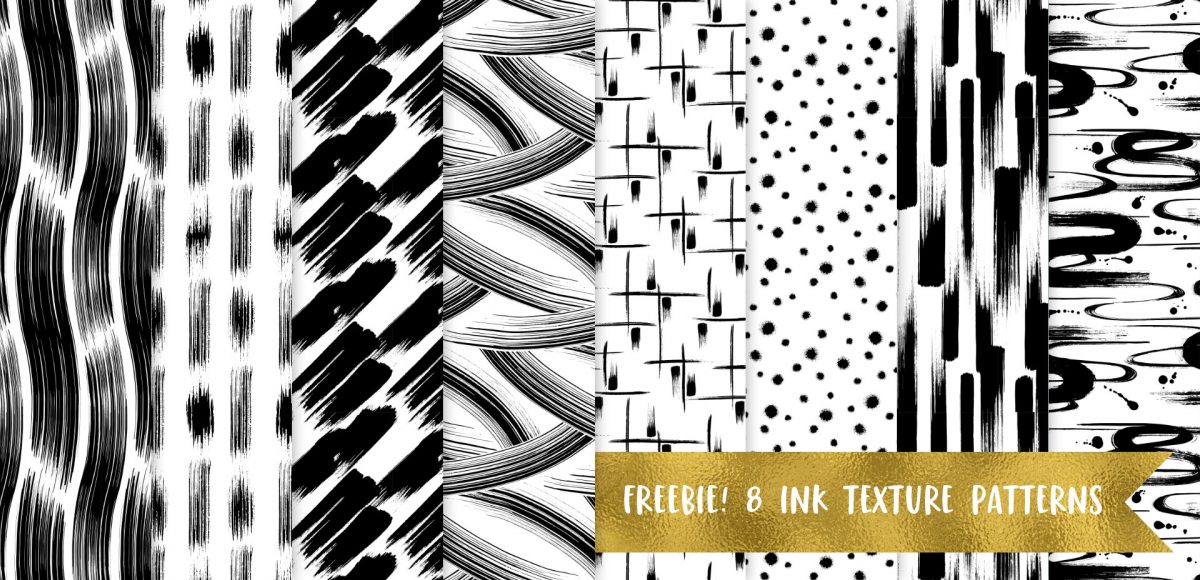
Happy Thursday! Today I have an awesome gift to share with you! My friends at Vecteezy put together an incredible set of 8 seamless ink texture patterns just for Every-Tuesday readers! I got so excited after I received them that I started playing around with them right away (see below). This free set comes not only as ai files, but eps files, psd files, a photoshop pat file *and* png files. Instructions on how to use them + ideas for use are all below!

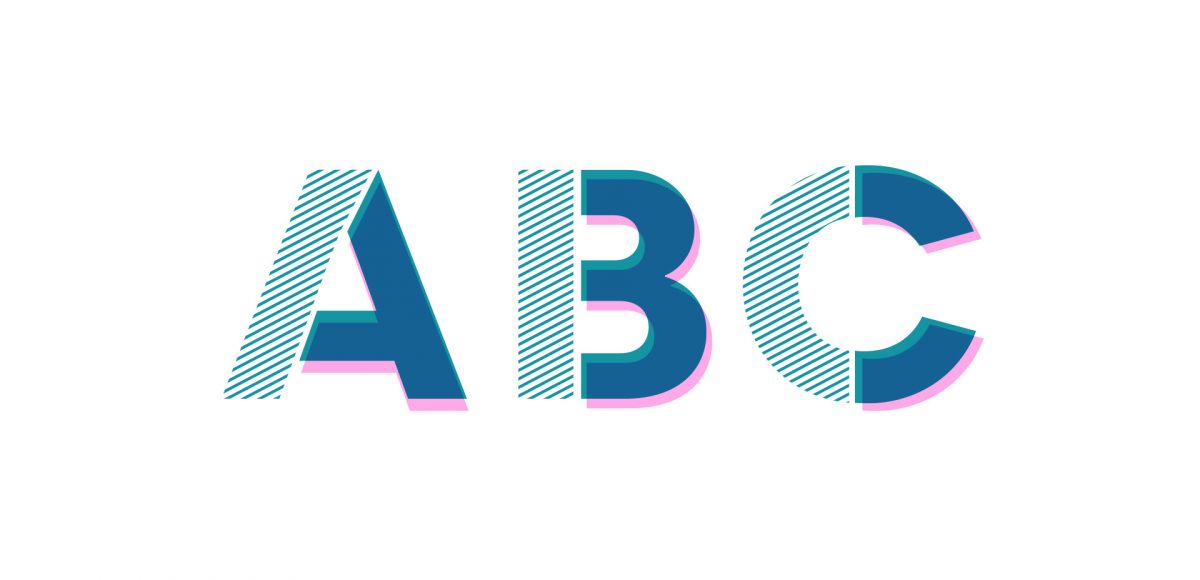
Jamie got in touch with me a few weeks ago, asking how to recreate the letters in this image. I loved that idea, though I had a bit of trouble tracking down the original source. I also wasn’t totally sure what to call this look, so we’re going with ‘pattern letters’ 😉

Essentially, we have letters with a multiply blend mode (so you end up with three colors including the overlap), plus a pattern element integrated into one of the strokes of the letter. This creates a semi-dimensional look, plus a beautifully colored one – perfect for modern headlines (or even logos!). Read on to create your own!

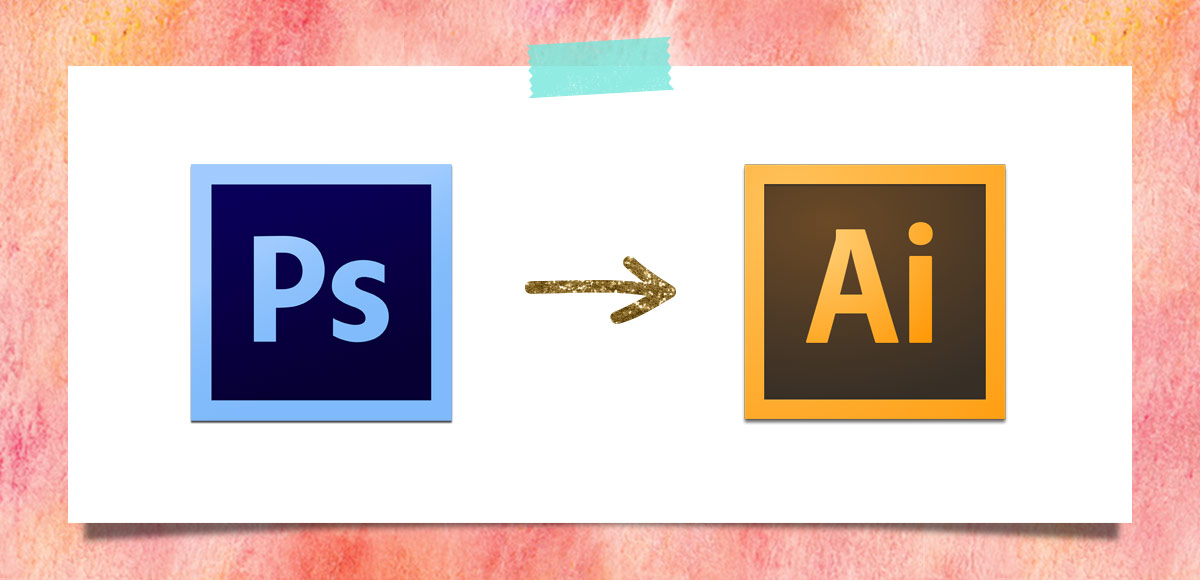
I’ve been creating more patterns in the last year than I ever have before. Patterns are such a wonderful tool to add personality quickly to designs without a ton of effort, or overthinking. One of the best parts: they can be added to backgrounds, text and design elements with just a click of a button in both Photoshop and Illustrator. Say you have a Photoshop pattern, maybe a watercolor texture pattern, like we created in this tutorial. If you’d like to use it as a pattern swatch in Illustrator, how do you convert that Photoshop pattern file? In this tutorial, we go step by step on how to convert any Photoshop pattern into an Illustrator pattern swatch in a few quick steps. Read on for everything you need to know!

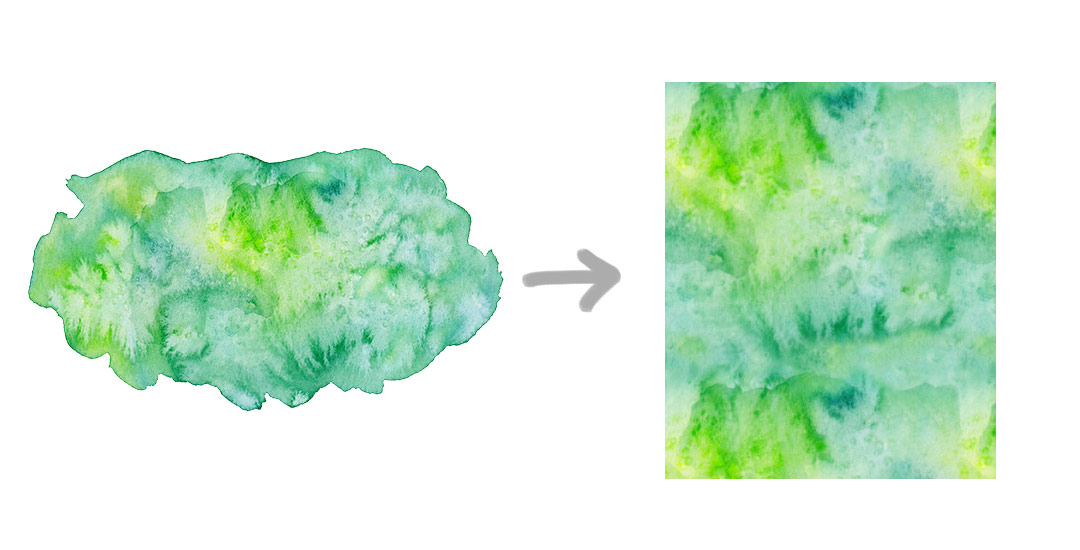
To finish up Photoshop month, this week I wanted to share one of my favorite ways to work with watercolors in Photoshop – turning them into seamless texture patterns! If you’ve taken my Watercolor Textures for Graphic Design class over on Skillshare, this week’s tutorial will be a refresher for you, but I’m also sharing how to take the pattern you create and convert it into an Illustrator pattern swatch (check out around 8:20 for that), so there’s something new for everyone 🙂 My newest watercolor texture kit (vol. 3) just went live today, so I’m excited to share textures from the new kit throughout the video – these are my most detailed and colorful ones to date! Click below to get yo’ pattern on!

Happy Tuesday! This week I’m excited to announce my newest Skillshare class, Watercolor Textures for Graphic Design. If you’ve ever wondered how watercolor textures like this and this are created, color enhanced and removed from their backgrounds, this class covers it all! We even finish the class creating seamless, repeatable watercolor texture patterns you’ll be able to apply to any of your Photoshop designs in just a couple of clicks 🙂 As a special gift to blog readers and youtube subscribers, this week I’m sharing the class trailer, as well as one of the videos from the class you wouldn’t otherwise get to see without enrolling. If you’ve never tried Skillshare before, you can watch the full class for free (and any other Skillshare classes for an entire month) using this link. Hope to see you in the class!

A few months ago, I shared how anyone with any version of Adobe Illustrator can create a seamless pattern. Once Adobe created CS6 a few years back, they included the pattern tool and it was a giant game changer for anyone who loves to create vector patterns. Not only did it make the entire pattern creation process faster, it eliminated Illustrator’s tendency to get glitchy with those white hairlines that would sometimes appear in our patterns.

In this week’s tutorial, we’ll go over everything the pattern tool can do, all the different pattern styles you can create using the same elements, and we’ll do it all by using the same menu. Head’s up, this tutorial only applies to CS6 or newer versions (CC) Illustrator users. Let’s make some patterns!

This week’s tutorial isn’t the sexiest thing ever, but it’s extremely useful if you work on multiple machines, need to share digital assets with clients + fellow designers, are a super organized person looking to be more digitally organized, or have an old computer you’re in constant fear will crap out on you at any moment. This one’s for you!

One thing’s for sure, if you’ve been designing for any length of time, a program has crashed on you at some point and when you reopen, things look a little different in the swatches, brushes and patterns department. If you never saved these digital assets pre-crash, they are lost (along with that pleasant mood you had 5 seconds before) in file purgatory.

In this week’s tutorial, we’ll dull the pain of lost assets by going over exactly how to save patterns and brushes in Illustrator and Photoshop so you’ll know where to find them if you ever need a reinstall, or if you just want to share them. Read on to see how!

Today is a big Tuesday! I just went live with my newest kit, Glitz + Glam, Digital Hot Foil and Glitter Textures, AND I’m giving one of those textures away for free in this post! I’ve gotten a few questions on how I apply gold textures to some of my Instagram images, so with the release of the kit, the free texture, and the holidays coming up, I wanted to share how to create hot foil typography using Photoshop and Illustrator this week. This week’s freebie comes as a seamless pattern file, high res tileable jpg and layer style. Read on for the freebie, tutorial, and more info on the kit!

GDPR Icon

Your Privacy Matters

We use cookies to customize and create content that’s most important to you. We’ll never share the info we collect.

View Privacy Policy