Black Friday Sale!

All Courses and Brushes 20% off

Use code BF2024

HomePosts Tagged "every tuesday"

every tuesday Tag

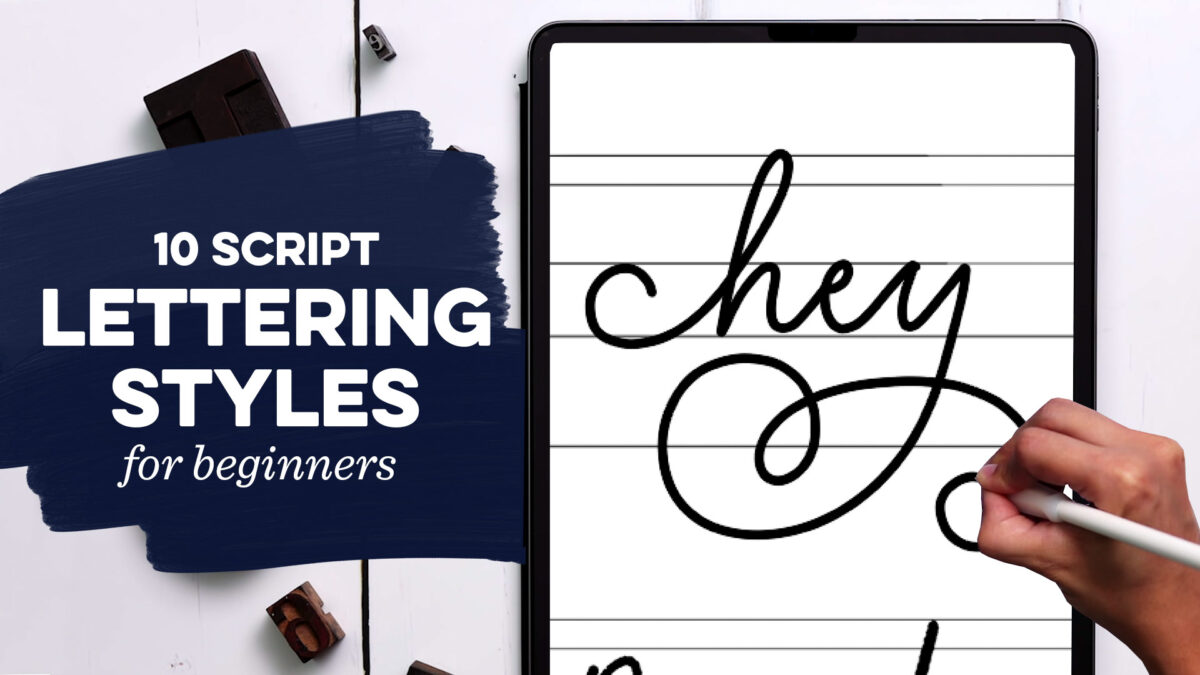
When you’re just getting started with hand lettering, figuring out the lettering styles you’d like to create and keeping them consistent can feel overwhelming. There are so many possibilities!

This week, I’m sharing some simple rules to follow to give you limitless options and we’ll tackle 10 easy script lettering styles you can start using today. Read on for how to make them and pick up a free cheat sheet, so you always have them handy!

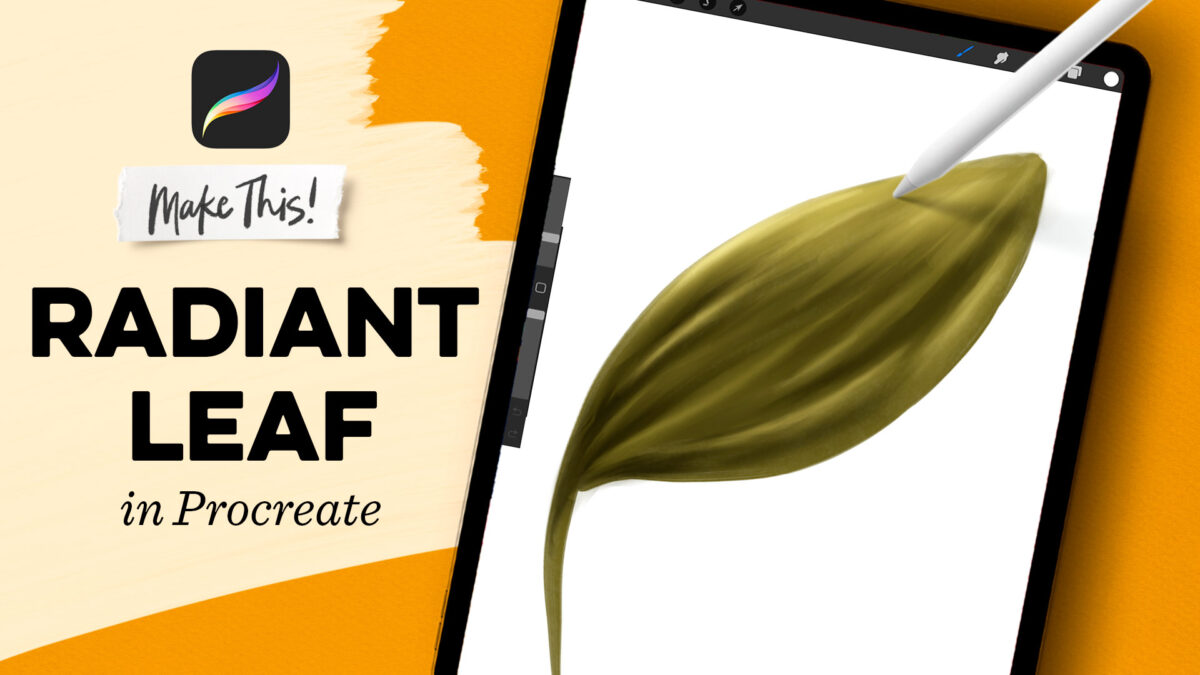
I’ve been playing around with a new style that I’m calling ‘fantasy florals’ and sharing my progress over on Instagram. It’s been so fun to experiment with different techniques (especially when they work 😅) and exploring different ideas as one builds upon another. So far, I’ve decided this is my favorite leaf type within this style and it’s the most fun to make, too. I’ve been so grateful for the encouragement and the requests for tutorials for it, so I’m here to deliver! Today I’m sharing my full, radiant leaf-making method and it’s beginner friendly, too!

I’ve received a few requests lately on the method I used to create my email recap header graphic, which is also my current youtube channel art. Here’s what that looks like:

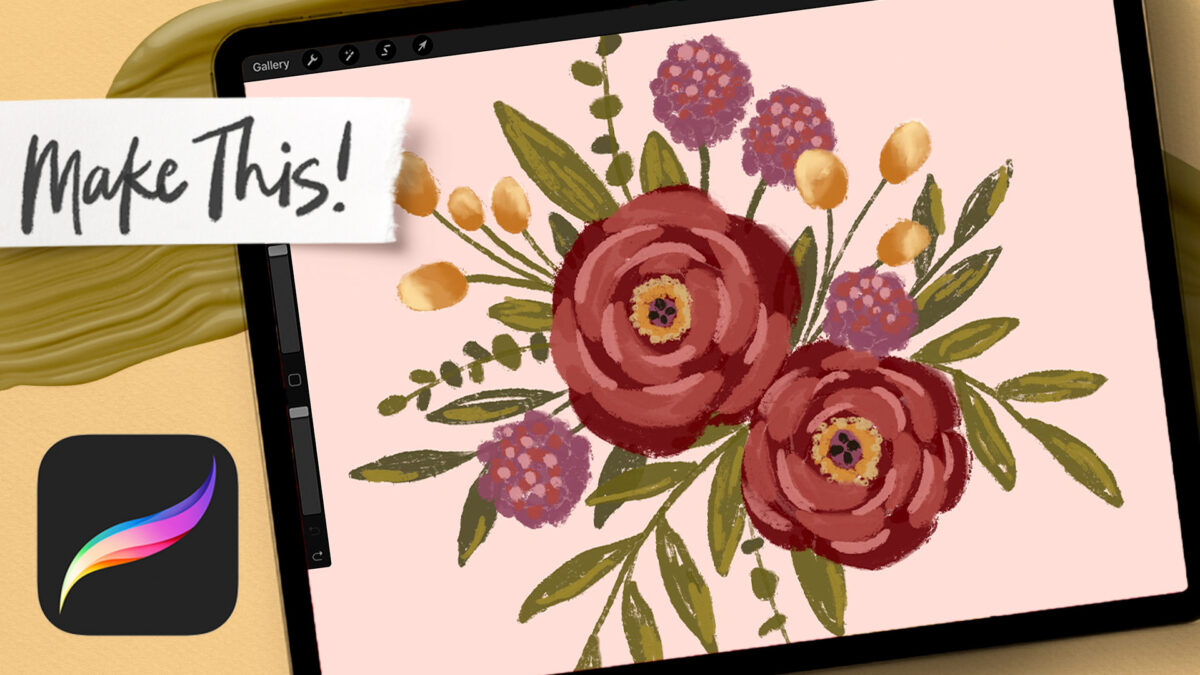
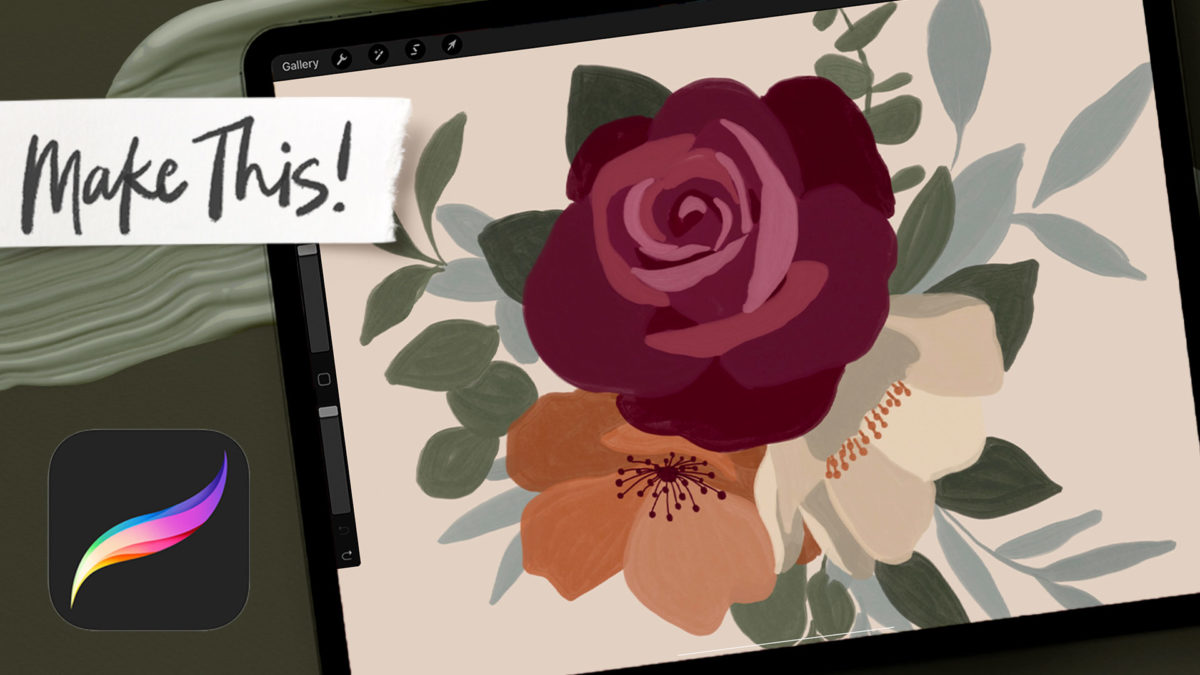
That piece took 90 minutes to make, so this week, I’m breaking the same process I used down to 7 minutes. We’ll make a bouquet with 3 different simplified flowers anyone can paint and fill in our gaps with leafy foliage and eucalyptus! I’ll even provide the composition sketch so you can get painting right away 👏 And if you’d like to take it one step further and add in some line art to your messy gouache flowers, check out this tutorial.

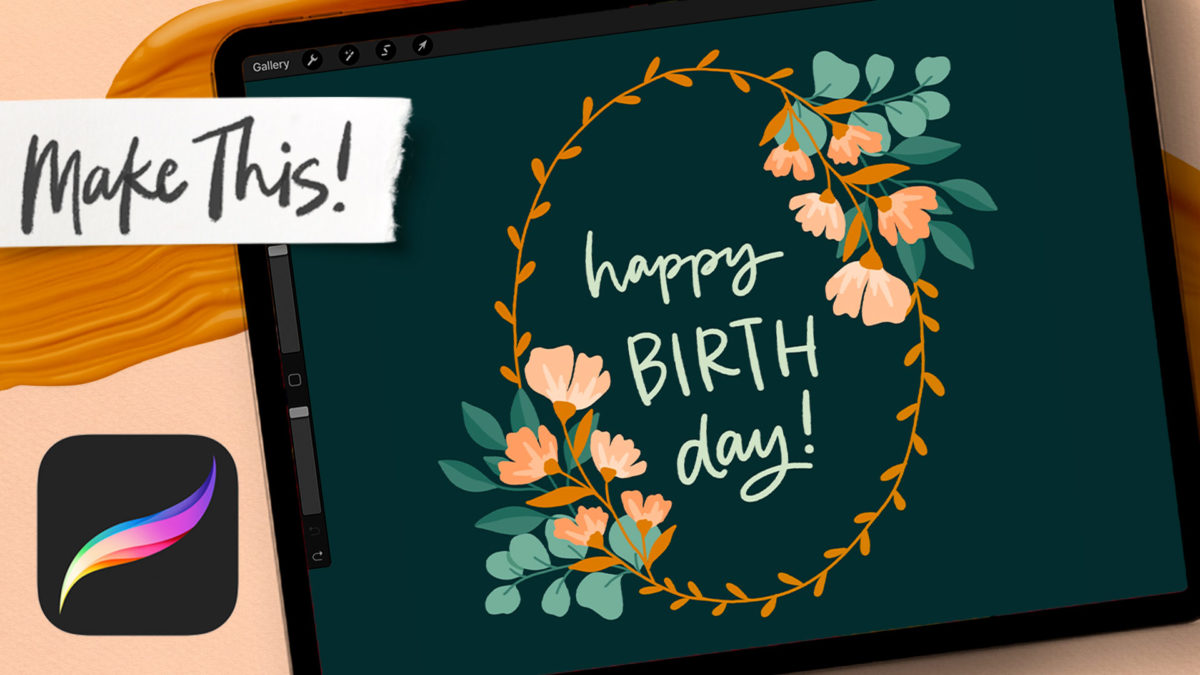
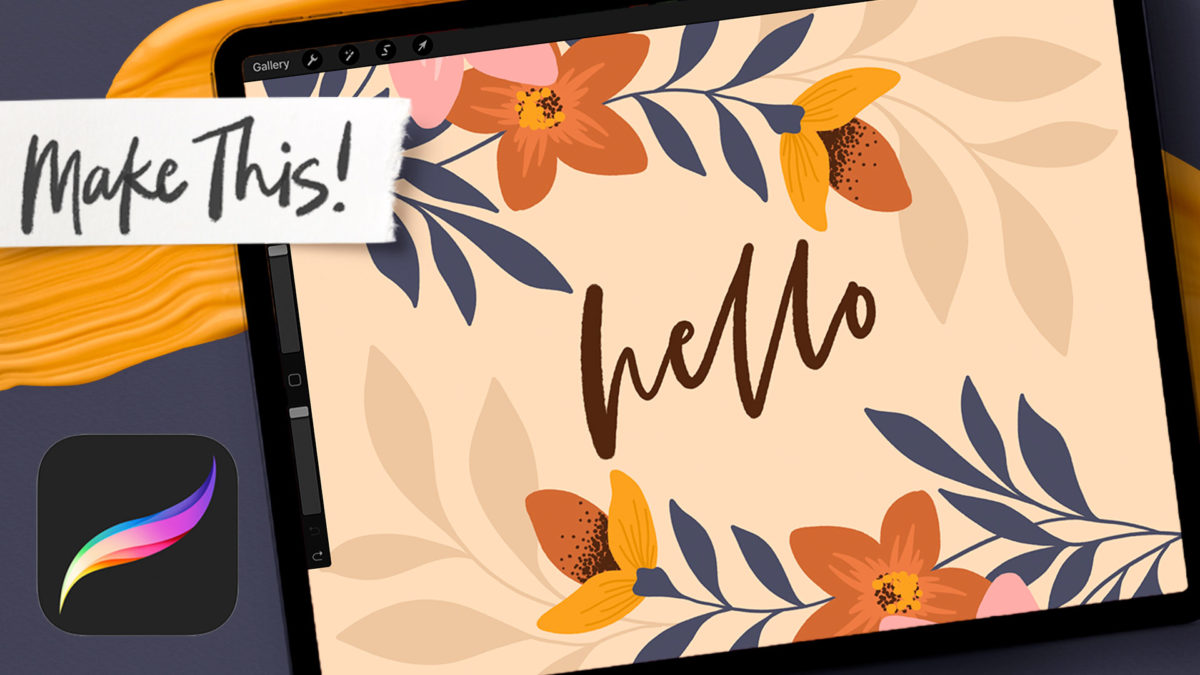
Happy Tuesday! I’ve got some fun flat florals for you today using a symmetry method that works perfectly for stationery! By using a symmetrical frame shape centered on the canvas, we can repeat the elements as they’re drawn and they’ll be placed exactly where they need to go! This is an advanced tutorial (we use layer order and layer masking quite a bit), so if you need a quick refresher, drop into my free Procreate for Beginners course for everything you’ll need 😉

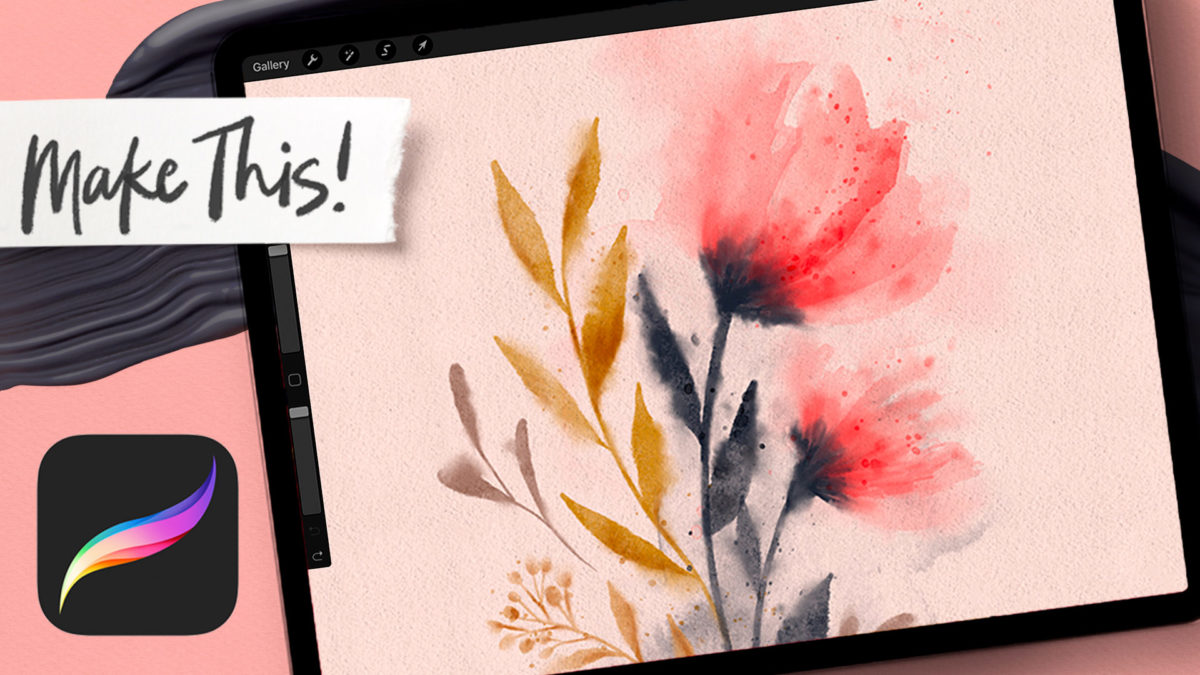
I couldn’t let Valentine’s Day arrive without some watercolor florals! I was a little hesitant to share my sketching process for these 🫣, but I wanted you to see that a sketch does not need to be a beautiful thing to lead to a beautiful thing… especially in this style.

This tutorial can be adjusted to fit any occasion throughout the year – just change up the colors for a completely different feel! You can also control how much messiness you’d like to inject by increasing or reducing the wash and splatter elements at the end. Other than that, just let the brushes + stamps do the rest of the work for you 😉

The chilly January weather has got me missing warmer weather so much, I didn’t even realize this had such a tropical vibe until Spence pointed it out to me 🤦‍♀️ I guess even my subconscious can’t wait for flip flops 😂 If you’d like to see the Bouquet Maker Brushes in action, or are looking for some new ideas, here’s a quick and easy one to add a lot of impact and frame messaging perfectly!

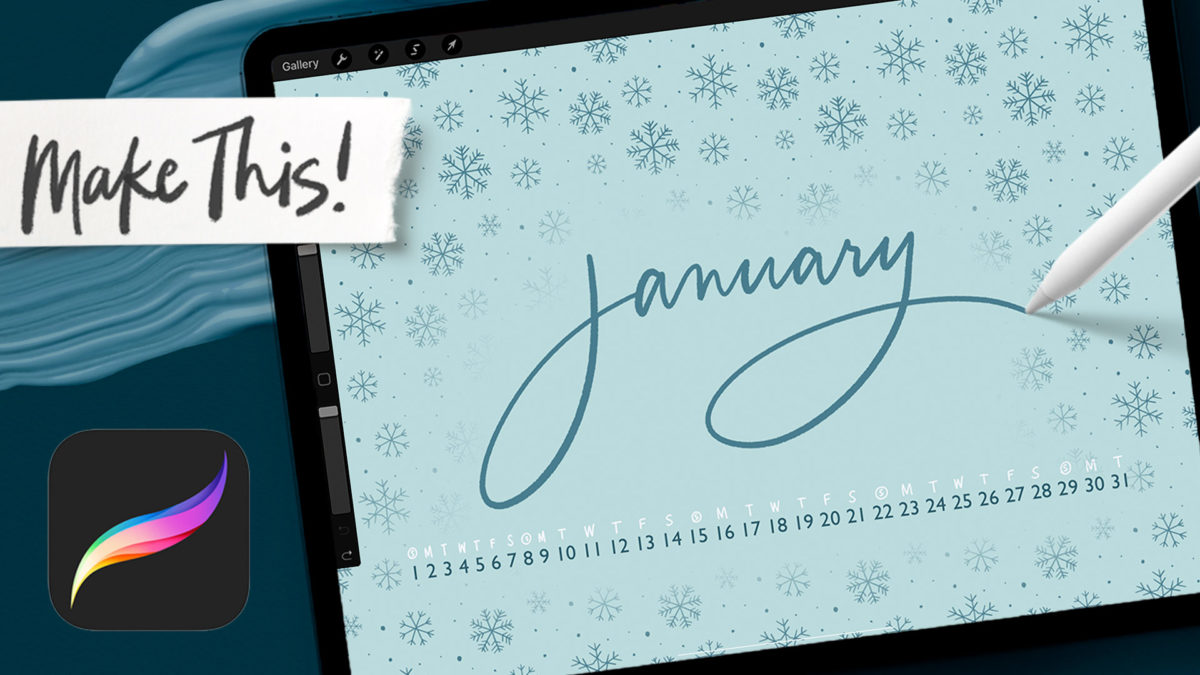
To kick off the new year, I’m sharing how I create perfectly sized iPad wallpapers this week! As an added option, I’m also showing how to add in calendar dates whether you hand letter them or use typeable text. There are a few things you’ll want to keep in mind/be aware of so the process goes smoothly and quickly!

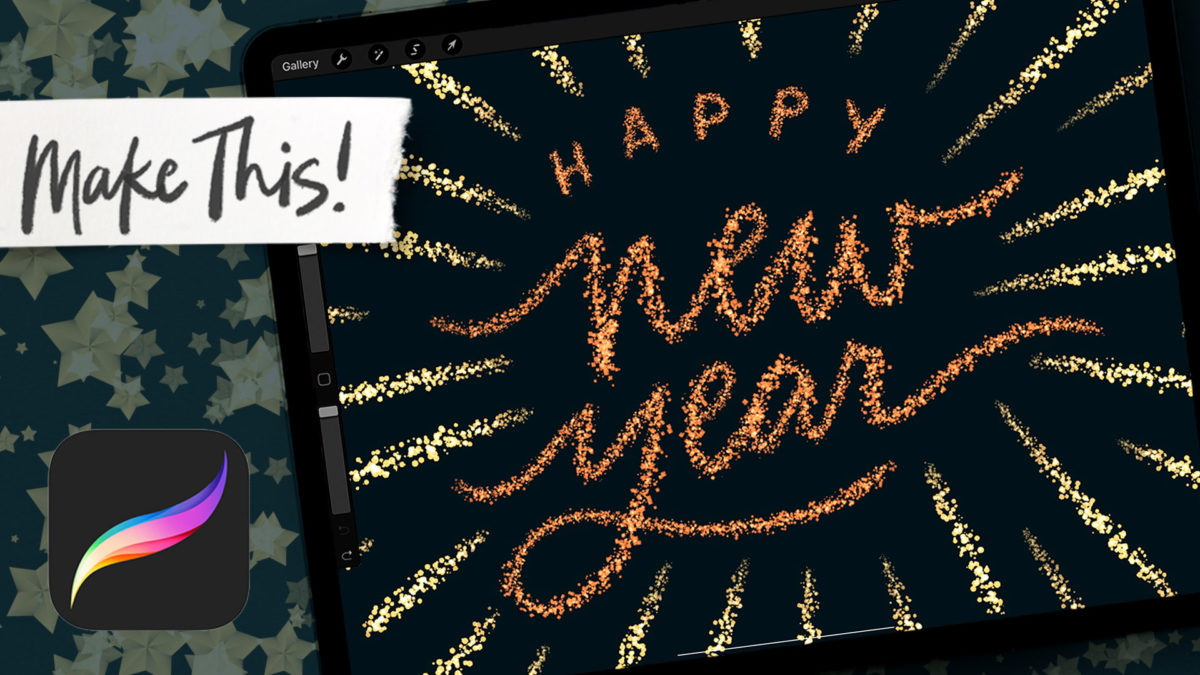
Just a few more days left in 2022! To ring in the new year this week, I’ve got a glittery new year’s firework animation for you! ✨

This is a beginner to intermediate animation tutorial, so if you’ve taken my free Procreate for Beginners class, you’ll have no trouble following along. I’ve sized it perfectly for Instagram reels, but please feel free to adjust it however you’d like!

I’ve been playing around with my new Bouquet Maker brush set non stop lately and combining it with some of my past brush sets to see what I could come up with. Once I started experimenting with the gouache set, I knew I had to share this process! 

This one’s definitely on the more advanced side, but if you’ve taken my new Flat Florals course or my free Procreate for Beginners course, you’ll be all set for it!

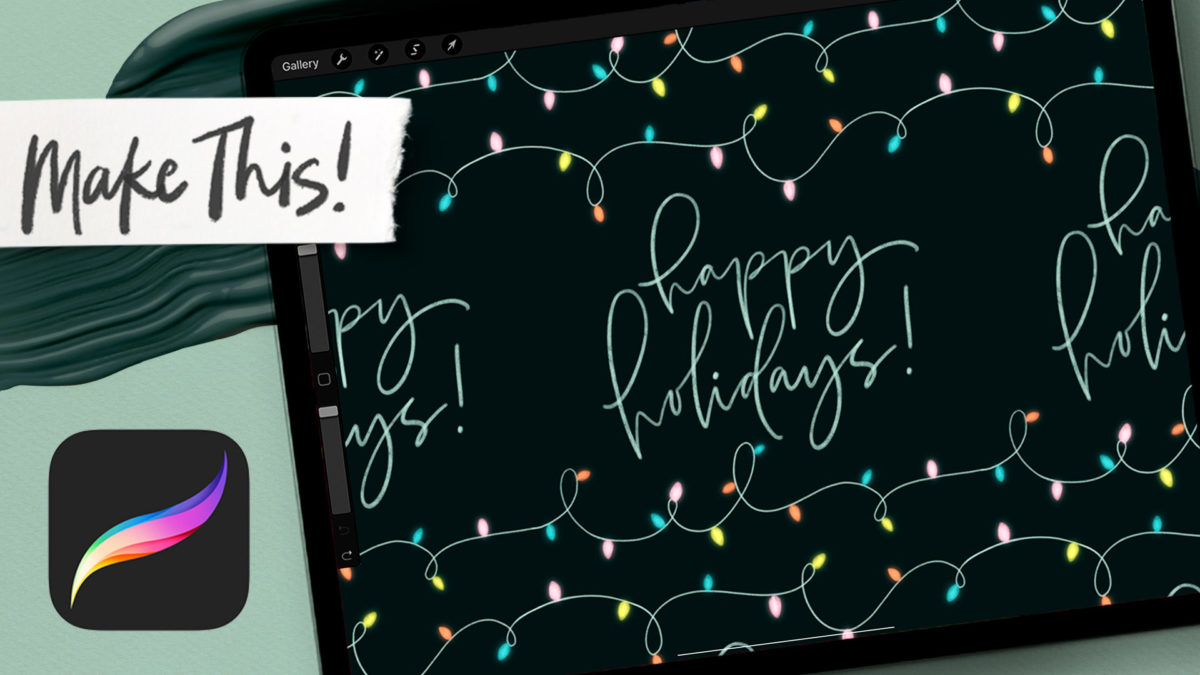
Our daughter’s birthday is December 28th (she’ll be 4 this year!) and she knows as soon as ‘the leaves are off the trees and the lights are up’ it means her birthday is getting close 🥰 Spence and I never used to decorate right after Thanksgiving, but now that we’ve got a little one that the lights mean so much to, we’re on it like clockwork. Since we’ll be shivering on ladders in a few days, it felt only fitting to share that holiday tradition in tutorial form this week 🤩

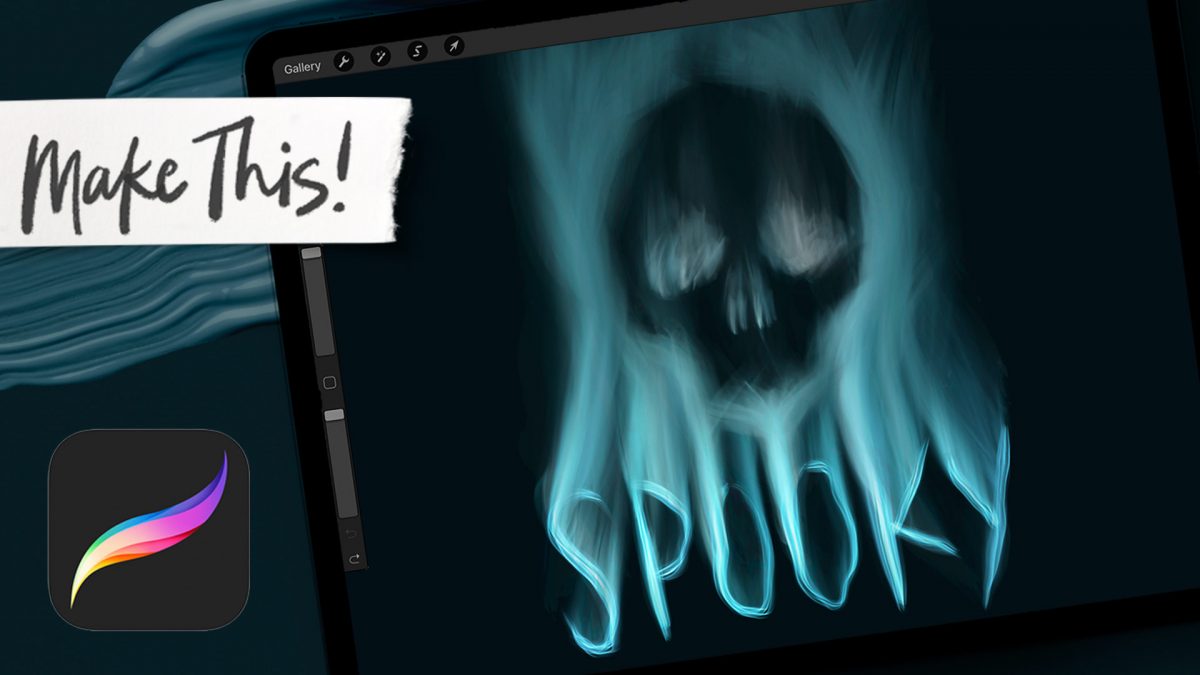
I’ve been playing around with several different Halloween-themed animations, trying to pick the right one for this year (here’s last year’s!), but once I landed on this one, I knew it was the one. It’s definitely a little different than what you usually see from me, but the (surprisingly easy) animated flame/smoke effect was something I couldn’t resist sharing. 

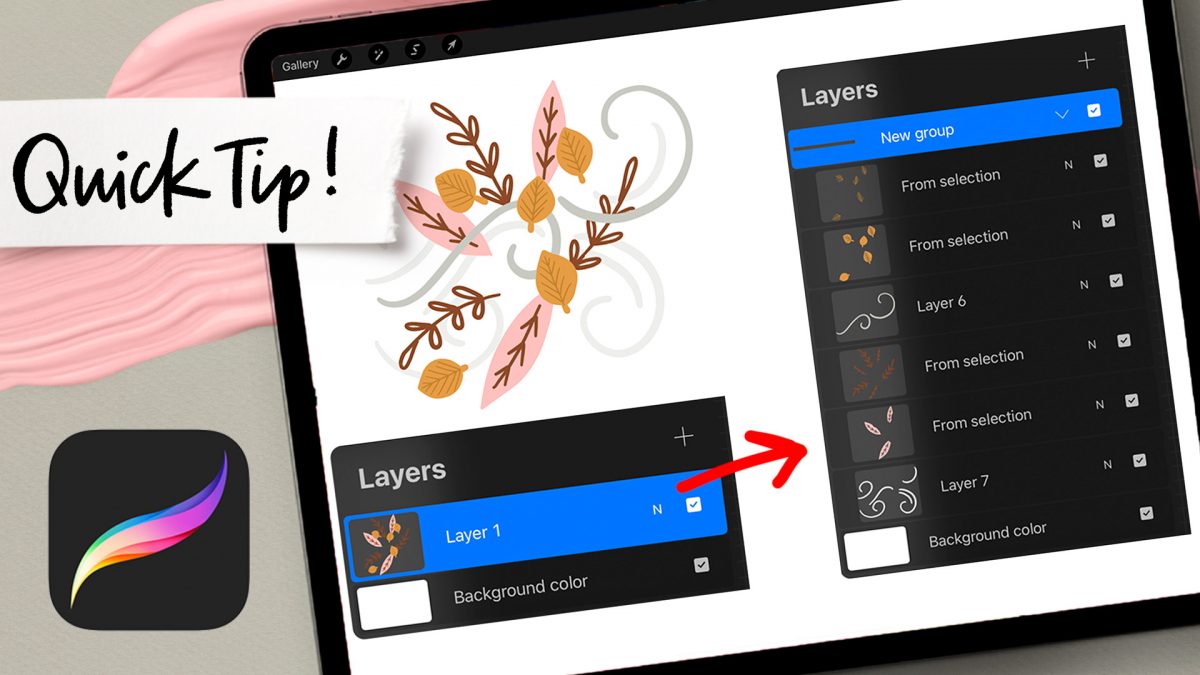
At some point in Procreate, most of us have experienced the frustration when we realize we painted more than we should have on the same layer. This is especially painful when you’d like to put an element behind one and in front of the other. If this is final artwork, then redrawing would be required to maintain line quality, but if you’re trying out some ideas, there’s a quick way to convert that flattened artwork into layers in Procreate that I wanted to share.

This tip works best for solid colored artwork (vs. gradients/shading) and it’s a process you can easily adapt for replicating elements, too!

GDPR Icon

Your Privacy Matters

We use cookies to customize and create content that’s most important to you. We’ll never share the info we collect.

View Privacy Policy