HomePosts Tagged "fine art" (Page 2)

fine art Tag

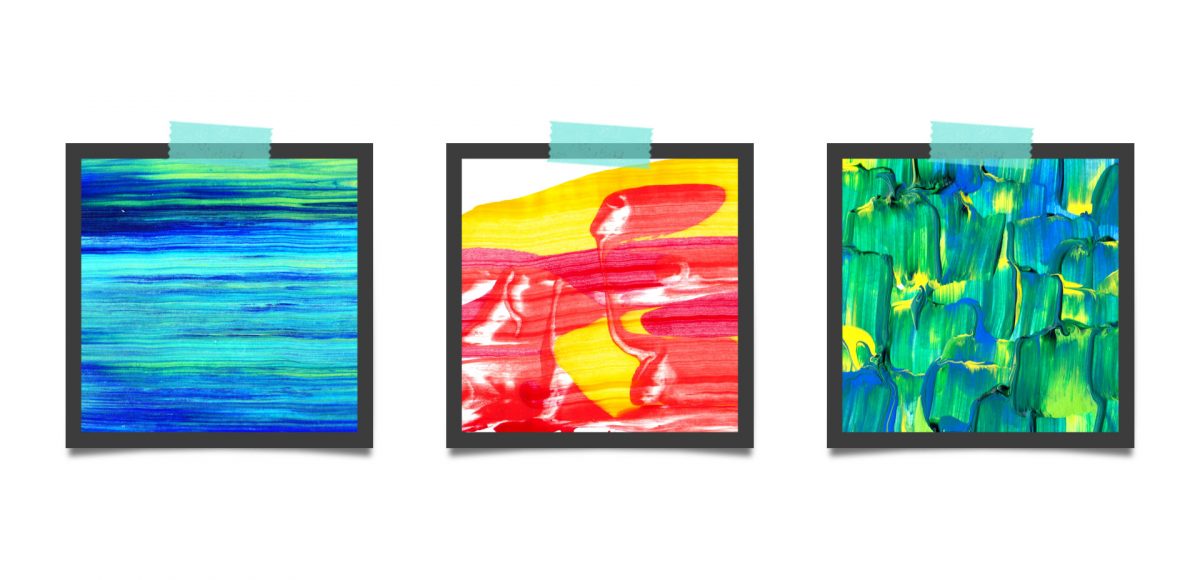
Last fall, I shared a video on 3 simple tricks for unique watercolor textures. To my surprise, it quickly became my most viewed video of all time (almost 1 million views as I type this!). Since integrating textures into my work is one of my favorite parts of design, I wanted to share another quick tip texture video. This week, we’ll be going over 3 simple tricks for unique acrylic textures. I first started creating acrylic textures when I made this paint streak typography tutorial (over 2 years ago!). After that, I posted this video on Instagram of another method, and most recently this one.  I love that I can keep things traditional if I’d like, but also that I can create digital work from these textures that still feels authentic, hand made and special 🙂 So, let’s get these going!

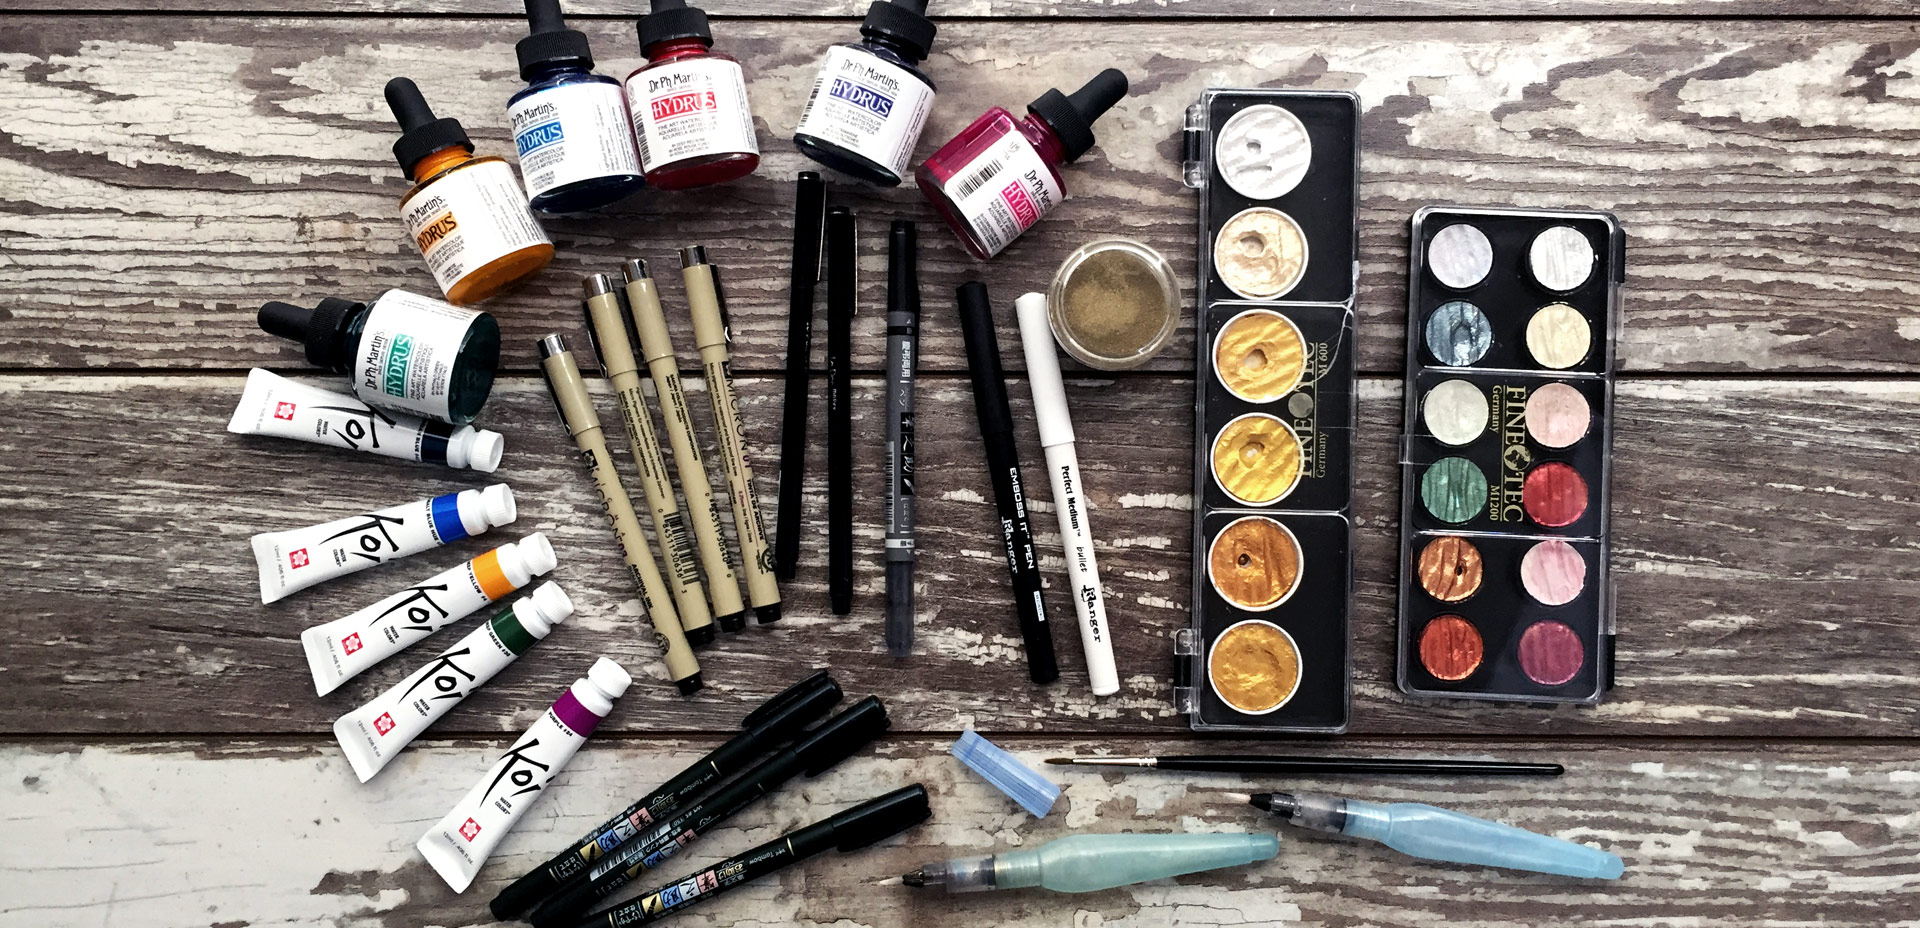
One of my favorite parts about this year was experimenting with more art supplies than I ever have before. I definitely didn’t love everything I tried, but I do have a list of favorite art supplies from 2016. I thought it would be nice to compile them this week into one nice, review-like list. If you’re looking to try some new ones in 2017, I hope this will help with the decision making. Reading actual (unbiased) user reviews is always so helpful for me, so that’s exactly what I wanted to offer. See the full list below!

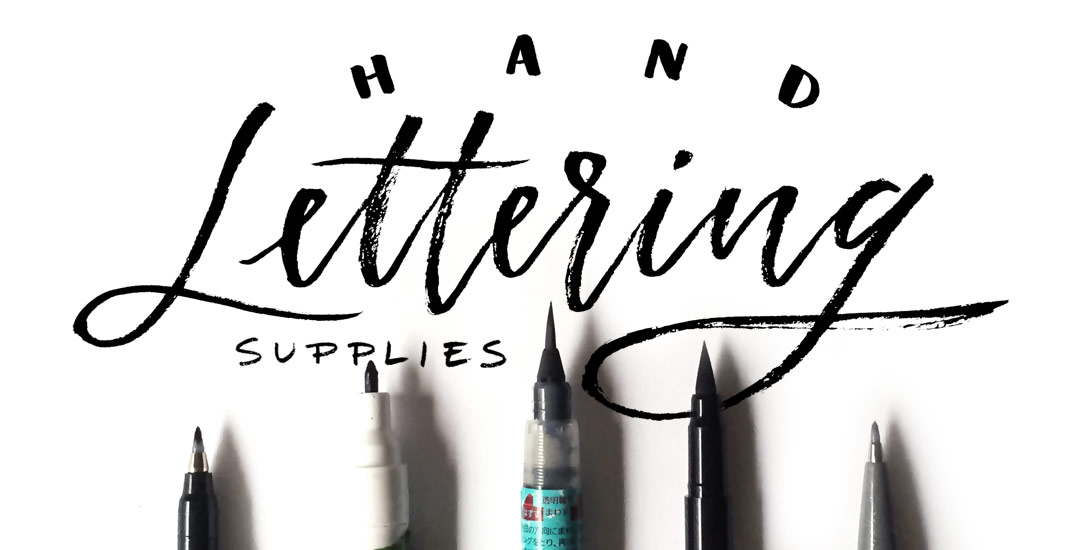
I experiment with new materials and supplies constantly for my (traditional) hand lettering. I would actually be scared to know how much time I’ve spent eyeing different hand lettering supplies (and reading their reviews) over on Amazon. I’ve invested in a lot of new ones this year and currently I have 5 favorites that I find myself always returning to and reordering. If you’re just starting out with lettering, or if you’re on the hunt for some new supplies but would like to read a real (almost every day) user review, here are my current top 5 favorite hand lettering supplies (totally unbiased, with no affiliation to any of em) 🙂

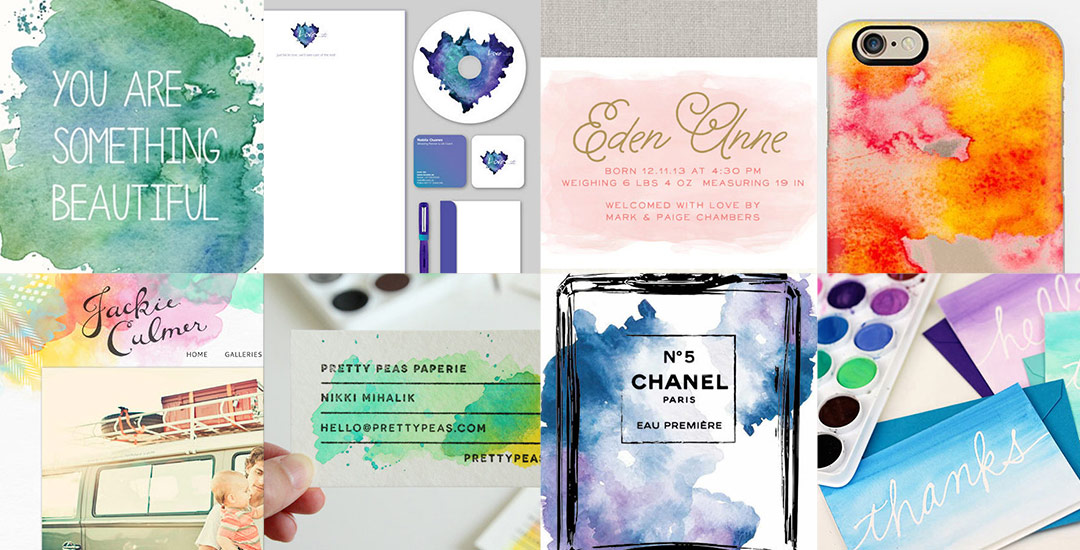
My newest Skillshare class, Watercolor Textures for Graphic Design, went live on Monday, and I’m so excited to share that nearly 1,000 wonderful creatives have already enrolled in the class! Creating watercolor textures from scratch – the act of sitting with a brush in hand, swirling colors together in unique ways – is one of my favorite times to relax and kind of let the art be made without thinking too hard. It’s definitely easy to lose track of time once you get started, but also awesome to then have so many cool new textures to work with. If you’re ever short on ideas on how you can start using those newly created textures, today I’m rounding up a bunch of inspiration with ways to start applying your watercolor textures in graphic design. Read on to see them all!

Things have been all about watercolor typography lately – and having the versatility to create such specific detail with a waterbrush, I started to wonder – what else can I create fine detail in with a waterbrush? I am self admittedly not an illustrator – or painter for that matter. I’m a designer that has always loved to also doodle and create things with my hands. When I was young, I’d ask for an ‘art kit’ from the craft store every Christmas and birthday and I’m grateful my parents always found a way to deliver. I could doodle some legit cartoon characters (following an 8th grade standard), but realism or the patience to carry out long form artwork has always been MIA in my gifts department.

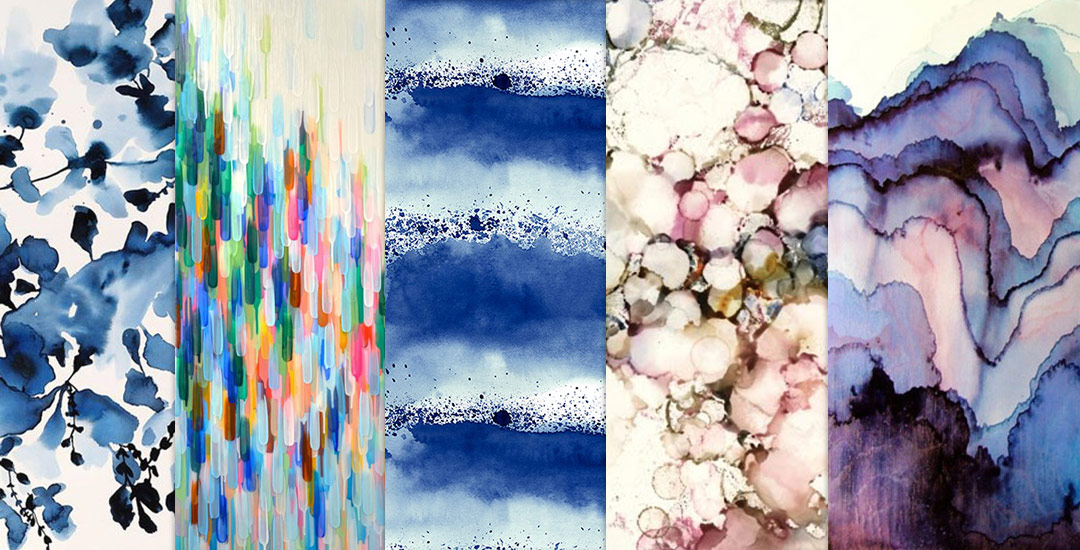
I’ve always had a passion for logic + mathematics (totally weird, I know – almost became a math teacher, but that’s another story). I think it’s probably the geometry of it all, but I am a complete sucker for textiles. Anyway, the idea of putting patterns and watercolors together prompted a pinterest hunt, which brought about this post today. If you like watercolors + patterns, this is some serious kind of eye candy. I had to make this post have a theme or I wouldn’t have been able to stop myself from posting every beautiful piece of artwork I came across. So! Here are 10 dreamy watercolor patterns to go extra swoon-mode over 🙂 Happy Thursday!

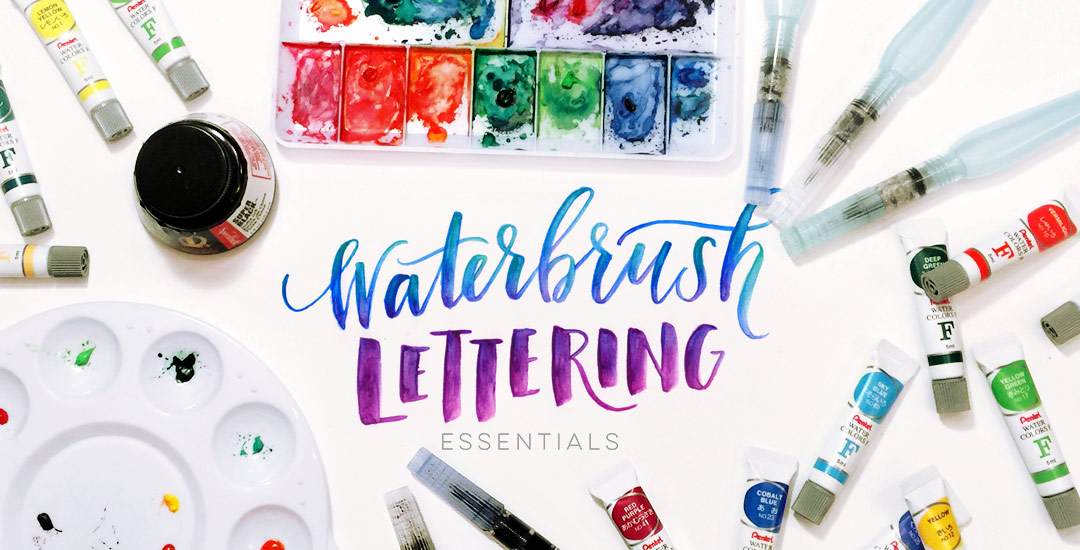
Happy Tuesday! Today is my official announcement that my newest Skillshare class, Waterbrush Lettering Essentials, is live! If you enjoyed this tutorial or this one on using a waterbrush for watercolor or ink lettering, this class was made for you. We’ll go much deeper than in the tutorials by going over typographic watercolor blending techniques and 3 methods for establishing your own unique lettering style using a waterbrush. The final project in the class is a waterbrush lettered greeting card you’ll be able to gift to a loved one – and with the holidays just around the corner, your cards will definitely be standing out. 😉 Enrollment in the class includes a resources pdf which lists all of the products used, a brush-style lettering inspiration pdf so you can find lettering to inspire your own style, and a greeting card template pdf you’ll be able to use to make greeting cards from any paper you have at home. For readers of this blog, I’m giving the resources AND the inspiration pdf away for free this week!

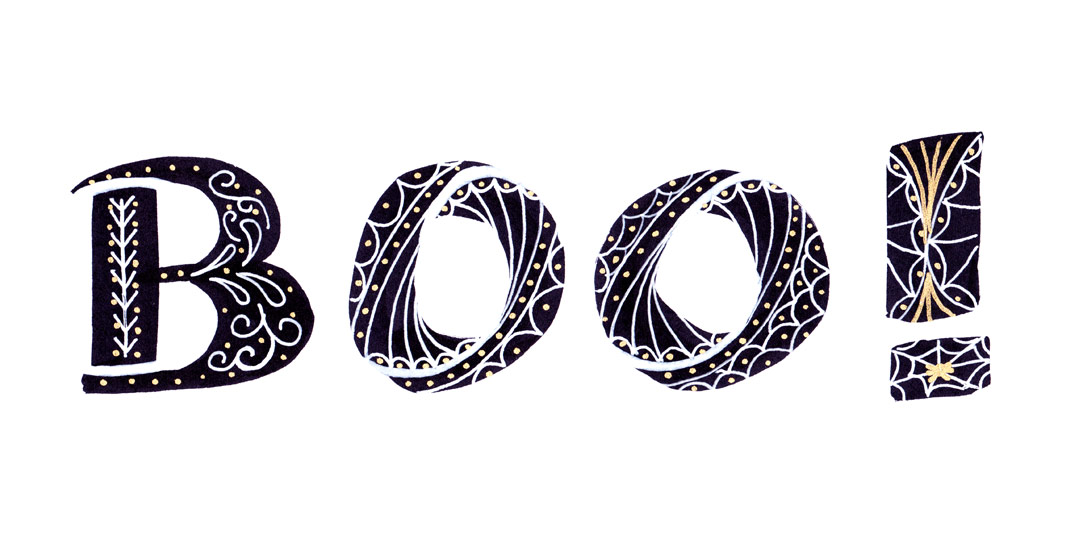
Last week, I gave away some free October desktop wallpapers and I wanted to share how I created the typography before I digitized it 🙂 I’m calling it skeleton typography, since it was inspired by Day of the Dead sugar skull designs and we’re creating some decorative ‘guts’ for our type. In this fine art tutorial, we create our skeleton typography using 4 writing utensils and a sheet of 110# white cardstock. Get creative with your own Halloween typography this year using the same techniques for any words you choose! Read on to see how 🙂

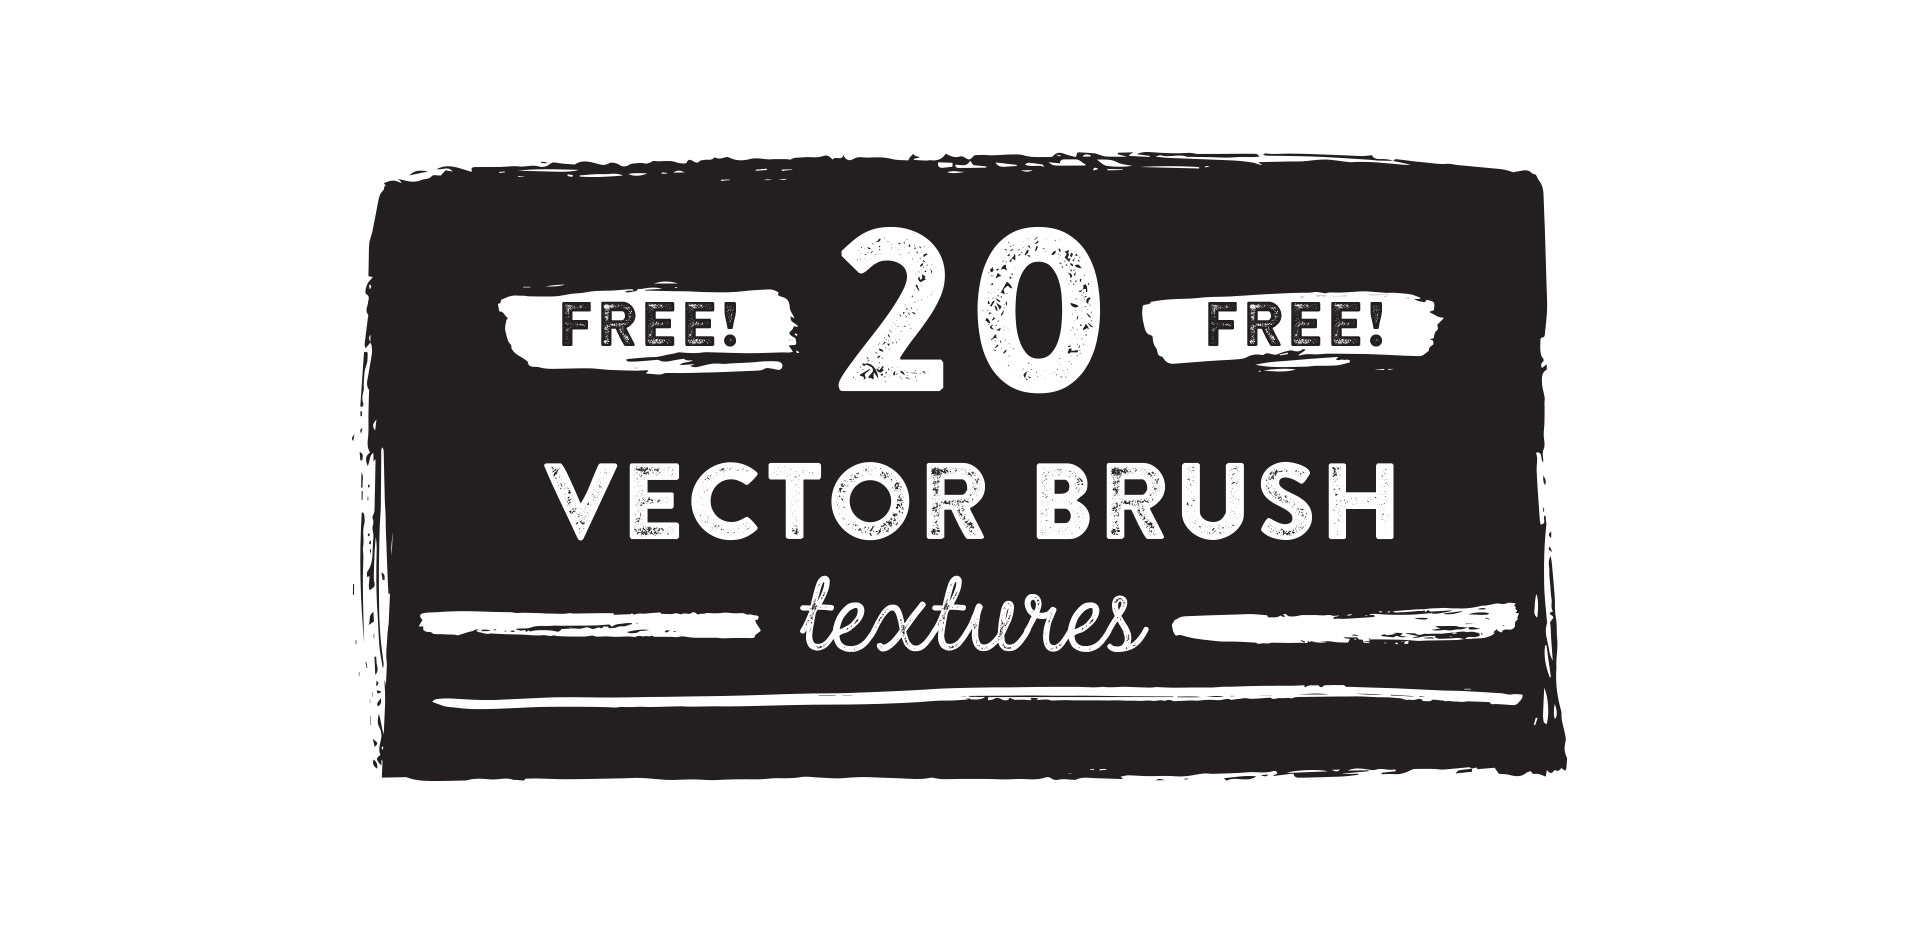
Keeping with the brush/india ink theme this week, this week’s freebie is a pack of 20 vector brush textures! Add quick texture to portions of your artwork or use as dividers. To add a faux screenprinted edge effect quickly, apply a brush texture to each side of a color filled rectangle. All textures are 100% vector and can be used with any version of Illustrator or Photoshop, CS3 or newer. Preview below; ai, eps + psd included in the download!

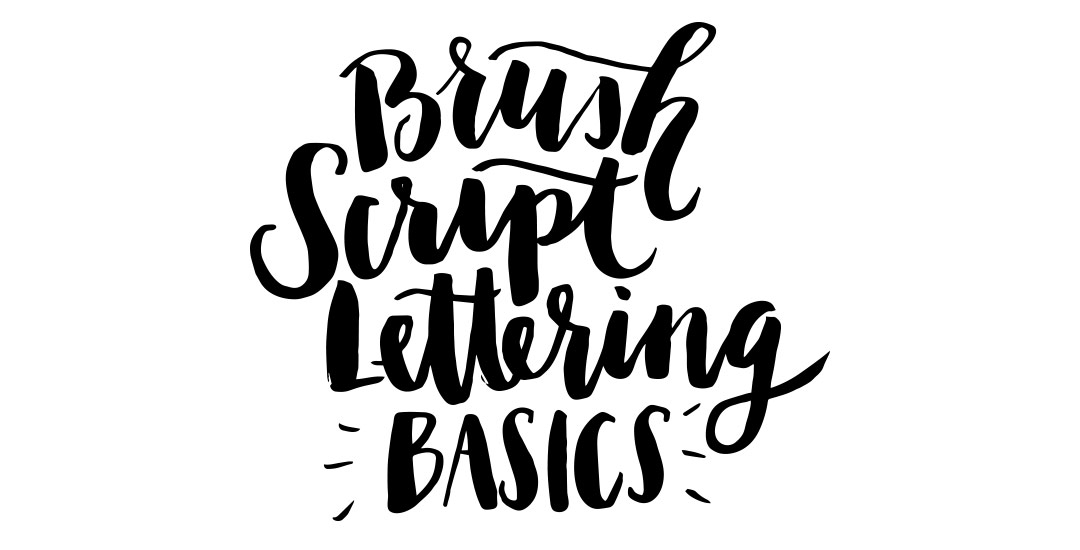
A couple of weeks ago, I shared some tips for using a waterbrush to create watercolor lettering. It was so well received, I wanted to do a follow up using that same waterbrush, but with ink this time. Yep, I filled that blue waterchamber with super black speedball ink instead of water, squeezed + lettered to my heart’s content 🙂 Before filling the waterbrush with ink, I had been using a Tombow for my brush script lettering, but after burning through a few pretty quickly, I was in search for an alternative to save a little dough. That led me to the waterbrush and I haven’t looked back! In this week’s video, I share some basic tips for getting started with your own brush script lettering. Lettering in black vs. watercolor will quickly allow you to scan your artwork in, vectorize it and use it in a bunch of applications quickly, like masking or font making (more on that next month!). Let’s get started!

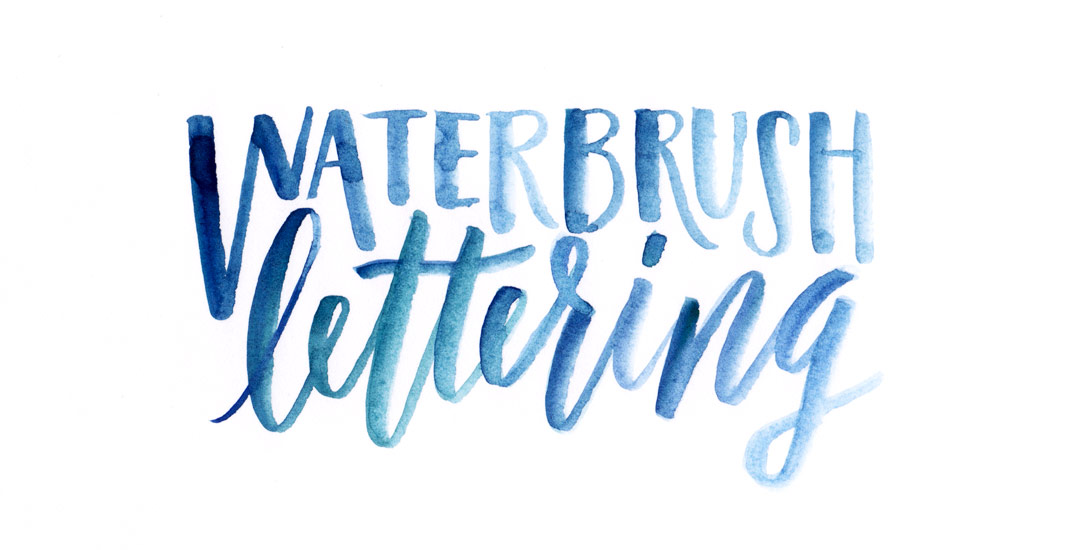
If you’ve been following my Instagram, you know how obsessed I’ve been lately with lettering using a waterbrush! It combines two strong passions of mine – watercolor and typography and I can’t get enough! Since I’ve been experimenting like a crazy woman, I wanted to share some tips I’ve learned over the past few weeks. I’m no expert by any means, but I’ve gotten into a rhythm and I’ve been really happy with how I’ve improved by remembering a few simple things. If this is something you’d like to try, my hope is that this video will save you time, money and supplies. Speaking of supplies, everything mentioned in the video that I’m currently using is listed below the vid 😉 For more on brush lettering with watercolor, check out my master course!

GDPR Icon

Your Privacy Matters

We use cookies to customize and create content that’s most important to you. We’ll never share the info we collect.

View Privacy Policy