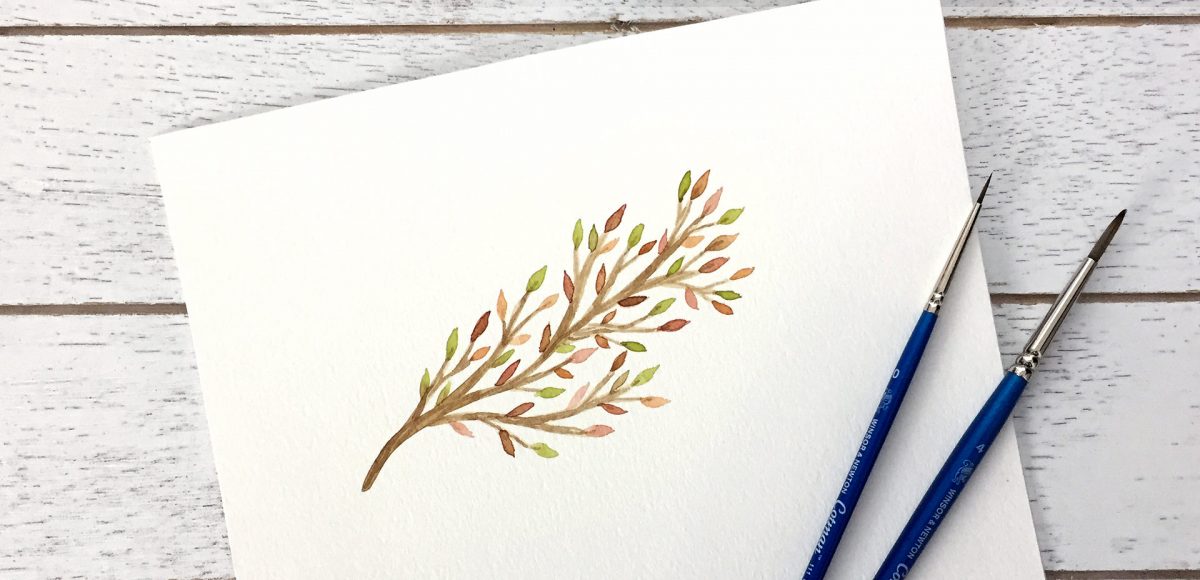
HomePosts Tagged "painting" (Page 3)

painting Tag

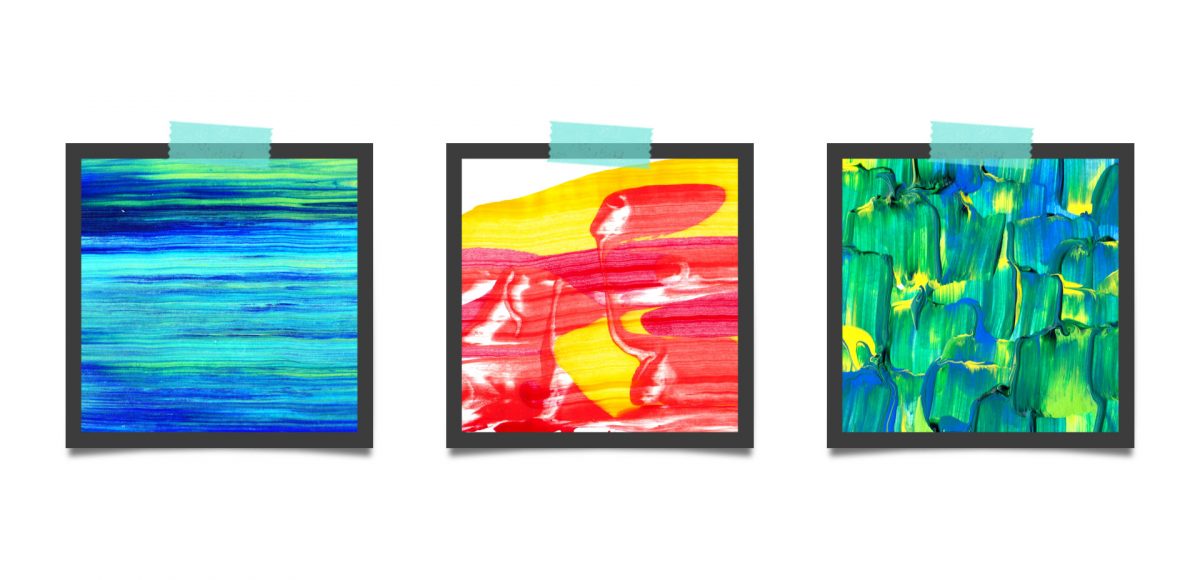
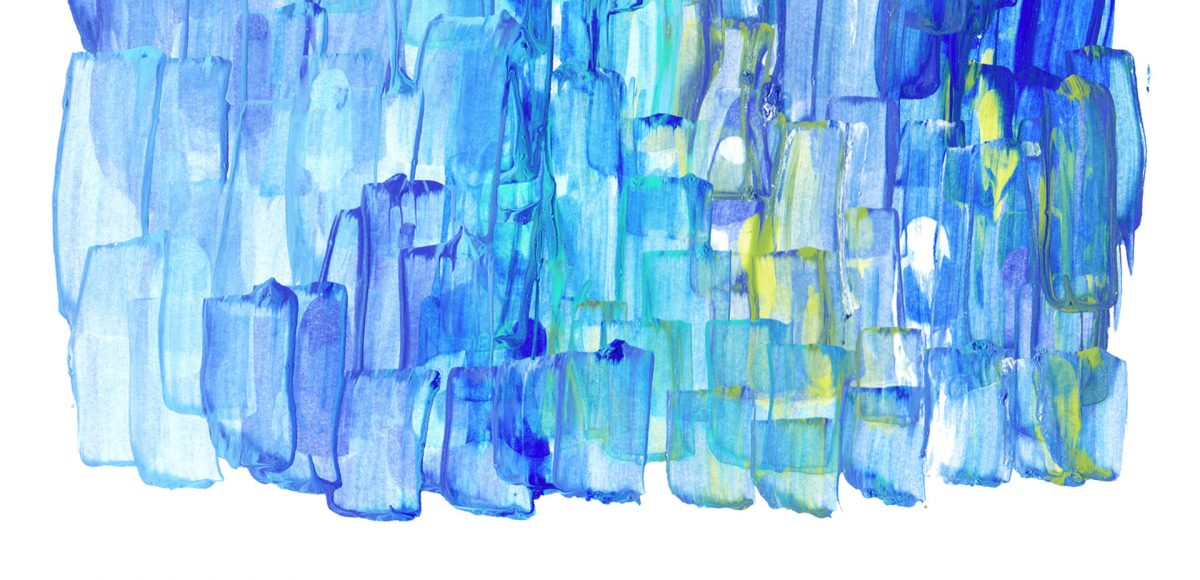
I’ve been breaking out my watercolors a bit more lately and have found myself painting a lot of autumn and winter themed illustrations. I thought I’d change things up a bit this week and share my method for painting an autumn watercolor branch. This is one of the first illustrations I learned how to paint and I love that there’s no pressure to get anything perfect. Add as many leaves, branches and organic curves as you’d like – there really is endless creative freedom here. We’ll go through the wet on dry technique, mix up custom pan set watercolors and talk about a few tips for painting leaves. This is the first Every-Tuesday watercolor painting tutorial – let me know if you’d like to see more in the future!

A couple weeks ago, I shared 3 tricks for creating unique grit textures. This week, I’m sharing how to create a gritty photoshop texture brush using a texture we created! This texture brush can be used for borders, backgrounds, illustrations and more (tutorial on those coming soon!). In the video, I share my scan settings and how I edit the texture before ever creating a brush with it. Once the texture is optimized, I share some of my favorite Photoshop texture brush settings. These are settings that you can easily implement into future texture brushes, too. This tutorial is perfect for beginners, so if you’re just getting started with Photoshop, be sure to read on to see it all!

Grit textures are one of the quickest ways to add a handmade feel to digital art. By adding a little texture to edges, borders, blocks of color or even shadows, simulated depth and an organic feel are created. What’s even better is that it only takes a little effort to create and apply them. In this week’s tutorial, I’m sharing 3 of my favorite simple tricks for creating unique grit textures. In the coming weeks, I’ll also be sharing how to digitize and apply them to artwork. Let’s kick this off by breaking out some ink and experimenting!

Last fall, I shared a video on 3 simple tricks for unique watercolor textures. To my surprise, it quickly became my most viewed video of all time (almost 1 million views as I type this!). Since integrating textures into my work is one of my favorite parts of design, I wanted to share another quick tip texture video. This week, we’ll be going over 3 simple tricks for unique acrylic textures. I first started creating acrylic textures when I made this paint streak typography tutorial (over 2 years ago!). After that, I posted this video on Instagram of another method, and most recently this one.  I love that I can keep things traditional if I’d like, but also that I can create digital work from these textures that still feels authentic, hand made and special 🙂 So, let’s get these going!

It’s the last Thursday in June, which means it’s time for your free July 2017 desktop wallpapers! This month, I wanted to experiment with a new technique for creating watercolor textures. I picked up these small spray bottles, filled one with regular water and used it, along with this no.4 round brush to create the texture. Each new layer, I let *almost* dry before adding a little extra color to create more depth/vibrancy. It was created using this pan set – I was on the fence when I originally bought it since it’s a little pricey, but it has hands down become my favorite watercolor set (even beating out liquid concentrated!). I scanned the final texture in, made a few minor color enhancements in Photoshop, added July which I hand lettered, and typeset the dates using Miss Magnolia.

The download includes the wallpapers in two common resolutions: 1280x1024px and 1920x1080px, with and without dates. I’ve left the year off of the ‘no-dates’ versions, so you can use it for any July in the future, too!

It’s the last Thursday in May, which means it’s time for your free June 2017 desktop wallpapers! I’ve been wanting to play with acrylics a bit more lately, so this month’s wallpaper was an experiment of color mixing and texture. I went with a blue/green/teal palette for Father’s Day this month, keeping a balanced mix of all (without getting too muddy) throughout. Let me know if you’d like a tutorial on how I made the paint texture and I’ll put one together 😉 Once created (and dry), I scanned the artwork into the computer, color adjusted in Photoshop, then added the dates using my font, Miss Magnolia.

The download includes the wallpapers in two common resolutions: 1280x1024px and 1920x1080px, with and without dates. I’ve left the year off of the ‘no-dates’ versions, so you can use it for any June in the future, too!

On Tuesday, we created extra unique watercolor textures using 3 simple and creative tricks. There’s something about the way colors blend together with water that’s kind of magical. One of my favorite indulgences is searching out abstract, beautifully colored textures and seeing how I can put my own spin on them. To keep those eye candy textures better organized, I’ve even started this pinterest board, too. In a follow up to Tuesday’s tutorial, I wanted to share 8 inspiring watercolor textures to light that extra spark if you needed a creative boost today 😉 I know there’s never a bad day to feast my eyes on these!

My newest Skillshare class, Watercolor Textures for Graphic Design, went live on Monday, and I’m so excited to share that nearly 1,000 wonderful creatives have already enrolled in the class! Creating watercolor textures from scratch – the act of sitting with a brush in hand, swirling colors together in unique ways – is one of my favorite times to relax and kind of let the art be made without thinking too hard. It’s definitely easy to lose track of time once you get started, but also awesome to then have so many cool new textures to work with. If you’re ever short on ideas on how you can start using those newly created textures, today I’m rounding up a bunch of inspiration with ways to start applying your watercolor textures in graphic design. Read on to see them all!

One of the changes I’m happiest I made last year was finally joining the amazing people on Instagram (I know, superrrr late to the party). I had created an account a couple of years before, but I had been so focused on creating tutorials and getting the blog to a good place that sticking to regular Instagram postings seemed too overwhelming at the time.

Last year, I felt like I had finally hit a rhythm and I’m so glad that I decided to add Instagram into my weekly mix. I am literally amazed every single day by incredible artists creating and posting breathtaking art (cue guilt on party lateness). I love the camaraderie, the new insta-friends I’ve made and the ability to connect with people/artists/designers who are passionate about the same things. In honor of them, I wanted to start a new monthly/bi-monthly post where I share some instagrammers who I deeply admire and who I think you’ll also love. Welcome to post #1 where I’m sharing my first 5 (of many, many, many) InstaLoves.

It’s hard not to see watercolor textures everywhere these days! And it makes sense why – they’re beautiful and add such a personal, handmade touch to anything they’re on. That’s why in this week’s tutorial, I’m pairing them with my favorite thing – typography. The same rules apply if you’d like to add watercolor textures to hand lettering, too for an even greater handmade look. As a bonus, I’m including 3 free high res watercolor textures so you can play around with your own type or hand lettering. Let’s get started!

Picking paint is so hard! There’s so much pressure to get it right, especially for a big room. Our new livingroom is green, and not a good green, either. And it’s going to be the place we spend the majority of our time hanging out and entertaining friends + family. So, it’s big decision on what color it’s going to change to – I’ve lived in apartments so long this new freedom to paint the walls comes with a little second-guessing. Paint is pricey, you guys..I had no idea. In an effort to test paint out without buying a zillion little sample jars (those are ~$3 a pop), I took things into my own hands/fingertips with a little test painting in photoshop. Nothing fancy, just show-me-how-it’s-going-to-feel quick mockups. I thought it might help someone out there too, so I made a little tutorial on test painting your walls in photoshop this week, click on to see how!

GDPR Icon

Your Privacy Matters

We use cookies to customize and create content that’s most important to you. We’ll never share the info we collect.

View Privacy Policy