HomePosts Tagged "procreate illustration" (Page 5)

procreate illustration Tag

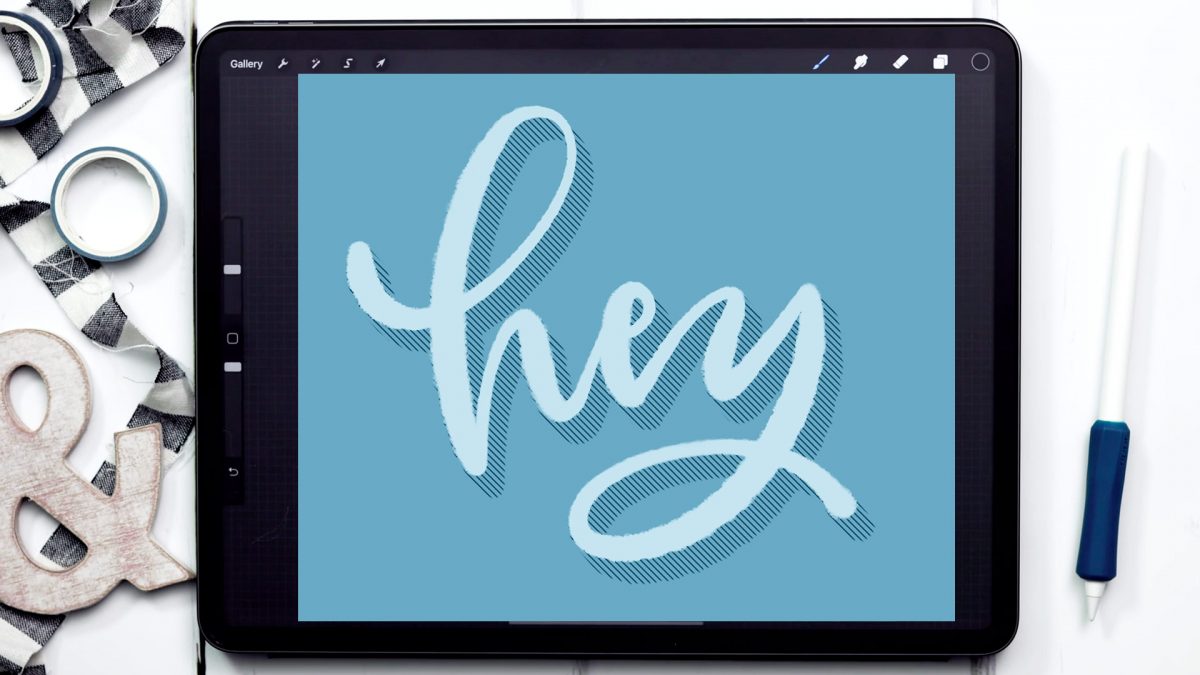
While I love creating and sharing project tutorials each week, I also want to start adding in some quick tip tutorials, too. These will be fun little tool tips or extras you can easily add into your own work. This week is one of those extras – a 3D hatched shadow effect! You can add this to lettering, typeable text or even shapes and it takes less than 5 minutes to do.

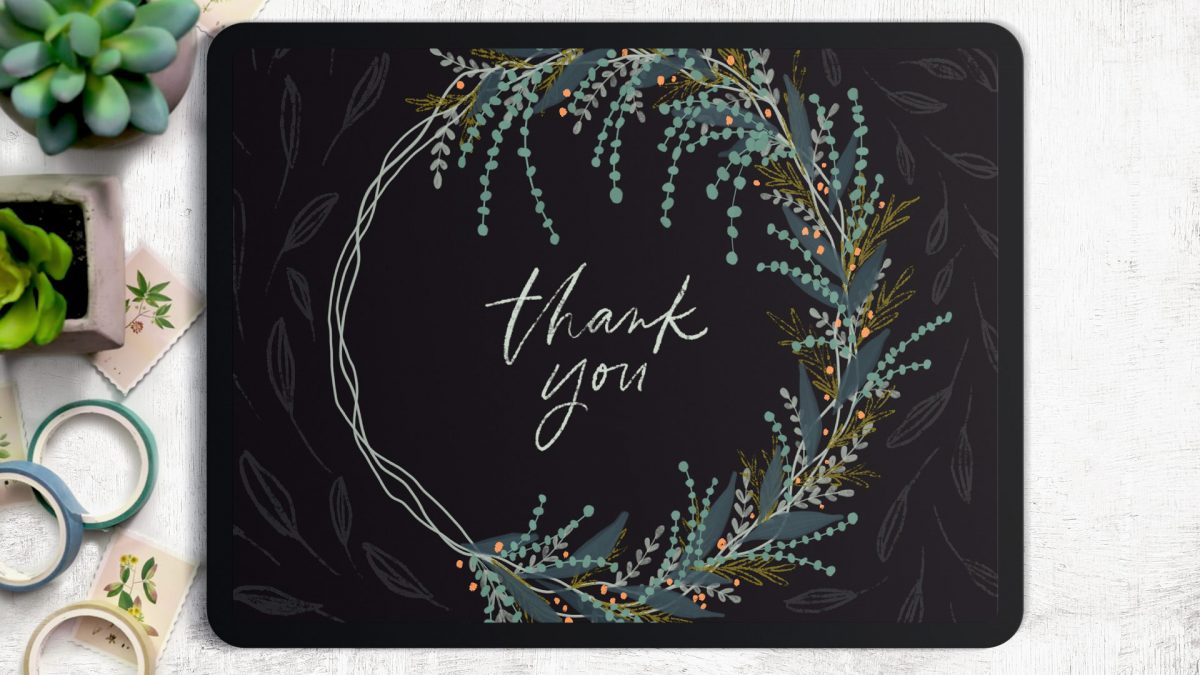
It’s no secret I loooove painting wreaths in Procreate, but I realized that I had yet to share an asymmetrical one! We’re fixing that this week with a foliage-packed, twisted vine, beginner friendly asymmetrical wreath in Procreate!  Pop this onto your IG feed, print it on stationery, or just pretty up your Procreate gallery with it. 


We use several different brushes from my gouache lovers set, but this can be accomplished with any brushes you’d like – just make sure you’re using pressure sensitive brushes so you’ll get some pretty line weight variation 😉

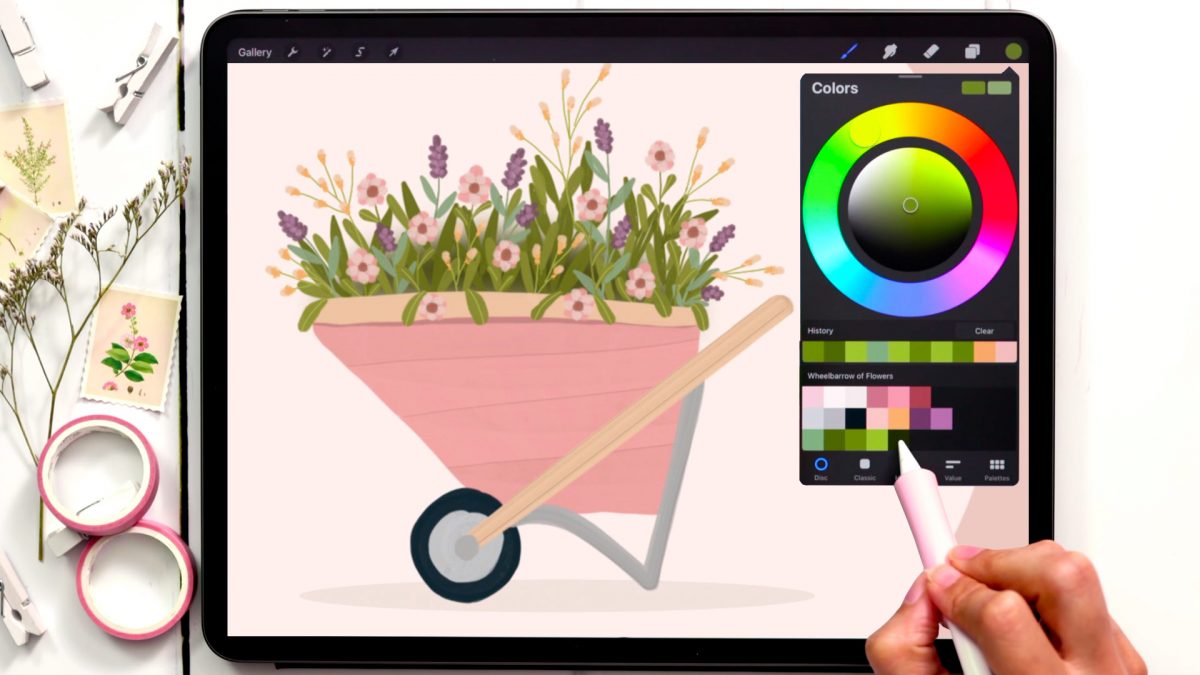
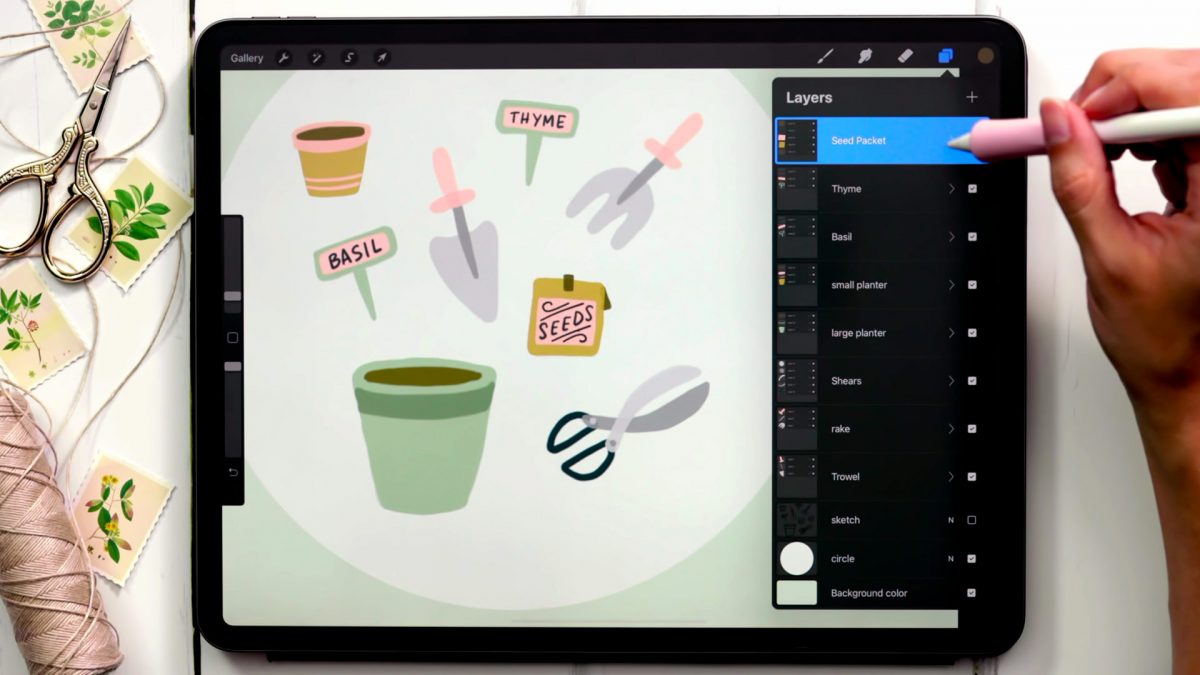
We’re wrapping up my mini gardening series this week with a gouache wheelbarrow of flowers! While it’s the most challenging of the three vids in this series, we’re using many of the skills we’ve used before. I’ve also packed it with a bunch of new tips I haven’t shared anywhere before (like adjusting a sketch layer’s proportions and adding depth to a flower arrangement to make it seem fuller). The pace is a little quicker since we have a lot to get through, but remember! You can always go into ‘drunk Teela mode’ (the official name) and slow me down by hitting the little gear icon in the bottom right corner of the YouTube player and changing the playback speed 😉

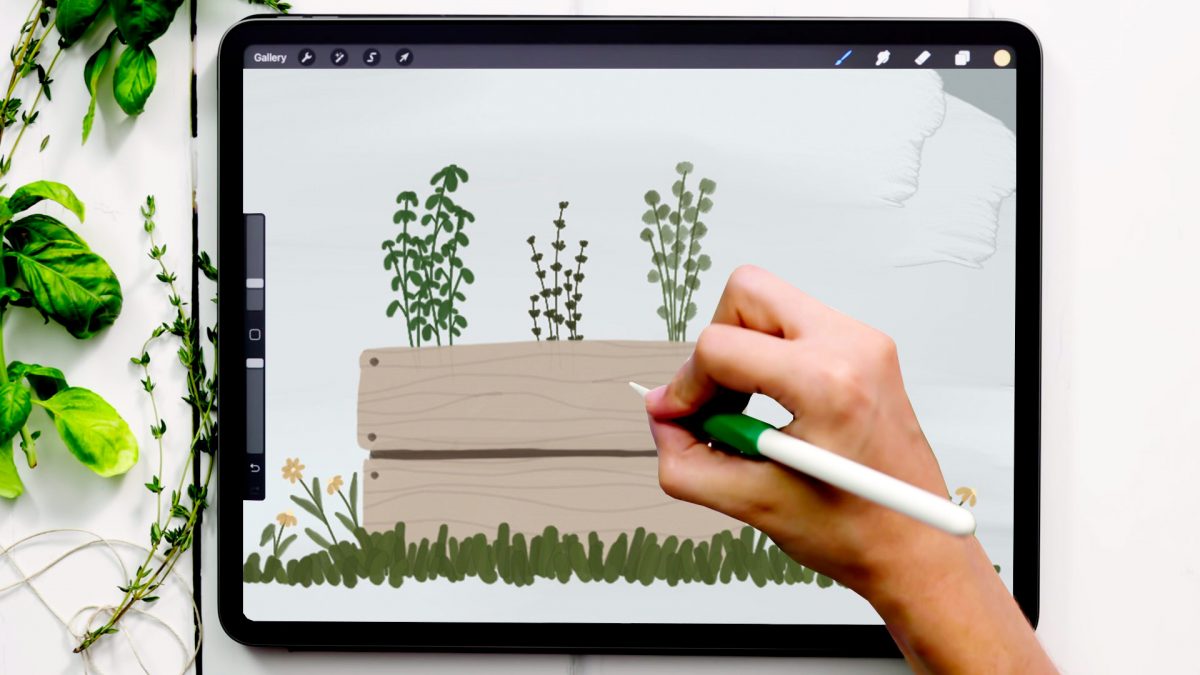
Happy June! Time to kick off video no.2 of 3 in my mini gardening series with an herb garden! My real cilantro was MIA this week, but I’m loving having fresh thyme and basil every week. I’d love to start a vegetable garden now that we have the outdoor space (we currently grow our herbs indoors), but there was a chigger incident last summer (if you don’t know what they are, brace yourself if you look them up!), so Spence and I are both a little scarred still. We’ll get there, but this will not be the year 😂

With the beautiful weather we’ve been having in the US South, I’ve been soaking up every minute of sunshine I can get before it turns sweltering this summer. Spence and I moved last year to the country, so this year I’ve started a flower garden and I’ve been adding more potted plants to our interior, too. With gardening on the brain, what started as one tutorial idea evolved into a mini series of 3 gardening illustration tutorials! This week, we’re kicking off video number 1 with some gouache gardening supplies 🌱

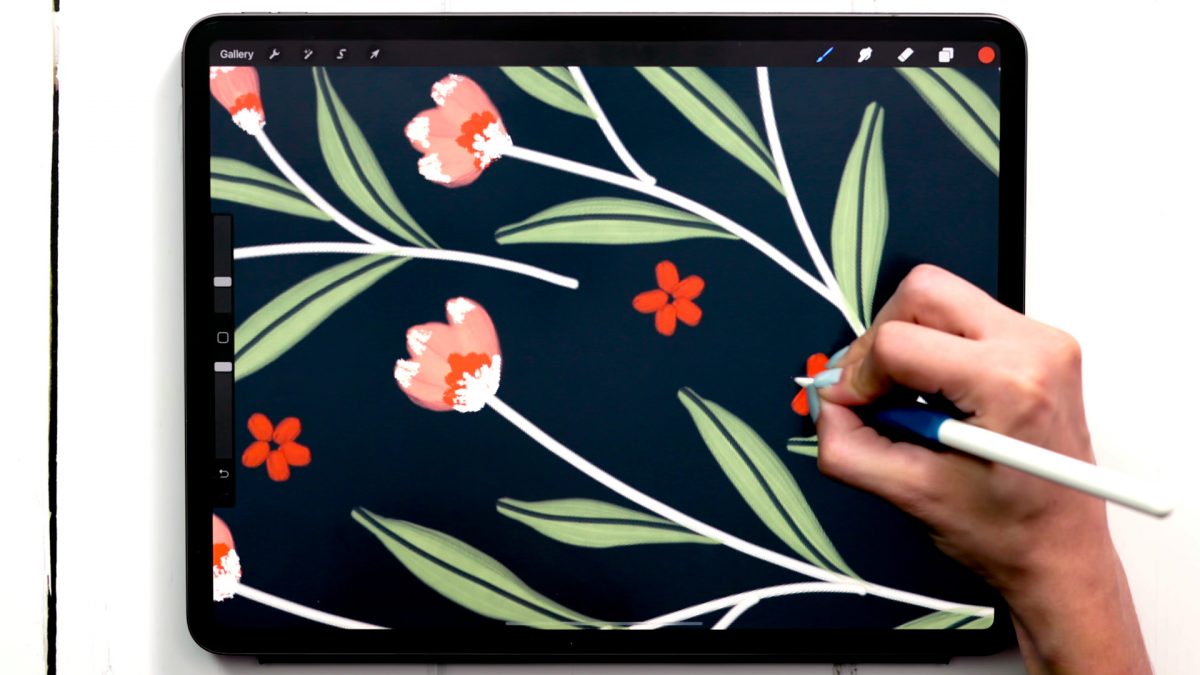
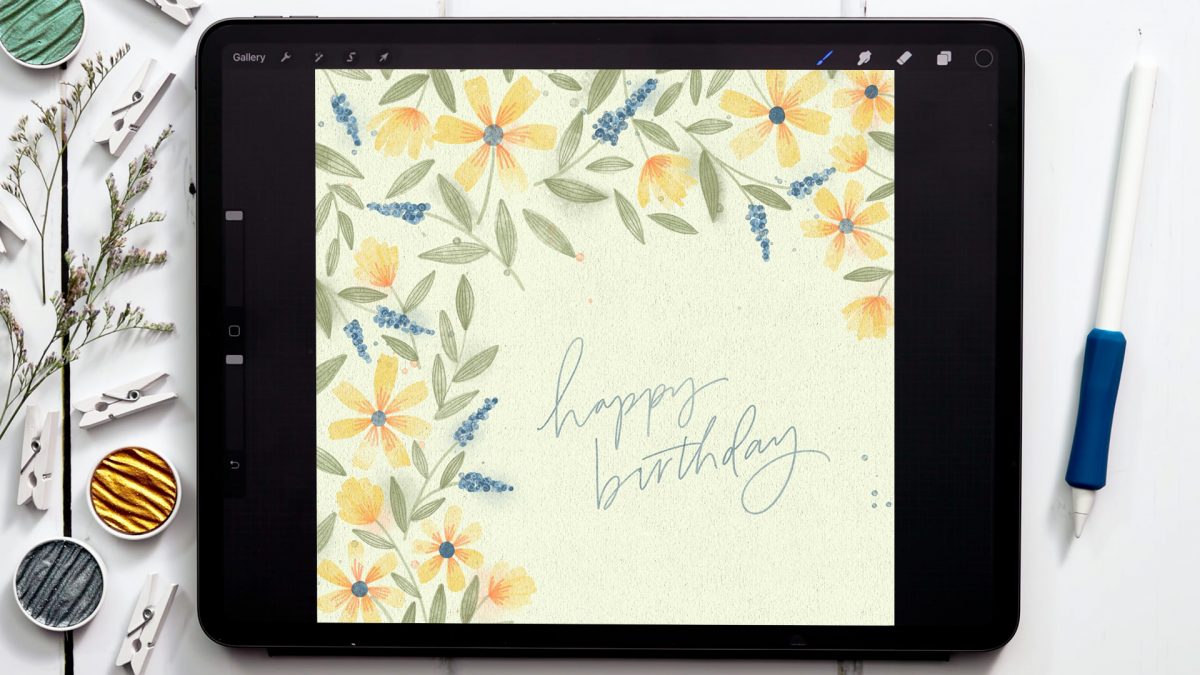
I’m kind of on a wildflower doodling kick these days and I’ve been obsessively painting every flower that comes to mind with my new gouache brushes! This week is a much more freestyle approach than many of my other recent vids – we’re painting from memory, making adjustments on the fly and positioning things wherever we feel they fit best. We’ll lean on instinct a lot, but I explain everything as we go along 🙂

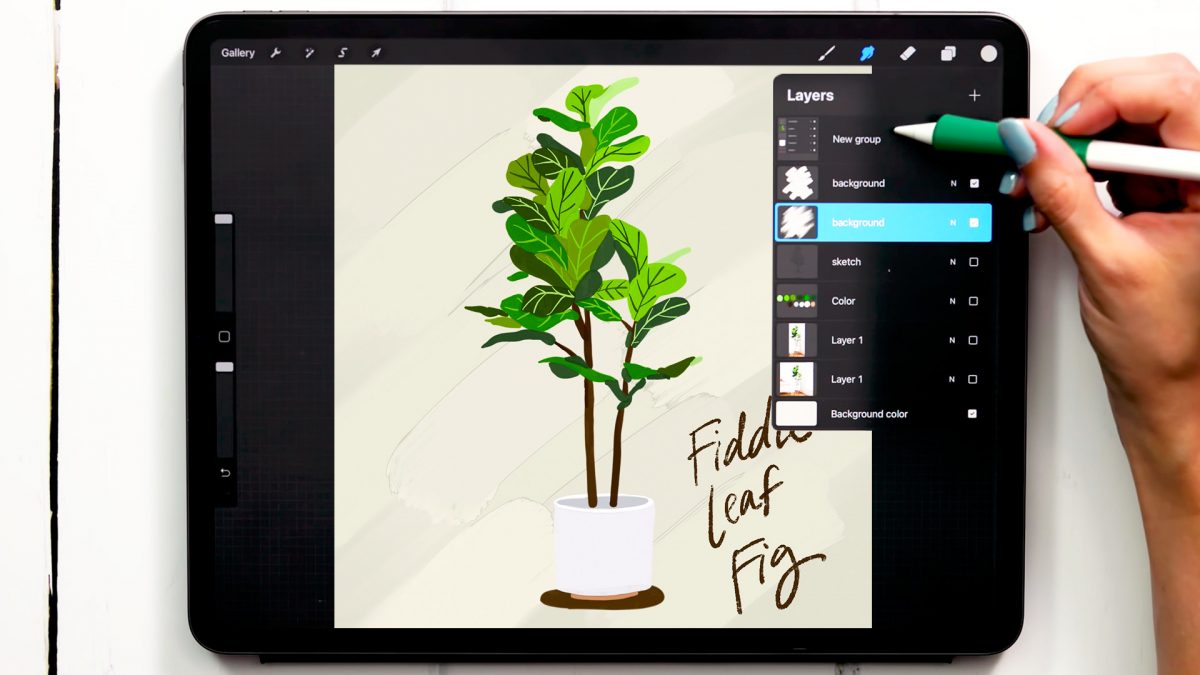
6 months ago, I bought myself my first baby fiddle leaf fig tree and I’m in love with it! It’s definitely more at ‘plant’ status than tree right now, but if it ends up looking anything like the source photo we’re using this week (guessing in 2-3ish years), I’ll be thrilled. Might have to get it a sibling 😉

This week, we’re painting a fiddle leaf fig tree in the flat gouache painting style by referencing a source image, but making it our own by establishing a limited palette and painting everything based on a sketch layer. If you’re new to digital painting, or are thinking about taking my new Gouache Botanicals in Procreate course, this is a good introduction to the flat style and creating layers of large overlapping color to simulate depth with a few bold details popped in 🙂

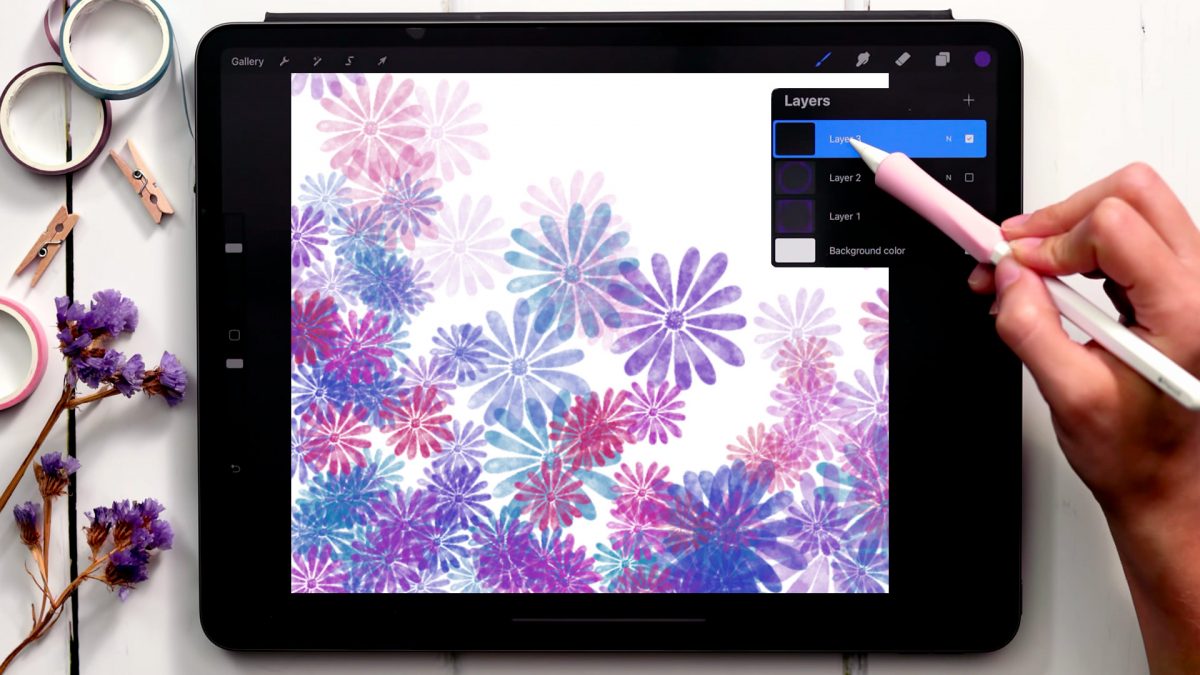
I realized I haven’t made a tutorial on custom brushes in awhile and especially since Procreate has added so many new options to making them. In the spirit of springtime (my favorite season), this week I’m sharing how to create a custom watercolor floral scatter brush *and* 3 quick ideas on how you can use it after it’s made!

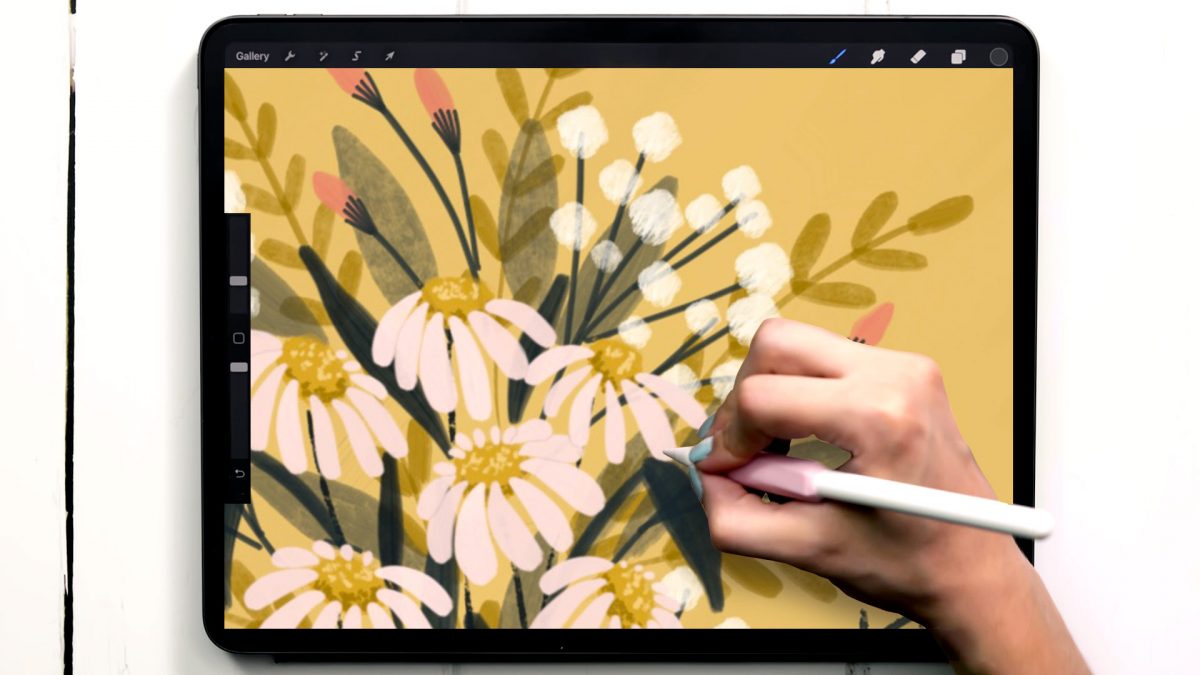
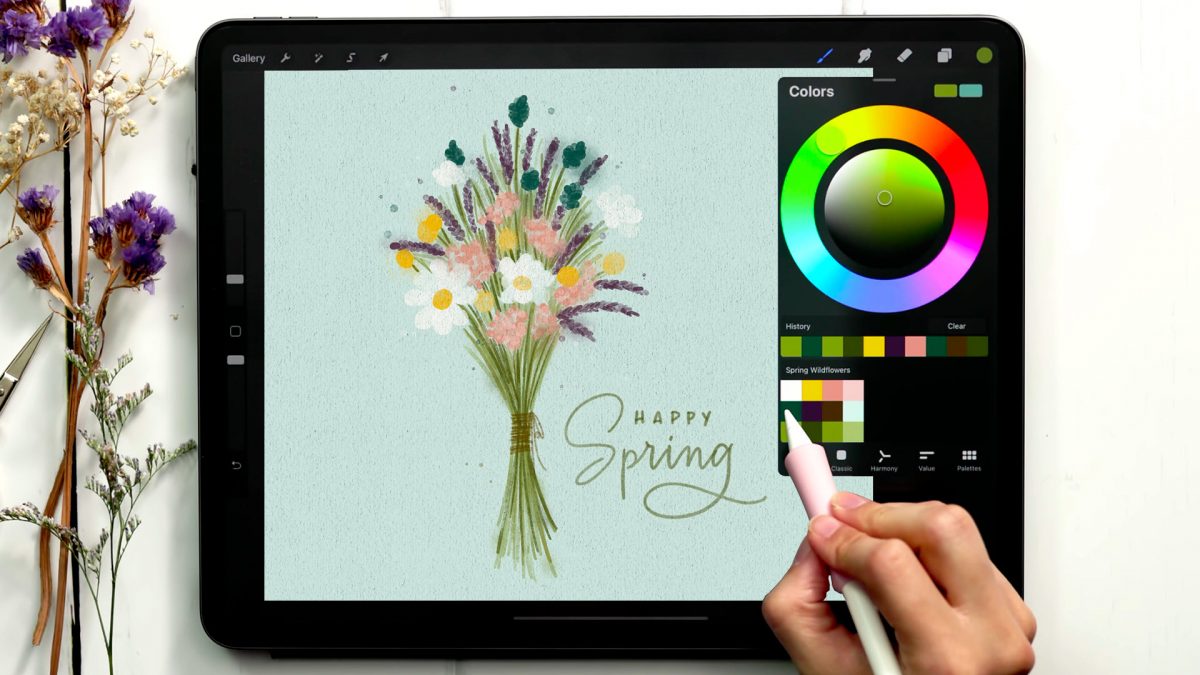
Spence and I love taking morning walks on our country road and the sides of the road have recently become covered with different wildflowers! I’ve been so inspired by these walks, wondering what I’ll spot next. When thinking about this week’s tutorial, I couldn’t get them off my mind, so today I have a messy spring wildflower bouquet for you! I grabbed a source photo as a base and in the video, you’ll see how easy it is to manipulate that base and make something original from it, messy details and all 😉

It’s Tuesday! Time for another tutorial 😉

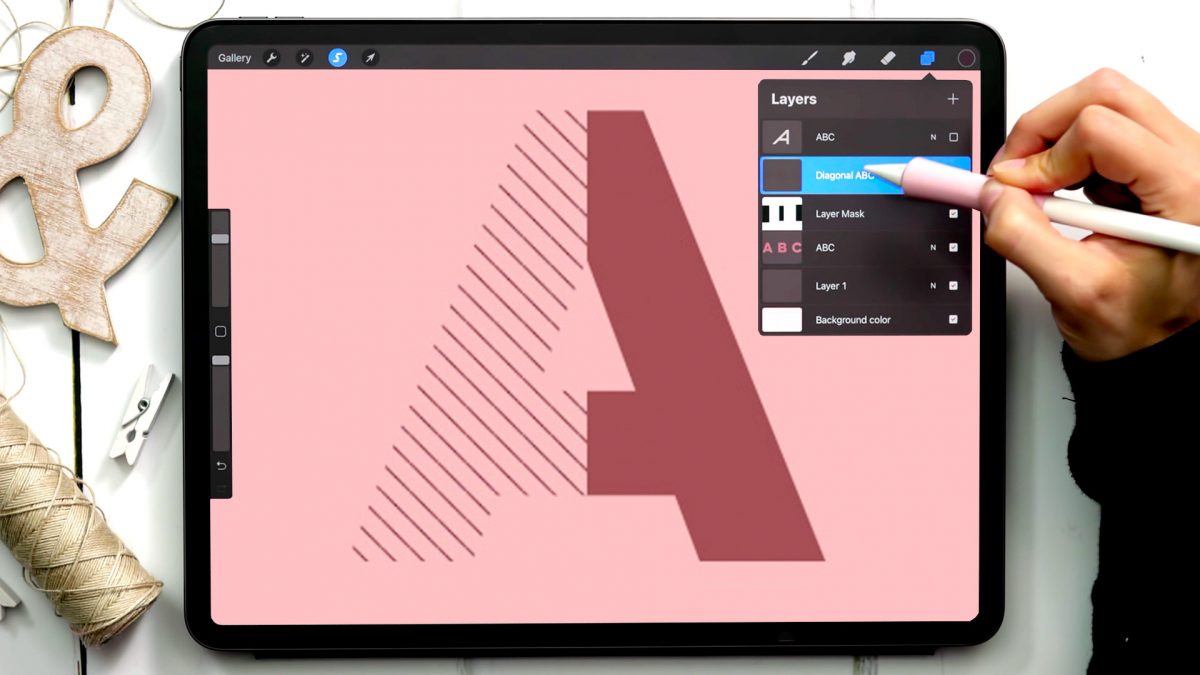
A few years ago, I shared how to create a pattern letter effect using Adobe Illustrator and I randomly came across that tutorial and wanted to give it a try in Procreate, too. With a few masking tricks and a custom diagonal line pattern brush, pattern letters in Procreate were born! This tutorial is one of my most advanced ones to date, so if you haven’t taken my free Procreate 5X for Beginners course yet, you’ll want to watch the masking module in that first. Once you understand the steps, though, this is a super fun effect you can apply to your typography or even abstract shapes for some really unique outcomes!

GDPR Icon

Your Privacy Matters

We use cookies to customize and create content that’s most important to you. We’ll never share the info we collect.

View Privacy Policy