Take All of My Skillshare Classes for $0.99!
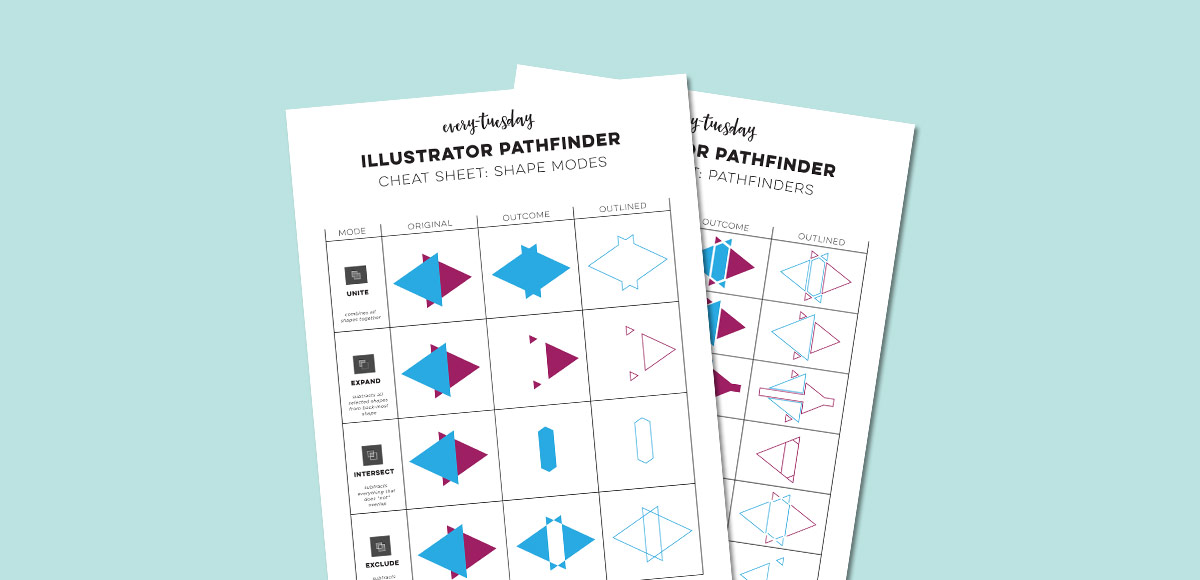
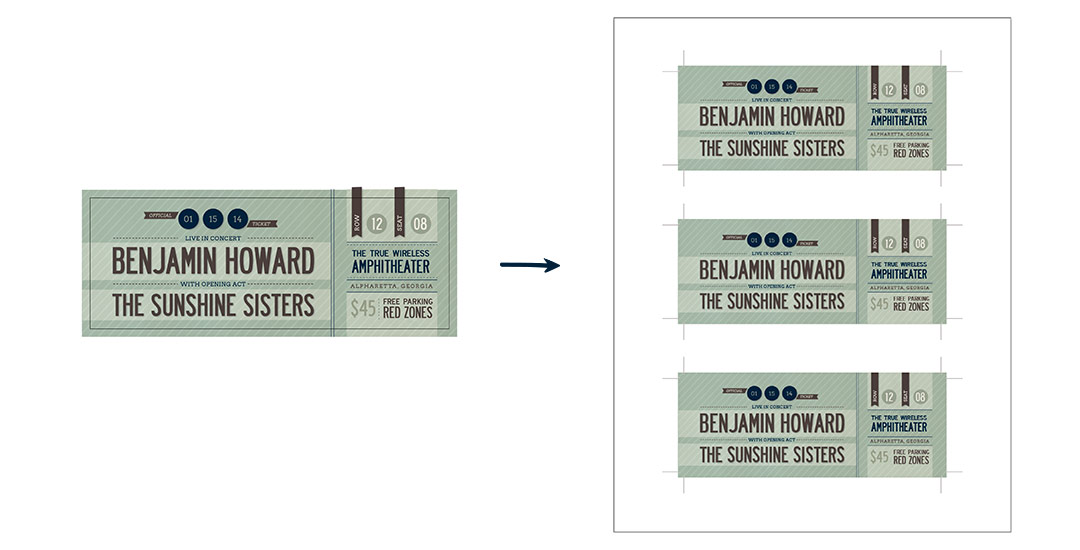
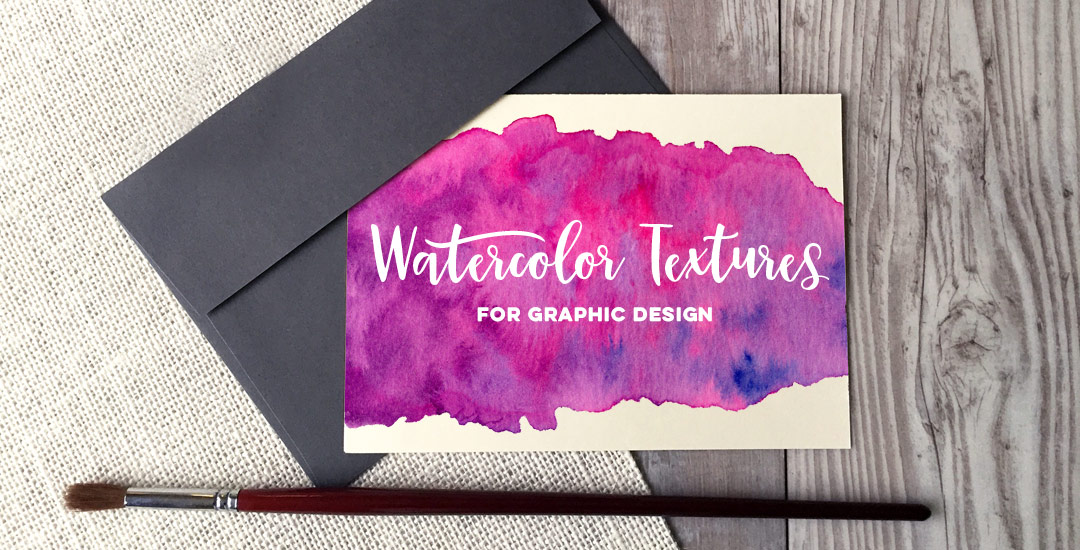
What?! For real. Skillshare currently has a special that was too good not to tell you about. For anyone who is new to Skillshare and wants to try it out, you can get 3 months of full premium membership (membership typically costs ~$10/mo) for $0.99, which includes all of my Skillshare classes (there are currently 8), and all of my new ones coming in the next 3 months using this link. Pretty cool. If you’re looking to expand your skillset this summer – maybe take up waterbrush lettering or finally make that blog logo you’ve felt a little intimidated by, here’s your chance to do it all on the super cheap. Almost every class of mine comes with bonus freebies which you’ll get with enrollment too – cheat sheets, textures and resources links galore. Below is a little peek of just some of my recent classes and what others who have taken them had to say 😉