Home2016 (Page 6)

May 2016

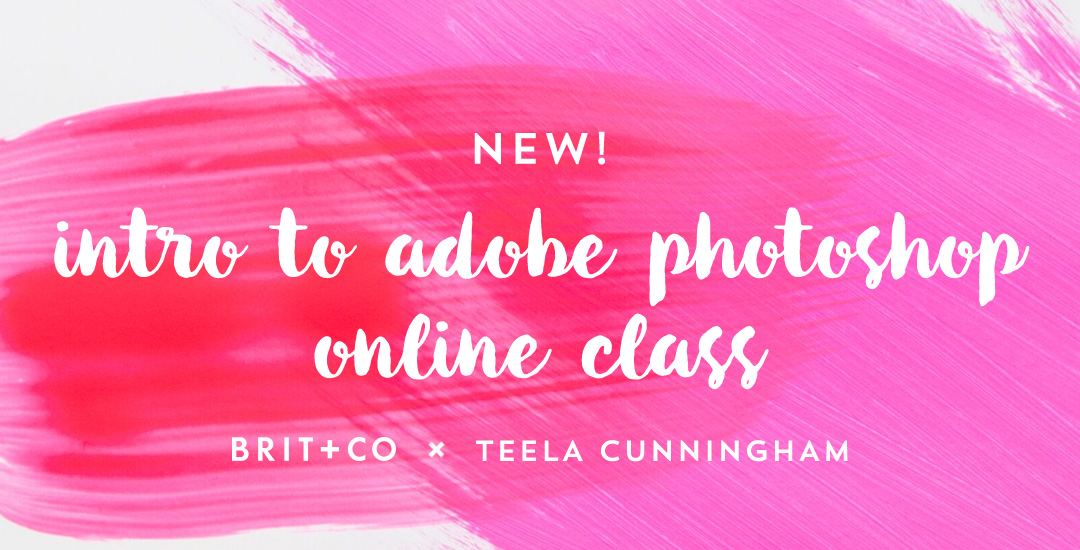
Happy June next week! May usually feels like such a long month, but this one went a little quicker than usual with all of the planning and prep for my newest Skillshare class, Intro to iPad Lettering (launching June 6th!), as well as a few new digital goodies in the Every-Tuesday shop. I’m also finishing up my next hand drawn script font (SO excited for this one!) which will be available mid-June 🙂

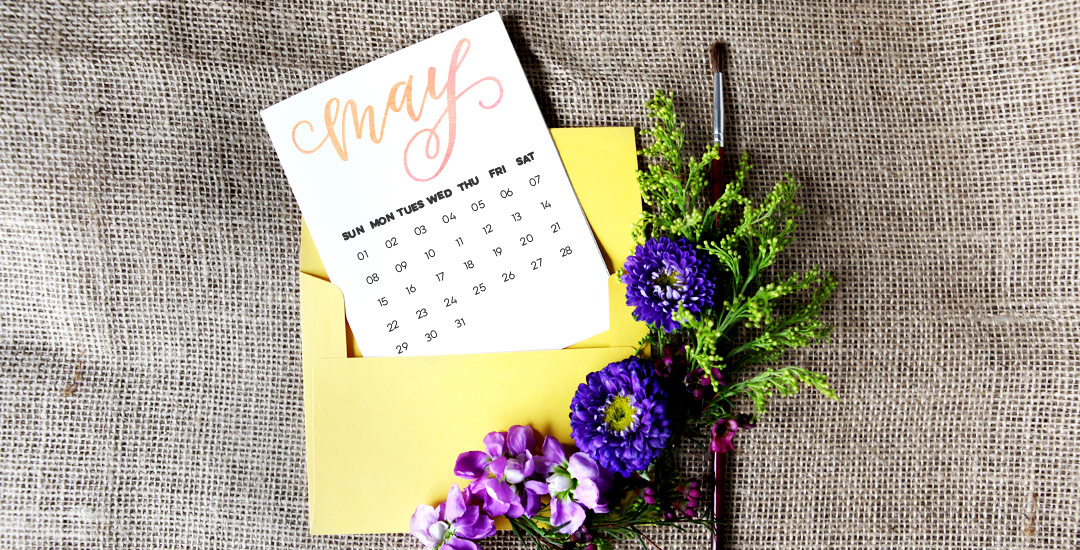
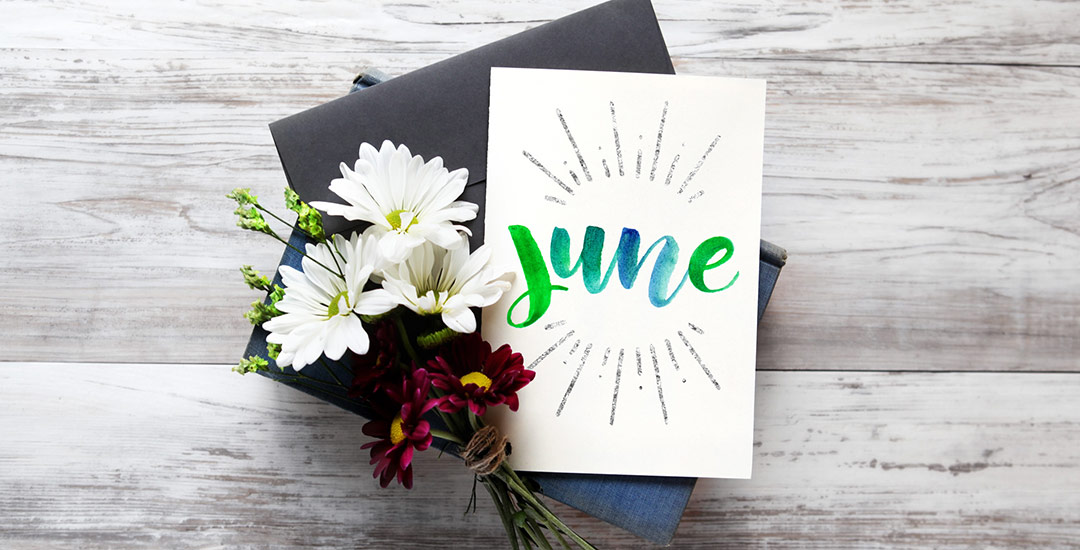
In case your desktop is needing a little freshening up for the month ahead, this week’s freebie is a set of two June desktop wallpapers, with and without dates in two common sizes, 1920 x 1080 + 1280 x 1024. Previews and download link below!

One of my favorite time saving tools when using Photoshop is Photoshop actions. I have used these for batch photo and file delivery to clients in a professional setting, and batch editing when putting together photos for family. Whenever you need to apply (the same) multiple settings to many files or photos at once, you create an action, then just run it for all of the others and you’re done in no time 🙂 It’s basically the closest thing to magic I’ve seen Photoshop do. In this week’s tutorial, we take 3 photos (this one, this one, and this one) and create a unique action for them that sets all of their widths to 1000px and also applies a sepia tone effect to the photos. We apply everything we need to one photo, then hit a single button to apply the same exact multiple steps to the others. It’s cool. You should definitely check out the video below to see!

In this past Tuesday’s tutorial, we walked through how quick and easy it is to create your own tshirt mockup in Photoshop. Sometimes time can get pretty short, though, and if you’re in a pinch for a nice mockup, luckily there are a bunch of apparel mockup resources peppered into the internet 🙂 This week I’m sharing a roundup of 5 free apparel mockups – (yep, free!) so you can get your mockup on in no time. Extra bonus: many of these sites have plenty of other kinds of mockups, too! Links and preview images below! 👇

One of the most common types of Photoshop mockups is apparel mockups – most specifically, tshirts. And it makes sense – there are plenty of cool tshirt companies out there who need to quickly show their designs off in a consistent fashion, and photographing each shirt when there are dozens can be very time consuming. Enter the tshirt mockup – one photoshop file that allows you to change the design of the tshirt in just a couple of quick clicks. Setting up the file is actually much simpler than you might think, and in this week’s tutorial, we set one up, step by step in just a few minutes. See the full method of creating your own Photoshop tshirt mockup below!

It’s been far too long since I created a freebie outside of the monthly desktop wallpapers, so today that is changing! If you checked out Tuesday’s tutorial, we went over all of the settings to create any custom Photoshop brush you’d like. Today’s freebie puts those settings into practice and includes 2 dynamic Phototshop brushes for you to use at will, on anything you’d like. If you have a Wacom tablet, pressure settings for size variation are already built into each brush 🙂 If you don’t have a Wacom, no sweat – the size will vary randomly instead of based on pressure. Install instructions are also included so you can begin using both brushes right away (use with Photoshop, CS3 or newer). Preview images and download link below!

Creating custom brushes in Photoshop is one of my favorite things to do! I love using them for lettering (paired with a wacom tablet), extra decorative elements or just to add a little bit of unique style to whatever I’m making. What’s even better is that they are really quick and easy to make and Photoshop offers a ton of settings to truly make them original. If you’ve checked out my Intro to Photoshop class, you could easily integrate a custom brush to really make your layout special!

In this week’s tutorial, I’ll walk you through what all of those settings do and we’ll create a custom brush in Photoshop together. At the end of the tutorial, you’ll have everything you need to start creating and using your own brand spankin’ new brushes 🙂 Everything is below!

I’m so excited to announce that my newest class, Intro to Photoshop in partnership with Brit + Co, is officially available! If you’ve ever wanted to learn Photoshop but felt intimidated, weren’t sure where to start, or just couldn’t find a class that taught more than the interface, this class was made just for you 🙂

We cover all of the basics to give you the confidence to begin editing and enhancing photos on your own, and if you’d like to incorporate some design elements, we go over that, too. This is an online class that you can watch at your own pace (stop, pause, play) whenever it’s convenient for you. We go step by step to create this instagram post together (or use for any purpose you’d like!) in quick and easy, digestible steps.. steps that you’ll be able to repeat on your own for any project of yours in the future.

Welcome to Photoshop month! Because Photoshop plays such a large role in taking my designs further, this month I’m sharing some of the tools and tricks I use all the time in Photoshop. This month is specifically in celebration of my new Intro to Photoshop class with Brit + Co which launches tomorrow (today’s the last day to sign up and get 15% off using this link!). In the class, we create this outcome, which uses watercolor textures and lettering, so today I wanted to share some quick tips on adjusting watercolor textures for your specific needs.

I’ve been asked quite a bit lately how to change any watercolor texture to a specific color, so I think this tutorial was meant to be! Say you want to incorporate a custom watercolor texture into your branding – you love the texture, but it’s not the right color for your brand. Or, you just want it to be something else. In this week’s video, I walk you through three methods using Photoshop: changing all of the colors within the watercolor to something different, changing the entire watercolor into one specific color (which is great for branding), and changing just a portion of the watercolor to a different, specific color. All the tips in the video below!

This week’s tutorial comes courtesy of Kori, who requested an overview of the Illustrator Pathfinder Palette and I thought it was a great idea! The pathfinder palette is a ridiculous time saver when it comes to creating custom lettering, flourish designs, and vector-based Illustrations just to name a few. In this week’s video, we go over my favorite and most used pathfinder options. We’ll also go through a brief overview of the other options for you to get started. As a bonus, I’ve created a couple of Illustrator pathfinder palette cheat sheets (pdfs), so you have them handy whenever you may need them in the future. Download link to the cheat sheets and full overview video all below!

As we get closer to the end of April, I looked up when Mother’s Day was this year and was surprised to see it’s pretty early – May 8th! Looks like we’re also getting a Friday the 13th in May, which happens to be both my mom’s and my youngest sister’s birthday. I see a lot of card making in my near future 🙂

Speaking of cards – if you’re short on time or want to go DIY this year, here’s your opportunity to take care of things early for an on time mailbox delivery. This week’s freebie is a printable Mother’s Day card with a folded size of 6″x4″ (perfect for any A4 sized envelope). The card is laid out on an 8.5″x11″/A4 sized sheet of paper with all trim marks included so you can print it out at home without any hassle. Download link and preview image below!

GDPR Icon

Your Privacy Matters

We use cookies to customize and create content that’s most important to you. We’ll never share the info we collect.

View Privacy Policy