Home2016 (Page 7)

April 2016

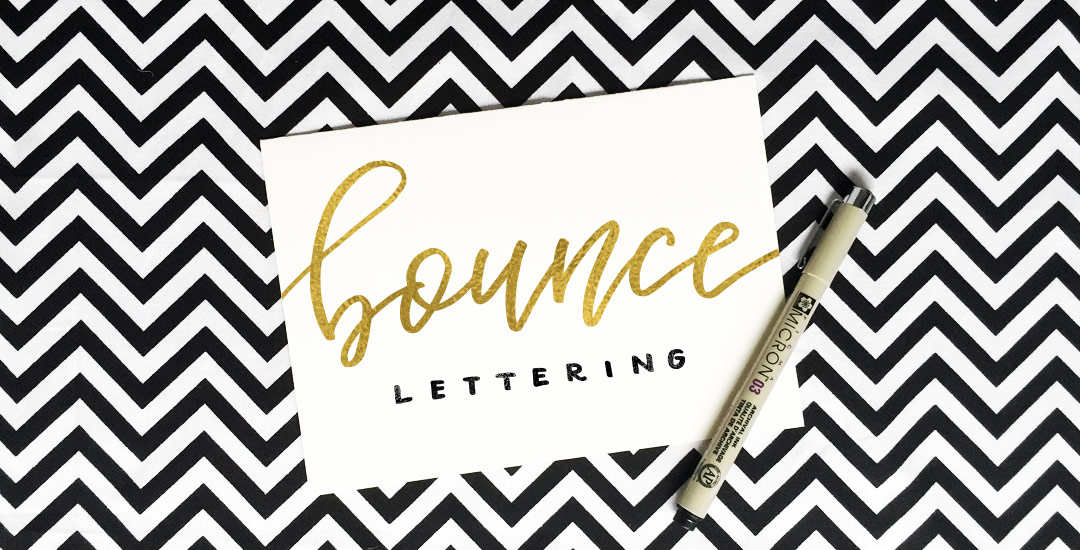
Happy Tuesday! I want to start by saying wow to everyone who has checked out Bounce Lettering! I’m so grateful for all of the kind feedback and I am so impressed and inspired by all of the wonderful projects that are coming out of the class! I thought I’d take bounce lettering/waterbrush lettering even a little further this week with a free add-on tutorial to both classes.

A style that is gaining in popularity over on Instagram is rainbow brush lettering. It would take foreverrrr to alternate colors to form a word, let alone form the word as pretty as you’d like with so many re-dips. In this week’s video, I’m sharing a trick for applying a rainbow of color to your brush lettering without a zillion re-dips in the process 🙂 There are two methods shown in the video – one to ease you into the process and the other to take full advantage of all the colors you’d like. Links to the products used + everything you need to know to start rainbow brush lettering below!

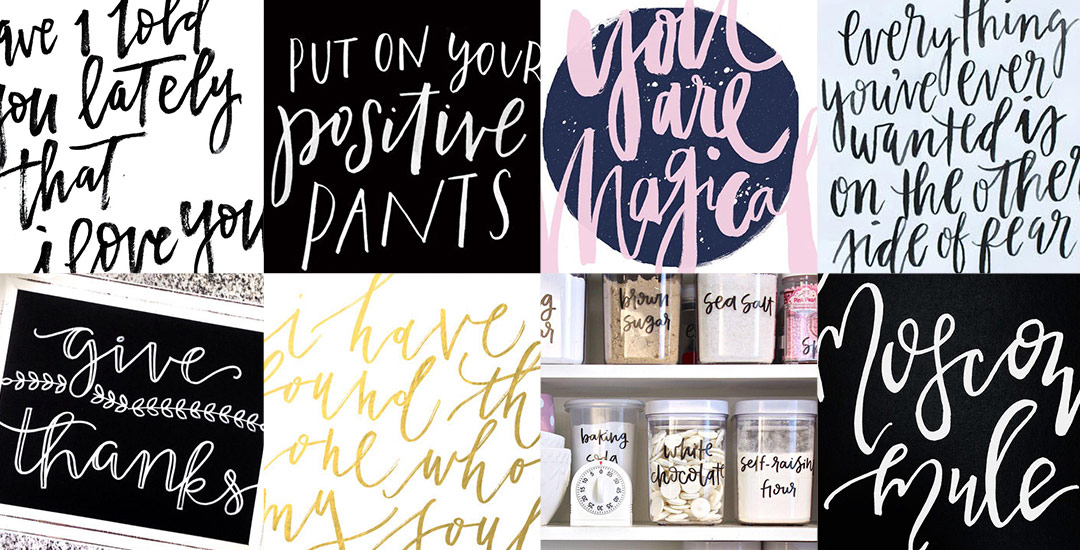
With the release of my new class, Bounce Letters: Adding Character to your Hand Lettering this week, I thought it was only right to share a little bit of bounce lettering inspiration! I love how the bounce effect can really be used with any kind of lettering style. From quotes, to pantry labels, to plain old phrases, the addition of a bounce can give something plain or simple a pretty big personality. So grab a pen, paintbrush, marker, or crayon and put your new skills to work because you’re about to get hit with inspiration 😉 Click on any image below to be brought to its source!

My brand new Skillshare class, Bounce Letters: Adding Character to your Hand Lettering, is officially live! To celebrate its launch, today I wanted to share the trailer for the class, as well as a sneak peek of one of the class videos which you’d only see if you were enrolled. Below the video, I’ve also included links to everything you saw mentioned in the sneak peek if your current lettering supplies could use a few more friends 😉

If you’ve taken Waterbrush Lettering Essentials, this is the perfect follow up class to take your own personal lettering style that much further. In the class, we talk about how bounce is influenced on letter direction, how much exaggeration is *just* enough, the best places to add bounce and not add bounce, as well as some practice words to get you started. Have a peek below for everything covered in the class!

In Full Time Graphic Design, we go over how a self promotion (a small sendable/gift or leave behind to briefly show the quality and style of your work) can take you far with influencing a potential employer to set up an interview or even get you hired. When I started my very first job out of college, on my very first day of work, the COO stopped by my desk, complimented my work and said he still had the promo I handed them at the job fair I attended months earlier (you can see the self promo I made in this video). So yea, definitely a powerful tool if you can fit it into your budget!

If creating a self promo is something you’re interested in, this week I wanted to share 5 unique and inspiring self promos that all work in different ways to get a designer’s style, skills and personality across quickly to the right person. Along with each piece, I’ve also included a tip to help your own self promos along. See them all below and click on any image to be brought to its source!

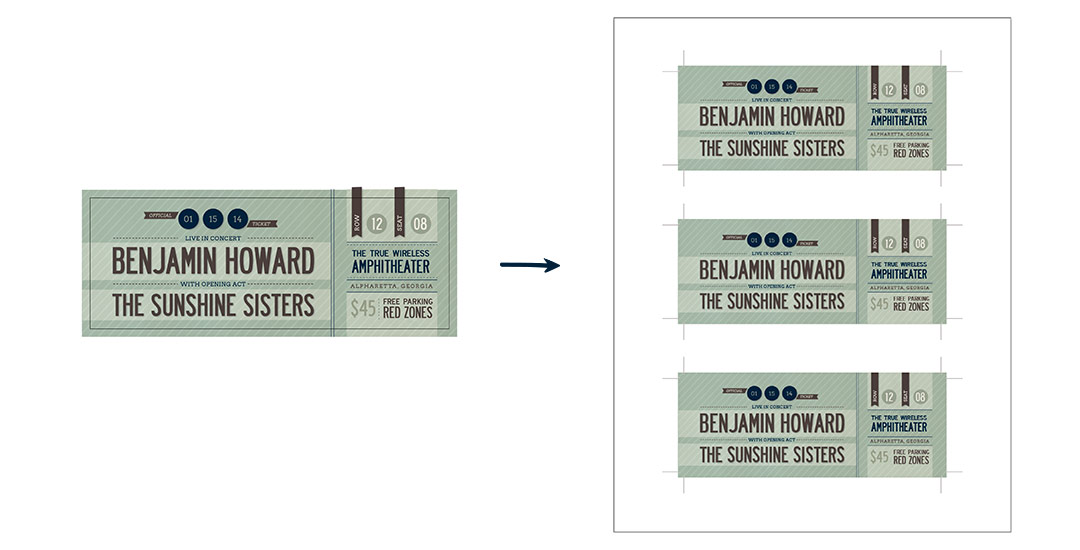
I’ve been asked quite a few times recently how to take one layout and have multiples of it on a single page when printing. In other words, if you have an invitation that’s 4″ wide by 6″ tall, you’d want to fit two of them on an A4 or 8.5″x11″ sheet of paper instead of just one. This is an especially great idea for anyone who sells digital printables through etsy, or delivers digital printables to clients which are editable/customizable in Adobe Reader, like in this tutorial I created awhile back. If you’ve ever wondered what the quickest way of doing this in Illustrator is (with trim marks included so you get the exact size you need), here’s the answer 🙂

Happy April tomorrow!

Everything felt very non-stop sprint throughout all of March. Most of it was due to my ocd with getting the ebook as perfect as possible. If I didn’t become a designer, I would have been a writer, so I naturally spend more time than I probably should carefully crafting sentences and evaluating word choices. But! It’s finally out into the world and I’ve returned to breathing once again 🙂 (I made a free preview of the book available yesterday! If you’re interested, click here to download it!)

I’m really looking forward to diving back into design tutorials this coming month. It seems like I’ve been away from them longer than 4 weeks and I’ve missed putting them together. Lately, I’ve been doing a lot of prep on an upcoming Intro to Photoshop class. This will be the best quality course I’ve ever done (a real production team-quality!) and it’s hard to keep in the excitement for it, but I’ll have many more details as the month goes on 🙂 I’m also planning my next Skillshare class this month, so if you’re on the every-tuesday email list, keep an eye out because free spots to the class will be heading your way soon!

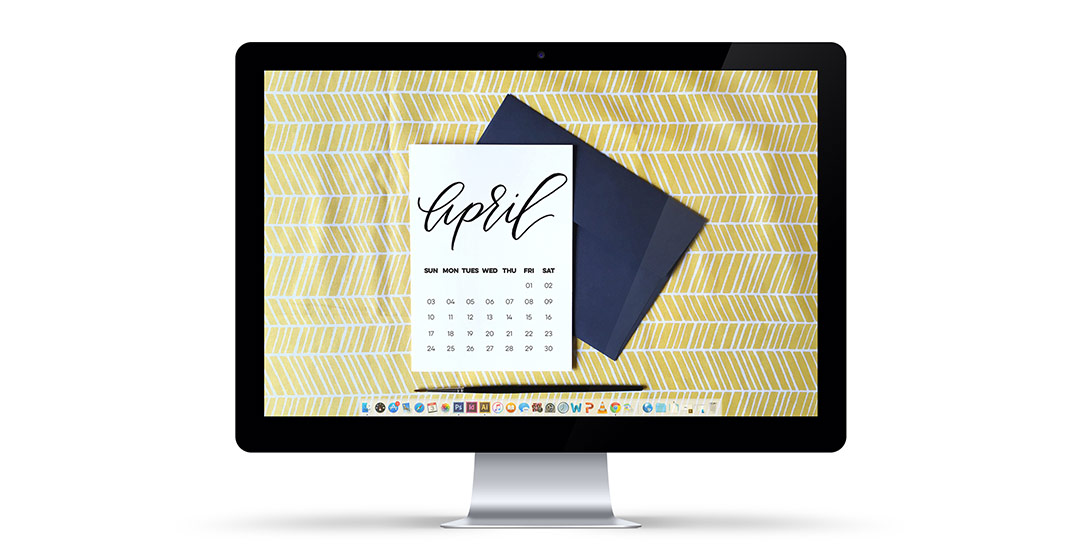
Until then, pick up your free April 2016 desktop wallpaper to keep things on track in two common formats: 1920×1080 + 1280×1024 both with and without dates. Download link + previews below!

Welcome to the 3rd and final part of the Every-Tuesday Tips + Advice Portfolio Series! Over the last couple of weeks, we went over choosing the right work for your portfolio, what to include for each project and how to order all of your projects together. Now that you have a solid body of work to show, it can be overwhelming figuring out how to get it all noticed.

In this week’s video, I take you through a few easy steps to get you on your way, as well as sharing how I got my own work noticed when I was just starting out. For a more in depth look and actionable step-by-steps, check out Full Time Graphic Design where my ebook on getting a job just launched! Part 3 video below!

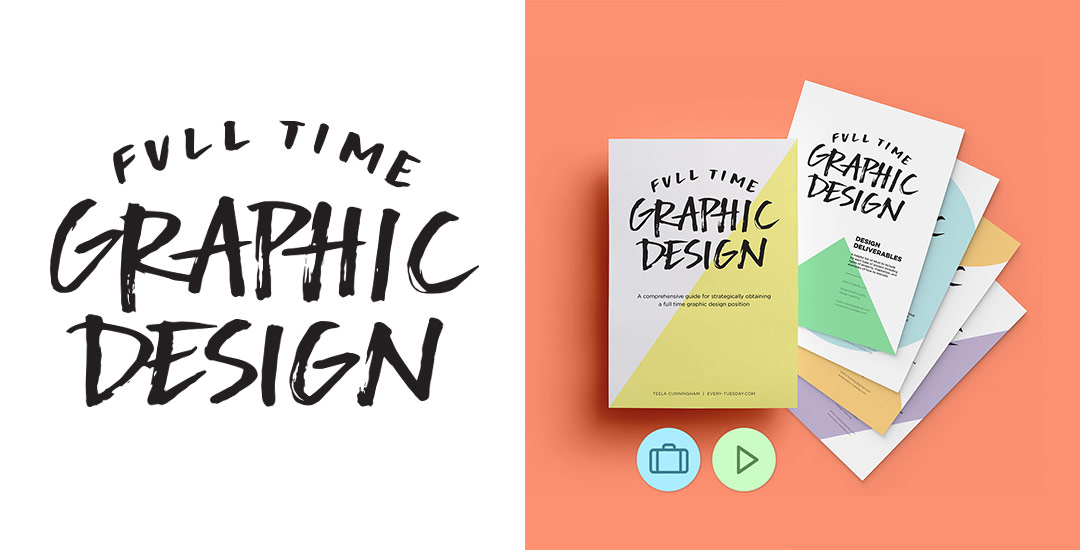
Today is a pretty gigantic day over here at every-tuesday. After 6 months in the making (and an entire last week on very little sleep), I’m excited to announce the Full Time Graphic Design ebook is finally available! This was a big project – the ebook itself is 74 pages long, and there are countless bonuses (even one including a full portfolio review + evaluation by me personally!).

What started as a basic guide evolved into a deep dive with little clips of my own experiences, from being hired – and hiring – and super specific tips (like the exact days and times which are best to send a cold email). Once I got going, I couldn’t stop myself from thinking of more and more little nuggets I had to include 🙂 Check out all the details here, and a full outline below!

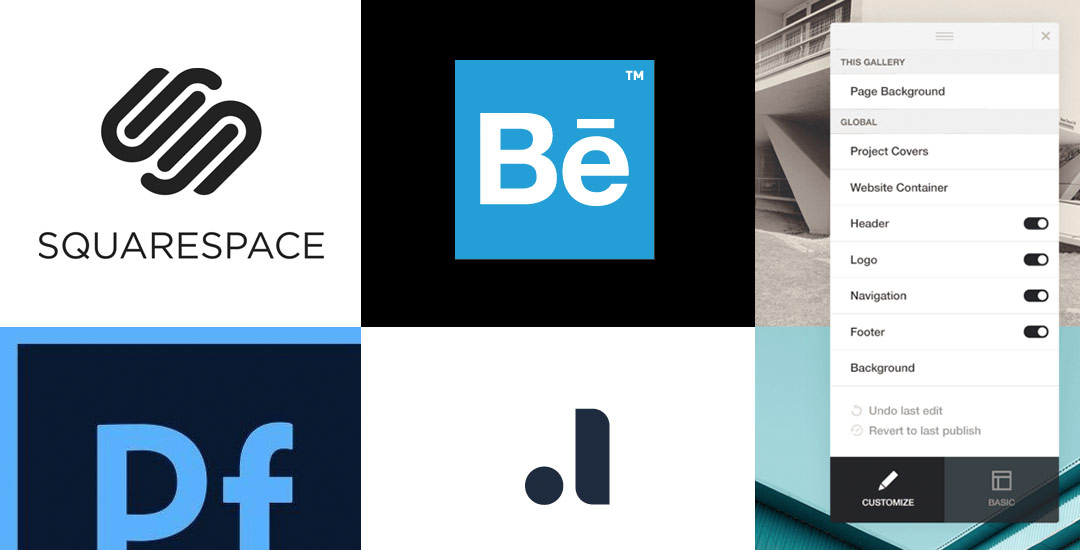
Things have changed quite a bit in the last 5 years. Back then, it was perfectly acceptable to attach a pdf (which you had a zillion different variations of) to an email, but that just isn’t the case anymore. Pdf portfolios are a dated way of portfolio delivery on top of taking up valuable space in a potential employer’s inbox. Enter the digital portfolio age where having an online digital portfolio presence is essential for a graphic designer. Luckily, you don’t have to be a programmer or a super nerd to get your work online and looking fine 😉

This week, I’m rounding up options to get your portfolio up as quickly as possible, looking as professional as possible, and collecting some nice SEO in the process. All of the options – free and for a fee – available below!

Welcome to week 2 of the Every-Tuesday graphic design portfolio tips + advice series! Last week, we went over how to select the right projects to include in your portfolio based on your personal skillset strengths. This week, we’ll go over proper formatting for your projects, how many projects to include in your portfolio and what order to put them in to leave a memorable impression on an interviewer. These tips will contribute to graphic design portfolio best practices that you’ll be able to apply to your portfolio – no matter how much it changes – over the course of your career.

The Full Time Graphic Design ebook is less than a week away from being available! You’ll want to pick up your free portfolio project checklist to accompany this week’s video here and you’ll automatically be put on a list to be notified when the ebook (packed with tips + advice for getting a full time graphic design job) goes live 🙂

If you had a chance to check out my graphic design story, you heard me mention that I wasn’t asked for my resume in past interviews. I want to clear something up though; that doesn’t mean I didn’t have one ready in case I was asked.

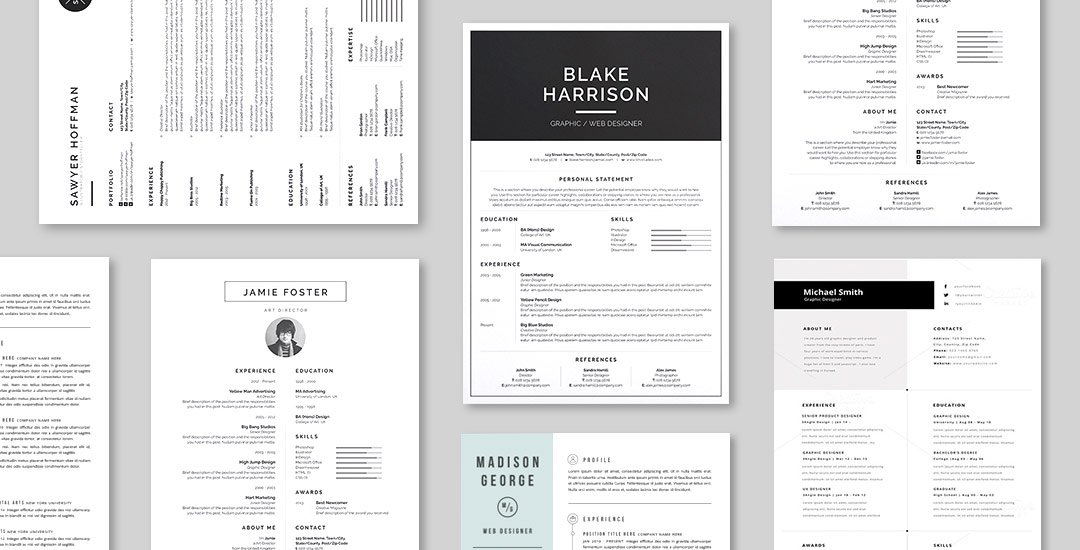
As a creative, a resume takes a big back seat to your actual portfolio, but every interviewer is different, and you want to make sure you’re always prepared, just in case. Because a resume falls so secondary during an interview, I would recommend spending as much time on your portfolio as possible and keeping your resume simple, clean, readable and to the point. This week, I’m rounding up 5 of my favorite *affordable* clean and creative resume templates that provide a terrific base for you to adjust and customize without starting from scratch (time much better spent on your portfolio). See them all below!

Last week, I mentioned a new portfolio tips + advice series starting today and leading up to an ebook being released later this month called Full Time Graphic Design. In this week’s video, we’ll walk through how to pick out the right design projects to put in your portfolio and craft it in a way that highlights your strengths as a designer and sets you up for an interview with intention, rather than a general collection of work that spans every discipline of graphic design. Choosing the right work for your portfolio will play a pivotal role in not only reaching out to potential employers to land an interview, but for the interview itself. Watch below to see all of my tips!

GDPR Icon

Your Privacy Matters

We use cookies to customize and create content that’s most important to you. We’ll never share the info we collect.

View Privacy Policy