HomePosts Tagged "digital lettering" (Page 2)

digital lettering Tag

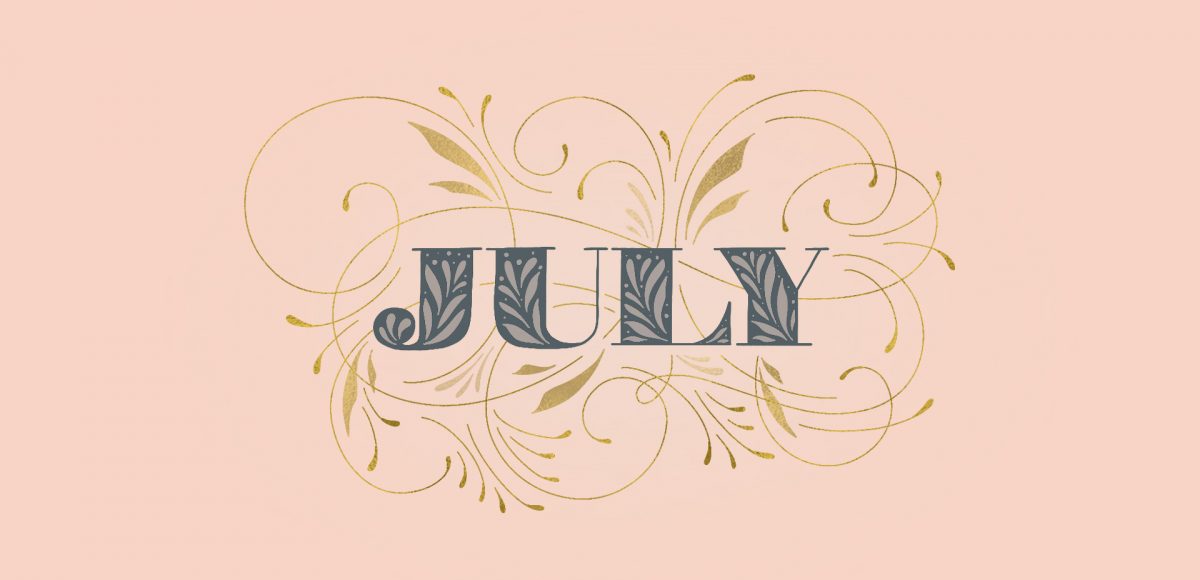
It’s the last Thursday in June, which means it’s time for your free July 2019 desktop wallpapers! This month’s wallpaper was entirely created in Procreate, with just the dates added in using Photoshop and my font, Miss Magnolia. If you checked out my free course, Procreate for Beginners, you saw me creating flourishes in the second project. This month, I wanted to go a little crazier with my flourishing and make it fancy with a touch of gold 😉 The gold is from my Procreate metallic texture kit and you can learn more about flourishing here. All of the lettering + doodles were made using my free Procreate Monoweight Brush (available in the Resource Library). For the dates, ‘R’ is for Thursday, to distinguish it from a same-sized Tuesday ‘T’ at a glance. 

The download includes the July 2019 desktop wallpapers in two common resolutions: 1280x1024px and 1920x1080px, with and without dates. I’ve left the year off of the ‘no-dates’ versions, so you can use it for any July in the future, too!

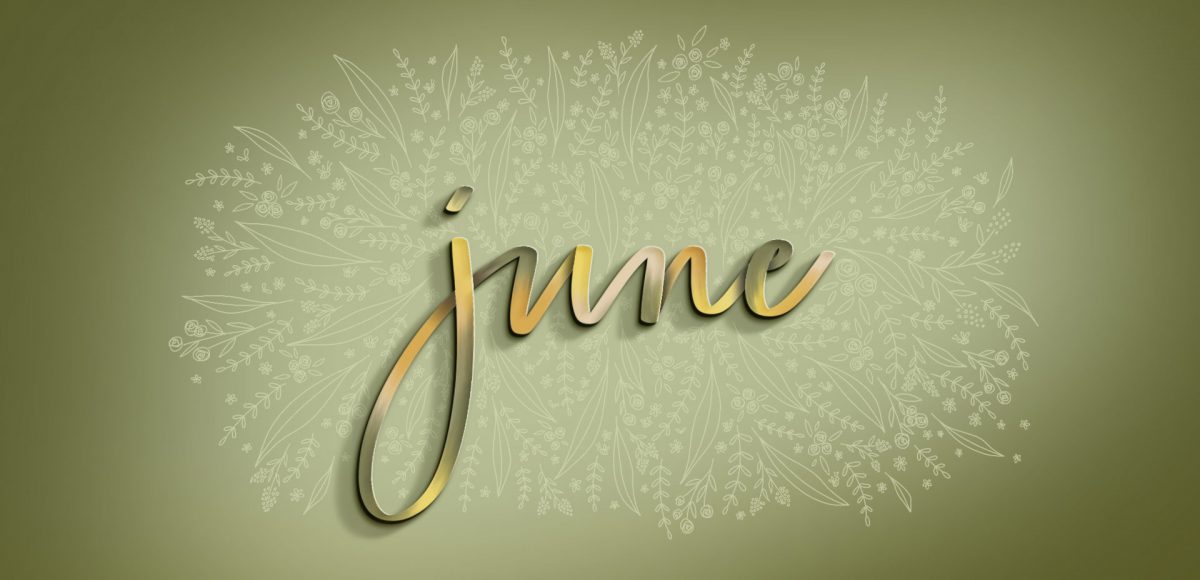
It’s the last Thursday in May, which means it’s time for your free June 2019 desktop wallpapers! This month’s wallpaper was entirely created in Procreate, with just the dates added in using Photoshop and my font, Miss Magnolia. This month, I wanted to do an explosion of foliage since that’s how it has felt here in Georgia. Everything grows so fast this time of year! All of the lettering + doodles were made using my free Procreate Monoweight Brush (available in the Resource Library). The lettering effect is a variation of my ‘hey beautiful’ project from my 3D Lettering in Procreate course 😉 For the dates, ‘R’ is for Thursday, to distinguish it from a same-sized Tuesday ‘T’ at a glance. 

The download includes the June 2019 desktop wallpapers in two common resolutions: 1280x1024px and 1920x1080px, with and without dates. I’ve left the year off of the ‘no-dates’ versions, so you can use it for any June in the future, too!

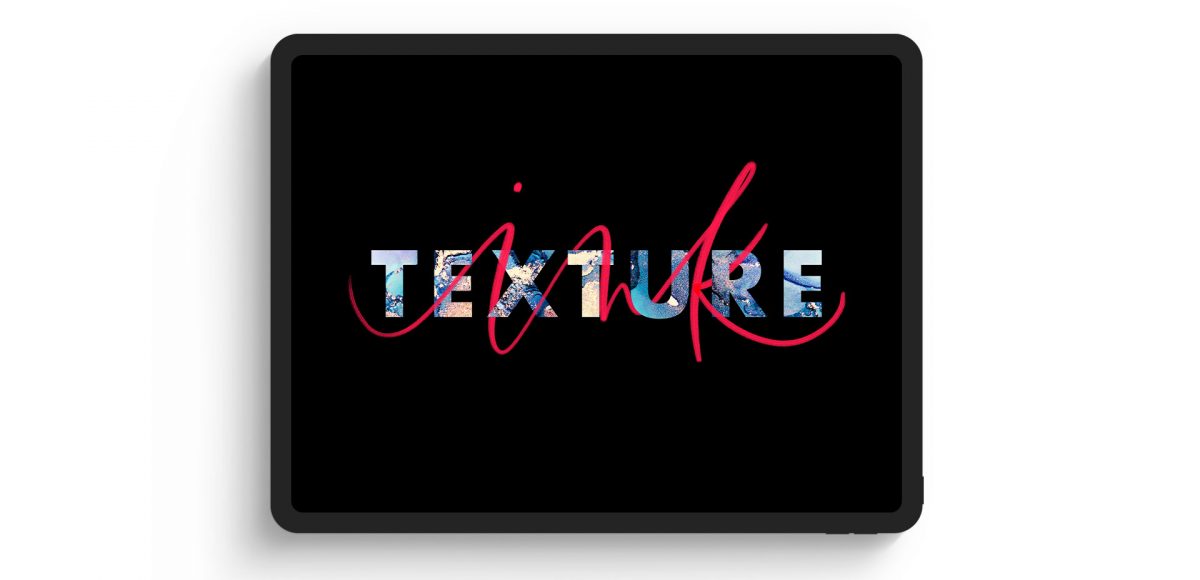
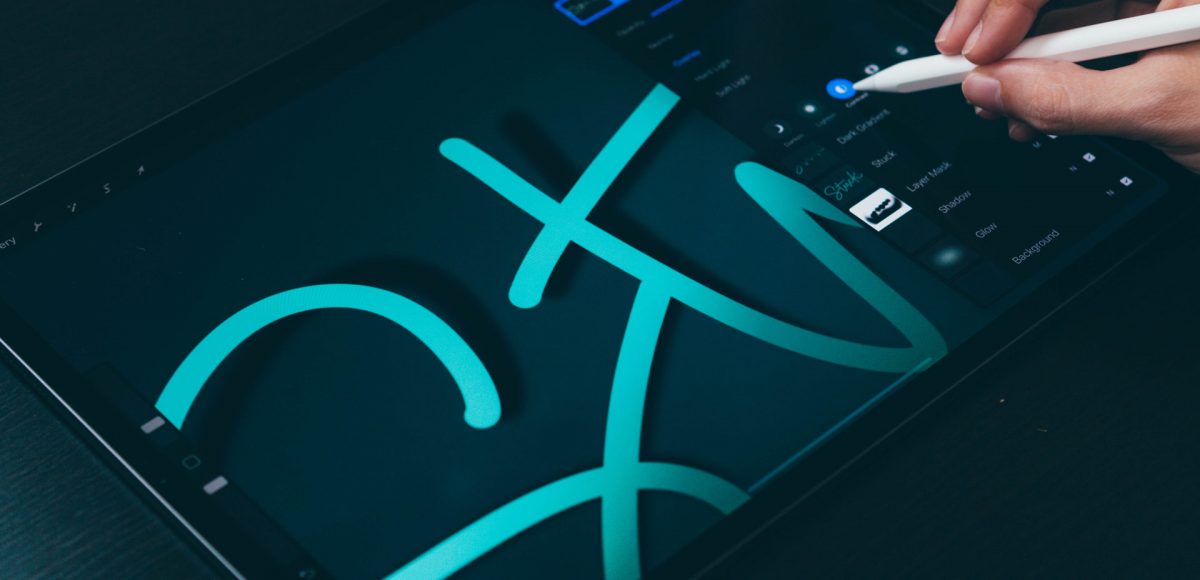
Within the past week, Procreate released their latest version, which allows you to add text! It’s been really fun playing around with the new feature and seeing how I’ll integrate text into future Procreate artwork. This week, I thought I’d share an easy way to create artwork with text, as well as sharing some masking tips, too. Read on for how to use text in Procreate!

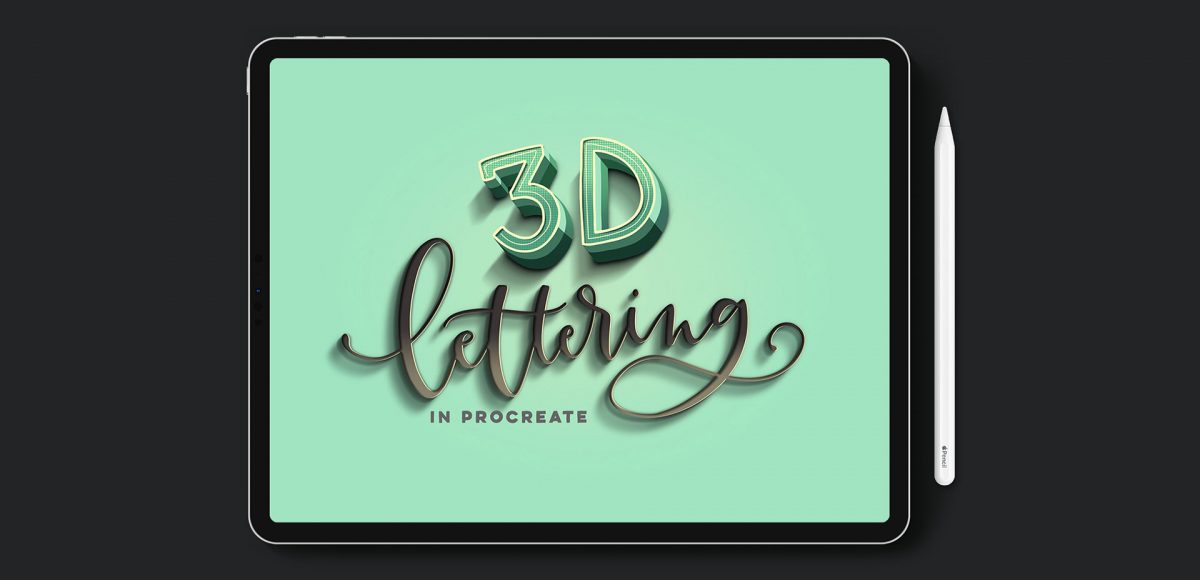
Happy Tuesday! This week I wanted to share a tutorial from my most recent online course, 3D Lettering in Procreate. The course takes you through 5 beginner basics projects and gets you comfortable with a bunch of 3D techniques. After that, there are 6 advanced projects that combine those basic techniques while adding on new ones for some extra stunning, pop-off-the-screen outcomes. This week I’m sharing one of the beginner basics techniques: the peeling sticker effect in Procreate. Read on to see it all!

Today I’m excited to announce my newest online course, 3D Lettering in Procreate! This course will walk you through all of the tools, workflow and effects needed to create believable + stunning, pop-off-the-screen dimensional iPad lettering! The course was created with beginners in mind and includes an entire ‘beginner basics’ section to get you comfortable with 3D essentials so you can feel confident heading into the advanced projects later on in the course. No lettering experience is necessary – I share my trick for using existing typefaces if that’s something you’d prefer 😉 The course also comes with ALL of the original Procreate files from the videos, so you’ll have them as reference if you ever need them. Today I’m sharing the course trailer plus additional details, below!

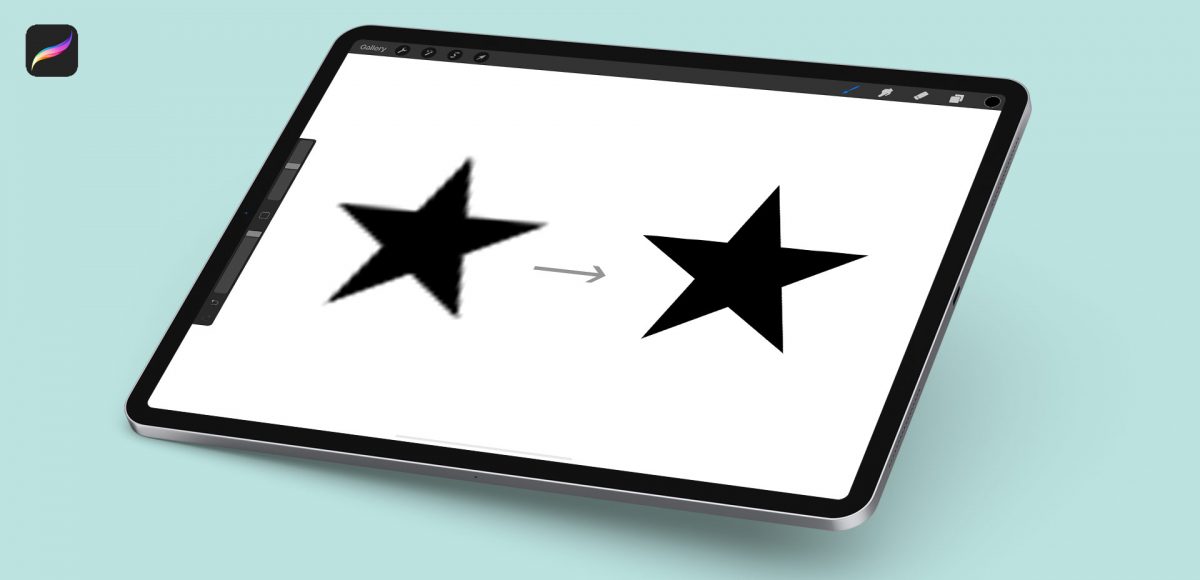
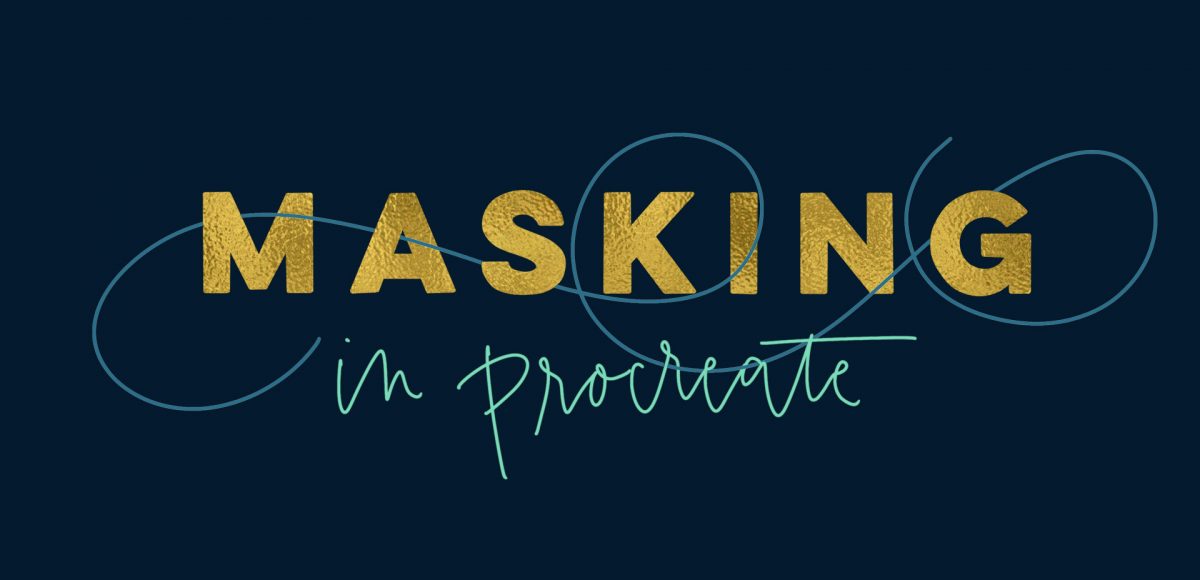
One major change that came with Procreate’s last update was masking. It might not have seemed major if you aren’t familiar with masking, but it was actually a bigger deal than it probably got credit for. Masking essentially allows for a non-destructive workflow. What that means, is instead of erasing something you don’t need, then having to draw it back in if you change your mind, masking ‘hides’ the part you don’t want and you can bring back the original easily at any time. Pretty nice. You can check out how awesome masking is in Photoshop here and it actually works pretty similarly in Procreate. In this week’s tutorial, I’ll take you through the two most common lettering scenarios where I use masking in Procreate. Once you begin masking, you’ll see the immediate advantages and how much faster (and efficient) it makes creating and editing.

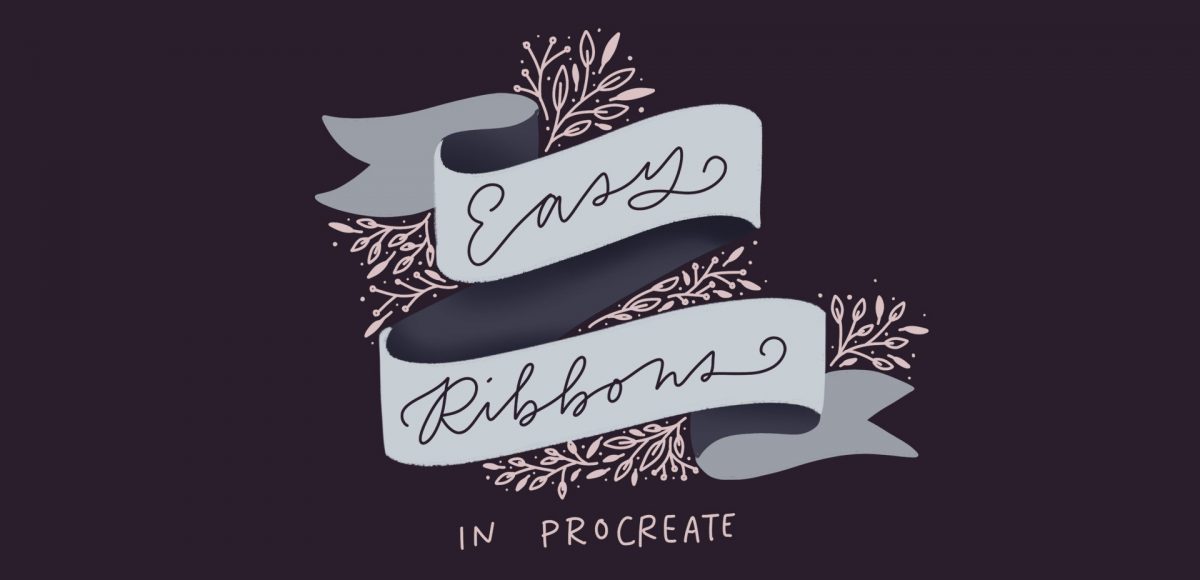
If you’re just getting started with Procreate – especially after all the recent updates – it’s totally normal to feel a bit overwhelmed! This week, I wanted to do a super simple Procreate tutorial for beginners that will also give you some great insight into the capabilities Procreate now has. In this tutorial, we’ll create 2 easy ribbons in Procreate and you’ll pick up some tips you can use for your future digital artwork, as well. Read on to get started!

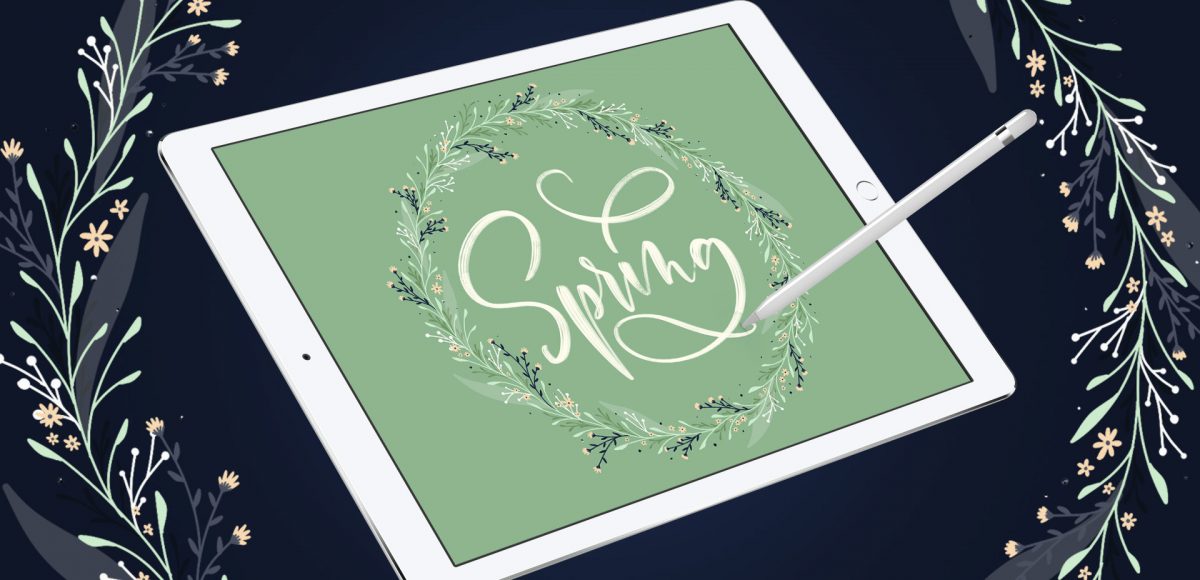
In celebration of Spring, I thought it would be fun to keep the floral party going into Procreate! The last couple of weeks we painted watercolor florals and this week we’re drawing digital ones 😉 In this week’s tutorial, we’ll plan, customize and create custom floral wreaths in Procreate. I’m using an iPad Pro (12.9″, 256GB), Apple Pencil, Procreate and my custom monoline procreate brush for this (available for free in the resource library). The color palette shown in the video is also available below if you’d like to use it. Let’s get started!

A lot of lettering lovers snagged an iPad Pro this past holiday season! I’m so excited for you to experience the total joy and possibilities that iPad lettering brings: no wasted paper or supplies, endless brush + color combinations and fewer stacks of artwork scattered around the house (just me?). As a graphic designer, I’ve been using Photoshop for nearly 15 years now and Procreate is similar in many, many ways. I’m constantly experimenting with Procreate, seeing if some of my Photoshop tricks carry over there + how to adapt them when the tools operate slightly differently.

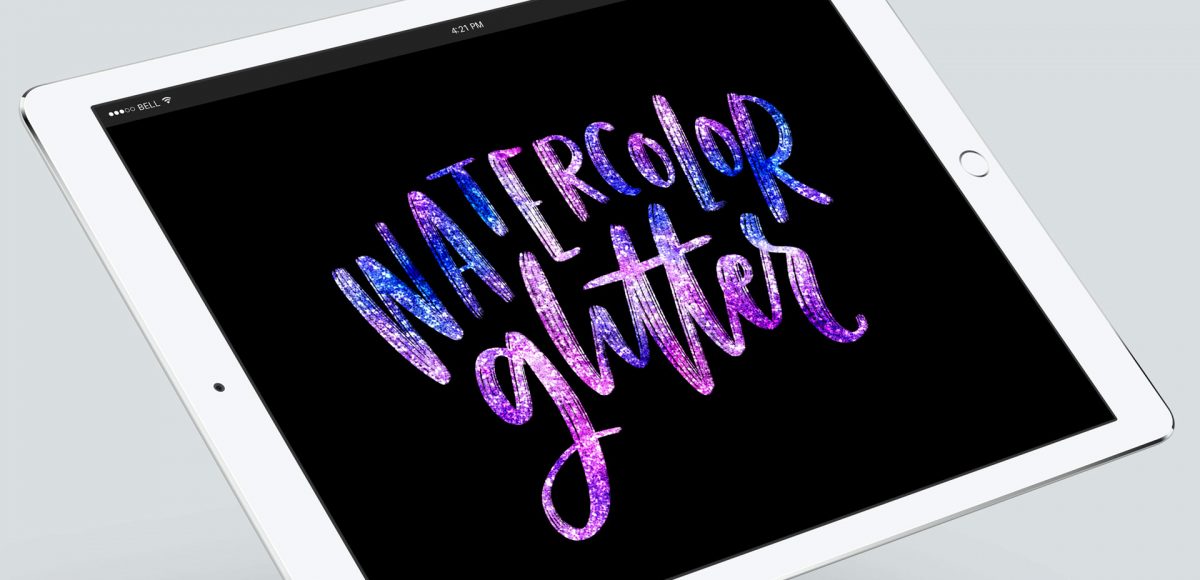
This week, I want to share one of my favorites: combining textures for a watercolor glitter lettering effect! You might already know how to blend textures on top of white for this effect (which I share in the vid), but my little trick will make it possible on any colored background, too, opening up even more possibilities 😉

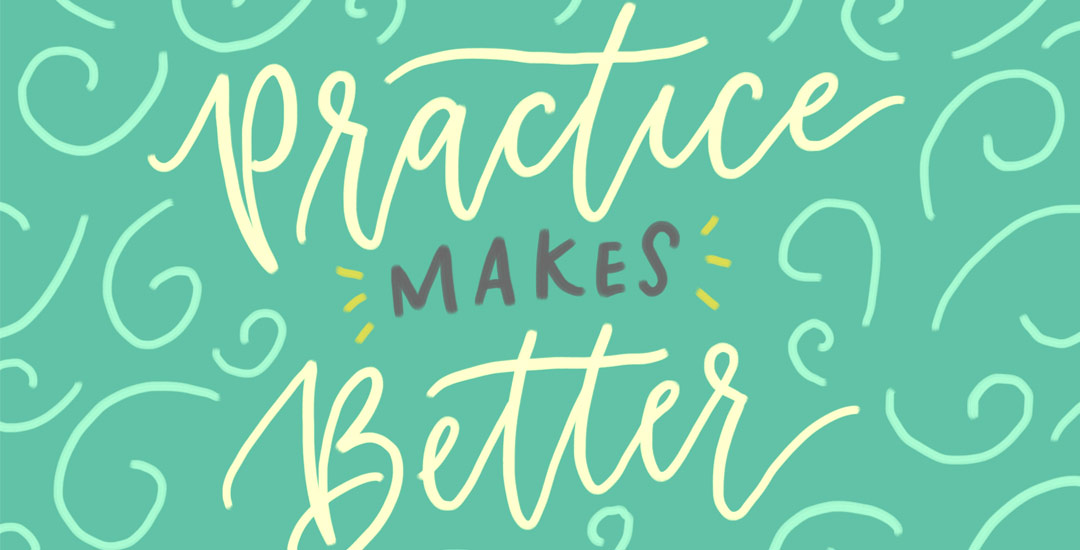
I wanted to change things up a little this week and go super down to basics. The truth is, when it comes to learning, a lot of the times, I’m most inspired by just *watching* the thing happen. Seeing it take place, someone else’s process without all the nitty gritty little details along the way – just the ‘have-to-knows’ first. Maybe you’re like that too. On the chance you are when it comes to lettering, this week I want to go super simple and just share how I would do a basic lettered quote/phrase on the iPad – what I think about as I’m writing, what I’m paying attention to, and what I do to change course when maybe things aren’t going exactly how I like them. If this is something you’d like to see more of, let me know! I want to provide all I can on clearing up anything that might be holding you back 🙂 Full process below – and if you want to go further after this, my Intro to iPad Lettering course is located here. Let’s go!

GDPR Icon

Your Privacy Matters

We use cookies to customize and create content that’s most important to you. We’ll never share the info we collect.

View Privacy Policy