HomePosts Tagged "graphic design" (Page 10)

graphic design Tag

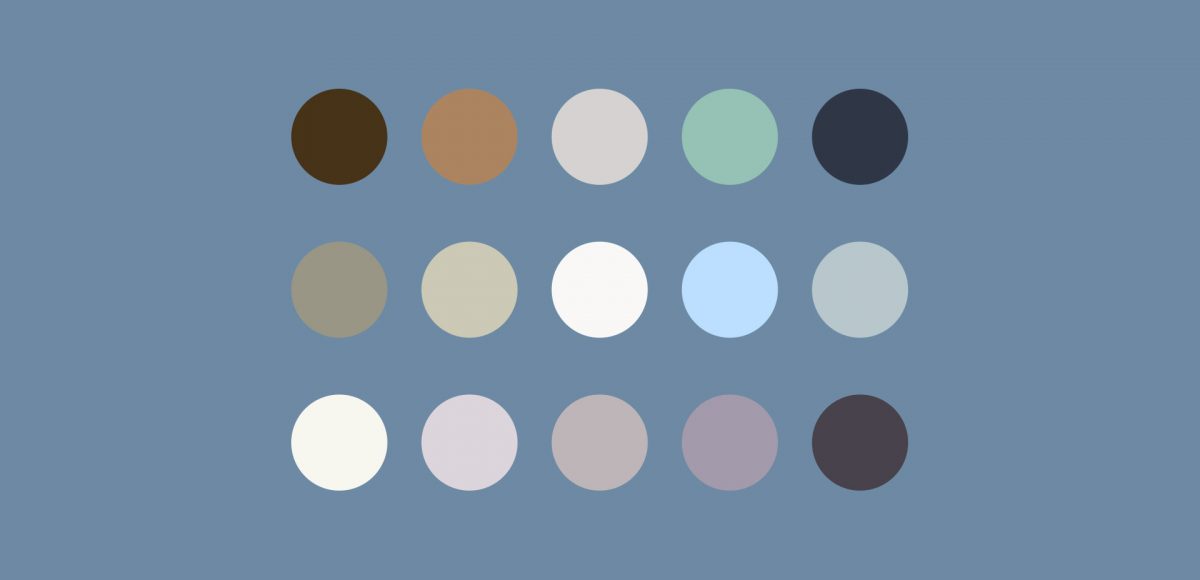
I am knee deep in preparing the launch of the new font making course (be sure to check back here next week!), so this week’s tutorial is a quick, but super handy tip for choosing color. There are many times I find myself needing quick color palettes in Adobe Illustrator, where I just need something beautiful that fits the mood. Adobe Color’s website has always been the perfect help for me whenever I’ve been in a color pinch. If you’re a Creative Cloud subscriber, it couldn’t be easier to grab a color palette, tweak it and start using it directly in Illustrator. Here’s how!

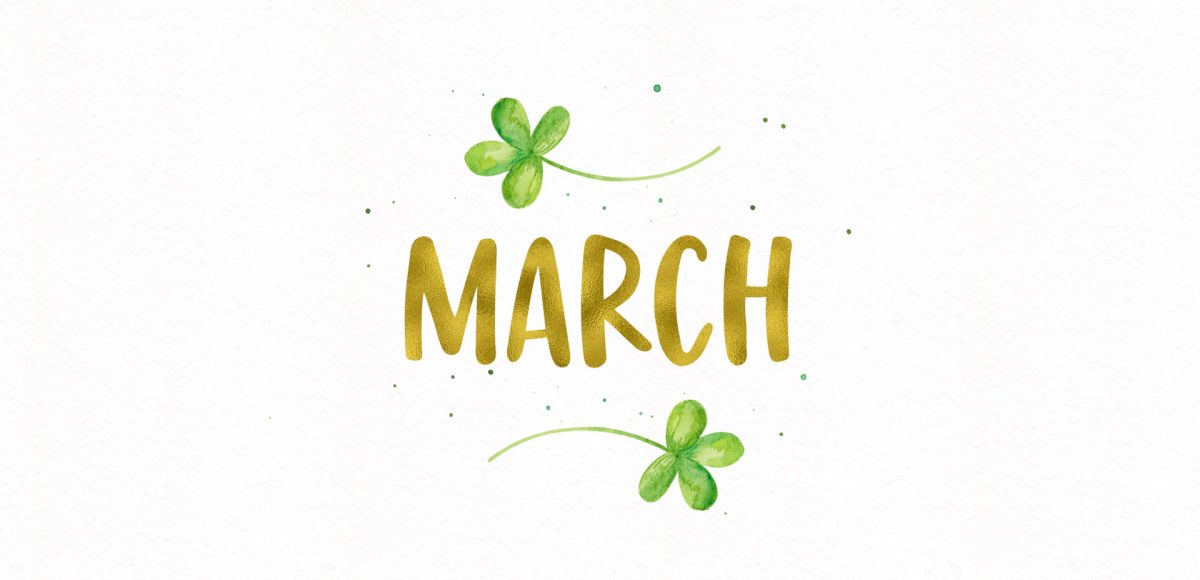
It’s time for your free March 2017 desktop wallpapers! I apologize for the tiny delay in this one going up – we had to move all of the site’s content over to the new design last week, so I wasn’t able to post anything new while that happened. As long as you still like these, I’ll keep makin em! 🙂

This month’s wallpaper was created with this Winsor & Newton watercolor pan set and a no.4 round Winsor & Newton Cotman brush. I used my newest font, Miss Magnolia, to typset ‘March’ (as well as the dates) and applied the gold foil texture from my Glitz + Glam kit. You’ll notice a subtle watercolor paper texture on the background too, which is part of the Watercolor Textures Vol. 3 kit 🙂

The download includes the wallpapers in two common resolutions: 1280x1024px and 1920x1080px, with and without dates. I’ve left the year off of the ‘no-dates’ versions, so you can use it for any March in the future, too!

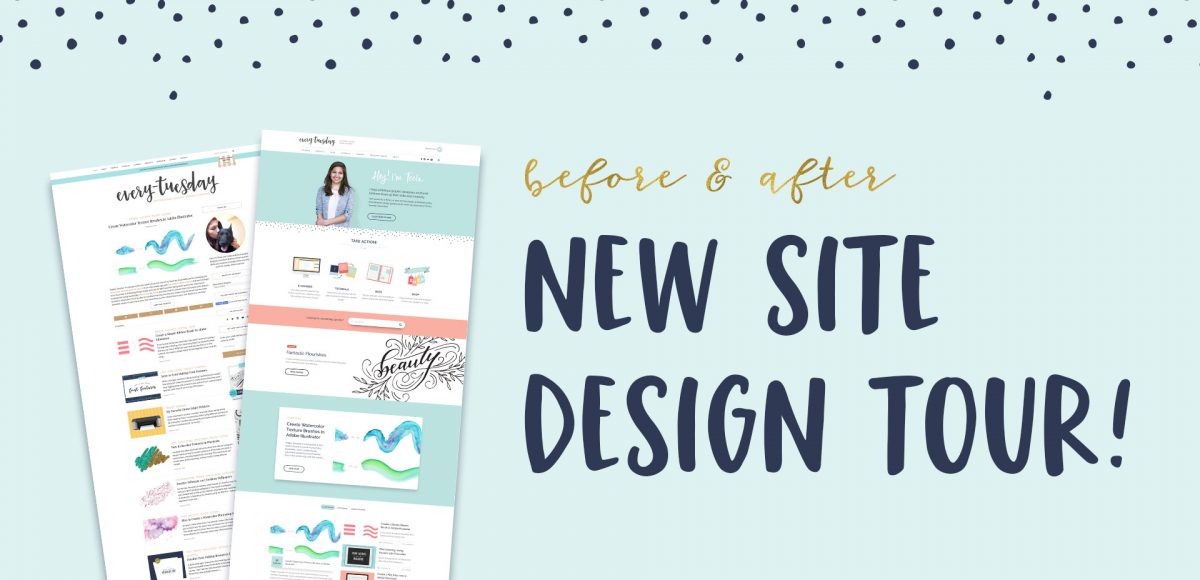
Wow. Today is a pretty big day. Our brand new site design, 6+ months in the making, is now live! This was a joint effort between Spence and I (though way more Spence than me) and it’s finally up! We didn’t hire any outside help, just hustled between the other things we were doing for the past half year (which is partly why it took much longer than we anticipated). We had a few goals in mind as we dove into this project, so today I wanted to share a site design tour, as well as our process + experience throughout the redesign.

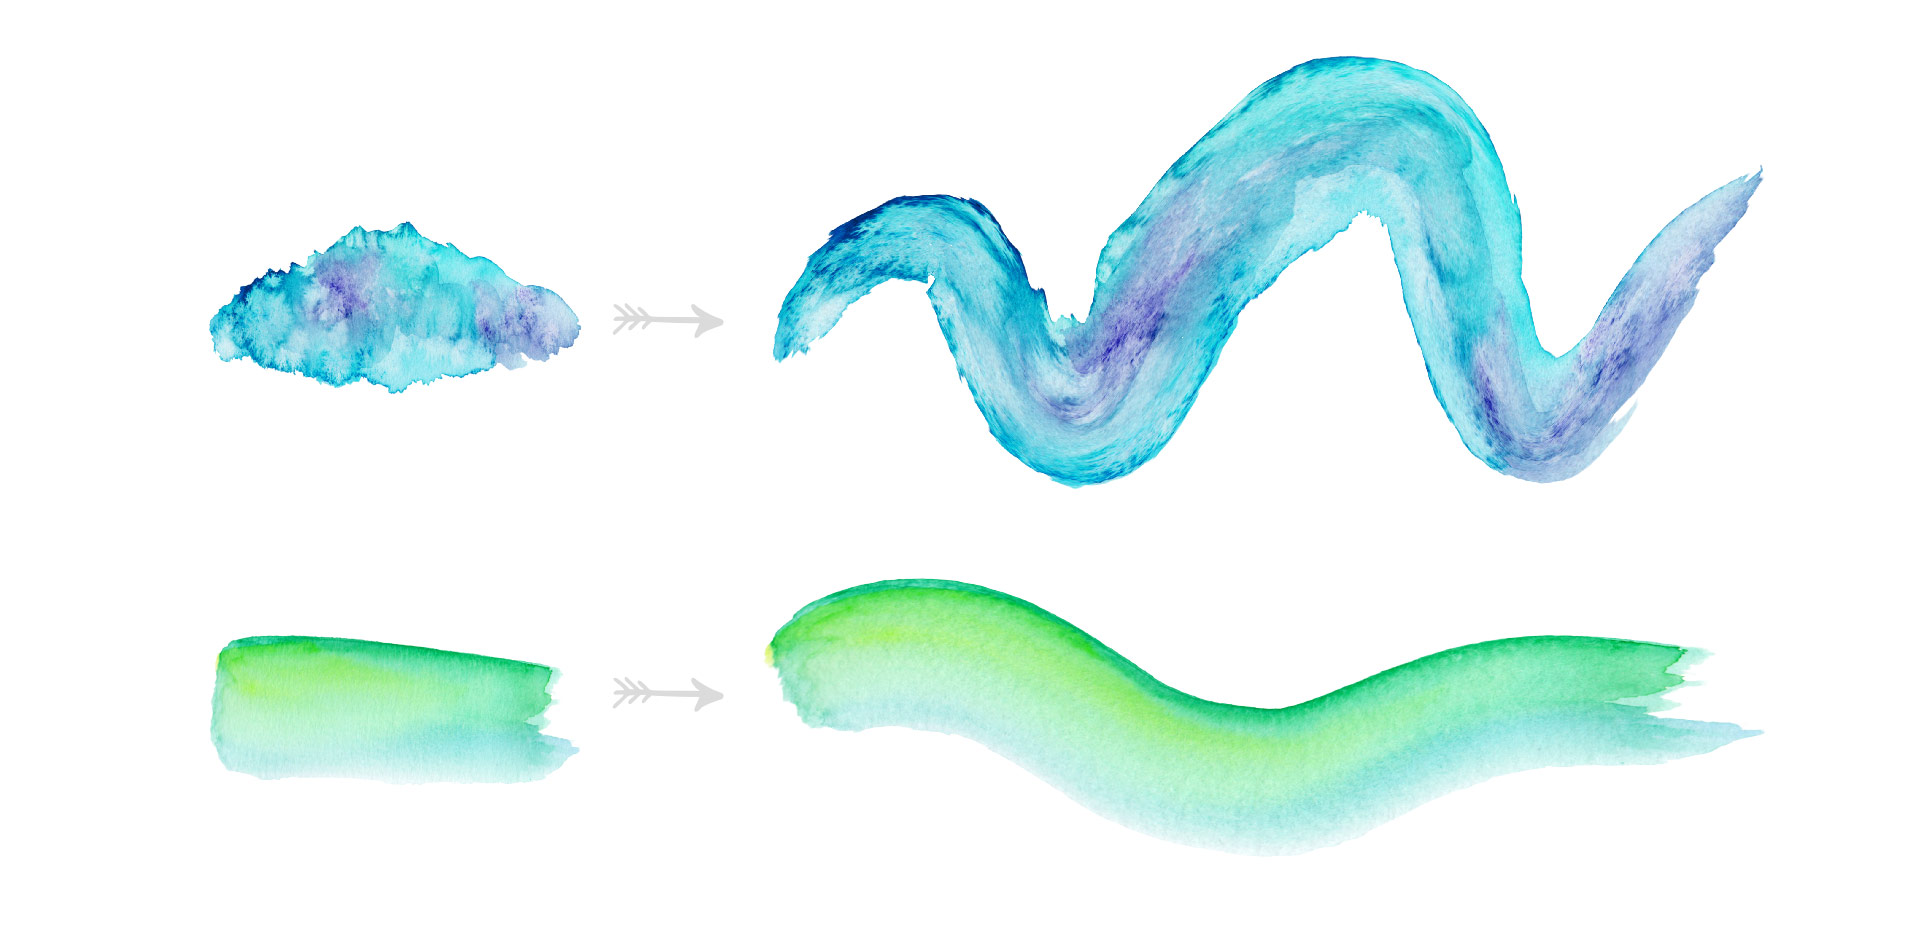
Happy Tuesday! I’m not gonna lie, this week’s tutorial is one of my favorites. Essentially, we’re combining the watercolor photoshop brush tutorial from a few weeks ago with last week’s ribbon tutorial. And we’re doing it all in Illustrator and keeping things simple and easy 😉 We’ll start by taking some watercolor textures on transparent backgrounds (like these, these or these), and then directly convert them into watercolor texture brushes in Illustrator. You’ll be able to transform the textures into any shape using the brush tool to create beautiful results. Create them once, then save them out for infinite future uses, too! Read on to see how!

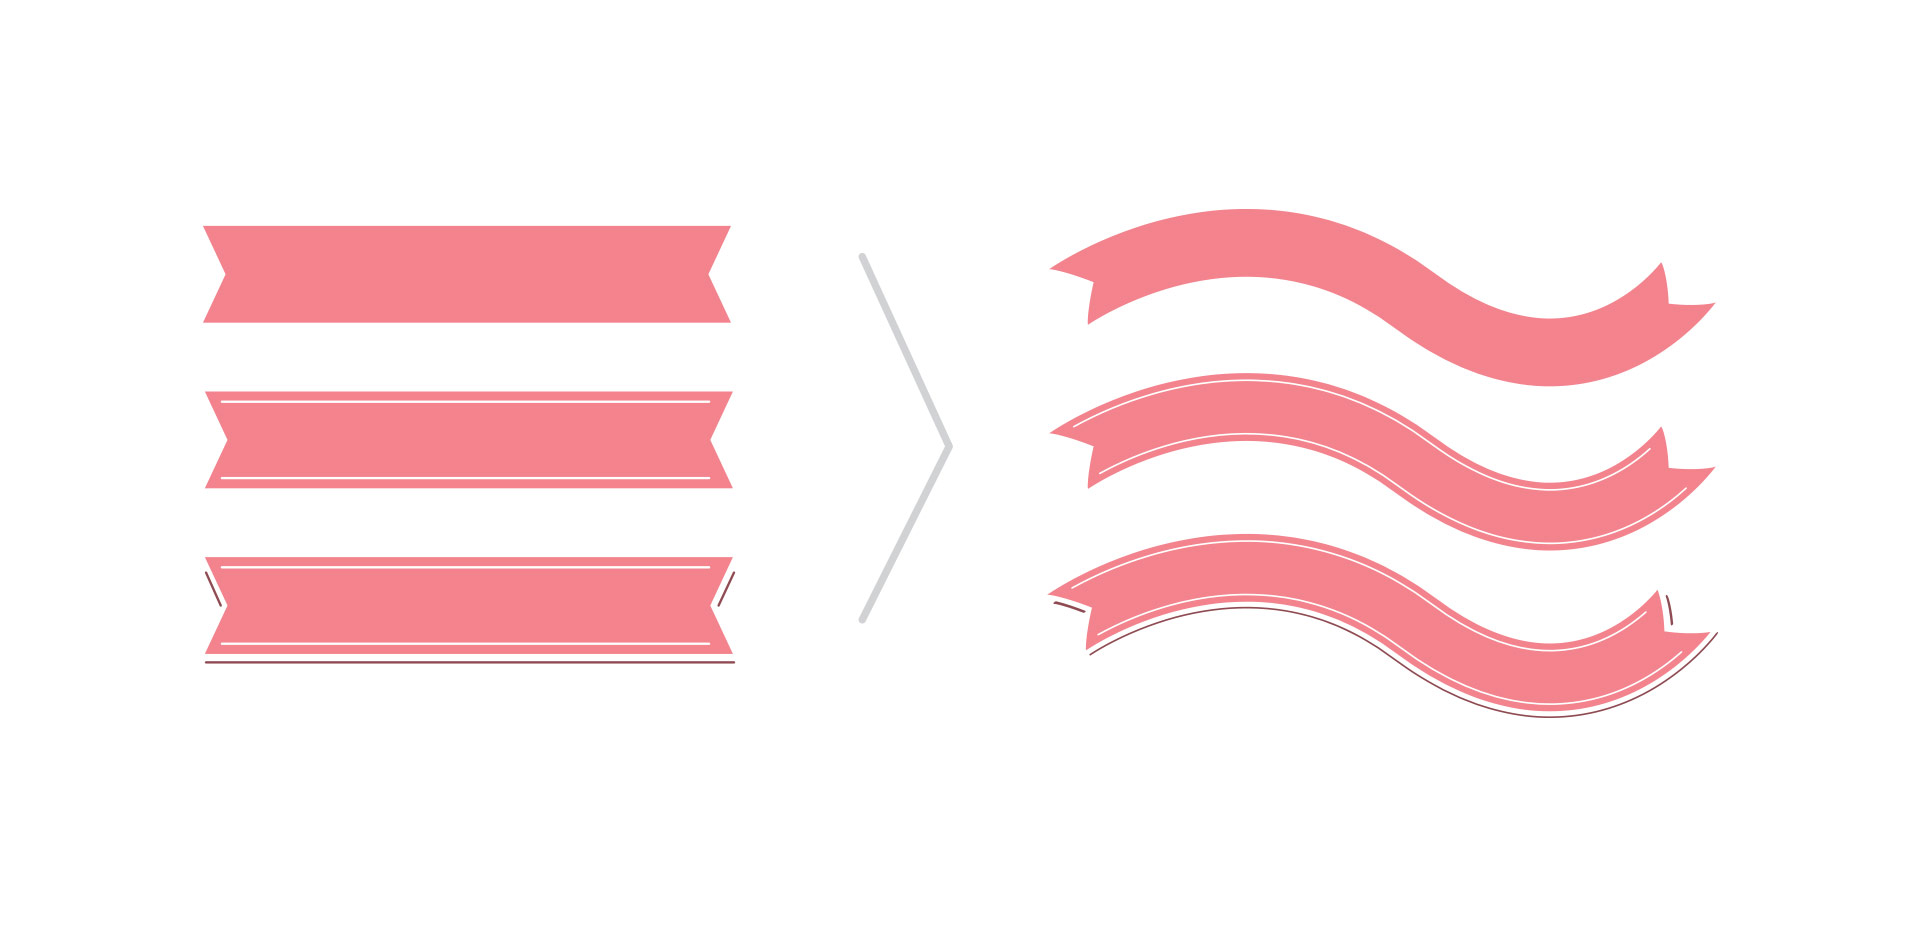
If you’re just diving into Illustrator, this week’s tutorial is perfect for beginners! We’ll go over some very basic, but powerful tools that you can use in different ways well into the future. In this tutorial, we create a simple ribbon brush together (from scratch) using Adobe Illustrator. We’ll talk about different brush settings, customizing your ribbon before and afterwards, and even how to save it for future use. Everything you need to get started is below!

When I first got into font making, hearing “customized (or coded) font features” made me question if I really knew what they were. I went digging away and an entire new world of font customization opened up in front of me. I knew OTFs were better than TTFs, but I had no idea how powerful OTFs really could be. If you’re unfamiliar with terms like stylistic and contextual alternates or discretionary and standard ligatures, we’re talking about em all this week!

I was surprised to receive a number of emails lately asking which home inkjet printers I recommend. After using different printers at all of the jobs I’ve held, plus using my own home printers (which I used for a stationery biz I once had – story for another time), there are two that have always stood out for me. Both are listed below with specific reasons why they’re my favorites, along with my favorite paper to use with them!

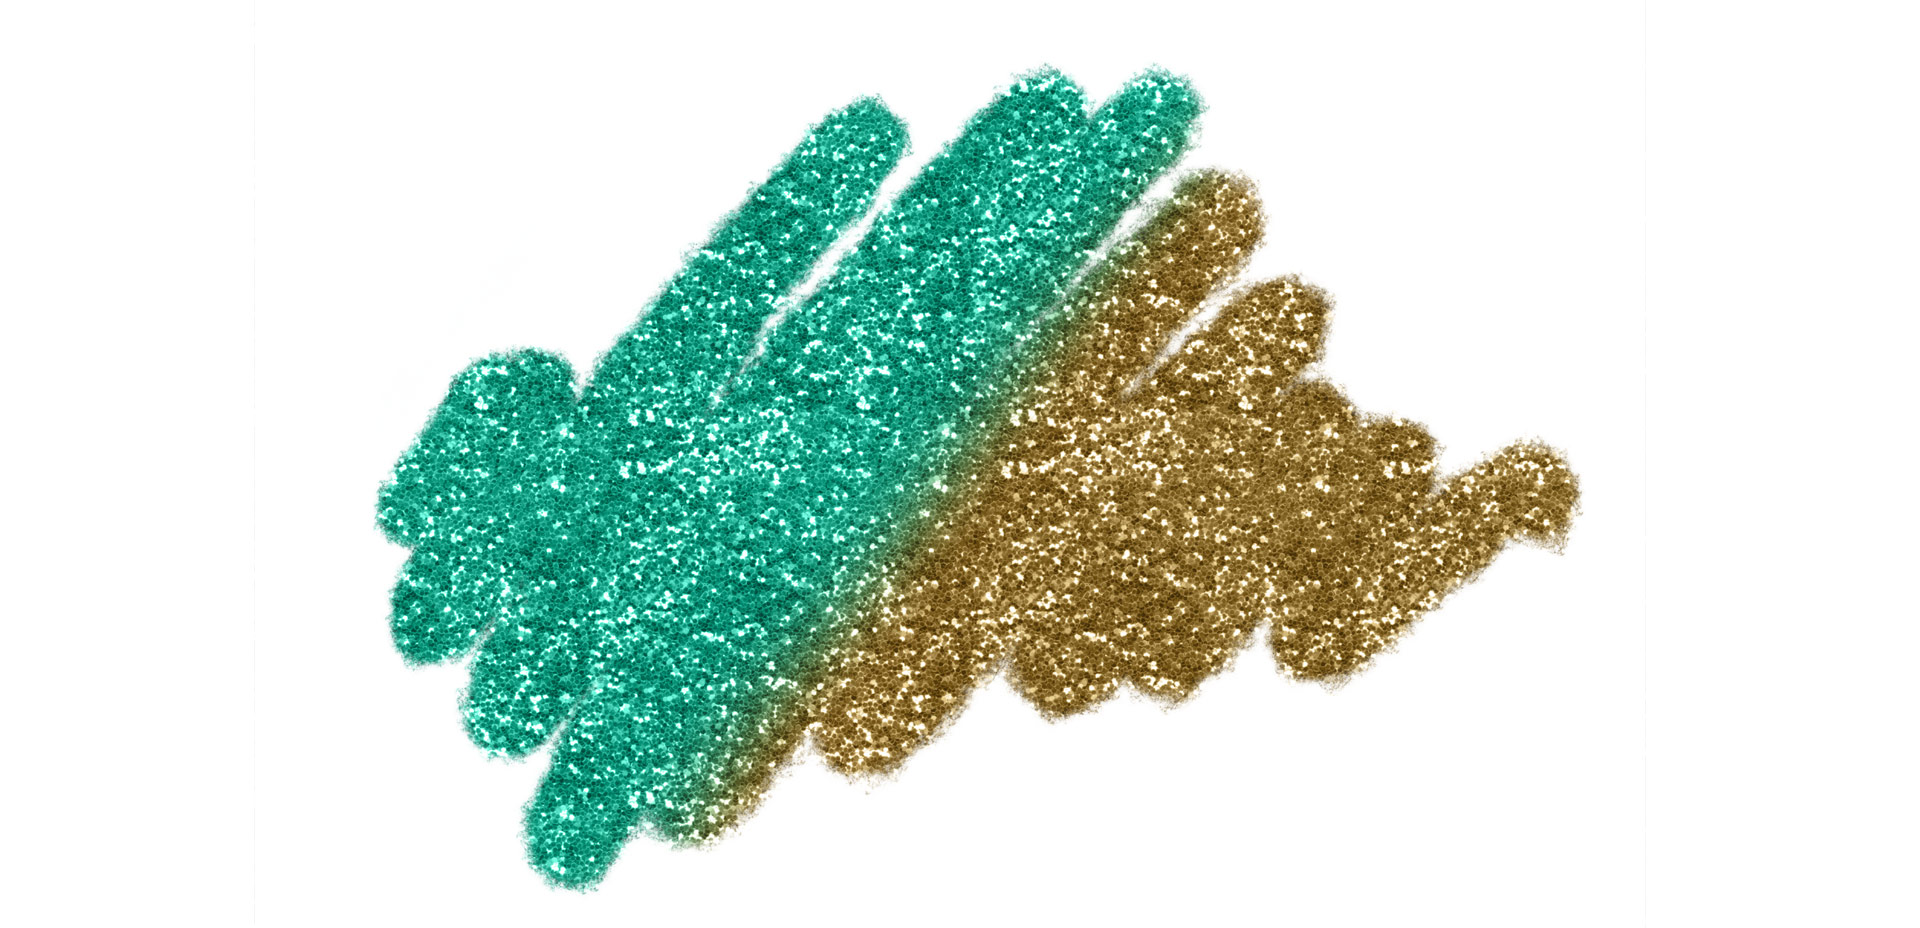
I realized the other day that I did some short mini vids on Instagram wayyyy back on how to recolor textures in Procreate, but never a tutorial here. Introducing textures into your Procreate work can create some pretty stunning, unique results. Using textures myself led me to offer the procreate watercolor kit and metallic kit, which I still use constantly. The silvers and golds from the metallic kit look stunning, but you can change their colors to anything you’d like! Colors like rose gold and blue glitter are a cinch to make, and in this week’s video, I share how!

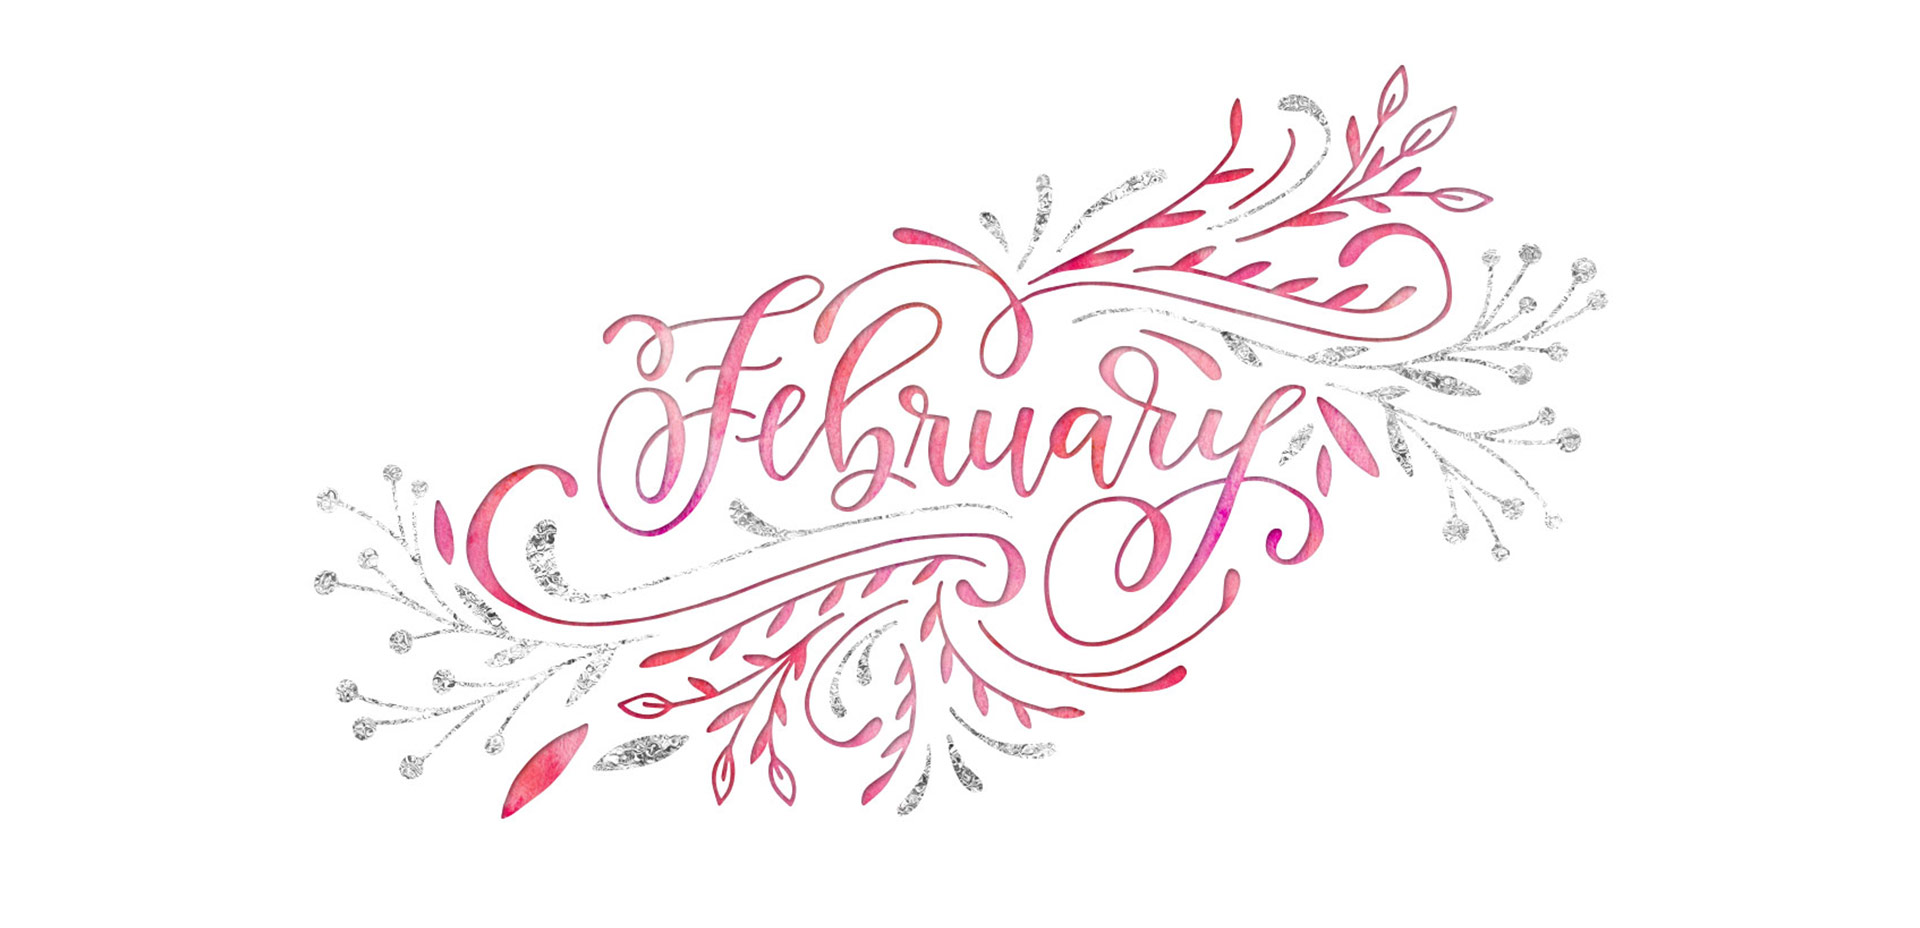
It’s the last Thursday in January, which means it’s time for your free February 2017 desktop wallpapers! This month’s wallpaper was created with a Micron 05 (.45mm), scanned in and vectorized in Illustrator. I cleaned up my vectors using my iPad Pro + Astropad app (here’s how I do that). I then colorized and sized it in Photoshop using my Glitz+ Glam Kit as well as the watercolor patterns from my Watercolor Texture Kit Vol. 3. Finally, the dates were added in (the ‘R’s’ stand for Thursday so as not to be confused with Tuesday). Yep, not the quickest process, but I love making em 😉

The download includes the wallpapers in two common resolutions: 1280x1024px and 1920x1080px, with and without dates. I’ve left the year off of the ‘no-dates’ versions, so you can use it for any February in the future, too!

It’s been a little while since I’ve posted a watercolor tutorial! If you’ve been here for some time, you know we can’t have that 😉 This week I want to share how to create a custom watercolor photoshop brush! Having a watercolor photoshop brush in your brush library is super handy for two reasons: #1 you don’t have to file > place large textures or search for them on your computer, and #2 it keeps file sizes smaller. These are really quick to create and can be huge time savers. See the full tutorial below!

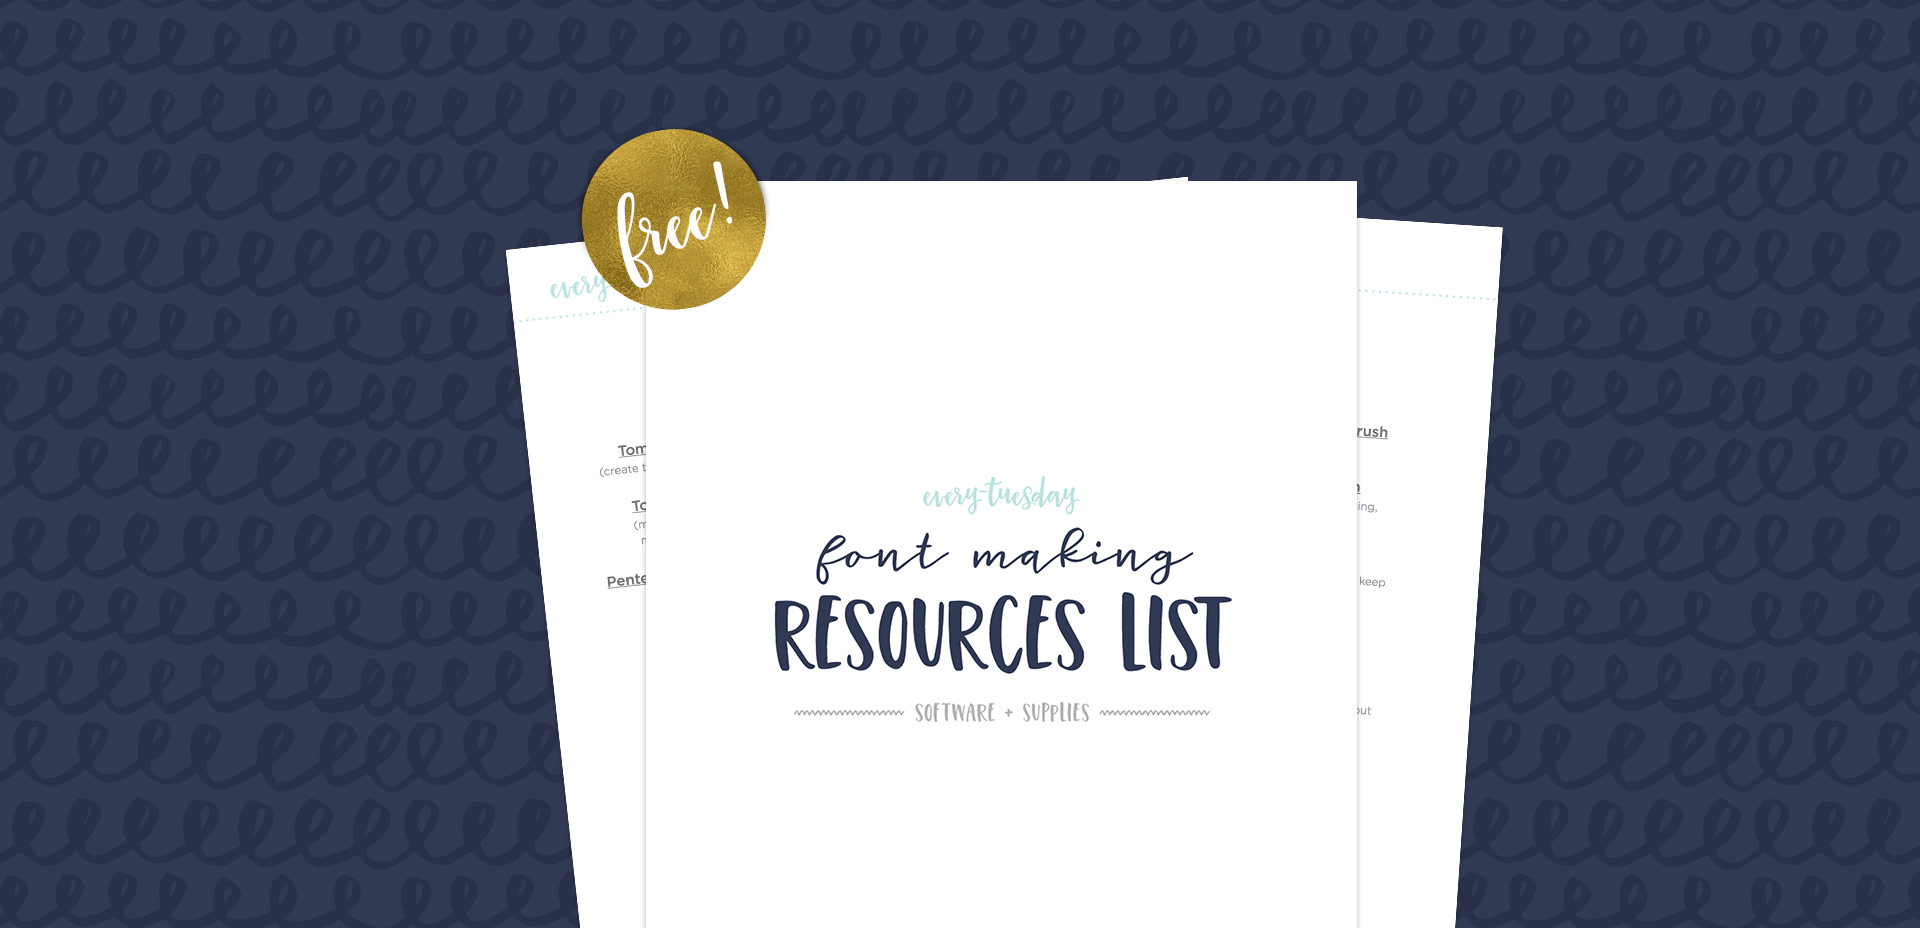
If you love lettering and are ready to take things up a notch, converting your lettering into a font is a great next step! Not only will you experience typing with YOUR letters for the first time (nothing like it!), you can also sell your font(s) for some extra side hustle cash. But where do you begin? There are different types of software, plugins, automators..the whole process can seem overwhelming. I know it was for me, which is why I put together this clickable font making resources list with the exact software and tools I use to create and sell hand lettered fonts. You can grab it below and also read more about the process. If you’re looking for a full step-by-step course on how to create *and* sell hand lettered fonts, be sure to visit my course here!

One of the questions I’m asked most often about iPad lettering is how to use vectors with Procreate. The very short answer is: you can’t. But! There *are* some workarounds you can use if you’d like to either integrate your vectors within Procreate or vectorize your Procreate artwork later on. Everything you need to know about why that is and how to adjust is below!

GDPR Icon

Your Privacy Matters

We use cookies to customize and create content that’s most important to you. We’ll never share the info we collect.

View Privacy Policy