HomePosts Tagged "how to" (Page 14)

how to Tag

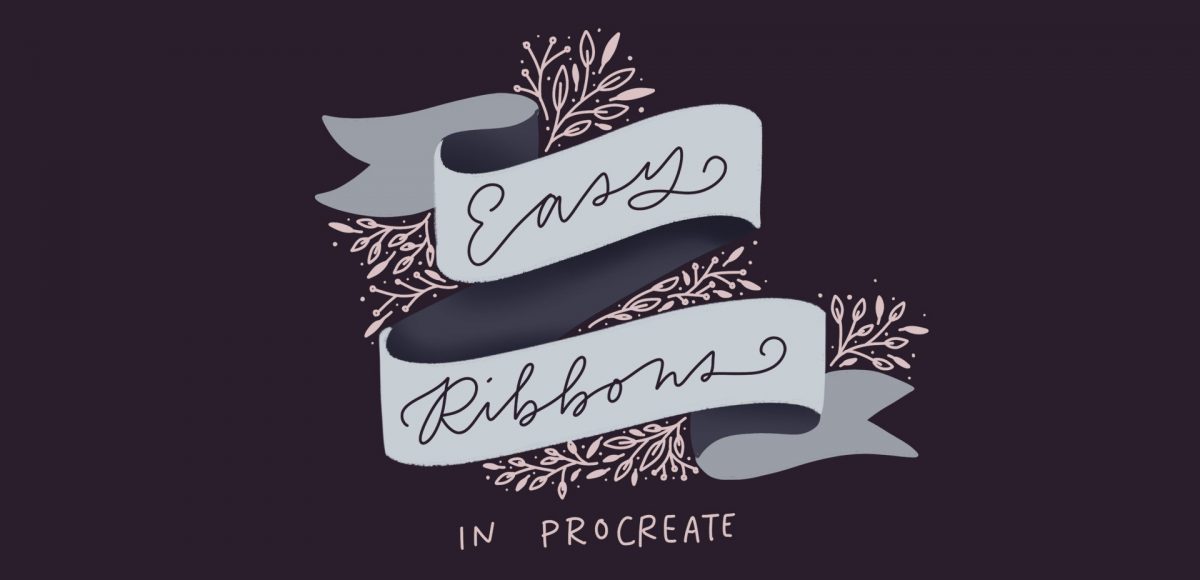
If you’re just getting started with Procreate – especially after all the recent updates – it’s totally normal to feel a bit overwhelmed! This week, I wanted to do a super simple Procreate tutorial for beginners that will also give you some great insight into the capabilities Procreate now has. In this tutorial, we’ll create 2 easy ribbons in Procreate and you’ll pick up some tips you can use for your future digital artwork, as well. Read on to get started!

We kept things all digital last month, so I thought we could start this month with some watercolor! Even if gemstones or jewels aren’t your thing, this is a great exercise on mixing colors and how those colors can inform the depth of an object. We also sketch out the geometry from scratch without using a ruler and you can use these methods for other geometric-based layouts in the future, too! Since we’re using water-based brush pens, this is something you can create on the go with limited materials. Read on to paint a watercolor jewel using brush pens!

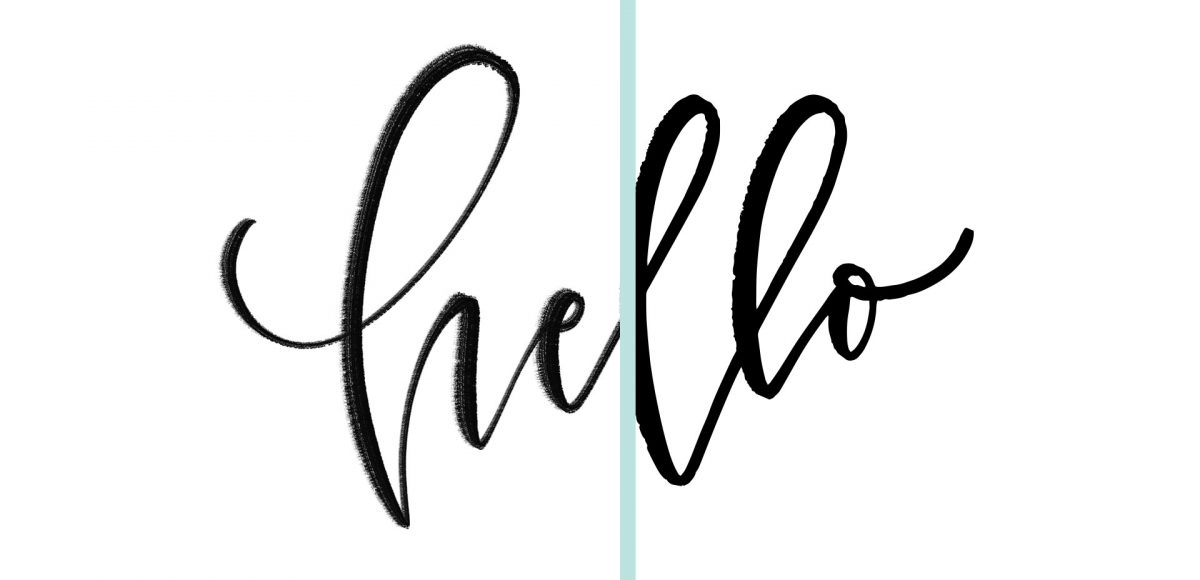
If you love lettering – whether it’s on paper or an iPad, you’re probably familiar with how powerful your lettering becomes when it’s vectorized. Vectorization allows your lettering to be infinitely rescaled without losing quality. This means it can be put on anything, at any size and look as great as the day it was drawn. Since it’s a digital copy, it can exist for forever without fear of it being buried in past stacks of lettering experiments, too. It’s also a crucial step in creating open type fonts!

In this week’s video, I’m sharing my favorite, most reliable Illustrator trace settings when it comes to vectorizing lettering. These are the settings I use every time I vectorize to keep as much original quality as possible. Read on for it all!

One of my most viewed tutorials on YouTube is how to create seamless patterns in Illustrator (though you should be using the pattern tool in this tutorial if you’re using CS6 or newer!). Once you create a custom pattern, though, how do you save it, or export it to sell? Illustrator actually behaves a bit differently than Photoshop, since the version of Illustrator the user is on affects their ability to see the pattern or use it. In this week’s tutorial, I share everything you’ll need to know and consider when you save and export patterns in Illustrator.

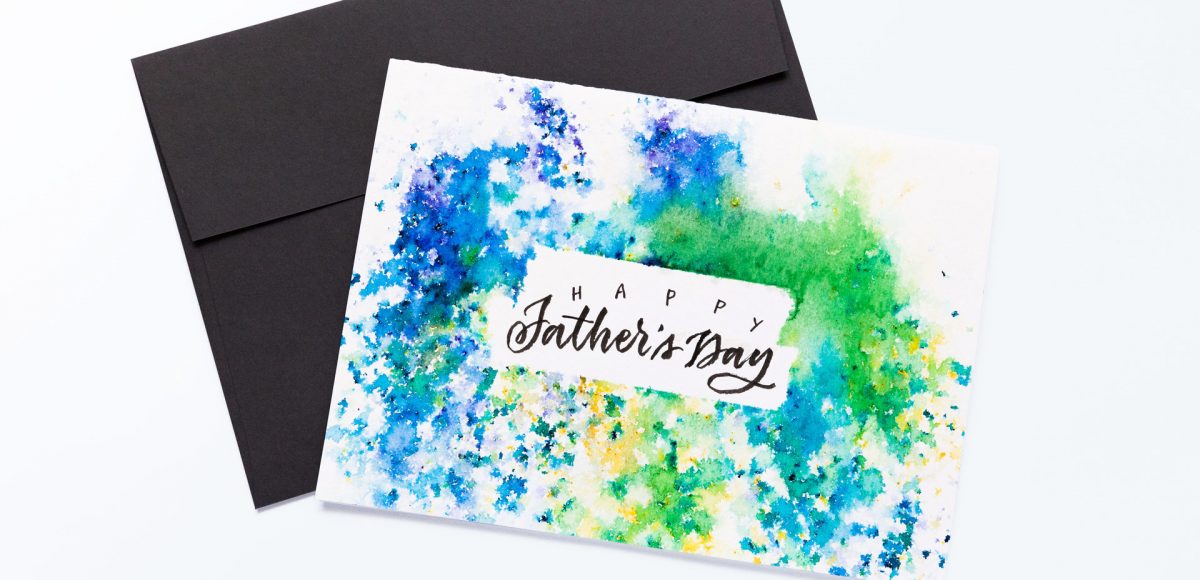
One of my favorite discoveries of the past year is a product called BRUSHO. It’s essentially concentrated, powdered watercolor, and it’s awesome. It took me some time to find the best process for using it with my DIY artwork, so in this week’s tutorial, I’m sharing everything I’ve learned! Skip all the troubleshooting/wasted material I went through and let’s create a Father’s Day card using BRUSHO together!

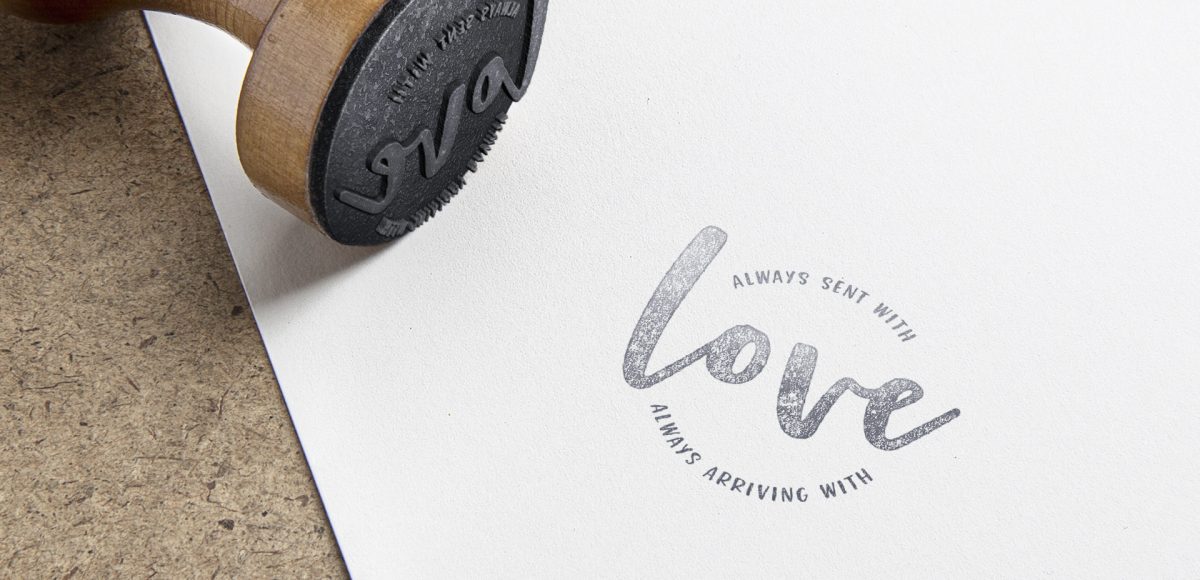
A while back, I shared how to type along a path in Illustrator, but what if that path is circular or closed? How to you get the text to run perfectly along the outside or inside of the circle? And if you start on one side, how do you nudge it just slightly without ruining everything? These are some questions that evaded me longer than they should have when I was starting out. Circular text is important! It’s great for logos, icons, stickers and custom rubber stamps just to name a few. Read on to master circular text in Illustrator and never wonder again!

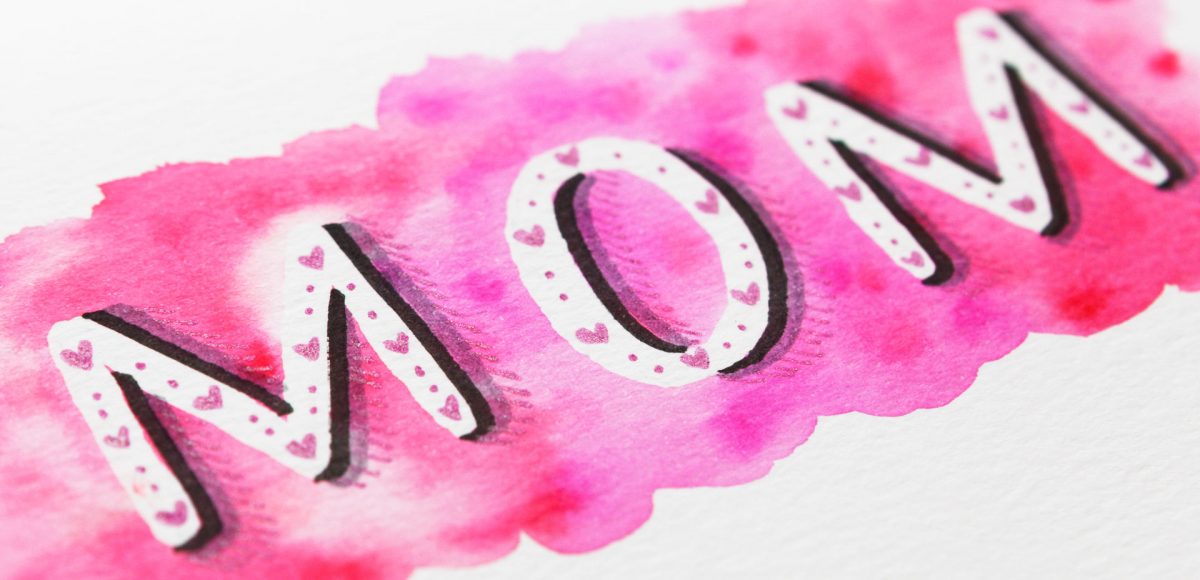
With Mother’s Day right around the corner, this week, we’re DIY’ing a hand lettered watercolor Mother’s Day card! My mom’s birthday is actually on Mother’s Day this year, so I had to think of something extra special 🙂 Cue masking fluid, brush pens, a watercolor effect and some lettering enhancements! In this week’s video, I share my trick for protecting your paint brush with masking fluid, how I cut down watercolor paper for greeting cards, use brush pens to create a watercolor texture and use regular lettering supplies to add final details. Pick up all the supplies shown and catch the full video below!

You may have seen this style of lettering floating around instagram and created in Procreate on an iPad. In this week’s tutorial, I share how to create the same effect, but in Illustrator. By using Illustrator, everything can be infinitely rescaleable since it’s vector-based. We’ll utilize some features you may not be aware of that you can use for future work, too. This is a slightly advanced tutorial, so the pace is a bit quicker. If you’re new to Illustrator, allow some extra time (or check out some beginner tutorials first). Read on to create colorful gradient lettering in Adobe Illustrator!

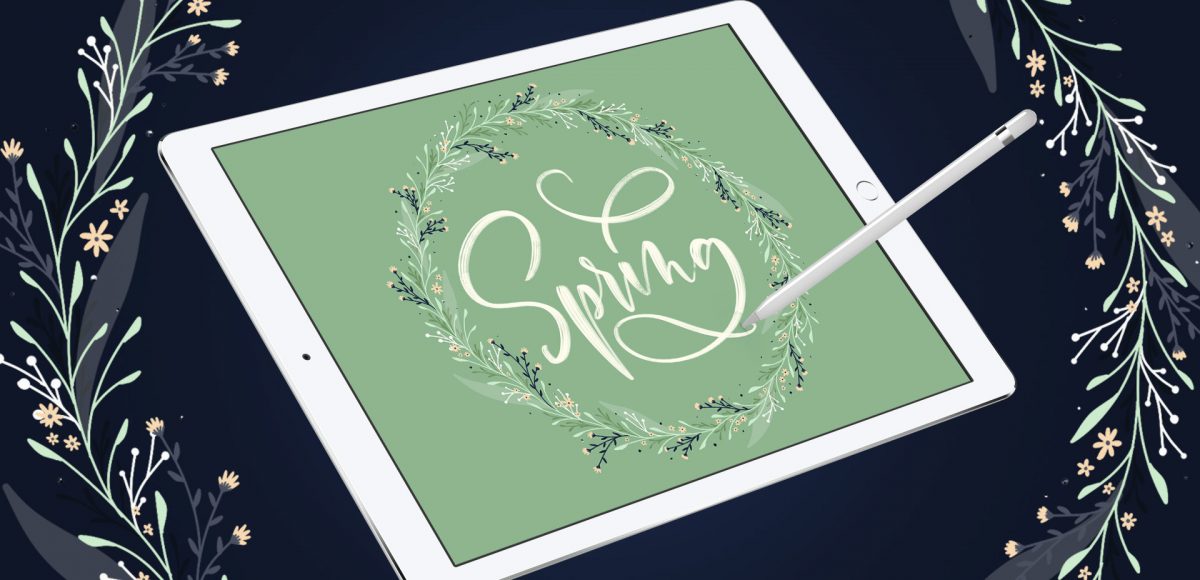
In celebration of Spring, I thought it would be fun to keep the floral party going into Procreate! The last couple of weeks we painted watercolor florals and this week we’re drawing digital ones 😉 In this week’s tutorial, we’ll plan, customize and create custom floral wreaths in Procreate. I’m using an iPad Pro (12.9″, 256GB), Apple Pencil, Procreate and my custom monoline procreate brush for this (available for free in the resource library). The color palette shown in the video is also available below if you’d like to use it. Let’s get started!

Happy Tuesday! This Tuesday is one of my favorites because a new course just went live! I’m often asked how I created my watercolor leaves and florals kit, so instead of describing it, I decided to teach it all! All 4 hours of the *entire* process from painting to selling 😉 In Watercolor Florals for Graphic Design, you’ll learn how to paint, digitize, enhance and sell digital watercolor florals online. This week I wanted to share the course’s trailer and go over a summary of all the class details. The course’s clickable resources list is available as a free download below, so you have everything you need to get started. Read on to grab those details!

Next Monday, March 26th, I’ll be releasing my newest course titled Watercolor Florals for Graphic Design! I’m often asked how I created this watercolor leaves and florals kit, so I thought I’d share the entire process, from start to finish. In the course, you’ll learn how to paint, scan, digitize, enhance and sell digital watercolor florals. Part of creating florals meant to be used digitally (in Illustrator, Photoshop or templates you’d like to sell) require them to be created individually (vs. painting a full bouquet). Once they’re created and edited, you can then create an infinite number of arrangement and bouquet combinations using them. This makes painting just a few florals to start with really powerful, because they can lead to a large kit full of options.

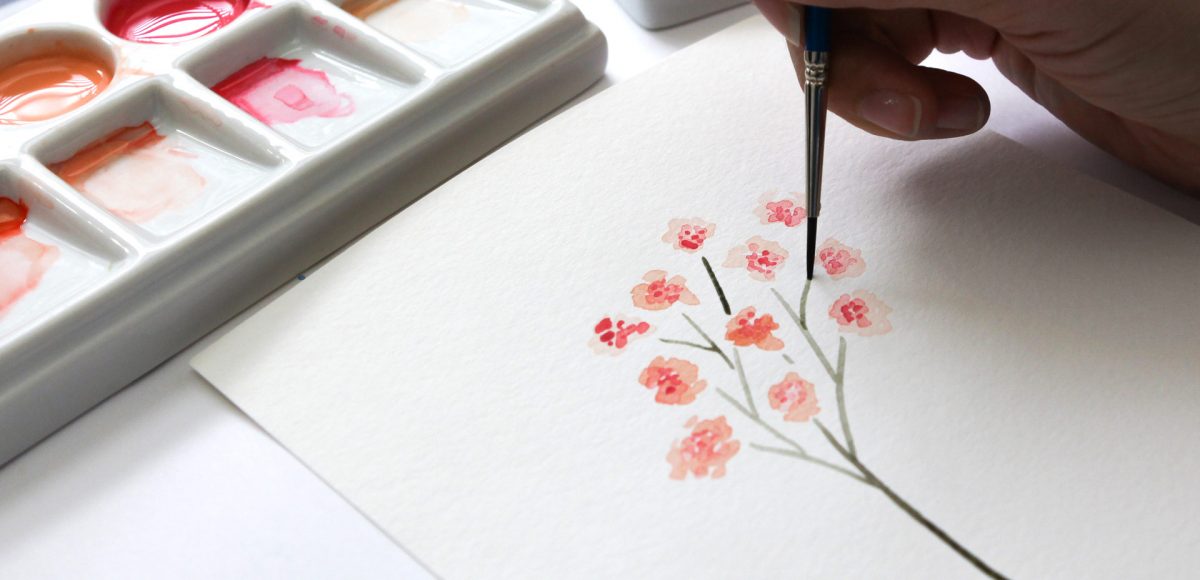
Even though the course officially opens next Monday, today I wanted to share a video from the course on how to paint 4 loose style small watercolor florals. I’m giving away the course’s clickable resources list for free in this post, so you’ll have everything  you need to get started. If you’re an Every-Tuesday subscriber, you’ll also receive a special gift in your email the day the course opens 😉 Read on for the full tutorial and free resources download!

GDPR Icon

Your Privacy Matters

We use cookies to customize and create content that’s most important to you. We’ll never share the info we collect.

View Privacy Policy