HomePosts Tagged "how to" (Page 5)

how to Tag

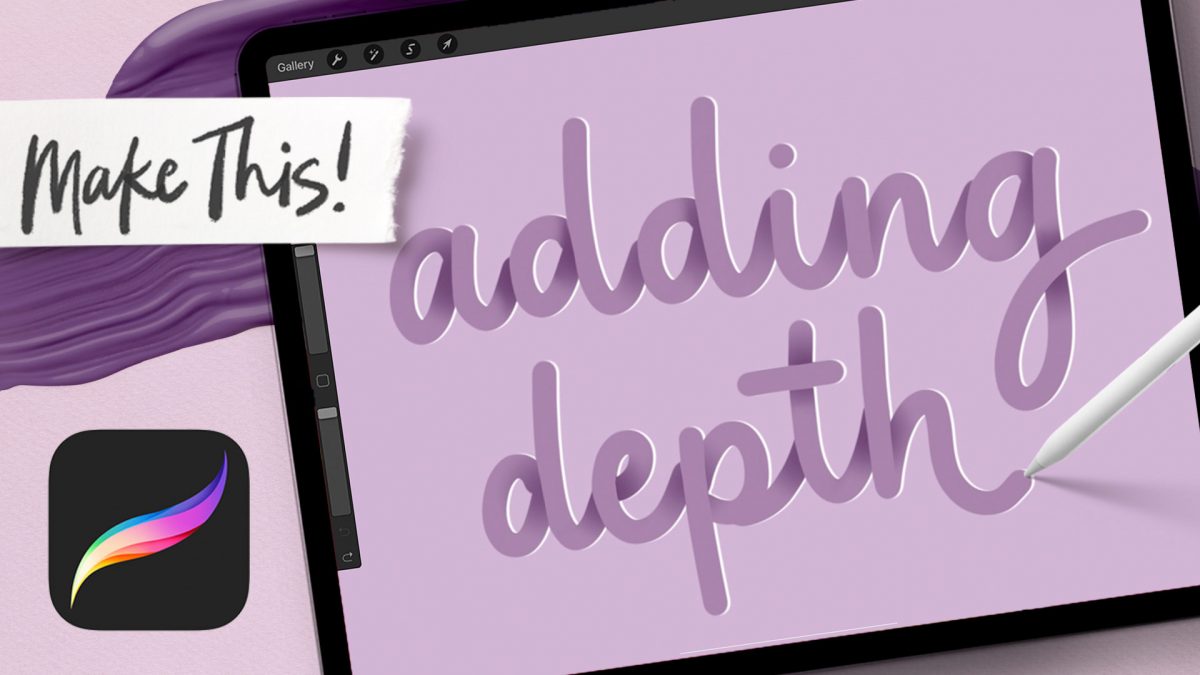
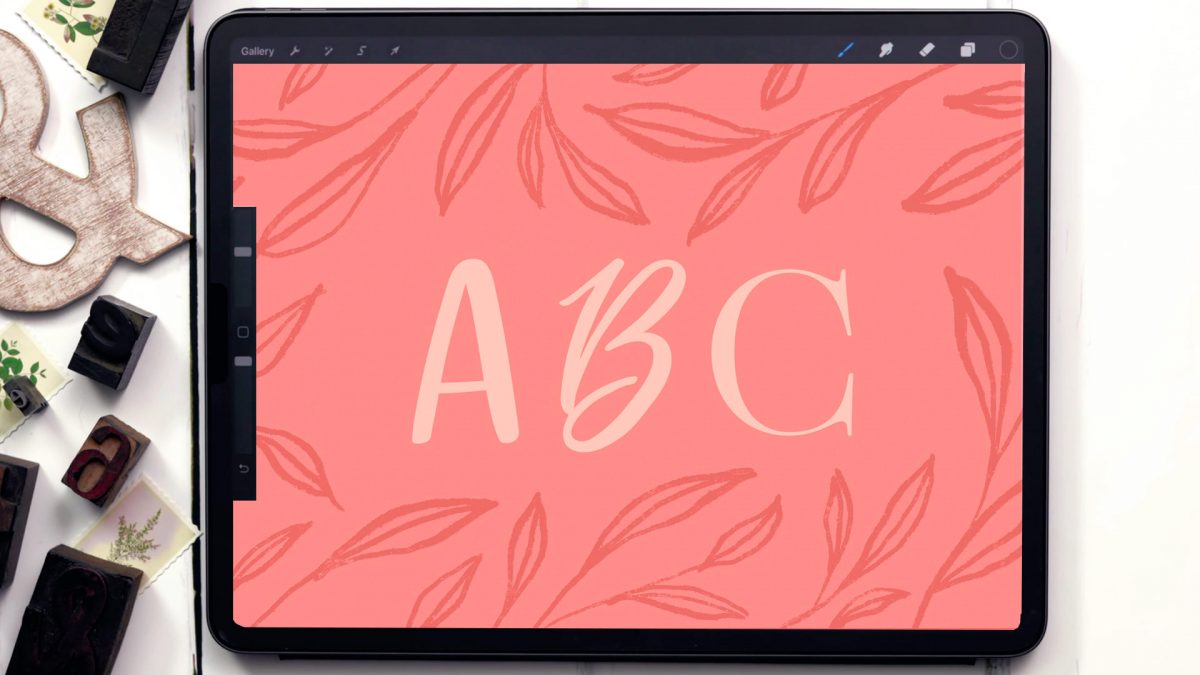
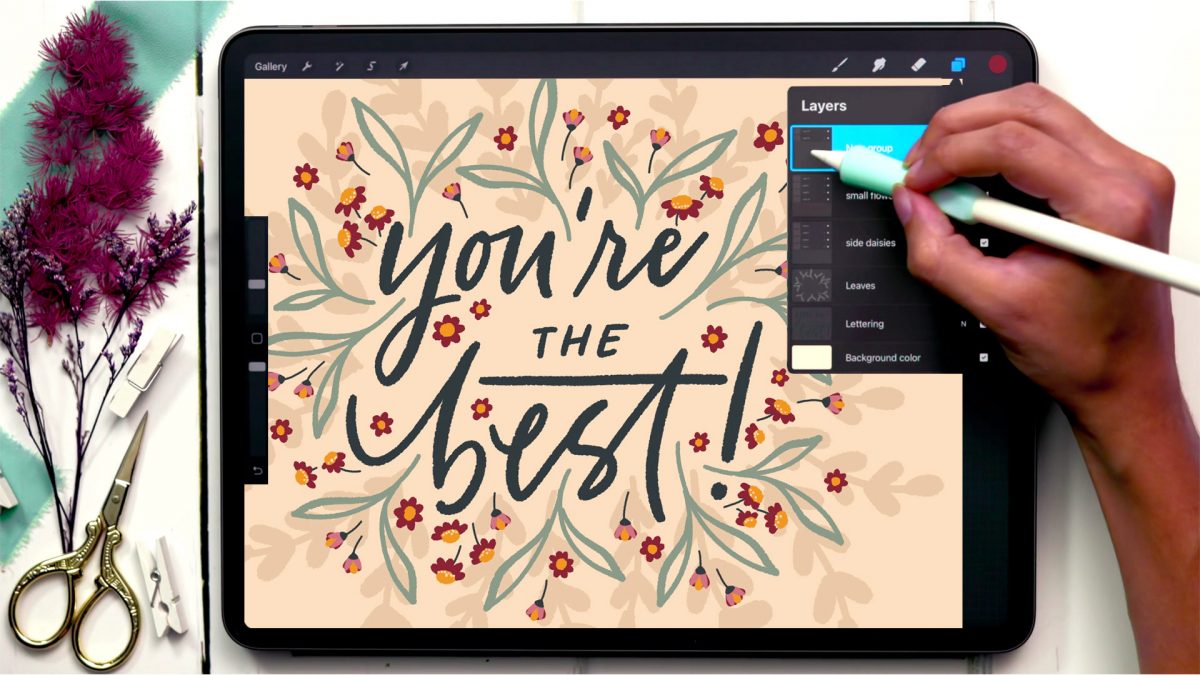
I’ve had a few requests for advanced tutorials, so if you’re up for a challenge, this week’s tutorial is for you! This is one of my favorite depth effects when it comes to lettering; I love how it starts out completely flat and things pop forward more and more as you go – soooo satisfying! You can use this same effect on overlapping shapes or even your favorite font if you don’t want to use lettering – win, win!

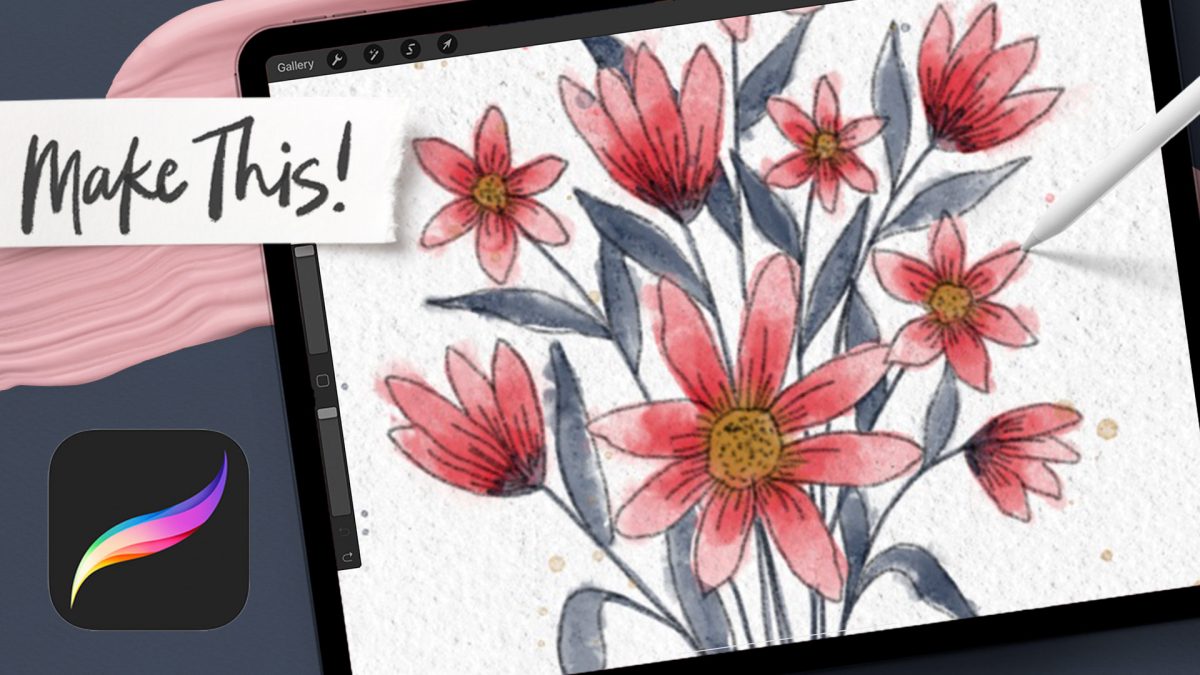
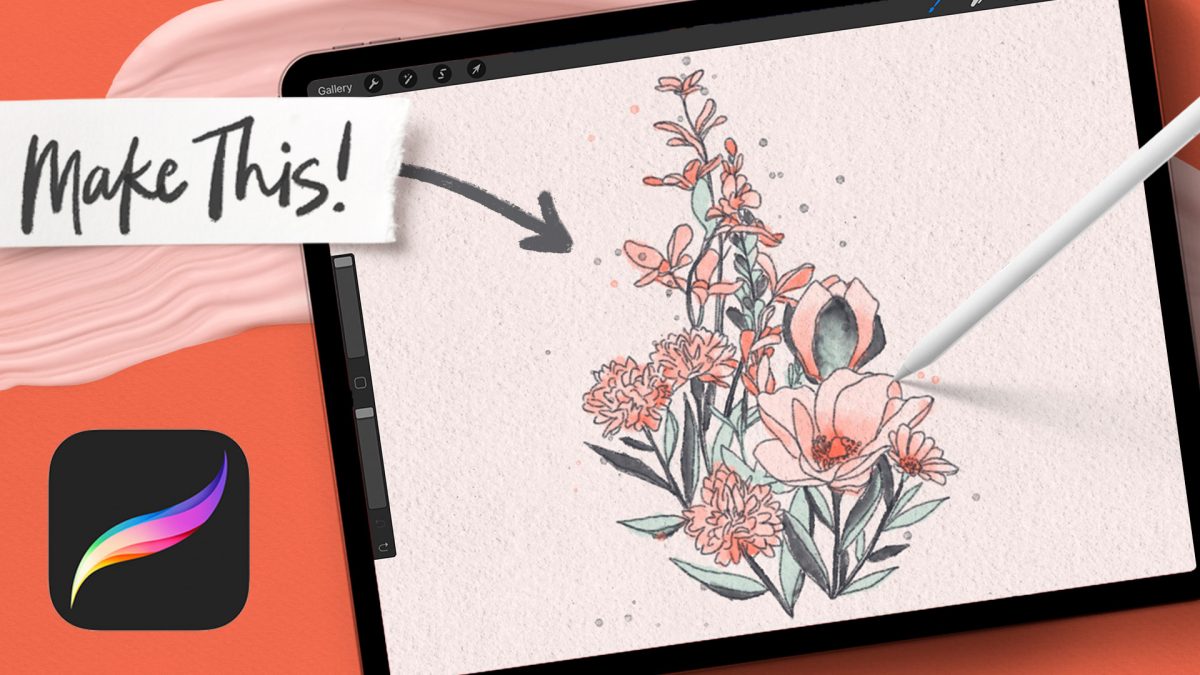
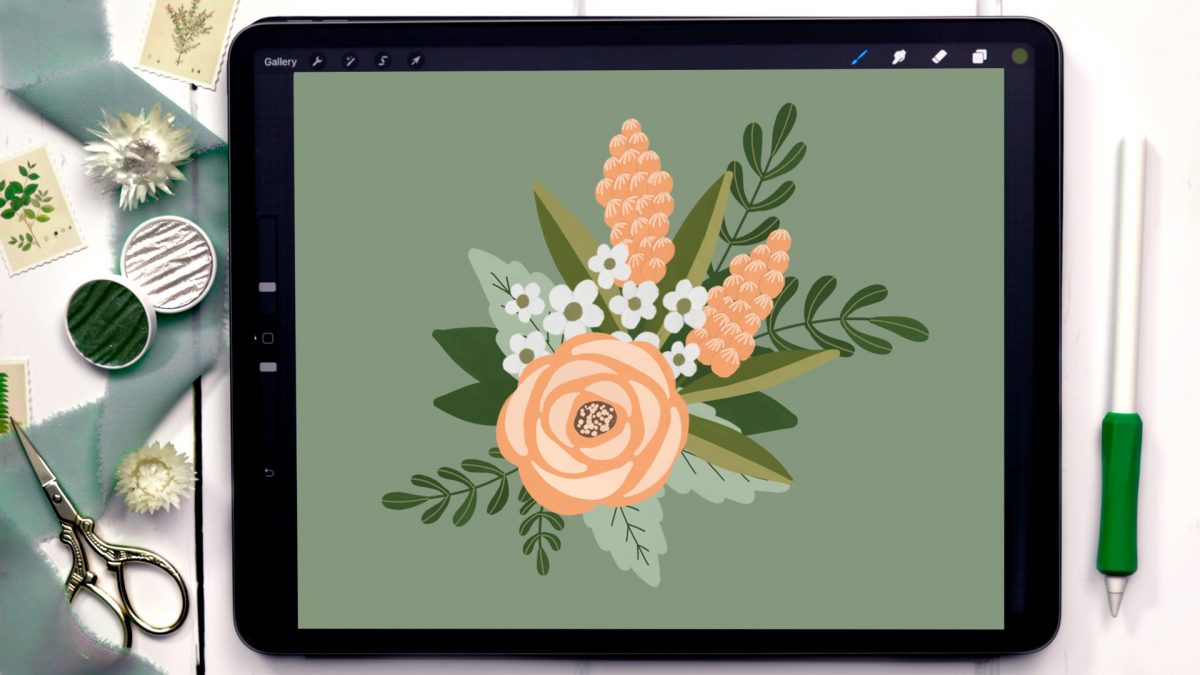
Spoiler: anyone who freehands beautiful line art florals practiced them by tracing or copying them at some point in time. Instead of just tracing them this week with one line, we’ll be pulling a section of florals from an existing bouquet, customize it to fit our needs, then bring the line drawing to life by adding some digital watercolor with pretty blends to finish it off. Although it starts with a basic trace, it finishes with a completely original piece of work you can use for any occasion. ✨

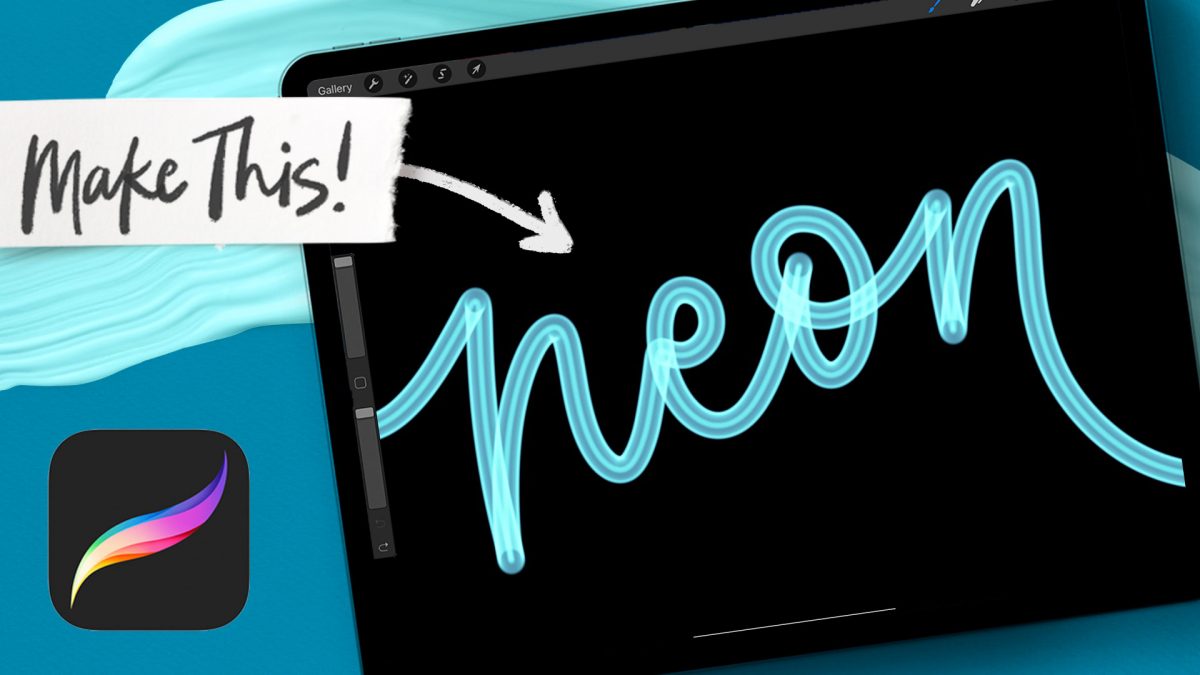
This week, we’re making a custom neon Procreate brush! Becoming familiar with the basics when it comes to custom brushes can be so powerful in personalizing any brush to fit your needs. And what could be more fun than a brush that glows when you use it?! If you’d like to change up this one’s shape, I’m also sharing how to make any brush appear to be glowing 😉

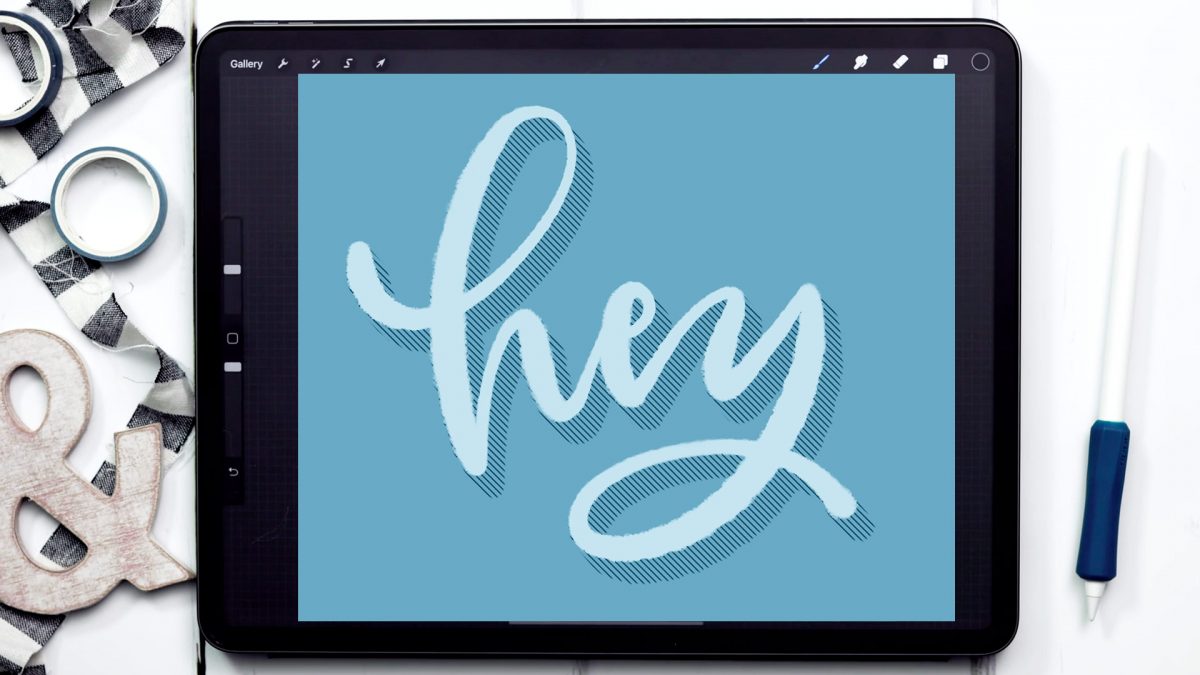
While I love creating and sharing project tutorials each week, I also want to start adding in some quick tip tutorials, too. These will be fun little tool tips or extras you can easily add into your own work. This week is one of those extras – a 3D hatched shadow effect! You can add this to lettering, typeable text or even shapes and it takes less than 5 minutes to do.

I was working on some new tutorial ideas the other week while binging Top Chef (as one does) and realized I had only used one brush for this entire piece. I love the idea of making something where a viewer would never realize it was made so simply, so this week we’re grabbing one brush (use any pressure sensitive one you’d like – I used the Bumpy Ink Brush) and let’s get drawing!

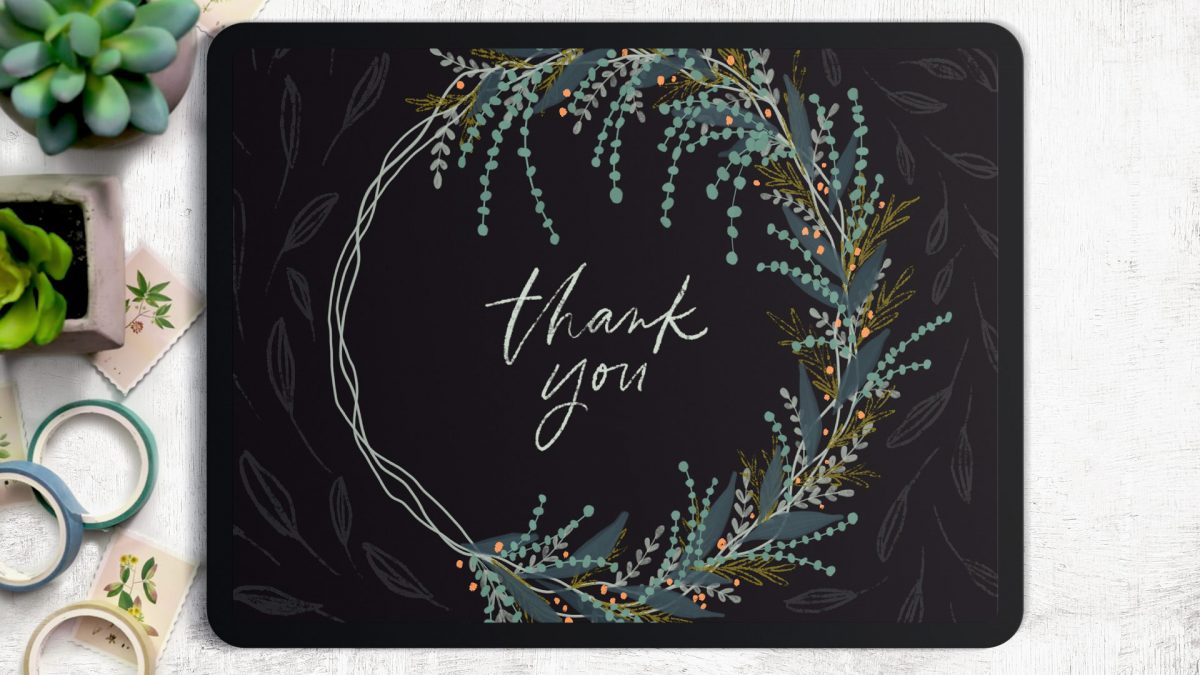
It’s no secret I loooove painting wreaths in Procreate, but I realized that I had yet to share an asymmetrical one! We’re fixing that this week with a foliage-packed, twisted vine, beginner friendly asymmetrical wreath in Procreate!  Pop this onto your IG feed, print it on stationery, or just pretty up your Procreate gallery with it. 


We use several different brushes from my gouache lovers set, but this can be accomplished with any brushes you’d like – just make sure you’re using pressure sensitive brushes so you’ll get some pretty line weight variation 😉

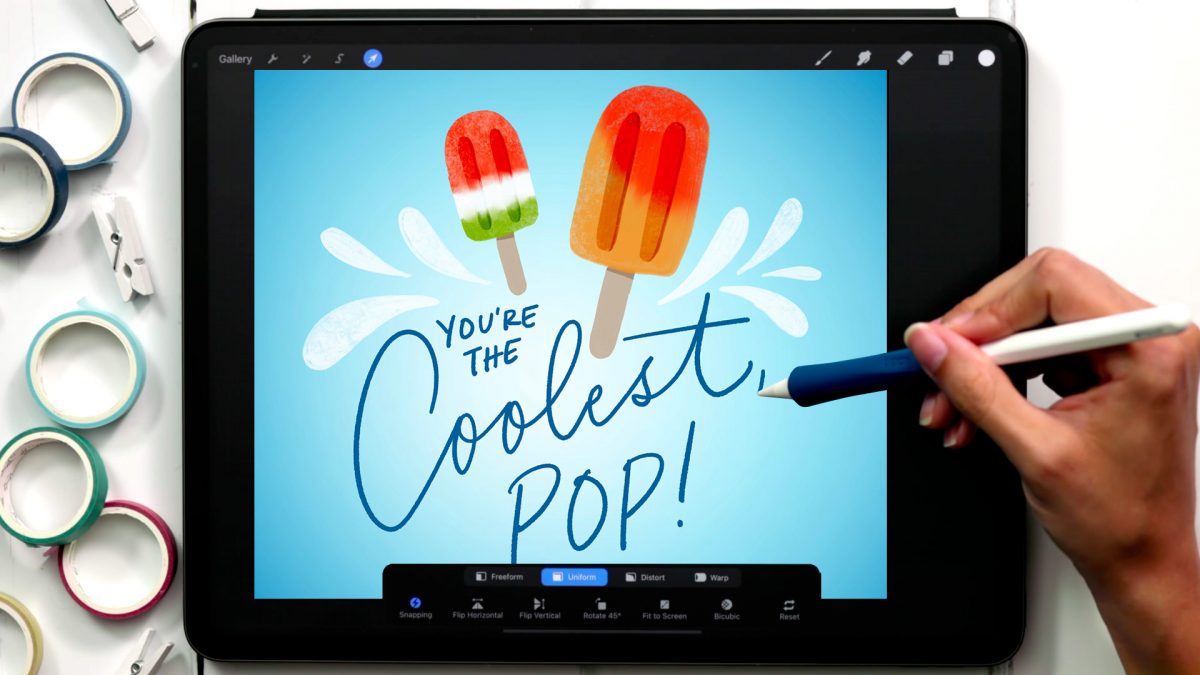
With Father’s Day just around the corner, I couldn’t help myself with creating a little dad joke art for the occasion 🙂 You may have seen this similar tutorial I made last year, but this year, I wanted to try it with my gouache brushes and integrate the lettering into the art for a full composition. I also wanted to share a realllllly easy trick to create center highlights and a vignette that you can add to any background to give it more focus and make it *pop* 😉

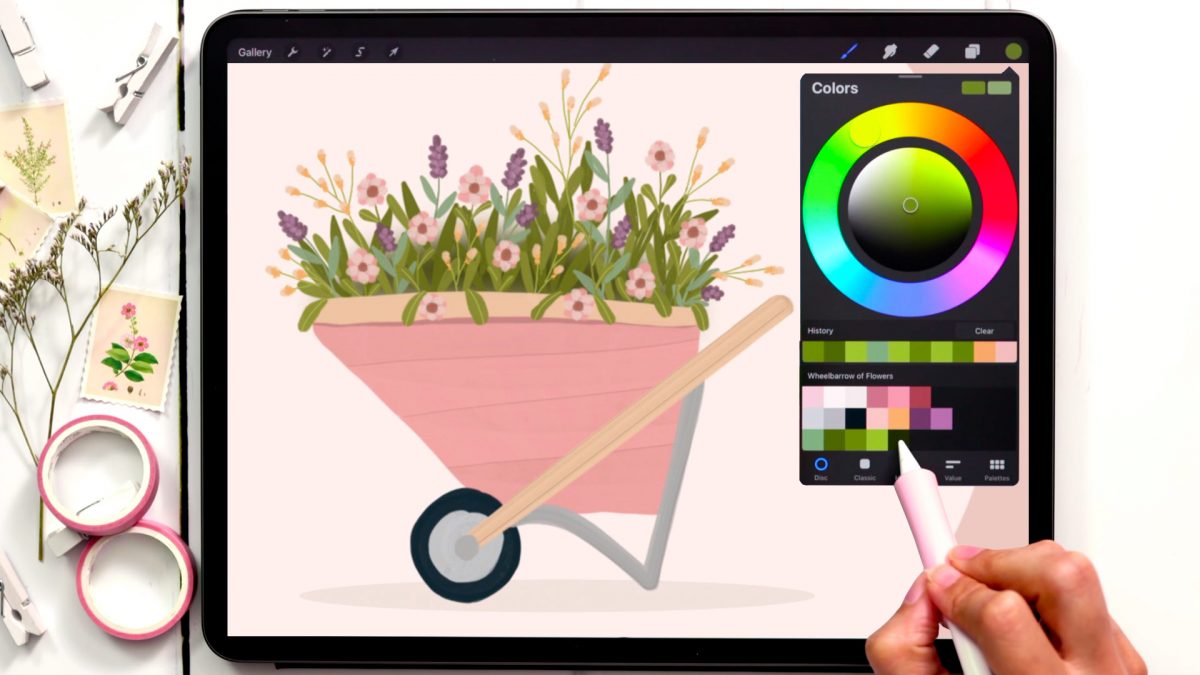
We’re wrapping up my mini gardening series this week with a gouache wheelbarrow of flowers! While it’s the most challenging of the three vids in this series, we’re using many of the skills we’ve used before. I’ve also packed it with a bunch of new tips I haven’t shared anywhere before (like adjusting a sketch layer’s proportions and adding depth to a flower arrangement to make it seem fuller). The pace is a little quicker since we have a lot to get through, but remember! You can always go into ‘drunk Teela mode’ (the official name) and slow me down by hitting the little gear icon in the bottom right corner of the YouTube player and changing the playback speed 😉

GDPR Icon

Your Privacy Matters

We use cookies to customize and create content that’s most important to you. We’ll never share the info we collect.

View Privacy Policy