HomePosts Tagged "paint" (Page 3)

paint Tag

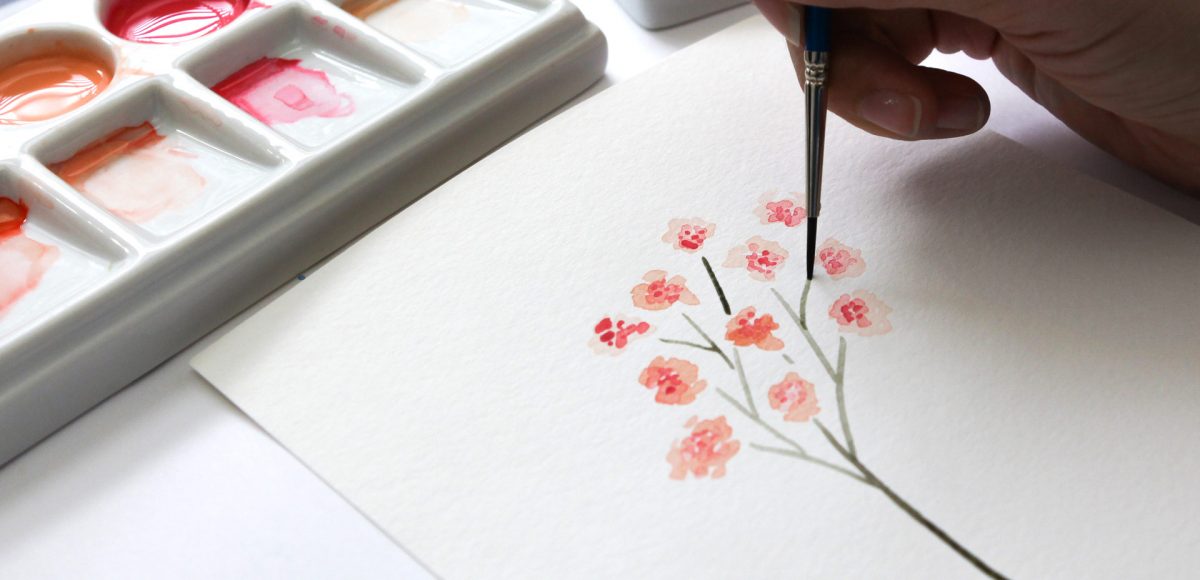
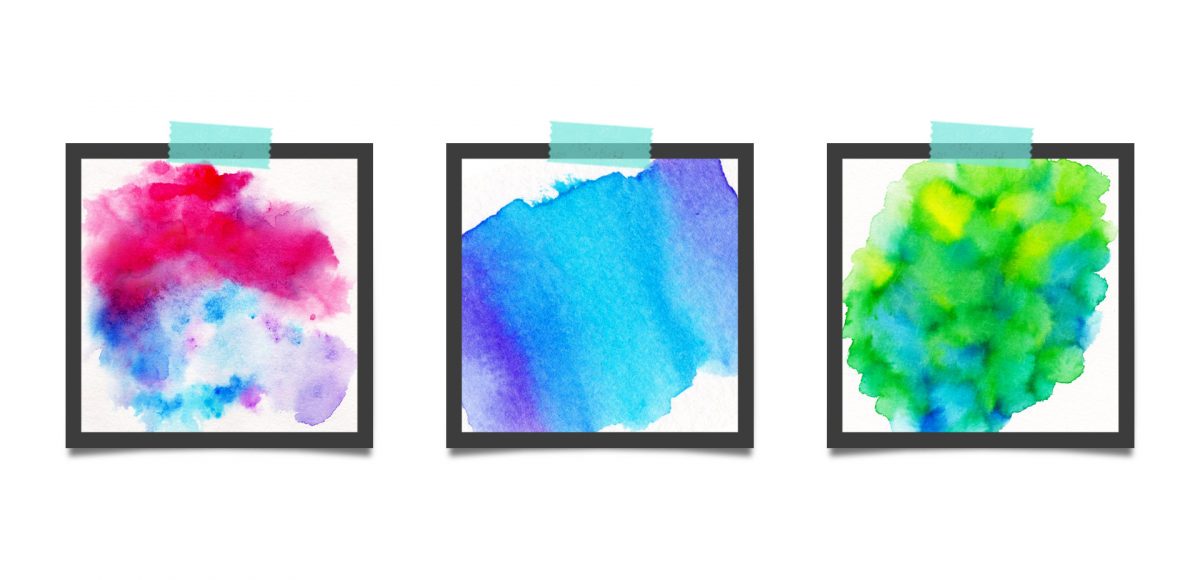
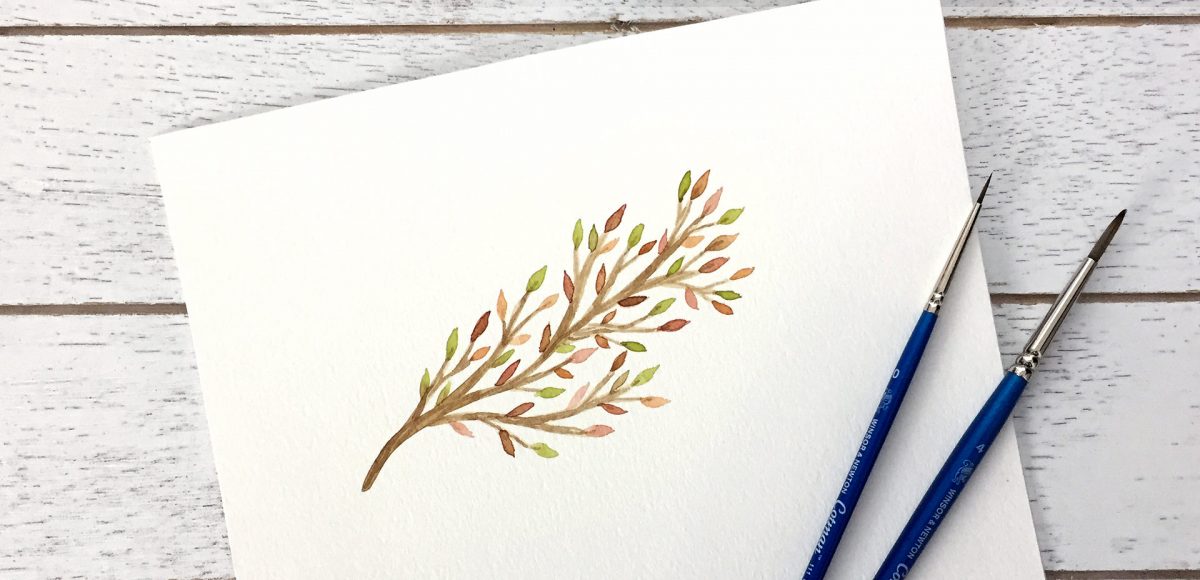
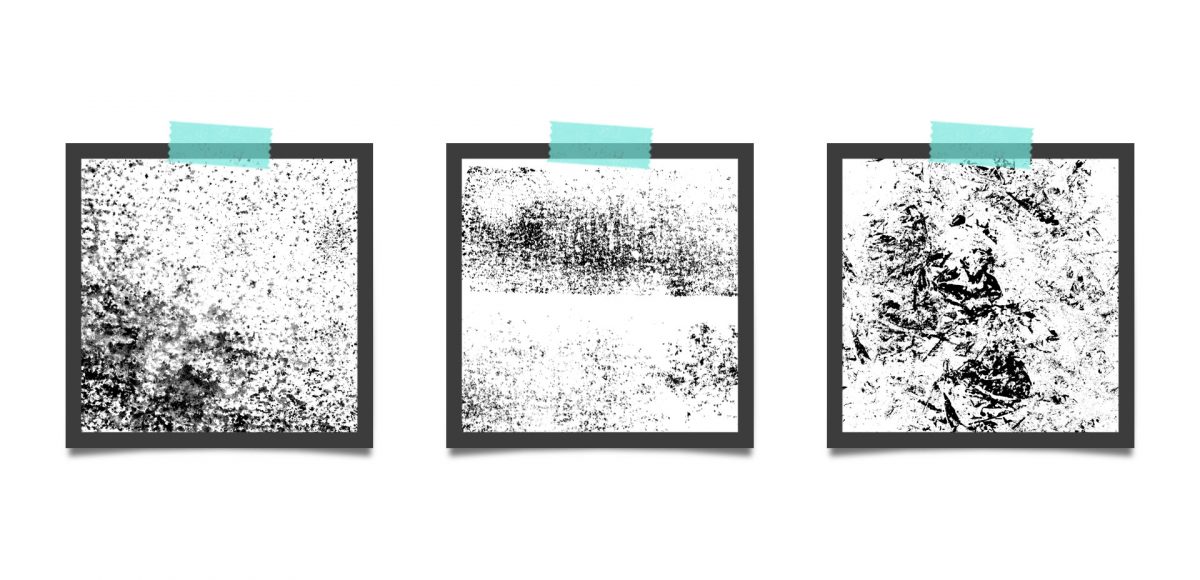
Happy Tuesday! This Tuesday is one of my favorites because a new course just went live! I’m often asked how I created my watercolor leaves and florals kit, so instead of describing it, I decided to teach it all! All 4 hours of the *entire* process from painting to selling šŸ˜‰ In Watercolor Florals for Graphic Design, you’ll learn how to paint, digitize, enhance and sell digital watercolor florals online. This week I wanted to share the course’s trailer and go over a summary of all the class details. The course’s clickable resources list is available as a free download below, so you have everything you need to get started. Read on to grab those details!

Next Monday, March 26th, I’ll be releasing my newest course titled Watercolor Florals for Graphic Design! I’m often asked how I created this watercolor leaves and florals kit, so I thought I’d share the entire process, from start to finish. In the course, you’ll learn how to paint, scan, digitize, enhance and sell digital watercolor florals. Part of creating florals meant to be used digitally (in Illustrator, Photoshop or templates you’d like to sell) require them to be created individually (vs. painting a full bouquet). Once they’re created and edited, you can then create an infinite number of arrangement and bouquet combinations using them. This makes painting just a few florals to start with really powerful, because they can lead to a large kit full of options.

Even though the course officially opens next Monday, today I wanted to share a video from the course on how to paint 4 loose style small watercolor florals. I’m giving away the course’s clickable resources list for free in this post, so you’ll have everythingĀ  you need to get started. If you’re an Every-Tuesday subscriber, you’ll also receive a special gift in your email the day the course opens šŸ˜‰ Read on for the full tutorial and free resources download!

It’s the last Thursday in February, which means it’s time for your free March 2018 desktop wallpapers! This month’s wallpaper was entirely created in Procreate, with just the dates added in using Photoshop and my font, Miss Magnolia. The gold details you see are from my Procreate Metallic Texture Kit, available here. For the dates,Ā ‘R’ is for Thursday, to distinguish it from a same-sized Tuesday ‘T’ at a glance.Ā 

The download includes the March 2018 desktop wallpapers in two common resolutions: 1280x1024px and 1920x1080px, with and without dates. I’ve left the year off of the ‘no-dates’ versions, so you can use it for any March in the future, too!

This week, we’re returning to one of my favorite topics: watercolor textures! Ever since I received these brush pens in the mail, I have been swooning over all of the cool textures I’m able to create – and quickly, too! These are the most vibrant watercolor-simulated outcomes I’ve been able to achieve with brush pens, which makes the creation process that much more fun. Use these as backgrounds for your lettering, or even scan them in and make a digital texture or repeat pattern out of them! Read on to see 3 different watercolor texture tricks using brush pens below.

I’ve been breaking out my watercolors a bit more lately and have found myself painting a lot of autumn and winter themed illustrations. I thought I’d change things up a bit this week and share my method for painting an autumn watercolor branch. This is one of the first illustrations I learned how to paint and I love that there’s no pressure to get anything perfect. Add as many leaves, branches and organic curves as you’d like – there really is endless creative freedom here. We’ll go through the wet on dry technique, mix up custom pan set watercolors and talk about a few tips for painting leaves. This is the first Every-Tuesday watercolor painting tutorial – let me know if you’d like to see more in the future!

A couple weeks ago, I shared 3 tricks for creating unique grit textures. This week, I’m sharing how to create a gritty photoshop texture brush using a texture we created! This texture brush can be used for borders, backgrounds, illustrations and more (tutorial on those coming soon!). In the video, I share my scan settings and how I edit the texture before ever creating a brush with it. Once the texture is optimized, I share some of my favorite Photoshop texture brush settings. These are settings that you can easily implement into future texture brushes, too. This tutorial is perfect for beginners, so if you’re just getting started with Photoshop, be sure to read on to see it all!

Grit textures are one of the quickest ways to add a handmade feel to digital art. By adding a little texture to edges, borders, blocks of color or even shadows, simulated depth and an organic feel are created. What’s even better is that it only takes a little effort to create and apply them. In this week’s tutorial, I’m sharing 3 of my favorite simple tricks for creating unique grit textures. In the coming weeks, I’ll also be sharing how to digitize and apply them to artwork. Let’s kick this off by breaking out some ink and experimenting!

Last fall, I shared a video on 3 simple tricks for unique watercolor textures. To my surprise, it quickly became my most viewed video of all time (almost 1 million views as I type this!). Since integrating textures into my work is one of my favorite parts of design, I wanted to share another quick tip texture video. This week, we’ll be going over 3 simple tricks for unique acrylic textures. I first started creating acrylic textures when I made this paint streak typography tutorialĀ (over 2 years ago!). After that, I posted this video on Instagram of another method, and most recently this one. Ā I love that I can keep things traditional if I’d like, but also that I can create digital work from these textures that still feels authentic, hand made and special šŸ™‚ So, let’s get these going!

One of my favorite typography books is Shadow Type by Steven Heller + Louise Fili. I’ve broken the hardcover spine with all of the times I’ve paged through, sticky noted the tops of others and left it flat open, absorbingĀ as much as possible. What’s most impressive is the consistency and creativity with all of that 3D type, perfectly executed by hand. I’m constantly reminded of how lucky we are to have a program like Adobe Illustrator, makingĀ things inĀ seconds that once took hours. One shadow type project I’ve been working to perfect is dimensional signage typography. I love how the typography looks 3D and oftentimes has a long shadow, extending in the opposite direction. In this week’s tutorial, I’m sharing my method of creating that signage typography look usingĀ Illustrator!

It’s the last Thursday in May, which means it’s time for your free JuneĀ 2017 desktop wallpapers! I’ve been wanting to play with acrylics a bit more lately, so this month’s wallpaper was an experiment of color mixing and texture. I went withĀ a blue/green/teal palette for Father’s Day this month, keeping a balancedĀ mix of allĀ (without getting too muddy) throughout. Let me know if you’d like a tutorial on how I made the paint texture and I’ll put one together šŸ˜‰ Once created (and dry), I scanned the artwork into the computer, color adjusted in Photoshop,Ā then added the dates using my font,Ā Miss Magnolia.

The download includes the wallpapers in two common resolutions: 1280x1024px and 1920x1080px, with and without dates. I’ve left the year off of the ‘no-dates’ versions, so you can use it for any JuneĀ in the future, too!

On Tuesday, we created extra unique watercolor textures using 3 simple andĀ creative tricks. There’s something about the way colors blend together with water that’s kind of magical. One of my favorite indulgences is searching out abstract, beautifully colored textures and seeing how I can put my own spin on them. To keep those eye candy textures better organized, I’ve even started this pinterest board, too. In a follow up to Tuesday’s tutorial, I wanted to share 8 inspiring watercolor textures to lightĀ that extra spark if you needed a creative boost today šŸ˜‰ I know there’s never a bad day to feast my eyes on these!

One of the changes I’m happiest I made last year was finally joining the amazing people on Instagram (I know, superrrr late to the party). I had created an account a couple of years before, but I had been so focused on creating tutorials and getting the blog to a good place that sticking to regular Instagram postings seemed too overwhelming at the time.

Last year, I felt like I had finally hit a rhythm and I’m so glad that I decided to add Instagram into my weekly mix. I am literally amazed every single day by incredible artists creating and posting breathtaking art (cue guilt on party lateness). I love the camaraderie, the new insta-friends I’ve made and the ability to connect with people/artists/designers who are passionate about the same things. In honor of them, I wanted to start a new monthly/bi-monthly post where I share some instagrammers who I deeply admire and who I think you’ll also love. Welcome to post #1 where I’m sharing my first 5 (of many, many, many) InstaLoves.

GDPR Icon

Your Privacy Matters

We use cookies to customize and create content thatā€™s most important to you. Weā€™ll never share the info we collect.

View Privacy Policy