HomePosts Tagged "tutorials" (Page 11)

tutorials Tag

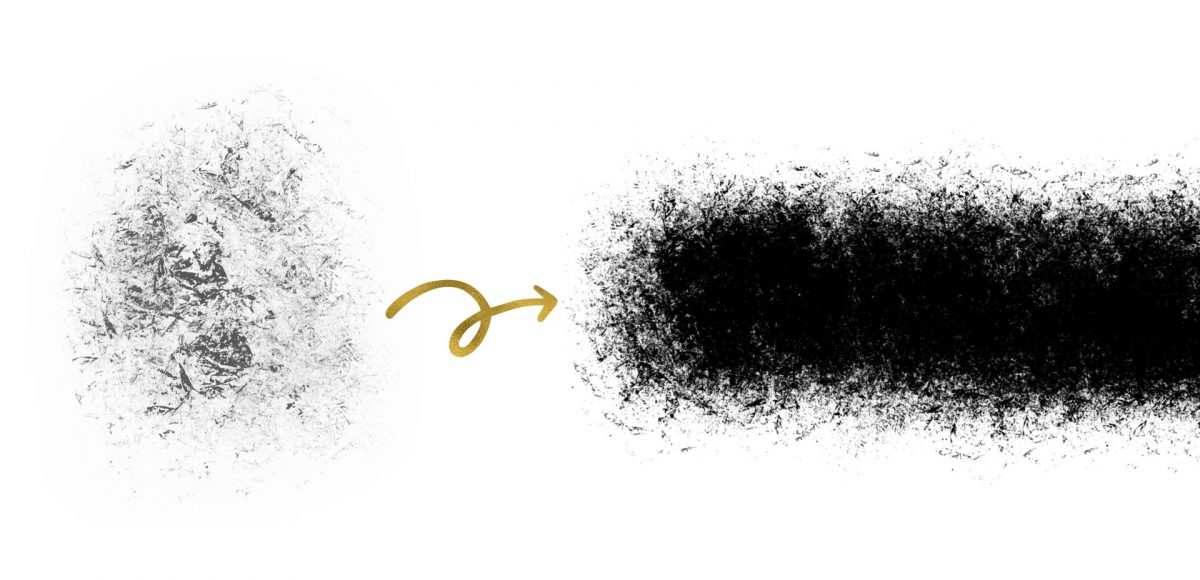
A couple weeks ago, I shared 3 tricks for creating unique grit textures. This week, I’m sharing how to create a gritty photoshop texture brush using a texture we created! This texture brush can be used for borders, backgrounds, illustrations and more (tutorial on those coming soon!). In the video, I share my scan settings and how I edit the texture before ever creating a brush with it. Once the texture is optimized, I share some of my favorite Photoshop texture brush settings. These are settings that you can easily implement into future texture brushes, too. This tutorial is perfect for beginners, so if you’re just getting started with Photoshop, be sure to read on to see it all!

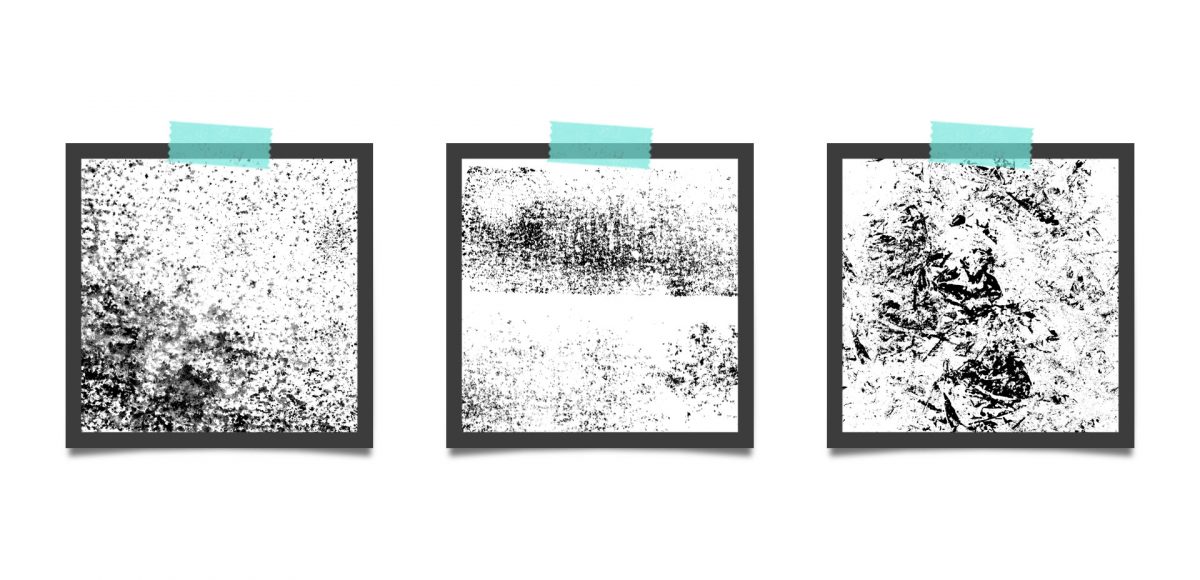
Grit textures are one of the quickest ways to add a handmade feel to digital art. By adding a little texture to edges, borders, blocks of color or even shadows, simulated depth and an organic feel are created. What’s even better is that it only takes a little effort to create and apply them. In this week’s tutorial, I’m sharing 3 of my favorite simple tricks for creating unique grit textures. In the coming weeks, I’ll also be sharing how to digitize and apply them to artwork. Let’s kick this off by breaking out some ink and experimenting!

If you love lettering and watercolors, you’ve probably come across the watercolor galaxy effect. Whether just as a beautiful texture, or incorporated into lettering, it’s eye catching. Made from a variety of cloud-like colorful textures, it’s further detailed with doodled stars. There’s nothing like creating this traditionally with watercolors, but you can achieve this same look in Photoshop. In this tutorial, I take you through my process of creating and applying this watercolor galaxy effect to lettering, all within Photoshop. This is a bit of an advanced tutorial, so we’ll move through things quicker and with less detail than usual since there’s a lot to cover. Let’s dive into this galaxy!

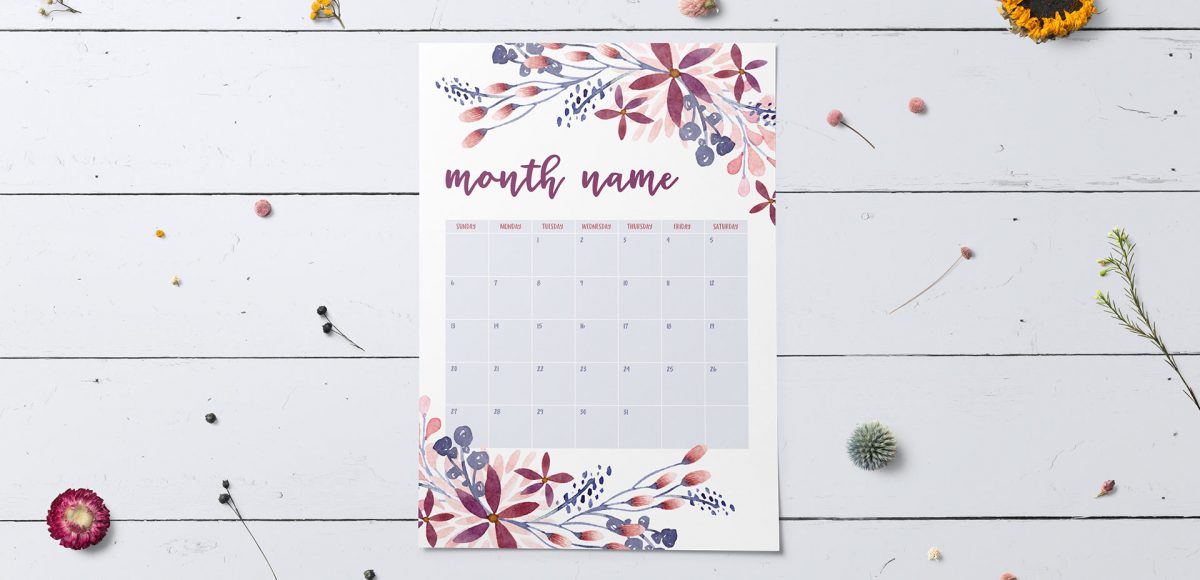
As much as I love having digital calendars at my disposal, there’s still something about things written in by hand. If you feel this way too, this tutorial’s for you. In this video (perfect for beginners), we’ll create a printable calendar that fits any 8.5″x11″ or A4 sized paper. We’ll be making use of some handy Illustrator tools and by the end, you’ll have a watercolor floral calendar design fully created using Illustrator. We’ll use a watercolor floral bouquet from my kit here, but I also have a free mini kit you can pick up below if you’d like 😉 Let’s get started!

I’m so grateful for the kind feedback the watercolor floral save the date had a few months ago! I thought this week it would be fun to follow it up with a watercolor floral RSVP card in Adobe Illustrator. If you’re new to working with watercolor florals in Illustrator, you’ve come to the right place 😉 There’s a link below to my free watercolor floral mini kit and this tutorial is very beginner friendly. At the end of this video, you’ll be able to create a custom, print ready RSVP card ready for the mail. Read on to see how!

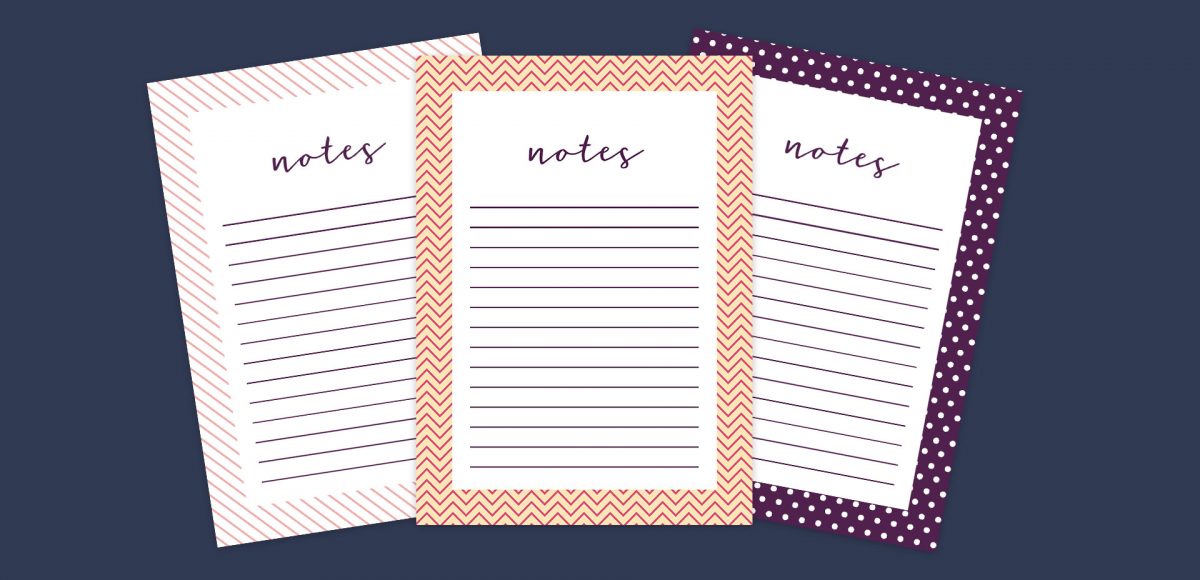
This week, we’re keeping things quick and easy with 3 simple pattern hacks applied to stationery borders in Adobe Illustrator: striped, chevron and polka dot. Borders in stationery design are a great tool to create focus on a message while still adding personality. With simpler projects, a seamless pattern swatch isn’t always needed and that’s where these pattern hacks come in 😉 Ideas for using these pattern stationery borders could be: shopping lists, memo pads/notepads and greeting cards. In this beginner friendly tutorial, we’ll utilize an offset path, the blend tool and stroke palette. See it all below!

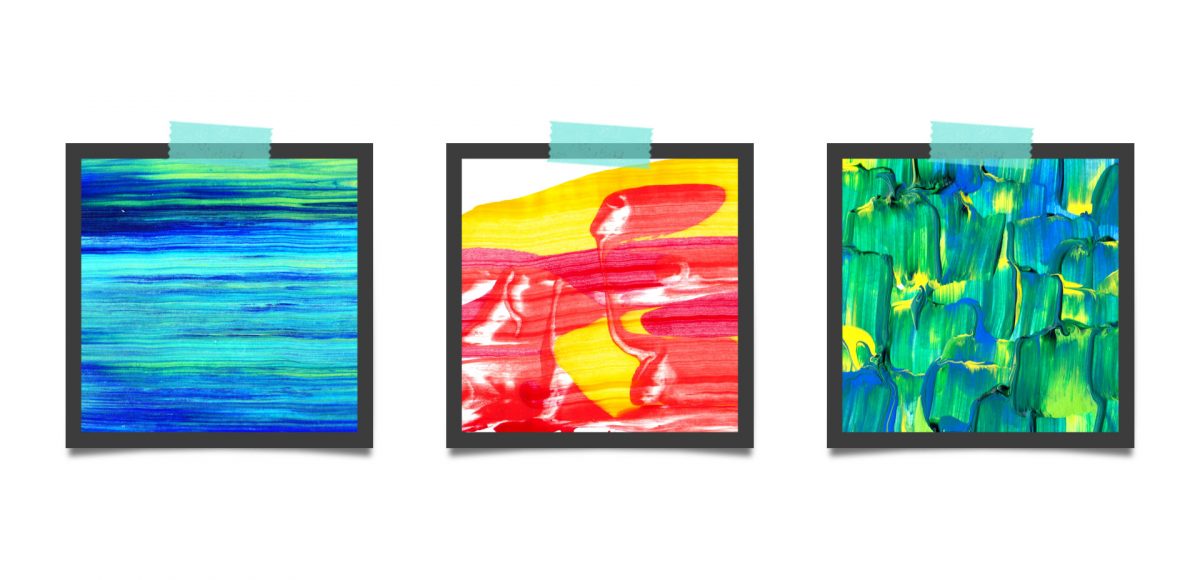
Last fall, I shared a video on 3 simple tricks for unique watercolor textures. To my surprise, it quickly became my most viewed video of all time (almost 1 million views as I type this!). Since integrating textures into my work is one of my favorite parts of design, I wanted to share another quick tip texture video. This week, we’ll be going over 3 simple tricks for unique acrylic textures. I first started creating acrylic textures when I made this paint streak typography tutorial (over 2 years ago!). After that, I posted this video on Instagram of another method, and most recently this one.  I love that I can keep things traditional if I’d like, but also that I can create digital work from these textures that still feels authentic, hand made and special 🙂 So, let’s get these going!

One of my favorite typography books is Shadow Type by Steven Heller + Louise Fili. I’ve broken the hardcover spine with all of the times I’ve paged through, sticky noted the tops of others and left it flat open, absorbing as much as possible. What’s most impressive is the consistency and creativity with all of that 3D type, perfectly executed by hand. I’m constantly reminded of how lucky we are to have a program like Adobe Illustrator, making things in seconds that once took hours. One shadow type project I’ve been working to perfect is dimensional signage typography. I love how the typography looks 3D and oftentimes has a long shadow, extending in the opposite direction. In this week’s tutorial, I’m sharing my method of creating that signage typography look using Illustrator!

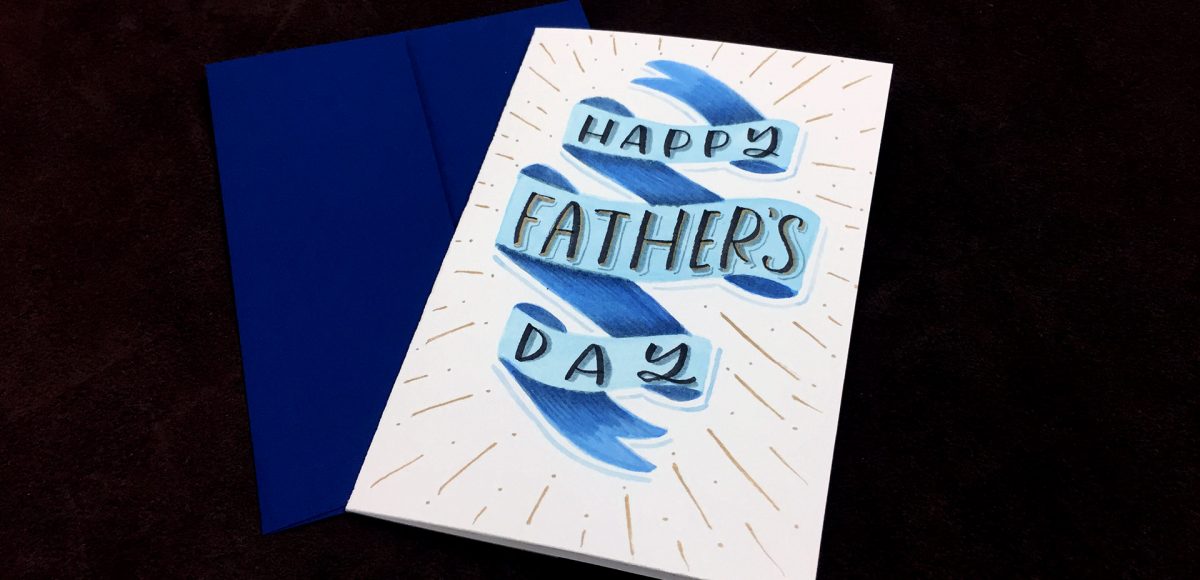
This week, I thought I’d go completely analog with a DIY watercolor ribbon Father’s Day card. I love taking handmade creations digital, but every now and then – especially for sentimental holidays, you can’t really beat 100% handmade 😉 With Father’s Day coming in less than a week, you’ll still have time to seal this in an envelope, stamp it up and get it in a mailbox in time. So, let’s get this card going; all the instructions, materials and full video are below!

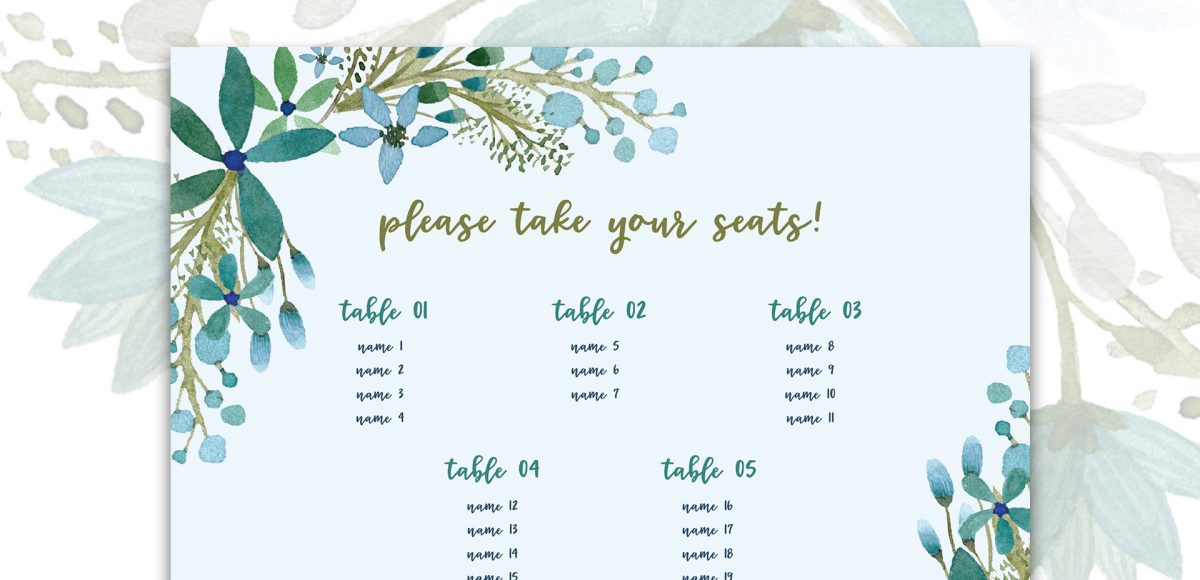
First off, I want to tell you this isn’t the sexiest tutorial you’ll ever watch, but it can be a giant time saver and really make you look like you know your stuff. So, stick with me, because this is pretty handy to know: list format data merge in InDesign (sorry if that was a little eek-worthy to read, but you were warned 😉 ) To accompany our save the date postcard from last week, this week we’ll create a wedding seating chart to go with the big day. Traditionally, data merge is used to automate large amounts of data into multiple pages, but it’s different here: we’re placing lists of data onto one page, so there are a couple small tweaks that need to be made. I promise this is super simple and you’ll be glad to have this in your designer arsenal when you see what it can do.

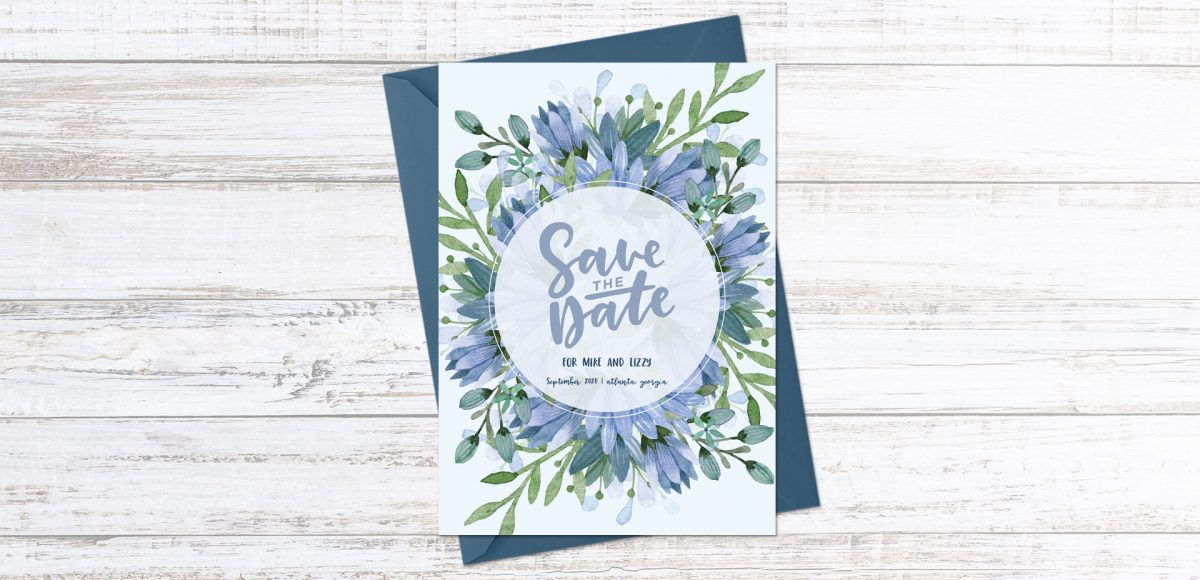
A few years ago (ok, more like 8) when I started creating templates for others to use online, wedding templates were one of the first kinds I made. I loved putting together a stationery set that felt like it belonged together, but altering each piece slightly to still feel special. I realized – here we are in May, and it has been since 2014 since I created a wedding stationery tutorial. With my new watercolor leaves and florals kit now available, it makes wedding stationery that much easier and quicker to put together (grab a free mini kit below!). In this week’s tutorial, we’ll create a save the date postcard together in Illustrator which will be all ready to print at home, or send off for printing when we’re finished. Read on for all the details!

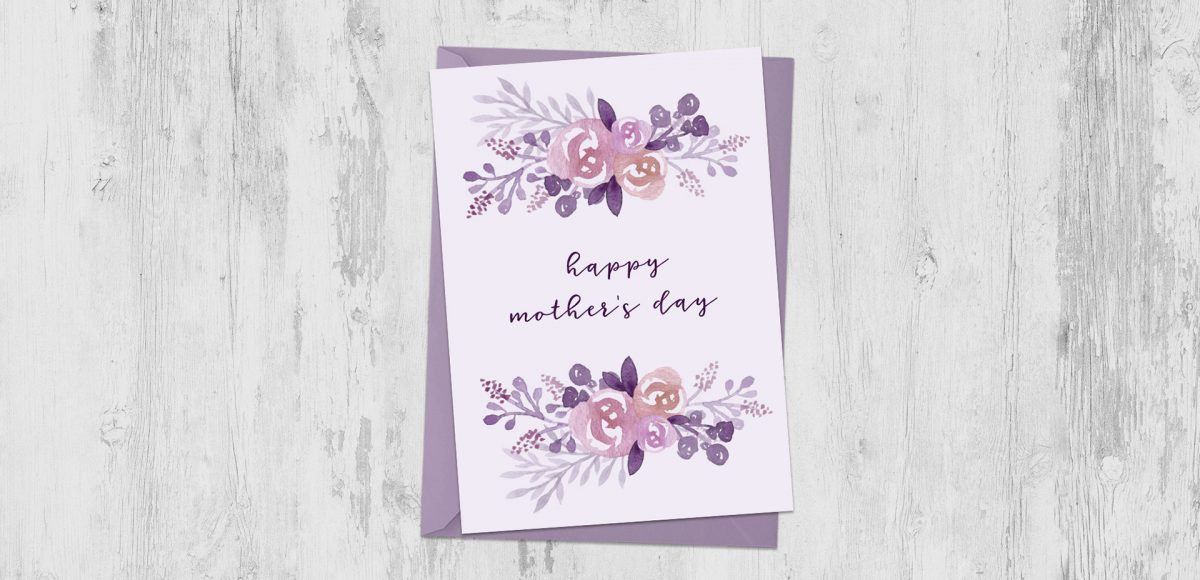
Happy Tuesday! This part of the year is always one of my favorites because it’s all about celebrating moms. My mom and I have always been really close – she was actually born on Mother’s Day the year she was born, and when she had my youngest sister, it was Mother’s Day that year *and* her birthday. Pretty crazy, especially since Mother’s Day doesn’t land on the same day each year. In case life has gotten a little crazy lately and you haven’t picked up a card yet, I’ve got you covered 😉 This week, we’ll create a simple (beginner friendly!) watercolor florals Mother’s Day card in Illustrator using a bouquet from my newest Watercolor Leaves and Florals kit, or you can use the free mini kit I’ve also included below. Read on to see it all!

GDPR Icon

Your Privacy Matters

We use cookies to customize and create content that’s most important to you. We’ll never share the info we collect.

View Privacy Policy