HomePosts Tagged "tutorials" (Page 12)

tutorials Tag

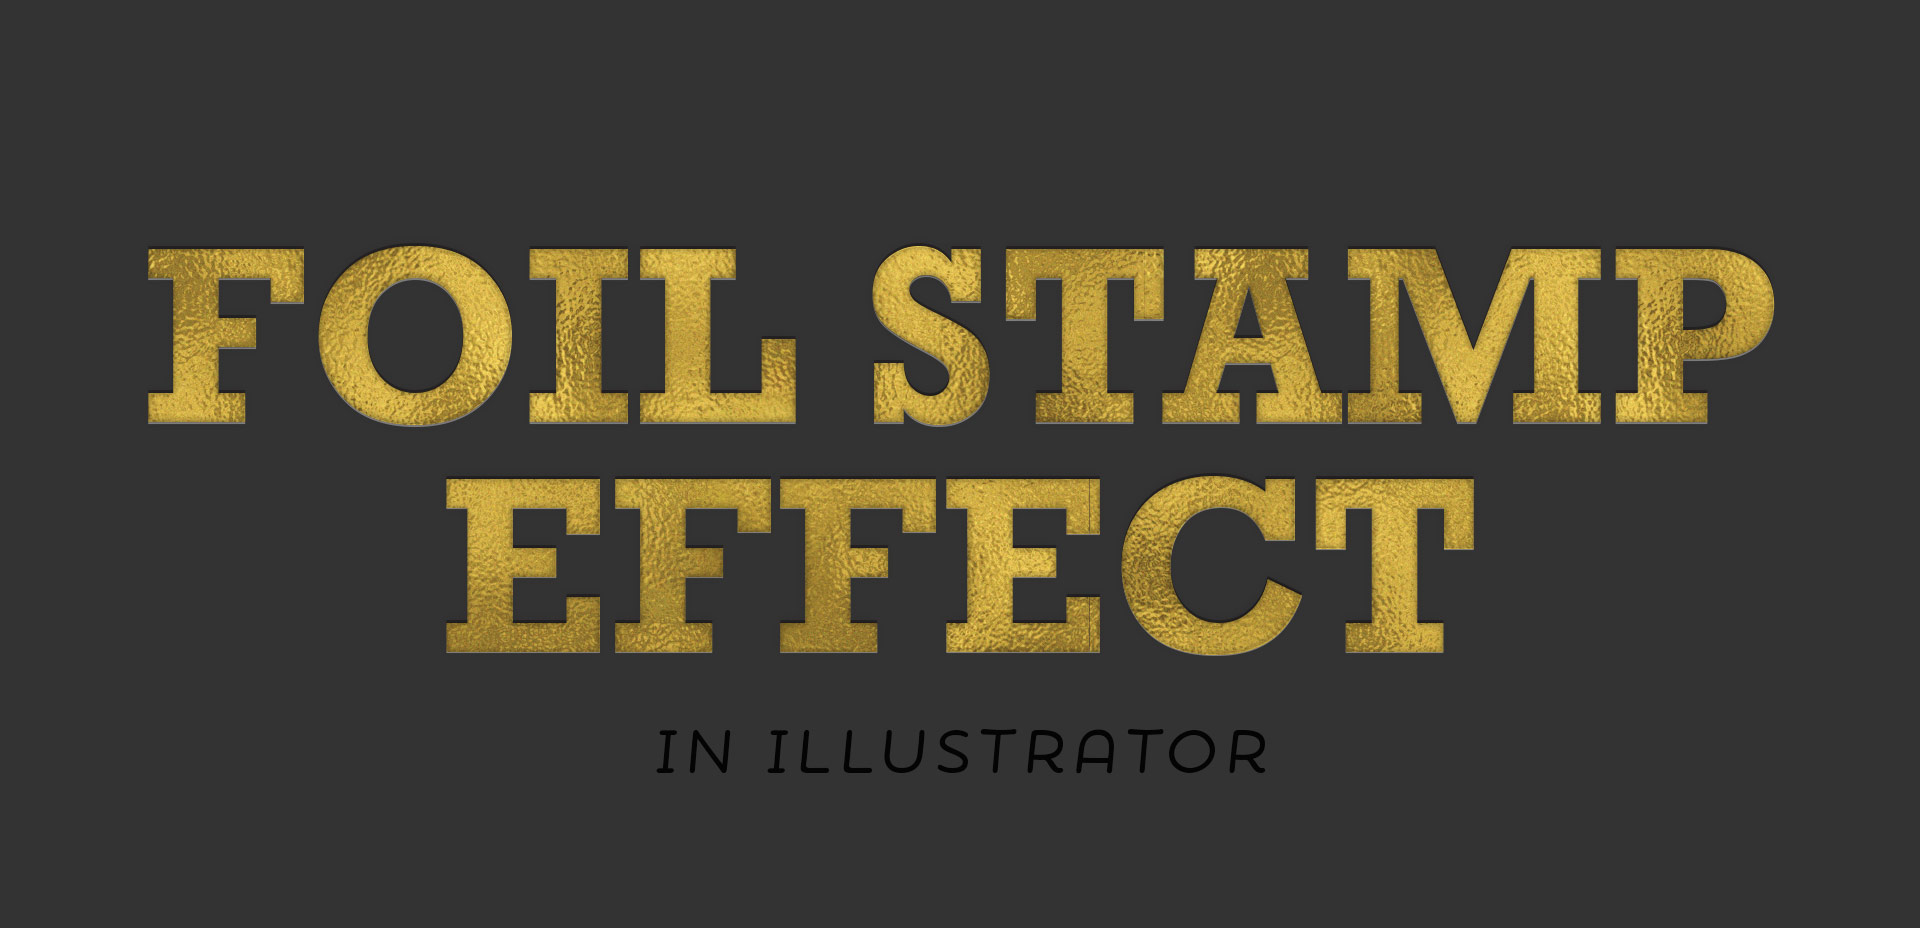
This past January, we created a foil stamp effect in Photoshop, and I’ve recently had a few requests on how to accomplish the same look in Illustrator. With the holidays fast approaching, now you’ll have plenty of time to use it in Illustrator, too! Not only can this look be applied to typography like in the example, but you can also export it as a graphic style. Exporting graphic styles allows the foil stamp effect in Illustrator to be applied to any vector element, as well. Pretty powerful stuff. At the end of the video, I share how to export those graphic styles to use them in new documents or share them with others. Read on to see it all!

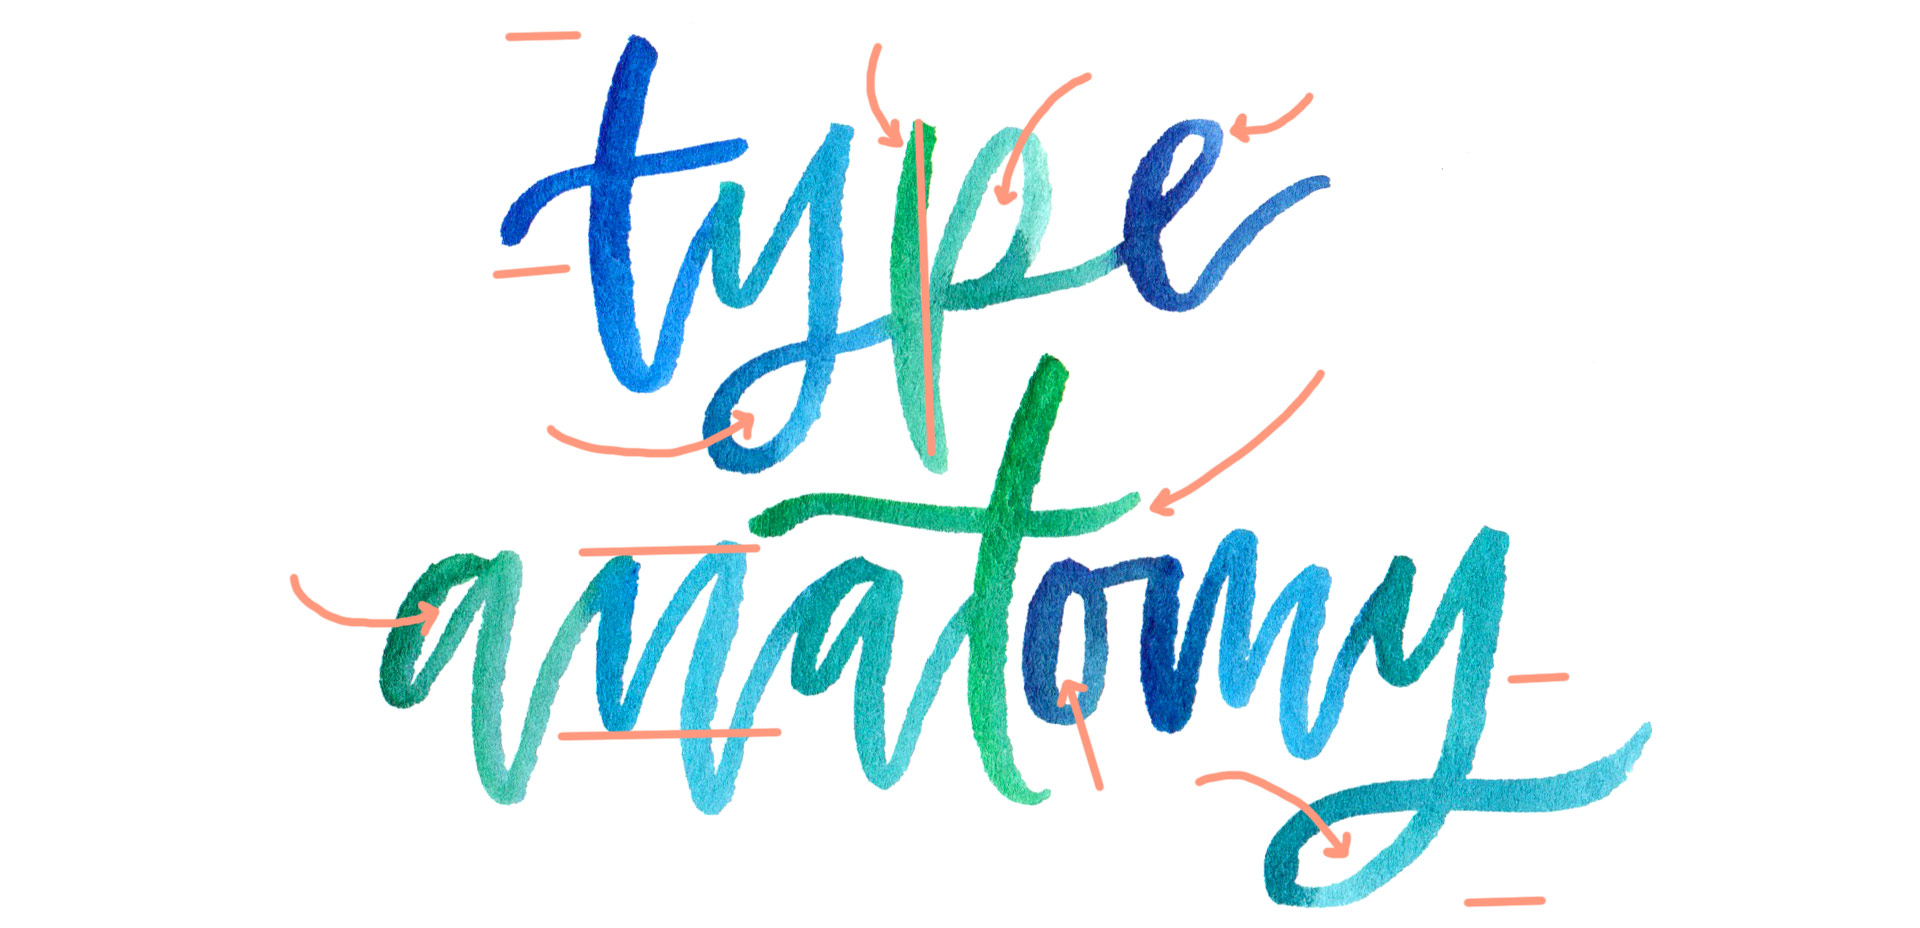
With the launch week of Brush Lettering with Watercolor coming to a close, I thought it would be fun to tie colorful letters into a quick tip design tutorial. And what better way to talk about type anatomy than getting colorful with it? 🙂 This is actually kind of perfect for hand letterers and graphic designers alike. For hand letterers, an intimate understanding of letterforms is essential, keeping qualities consistent for balanced, harmonious styles. For graphic designers, understanding style pairings and their character traits creates more strategic, thoughtful designs.

Over my (almost) 10 year career as a graphic designer, there’s definitely a short list of type characteristics that serve as an excellent base if you’re just starting. In this week’s video, I walk you through those base type anatomy qualities, with full descriptions throughout the video. Download the free cheat sheet below to reference later!

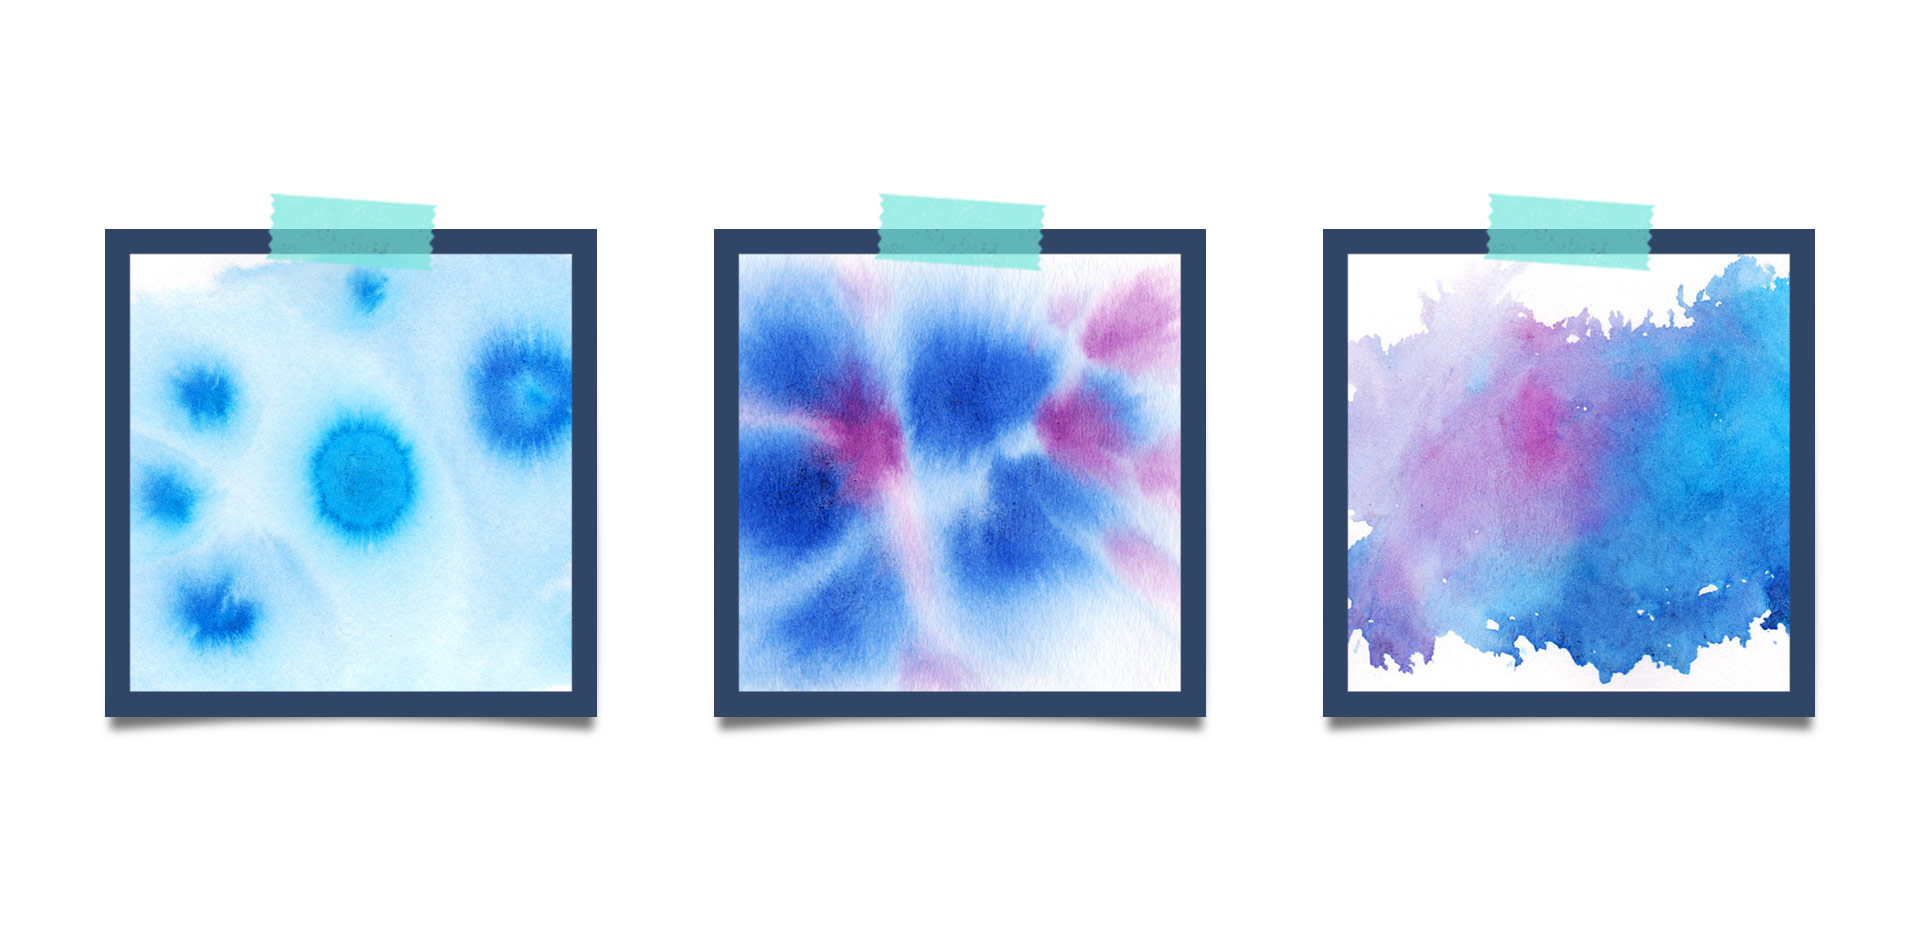
If you’ve been here for any length of time, then you know I  have a slight obsession with watercolor. Part of it is mixing beautiful color combinations together, and another is creating abstract and unique textures. Creating unique textures allows you to then use them in designs, producing an outcome no other person is capable of replicating – ever. And that makes everything even more special. As you might imagine, I’ve spent many hours experimenting with watercolors and this week I want to let you in on 3 simple tricks to create unique watercolor textures of your own. It doesn’t matter which kind of watercolors you have on hand, either – these tricks will work with em all 😉

One of my favorite uses for the hand lettering I create is vectorizing it and using it digitally. When it’s digital, you don’t just have one copy anymore; you have unlimited copies. Unlimited copies leaves the door to digital and physical prints massively wide open. By taking a few simple steps, you can quickly digitize your lettering, clean it up in Illustrator and create a print ready file in a matter of minutes. Like I said, one of my favorite things 🙂 This week, I share my full process on how I do it by creating a hand lettered birthday card in Illustrator!

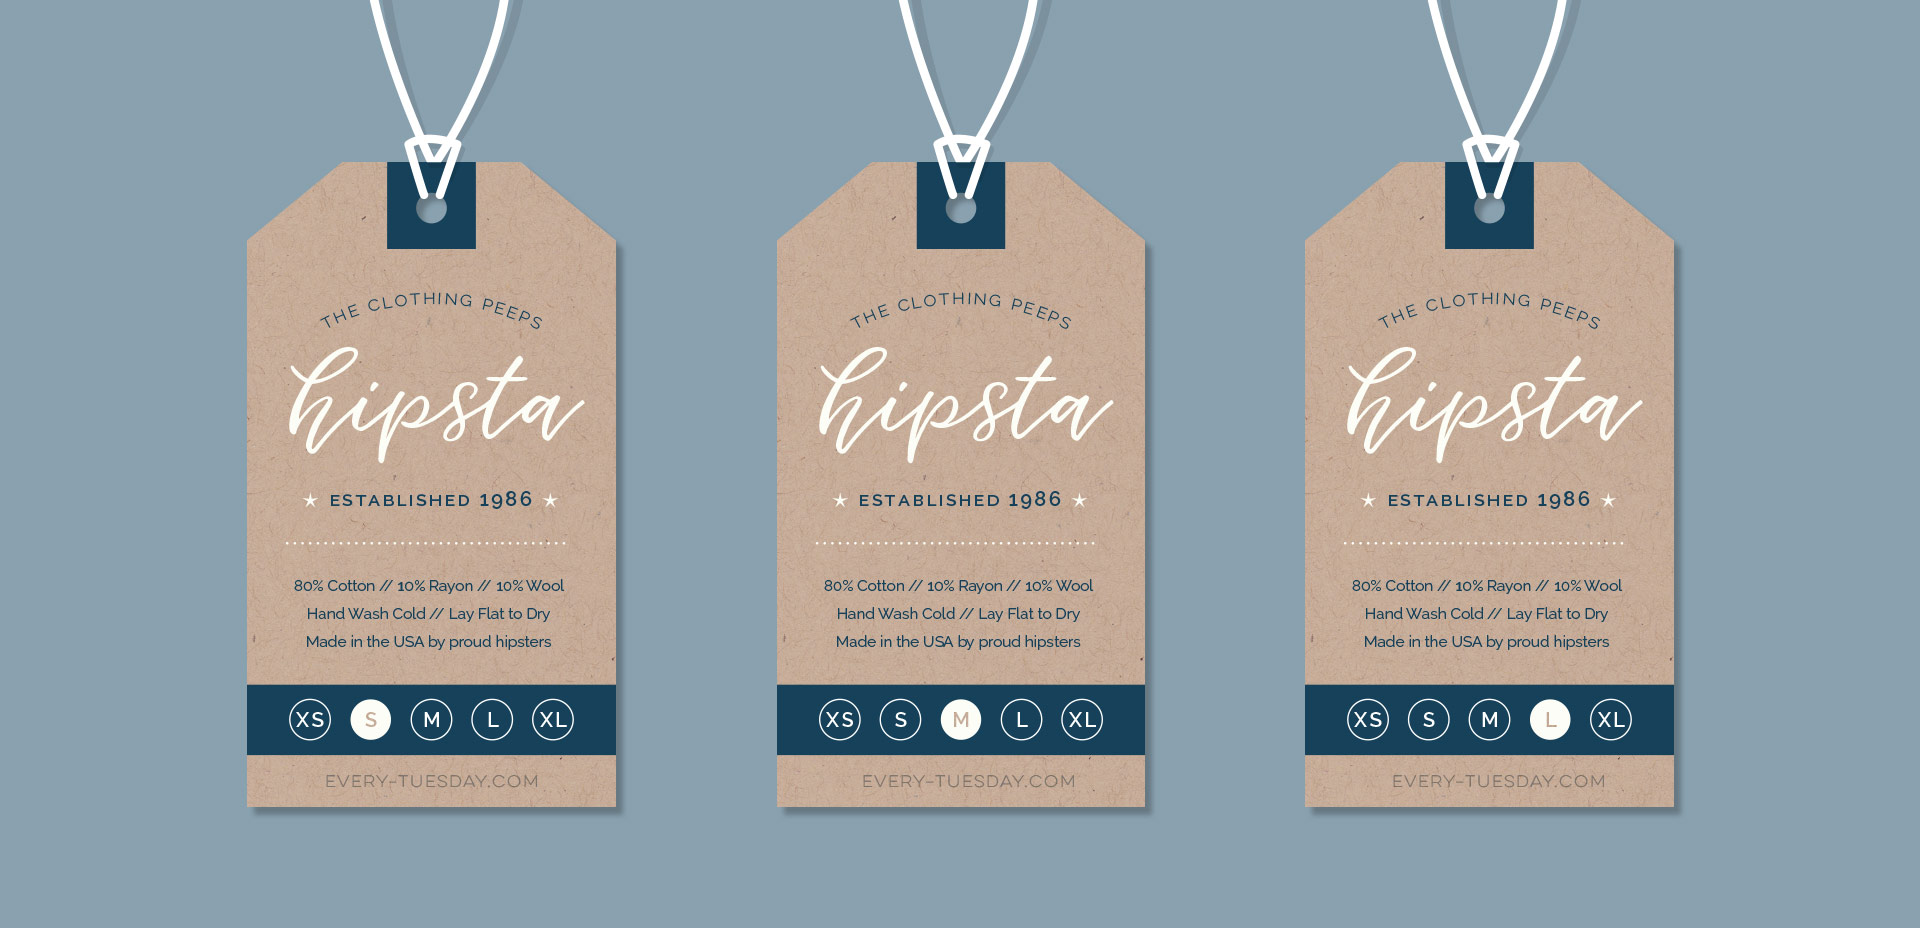
I’ve somehow always been drawn to really beautiful design on smaller items. It might just be the cuteness factor, but serious planning goes into hierarchy and layout in such a small space, and that has always been really impressive to me. Do you ever check what the clothing tags look like when you’re shopping? I remember the first time I ever obsessed over a clothing tag. It was when I was in high school and at the mall with friends (I probably should have known a career in design was imminent at that moment). Anyway, I wasn’t in love with whatever article of clothing it was (see? I can’t even remember that part!) but I loved that tag, so I bought it anyway (in my defense, I’ll also note this was before cell phones with cameras). Roll your eyes if you must. 😉

If you love thoughtful graphic design on smaller things too, this tutorial’s for you! In this week’s video, we’ll create a hipster style clothing tag from scratch using just Adobe Illustrator. Get started below!

Let’s talk about something that’s massively important, but often gets overlooked: type on a path in Illustrator. You’re probably already familiar with the ability to select any text and go effect > warp, but that makes editing your text later on pretty difficult. The truth is, most of graphic design is experimenting, altering and adjusting. Because of this, the need to go back and adjust previously warped text quickly is a big deal. Luckily, Illustrator makes it super easy to customize text appearance along a path with a few handy tools. Prepare to take your layouts to a whole new level with these options in this week’s tutorial! Oh, and just in case you need to reference these tips later, I made you a free cheat sheet, too 😉

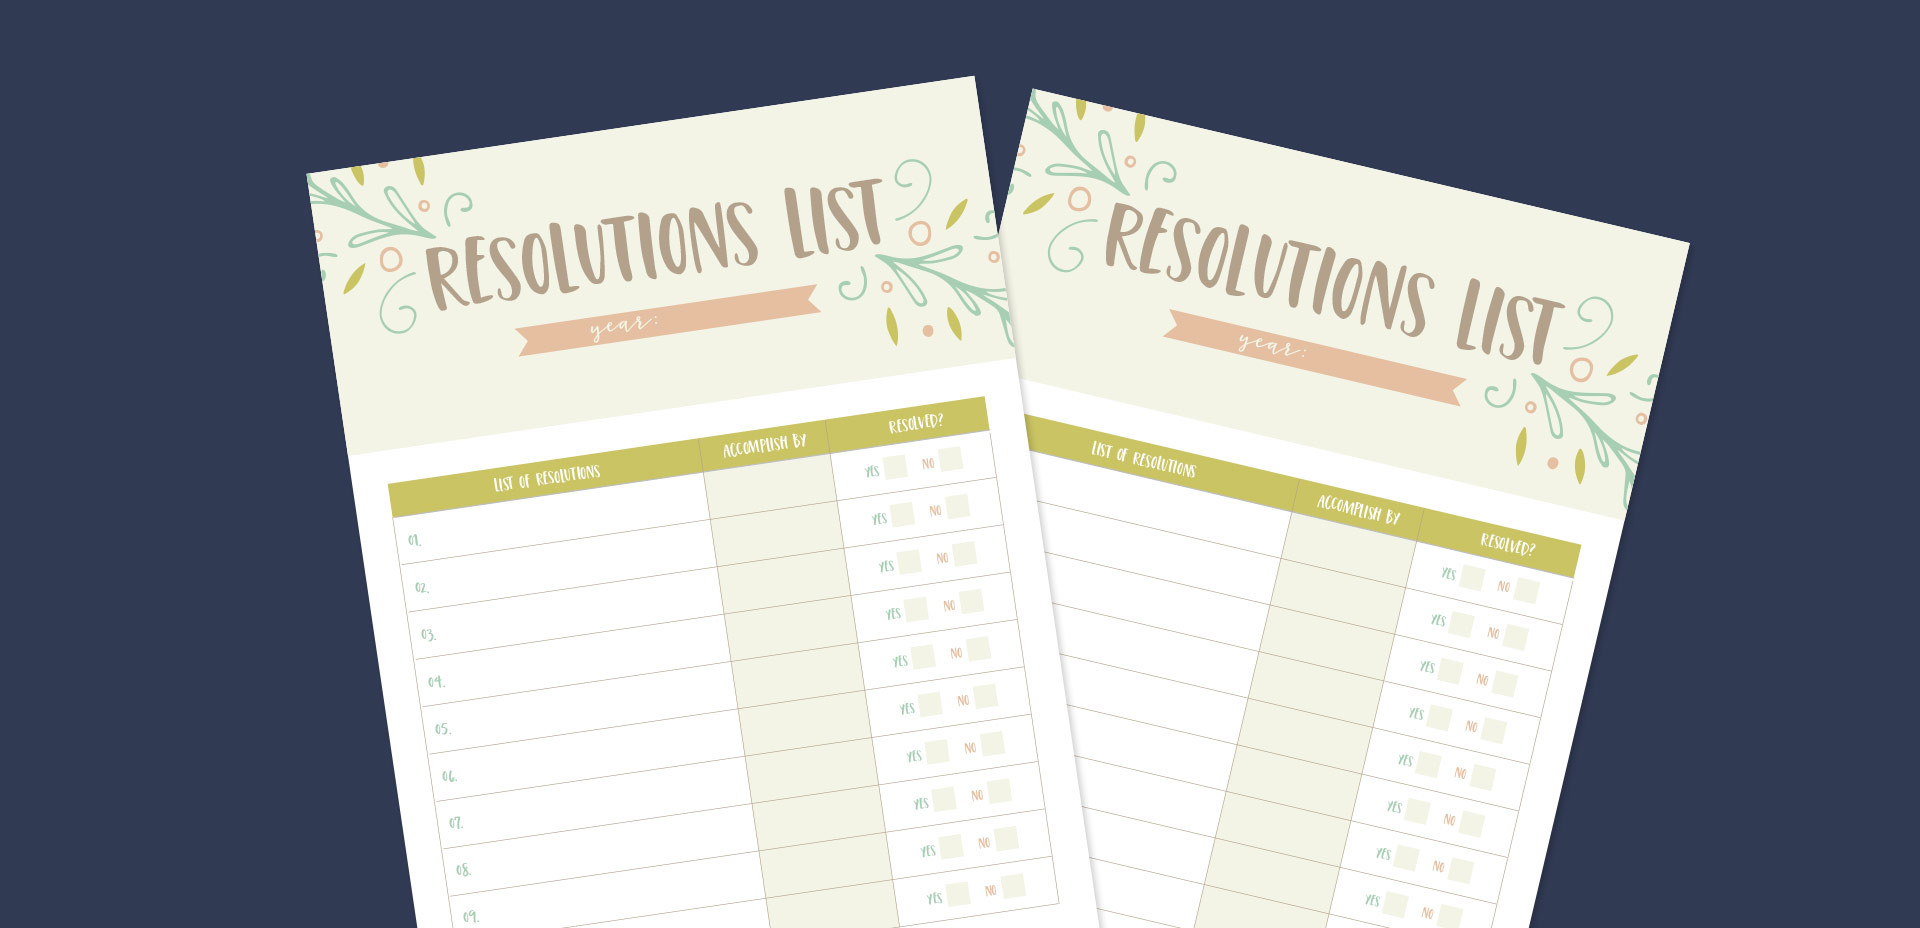
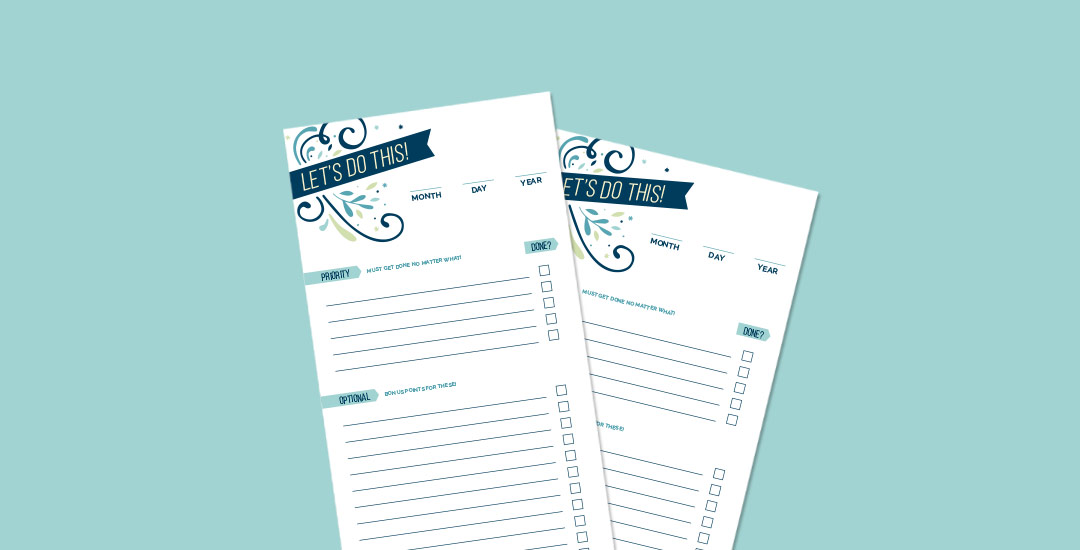
There’s something that feels soooo good about crossing off items on a to do list. Having a written list keeps me on track every day of the week. Most times, I grab a scrap sheet of paper and bullet my to-do’s out, but it’s never quite as satisfying as when they’re written on a custom design. In this week’s video tutorial, we’ll create our own designed to do list from scratch, perfectly prepared for printing in a few quick and easy steps, so you can start crossing items off to your heart’s desire 😉 All of the steps below!

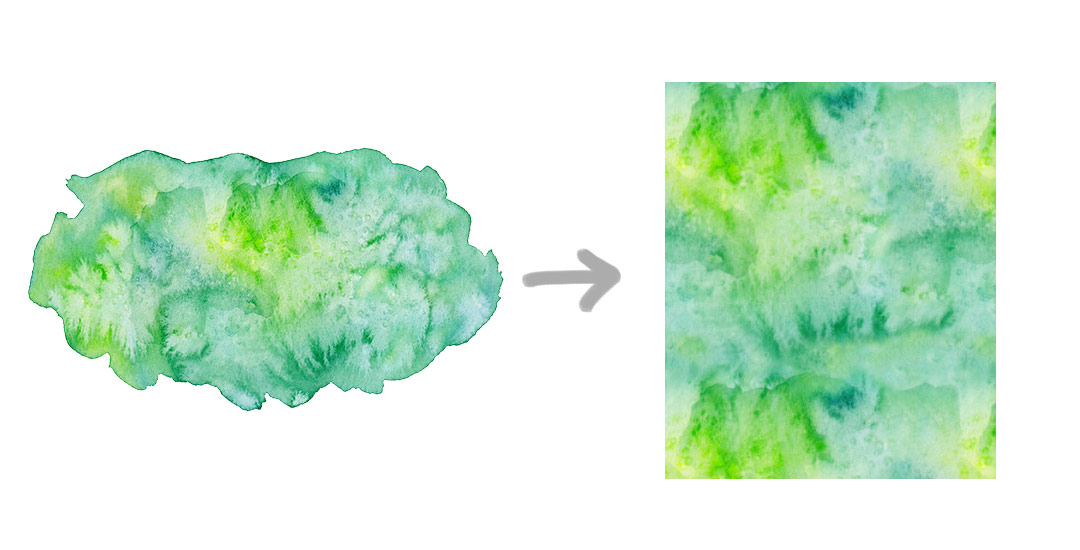
To finish up Photoshop month, this week I wanted to share one of my favorite ways to work with watercolors in Photoshop – turning them into seamless texture patterns! If you’ve taken my Watercolor Textures for Graphic Design class over on Skillshare, this week’s tutorial will be a refresher for you, but I’m also sharing how to take the pattern you create and convert it into an Illustrator pattern swatch (check out around 8:20 for that), so there’s something new for everyone 🙂 My newest watercolor texture kit (vol. 3) just went live today, so I’m excited to share textures from the new kit throughout the video – these are my most detailed and colorful ones to date! Click below to get yo’ pattern on!

GDPR Icon

Your Privacy Matters

We use cookies to customize and create content that’s most important to you. We’ll never share the info we collect.

View Privacy Policy