HomePosts Tagged "tutorials" (Page 13)

tutorials Tag

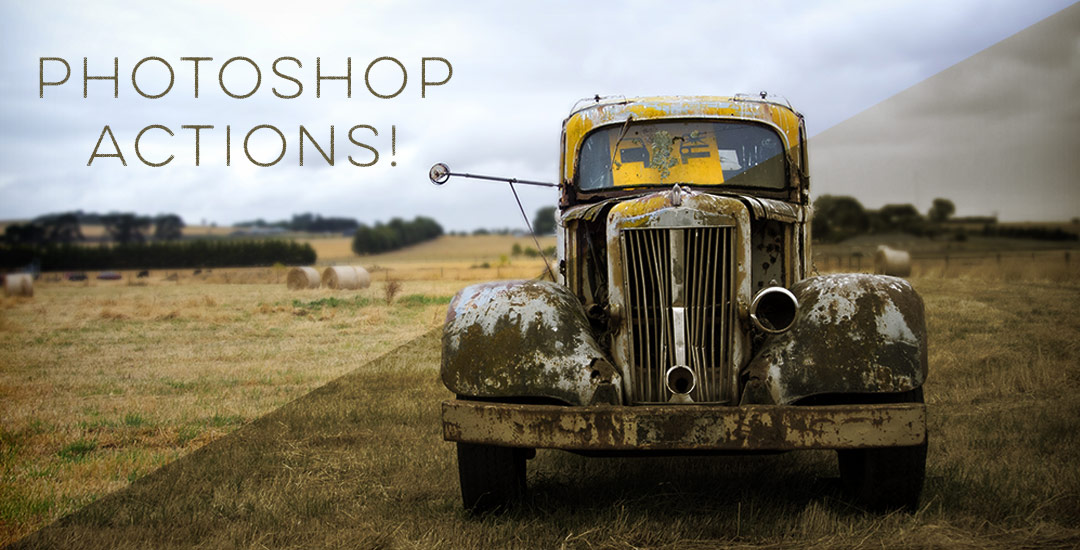
One of my favorite time saving tools when using Photoshop is Photoshop actions. I have used these for batch photo and file delivery to clients in a professional setting, and batch editing when putting together photos for family. Whenever you need to apply (the same) multiple settings to many files or photos at once, you create an action, then just run it for all of the others and you’re done in no time 🙂 It’s basically the closest thing to magic I’ve seen Photoshop do. In this week’s tutorial, we take 3 photos (this one, this one, and this one) and create a unique action for them that sets all of their widths to 1000px and also applies a sepia tone effect to the photos. We apply everything we need to one photo, then hit a single button to apply the same exact multiple steps to the others. It’s cool. You should definitely check out the video below to see!

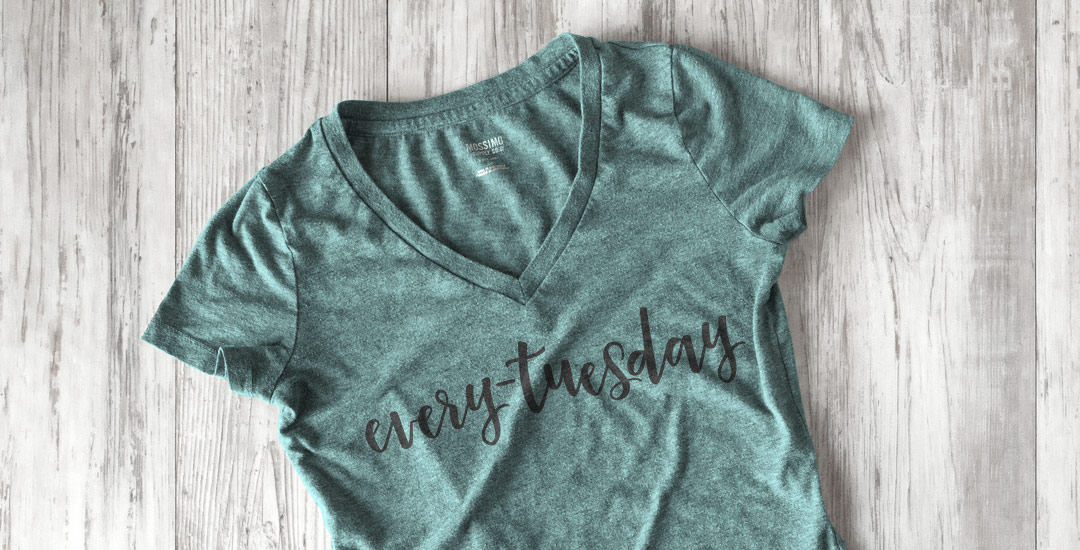
One of the most common types of Photoshop mockups is apparel mockups – most specifically, tshirts. And it makes sense – there are plenty of cool tshirt companies out there who need to quickly show their designs off in a consistent fashion, and photographing each shirt when there are dozens can be very time consuming. Enter the tshirt mockup – one photoshop file that allows you to change the design of the tshirt in just a couple of quick clicks. Setting up the file is actually much simpler than you might think, and in this week’s tutorial, we set one up, step by step in just a few minutes. See the full method of creating your own Photoshop tshirt mockup below!

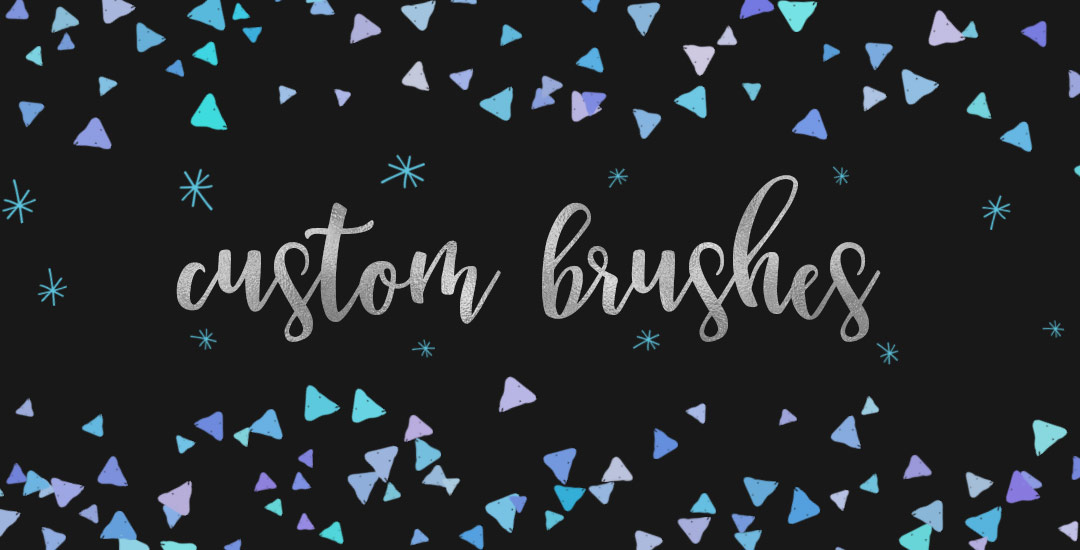
Creating custom brushes in Photoshop is one of my favorite things to do! I love using them for lettering (paired with a wacom tablet), extra decorative elements or just to add a little bit of unique style to whatever I’m making. What’s even better is that they are really quick and easy to make and Photoshop offers a ton of settings to truly make them original. If you’ve checked out my Intro to Photoshop class, you could easily integrate a custom brush to really make your layout special!

In this week’s tutorial, I’ll walk you through what all of those settings do and we’ll create a custom brush in Photoshop together. At the end of the tutorial, you’ll have everything you need to start creating and using your own brand spankin’ new brushes 🙂 Everything is below!

Happy Tuesday! I want to start by saying wow to everyone who has checked out Bounce Lettering! I’m so grateful for all of the kind feedback and I am so impressed and inspired by all of the wonderful projects that are coming out of the class! I thought I’d take bounce lettering/waterbrush lettering even a little further this week with a free add-on tutorial to both classes.

A style that is gaining in popularity over on Instagram is rainbow brush lettering. It would take foreverrrr to alternate colors to form a word, let alone form the word as pretty as you’d like with so many re-dips. In this week’s video, I’m sharing a trick for applying a rainbow of color to your brush lettering without a zillion re-dips in the process 🙂 There are two methods shown in the video – one to ease you into the process and the other to take full advantage of all the colors you’d like. Links to the products used + everything you need to know to start rainbow brush lettering below!

Welcome to the 3rd and final part of the Every-Tuesday Tips + Advice Portfolio Series! Over the last couple of weeks, we went over choosing the right work for your portfolio, what to include for each project and how to order all of your projects together. Now that you have a solid body of work to show, it can be overwhelming figuring out how to get it all noticed.

In this week’s video, I take you through a few easy steps to get you on your way, as well as sharing how I got my own work noticed when I was just starting out. For a more in depth look and actionable step-by-steps, check out Full Time Graphic Design where my ebook on getting a job just launched! Part 3 video below!

Welcome to week 2 of the Every-Tuesday graphic design portfolio tips + advice series! Last week, we went over how to select the right projects to include in your portfolio based on your personal skillset strengths. This week, we’ll go over proper formatting for your projects, how many projects to include in your portfolio and what order to put them in to leave a memorable impression on an interviewer. These tips will contribute to graphic design portfolio best practices that you’ll be able to apply to your portfolio – no matter how much it changes – over the course of your career.

The Full Time Graphic Design ebook is less than a week away from being available! You’ll want to pick up your free portfolio project checklist to accompany this week’s video here and you’ll automatically be put on a list to be notified when the ebook (packed with tips + advice for getting a full time graphic design job) goes live 🙂

Last week, I mentioned a new portfolio tips + advice series starting today and leading up to an ebook being released later this month called Full Time Graphic Design. In this week’s video, we’ll walk through how to pick out the right design projects to put in your portfolio and craft it in a way that highlights your strengths as a designer and sets you up for an interview with intention, rather than a general collection of work that spans every discipline of graphic design. Choosing the right work for your portfolio will play a pivotal role in not only reaching out to potential employers to land an interview, but for the interview itself. Watch below to see all of my tips!

This week’s tutorial isn’t the sexiest thing ever, but it’s extremely useful if you work on multiple machines, need to share digital assets with clients + fellow designers, are a super organized person looking to be more digitally organized, or have an old computer you’re in constant fear will crap out on you at any moment. This one’s for you!

One thing’s for sure, if you’ve been designing for any length of time, a program has crashed on you at some point and when you reopen, things look a little different in the swatches, brushes and patterns department. If you never saved these digital assets pre-crash, they are lost (along with that pleasant mood you had 5 seconds before) in file purgatory.

In this week’s tutorial, we’ll dull the pain of lost assets by going over exactly how to save patterns and brushes in Illustrator and Photoshop so you’ll know where to find them if you ever need a reinstall, or if you just want to share them. Read on to see how!

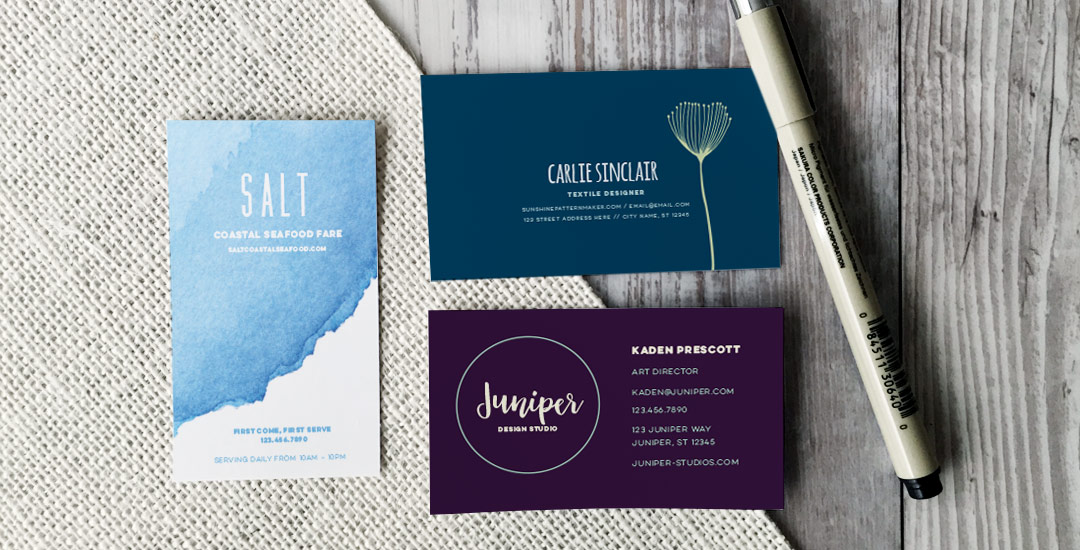
Happy Tuesday! I’ve gotten quite a few requests lately on layout design for a business card, so this week I wanted to share some design friendly layouts that could be used for different types of businesses, and also make each one print-ready using Illustrator. At the end of this tutorial, you’ll have 3 business card design layouts (front and back!) you can print at home using the bulk print method, or send off to a professional printer. Read on to see how – links to the fonts and resources used included below!

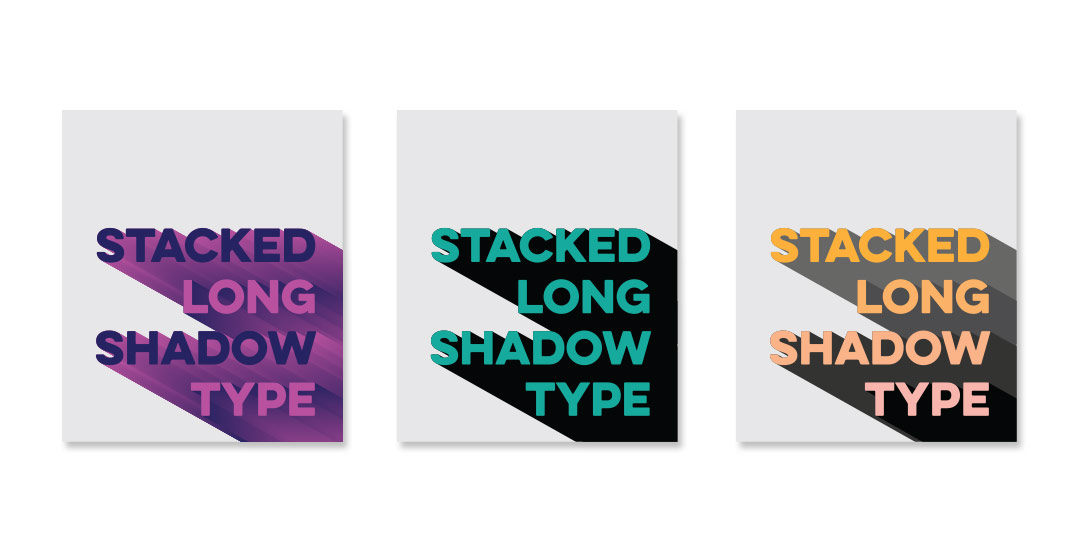
Happy Tuesday! This week’s tutorial comes courtesy of Brittany, who shared this photo with me, which I agreed would make a great quick tip tutorial! As a bonus, I’m sharing how to create multi-colored long shadow typography, in case you’d like to use more than one color for your shadows 🙂 We’ll create every version quickly in Illustrator using one simple tool and a couple of extra time saving options. This is perfect for gig posters, MTV-esque retro designs, greeting cards, or paired with simple icons. Read on to see it all!

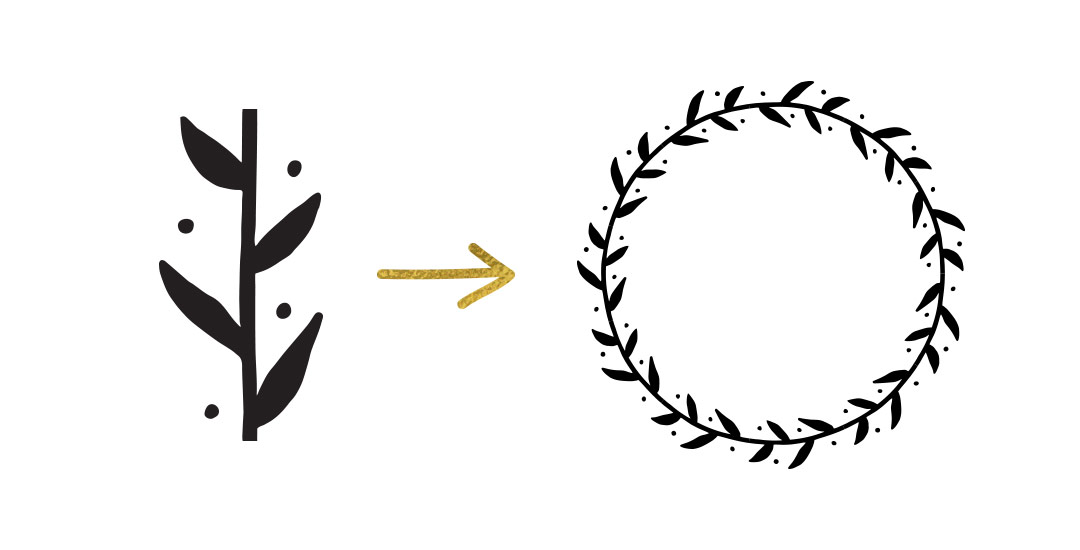
One of my favorite things is taking a doodle and reimagining it digitally. If you’ve been here before, you know that’s true! One thing I find myself doing a lot with my mini doodles lately is turning them into seamless pattern brushes so they can connect to make (any length) dividers, laurels – you name it. There’s a little trick to getting them seamless and once you do, they are so much fun to play with. In this week’s tutorial, we’ll take a mini doodle, vectorize it, make it seamless, then convert it into a multi-purpose, seamless pattern brush in Illustrator. Read on to see how easy it is!

GDPR Icon

Your Privacy Matters

We use cookies to customize and create content that’s most important to you. We’ll never share the info we collect.

View Privacy Policy