HomePosts Tagged "graphic design" (Page 14)

graphic design Tag

I’ve been creating more patterns in the last year than I ever have before. Patterns are such a wonderful tool to add personality quickly to designs without a ton of effort, or overthinking. One of the best parts: they can be added to backgrounds, text and design elements with just a click of a button in both Photoshop and Illustrator. Say you have a Photoshop pattern, maybe a watercolor texture pattern, like we created in this tutorial. If you’d like to use it as a pattern swatch in Illustrator, how do you convert that Photoshop pattern file? In this tutorial, we go step by step on how to convert any Photoshop pattern into an Illustrator pattern swatch in a few quick steps. Read on for everything you need to know!

I want to start by saying a gigantic THANK YOU! for all of your kind comments from Tuesday’s tutorial (it even got a shout out from Adobe!). Spence and I have been doing some serious planning these days to make your experience here as best as it can be. The first baby step was implementing the new keyboard shortcuts on videos, a Tuesday Tips section and easy-to-pin images. But, that’s just the beginning. 😉 I can’t wait to share some of the other new ideas we’re planning to implement in the months and year to come!

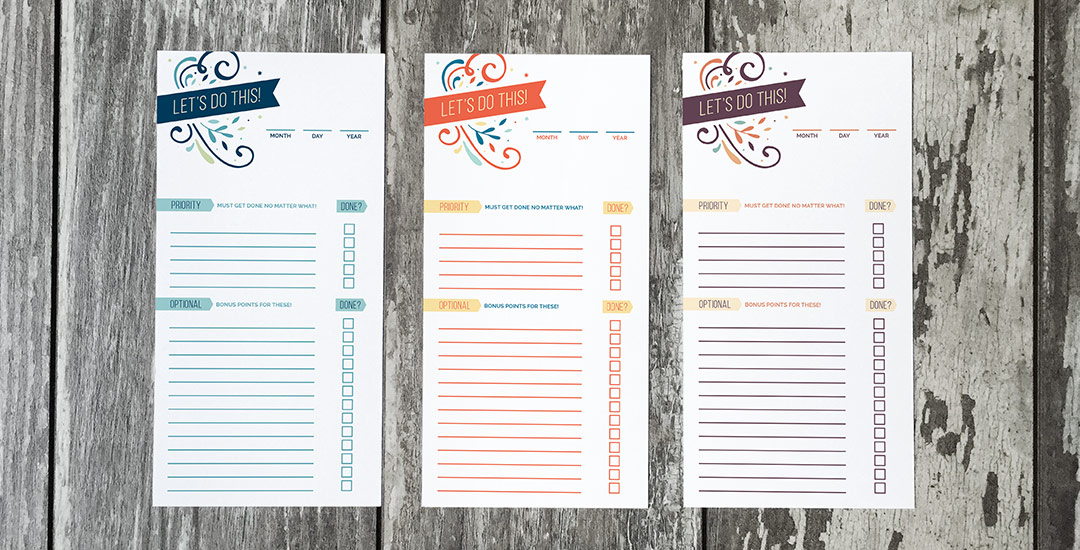
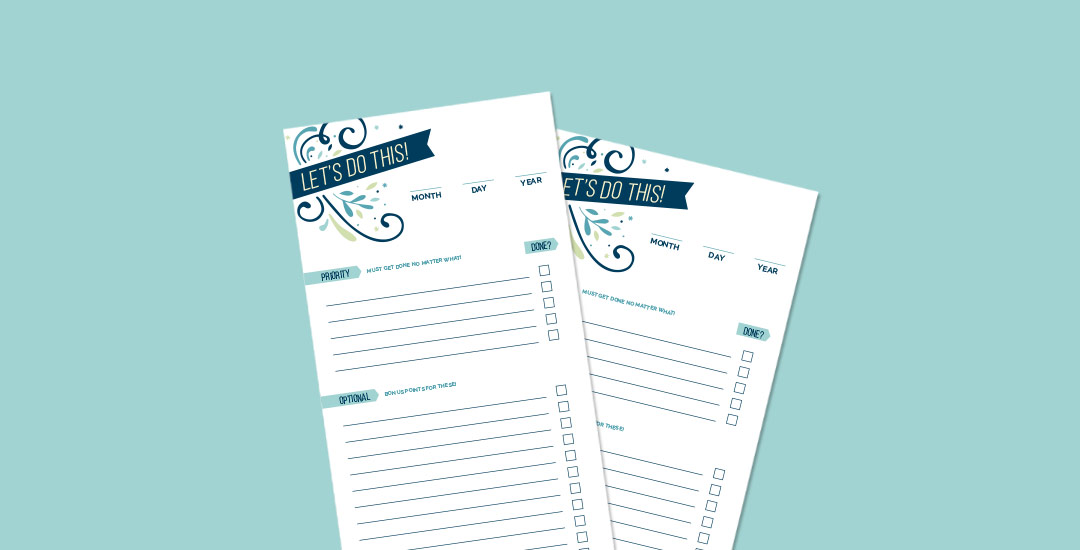
Until then, if you’re a little short on list-designing time, I wanted to give away the design created in the tutorial this week as a free printable in 3 color schemes. There are 2 of each color per sheet, so you can print them all, or just print the color you like best 😉 Download link and preview images below!

To learn how to create your very own digital planner, check out this tutorial here!

There’s something that feels soooo good about crossing off items on a to do list. Having a written list keeps me on track every day of the week. Most times, I grab a scrap sheet of paper and bullet my to-do’s out, but it’s never quite as satisfying as when they’re written on a custom design. In this week’s video tutorial, we’ll create our own designed to do list from scratch, perfectly prepared for printing in a few quick and easy steps, so you can start crossing items off to your heart’s desire 😉 All of the steps below!

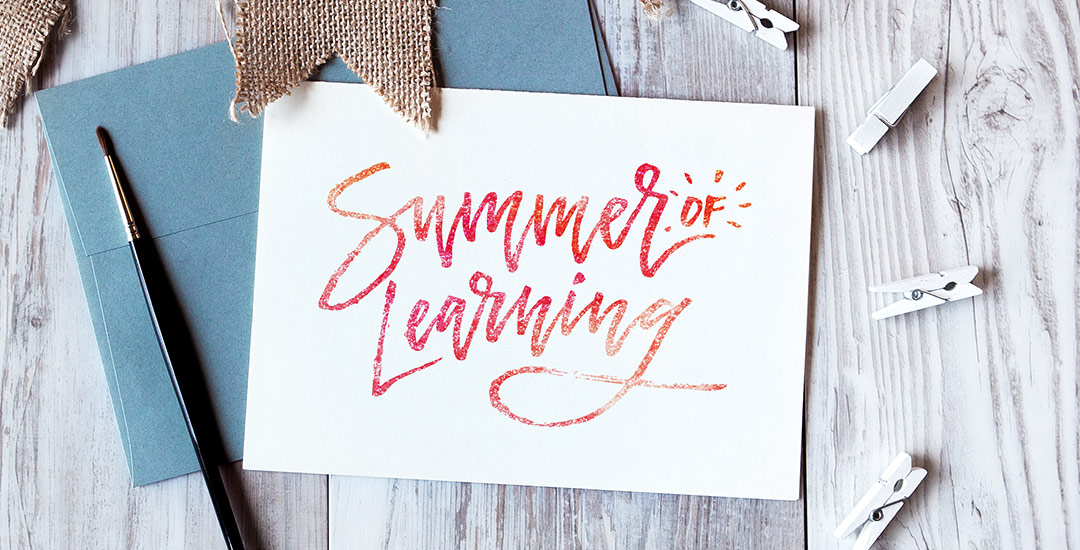
Happy Thursday! To celebrate the launch of Mastering Mockups this week, I thought I’d throw in another little extra bonus (did you catch the free lesson from the class in Tuesday’s video?). If you like putting your calligraphy or artwork on stationery, this week’s freebie was made just for you! With just a couple of clicks (full written step-by-step on using the file below!), you can place your artwork on this greeting card, just like in the preview image, in less than a minute! Use this for your own product sell pages or social media posts to get your work noticed quickly – grab the file below!

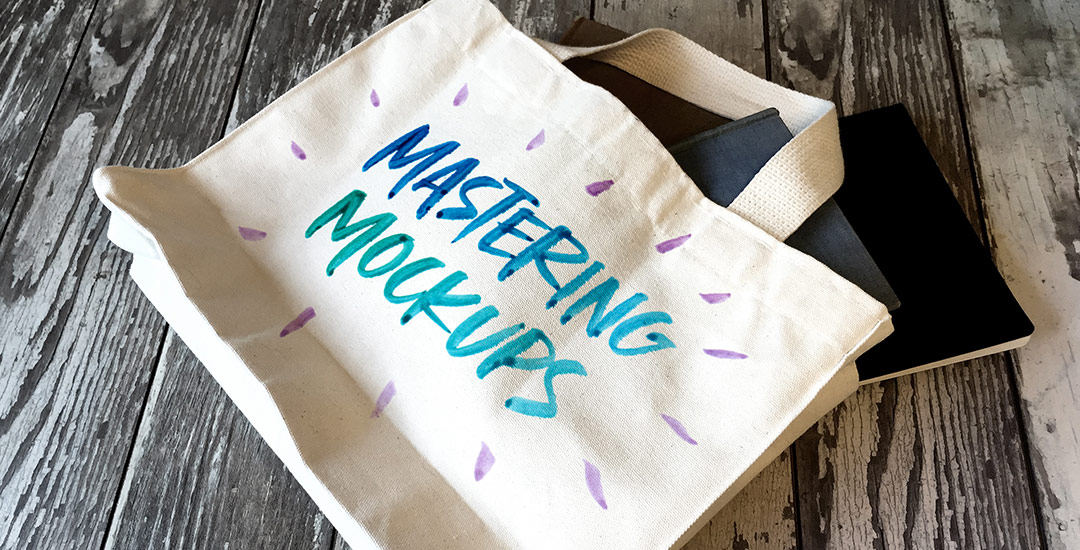
Happy Tuesday! I’m so excited I get to bring my newest online class to you this week, Mastering Mockups! In the class, we take original artwork, apply a little photoshop trickery, and put that artwork on products which look convincingly real. This is the perfect sales tool if you’re a seller on Etsy and need better product photography, if you’re a freelancer who wants to impress and convince your client to approve the artwork you created for them, or if you’d like to level up your design portfolio making fictitious projects come to life. You can also use the class’s techniques to create social media posts, blog images, digital product sales pages and more. Your enrollment in the class gets you all 4 base photos used in the class for free. With those photos, you’ll be able to follow along, completing every step as we go 😉

Keeping with tradition, I’m sharing the class trailer today, along with a bonus lesson from the class. In this lesson, we’ll create a single use, social media mockup. Are you ready to mock?! Everything below!

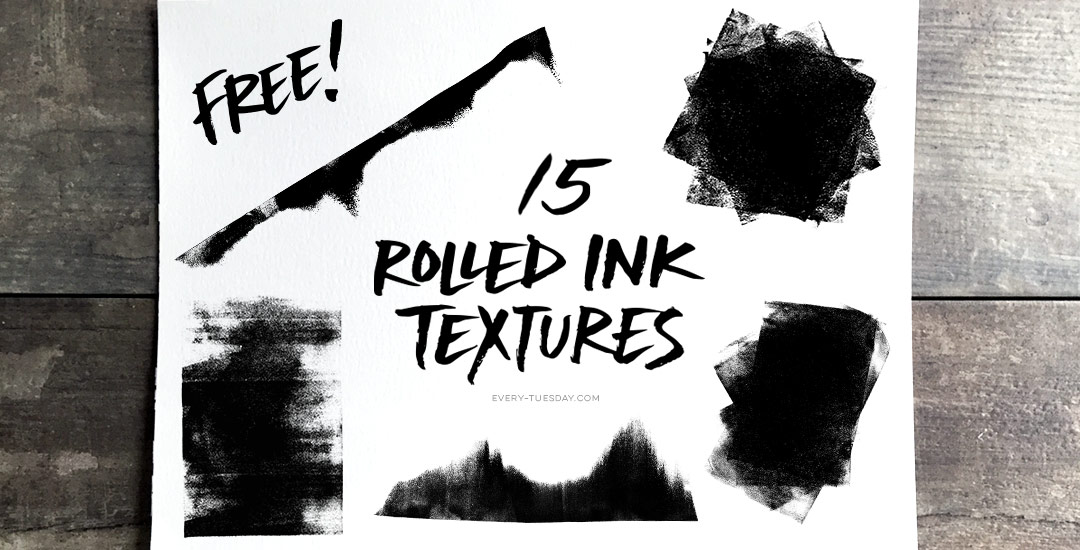
It’s been a little while since I shared a freebie texture, so today I’m sharing some ink textures! I started using these rolled ink textures in my artwork a while ago, the most recent example being this one to show off Tuesday Script. I’ve even masked these into typography using the same method as watercolor typography for some really nice textured type results. If nothing else, they are sooooo fun to play around with and add that little extra handmade feel to any kind of artwork. The best part? Every texture comes as a vector ai file for versions of Illustrator, CS3 or newer PLUS every texture comes as a transparent png, so it’s cake to use with any other kind of software 😉 Preview images + download link below!

I’ve had a few requests on how to replicate the look of the incredible artwork by Eiko Ojala and I’m so excited to share my interpretation of it this week. This week’s tutorial is a little more advanced, but I have tutorials for every part I speed through and I’ve linked to all of them under the video if you’d like a more thorough explanation. This technique can be used for so many cool applications – logos, greeting cards, branding, web graphics, etc. We’ll start out in Illustrator creating our organic shapes and finish everything up in Photoshop, adding in shadows and textures to complete the layered letter look. See how it all comes together below!

Happy July tomorrow! June was a solid month over here with the Into to iPad Lettering course and the release of my latest hand lettered font, Hawthorne Script 🎉 The extended license of Tuesday Script just got the webfont added in (with unlimited pageviews allowed), too!

July is looking just as productive as I’m preparing my next Skillshare class, Mastering Mockups. This next class will go over how I create my instagram lettering posts (like this one) as well as how to create professional mockups in Photoshop to help sell work to clients and give your portfolio an extra edge. The class will be officially available July 11th 🙂

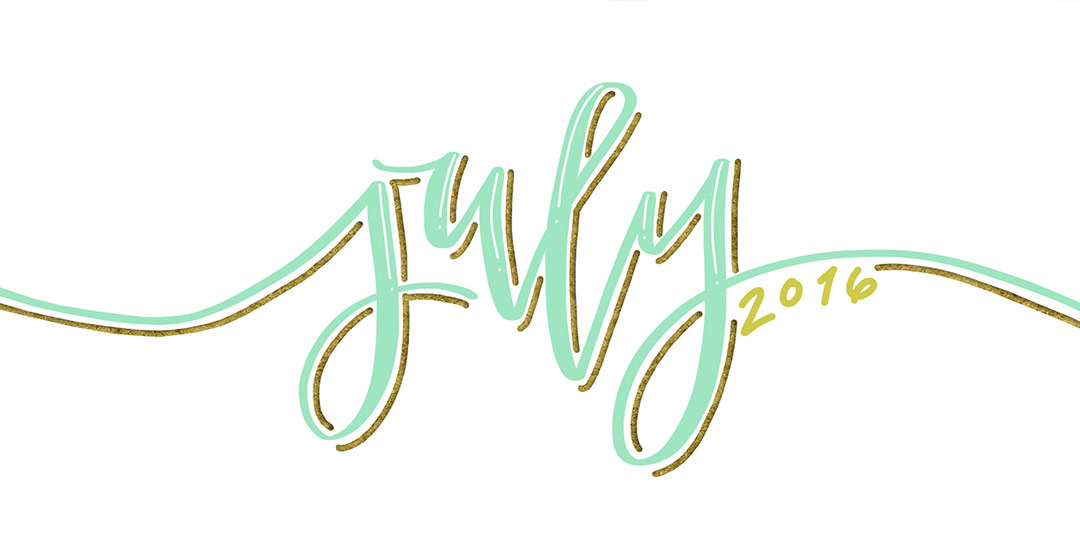
Speaking of dates, it’s time to freshen up your desktop for July ☀️ This week’s freebie is a set of two hand lettered July desktop wallpapers, with and without dates in two common sizes, 1920 x 1080 + 1280 x 1024. Previews and download link below!

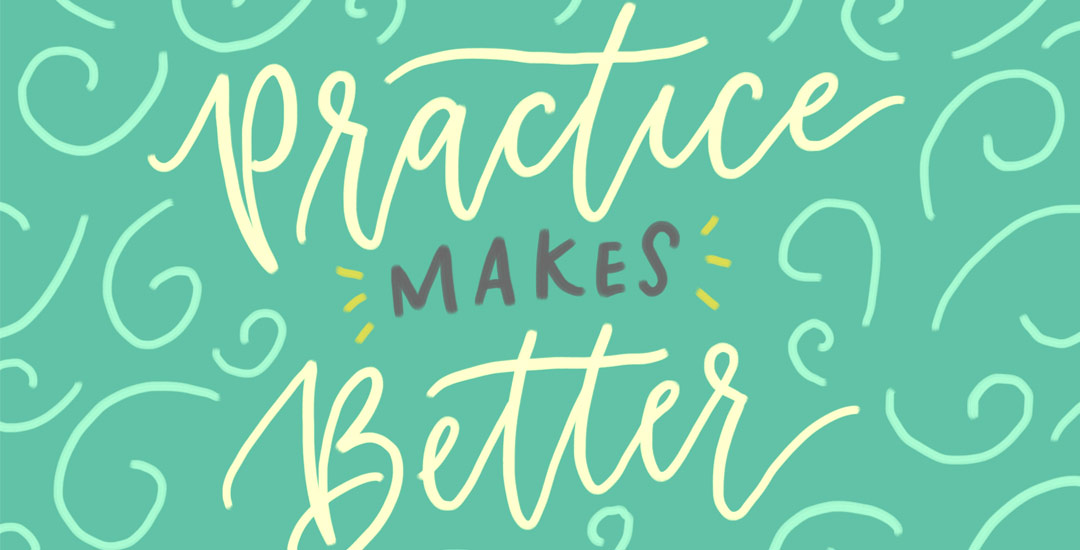
I wanted to change things up a little this week and go super down to basics. The truth is, when it comes to learning, a lot of the times, I’m most inspired by just *watching* the thing happen. Seeing it take place, someone else’s process without all the nitty gritty little details along the way – just the ‘have-to-knows’ first. Maybe you’re like that too. On the chance you are when it comes to lettering, this week I want to go super simple and just share how I would do a basic lettered quote/phrase on the iPad – what I think about as I’m writing, what I’m paying attention to, and what I do to change course when maybe things aren’t going exactly how I like them. If this is something you’d like to see more of, let me know! I want to provide all I can on clearing up anything that might be holding you back 🙂 Full process below – and if you want to go further after this, my Intro to iPad Lettering course is located here. Let’s go!

In my Intro to iPad Lettering class, we went through the entire library of brushes Procreate offers (which is amazing) and we also went over how to alter those same default brushes. If you’re looking for something less standard and more custom, Procreate allows you to create your own brushes from scratch, too! I love thinking up a doodle or a texture I haven’t seen in their library and being able to start using my own right away. In this week’s tutorial, I’ll share my full process on how to create custom Procreate brushes from scratch using Photoshop to perfect the design or texture and Procreate to apply brush settings. All the details below!

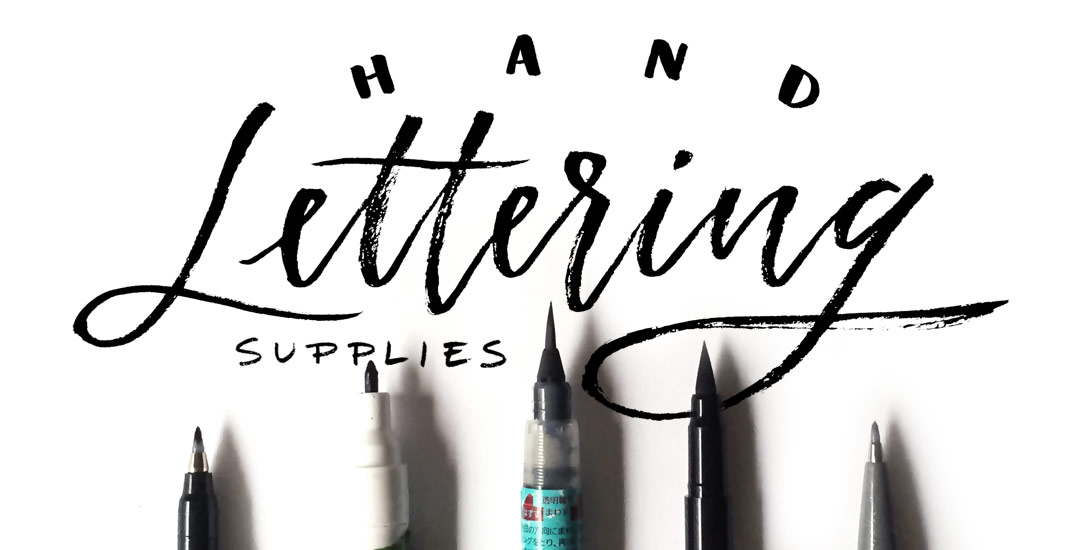
I experiment with new materials and supplies constantly for my (traditional) hand lettering. I would actually be scared to know how much time I’ve spent eyeing different hand lettering supplies (and reading their reviews) over on Amazon. I’ve invested in a lot of new ones this year and currently I have 5 favorites that I find myself always returning to and reordering. If you’re just starting out with lettering, or if you’re on the hunt for some new supplies but would like to read a real (almost every day) user review, here are my current top 5 favorite hand lettering supplies (totally unbiased, with no affiliation to any of em) 🙂

GDPR Icon

Your Privacy Matters

We use cookies to customize and create content that’s most important to you. We’ll never share the info we collect.

View Privacy Policy