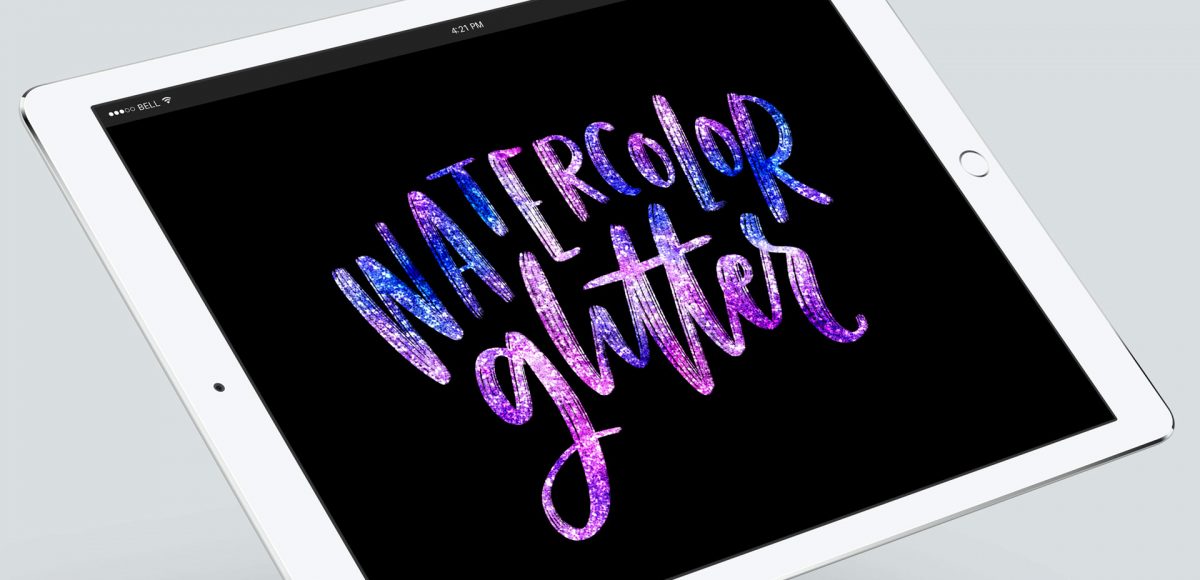
HomePosts Tagged "ipad pro"

ipad pro Tag

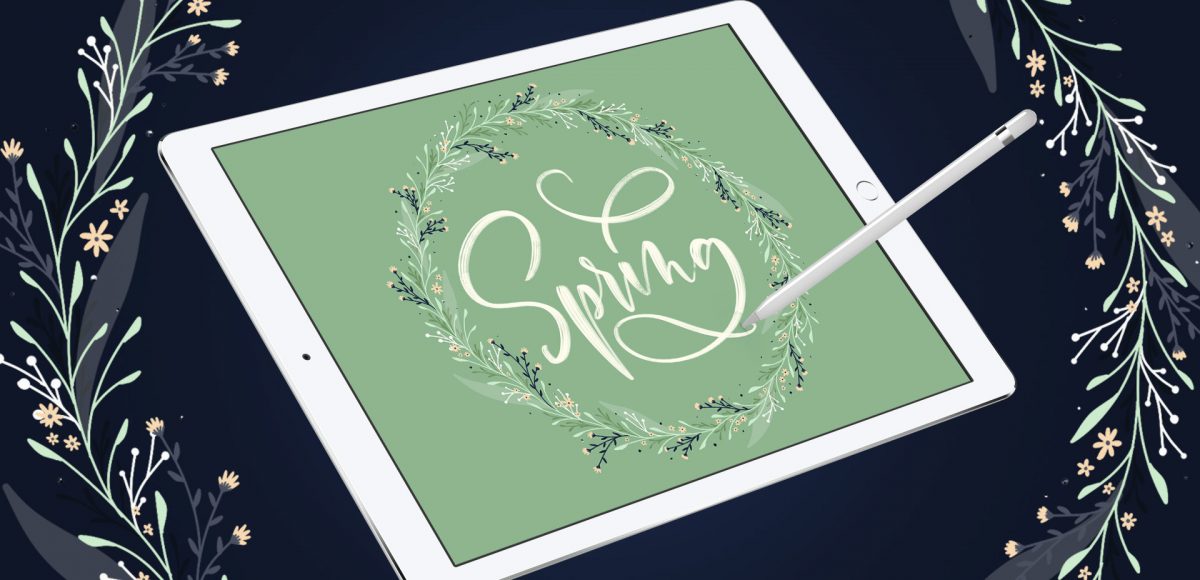
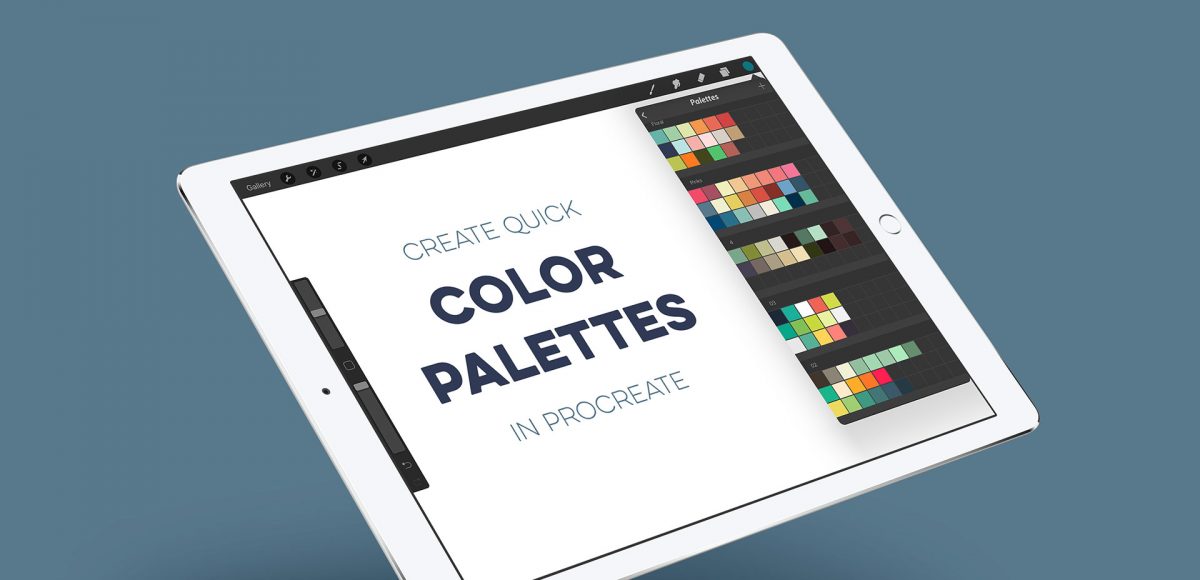
I am SO excited to announce my newest course today: Watercolor Lettering in Procreate! I’ve spent the last two months refining my process and making all of the projects, then creating bonuses, a brand new brush set, recording + editing and today is finally the day! In this 8 project course, you’ll learn how to create beautiful + realistic watercolor lettering in Procreate! I’ve also included a bonus on floral + foliage foundations since we have a few floral typography projects, too. And to set you up best for success, I’ve included ALL of my watercolor lettering brushes and paper textures, so you can follow along exactly. Read on for all the details + course trailer!

This is one of my new favorite lettering effects in Procreate! A couple years ago, I showed how to do something similar in Photoshop, so I thought, “Why not try it in Procreate?” Turns out, it’s even easier in Procreate! I love how it looks with multiple letters, too. This week, we’re creating a paper cut out effect in Procreate. Read on to see how and pick up the colors + brush used in the tut for free!

In celebration of Spring, I thought it would be fun to keep the floral party going into Procreate! The last couple of weeks we painted watercolor florals and this week we’re drawing digital ones 😉 In this week’s tutorial, we’ll plan, customize and create custom floral wreaths in Procreate. I’m using an iPad Pro (12.9″, 256GB), Apple Pencil, Procreate and my custom monoline procreate brush for this (available for free in the resource library). The color palette shown in the video is also available below if you’d like to use it. Let’s get started!

A lot of lettering lovers snagged an iPad Pro this past holiday season! I’m so excited for you to experience the total joy and possibilities that iPad lettering brings: no wasted paper or supplies, endless brush + color combinations and fewer stacks of artwork scattered around the house (just me?). As a graphic designer, I’ve been using Photoshop for nearly 15 years now and Procreate is similar in many, many ways. I’m constantly experimenting with Procreate, seeing if some of my Photoshop tricks carry over there + how to adapt them when the tools operate slightly differently.

This week, I want to share one of my favorites: combining textures for a watercolor glitter lettering effect! You might already know how to blend textures on top of white for this effect (which I share in the vid), but my little trick will make it possible on any colored background, too, opening up even more possibilities 😉

When I first started using Procreate, I just selected the colors I needed at the time and went on my merry way. Once I became more comfortable with the program, accessing quick, harmonious color palettes dramatically changed (and improved) the feel of all of my artwork moving forward. Spending the time to experiment with and decide on the right color combos became increasingly more time consuming, though. Thinking about how I choose color palettes for my graphic design artwork, I realized I could utilize the same tools, but in a different way using Procreate. In this video, I’ll share how I now put together quick color palettes in Procreate in a matter of minutes. Once you see how easy it is, I promise, you’ll never look back!

A few months ago, I shared how to create a similar effect as this in Photoshop, and I was asked how to also do it in Procreate, so here we are! This week, I’m sharing how to create shadow depth typography using Procreate on an iPad. At first glance, you may think this is just a simple drop shadow, but this drop shadow is much larger and darker than what you can get by implementing it traditionally. It also fully connects to the word it’s attached to, while also extending further than you can get by just sliding a copy of your lettering and blurring it. I also share how to group layers, so you can move more than one item at a time, but still edit layers independently of one another. I promise it’s worth the 5 minutes this week! Read on to see it all 😉

Happy Tuesday, friends! Today we’re jumping into procreate with some tips on how you can quickly improve your iPad lettering by using the skeleton technique and a mono weight brush. The Skeleton Technique is a trick that, when used, can give your lettering dramatic results fast. We’ll start the tutorial by creating our own mono weight brush by altering a default/standard brush in procreate. Then, I’ll share my process for utilizing the skeleton technique, along with a few examples to get you started. Read on to see how!

Happy Tuesday! It’s been a little while since we made some iPad lettering, so this week we’re creating floating shadows in Procreate. I’ve seen this effect referred to as ‘off shade’ before, but I’ve always thought of them as floating shadows. Essentially, it’s a drop shadow that’s disconnected, or there’s a space between your lettering and the shadow itself. I love how simple this effect is, but also how it adds that cool factor/semi 3D look right away. See how to apply this exact effect to your lettering below!

I realized the other day that I did some short mini vids on Instagram wayyyy back on how to recolor textures in Procreate, but never a tutorial here. Introducing textures into your Procreate work can create some pretty stunning, unique results. Using textures myself led me to offer the procreate watercolor kit and metallic kit, which I still use constantly. The silvers and golds from the metallic kit look stunning, but you can change their colors to anything you’d like! Colors like rose gold and blue glitter are a cinch to make, and in this week’s video, I share how!

One of the questions I’m asked most often about iPad lettering is how to use vectors with Procreate. The very short answer is: you can’t. But! There *are* some workarounds you can use if you’d like to either integrate your vectors within Procreate or vectorize your Procreate artwork later on. Everything you need to know about why that is and how to adjust is below!

Since Procreate’s latest update is less than a month old, it’s time for a new iPad lettering tutorial! If you checked out my iPad Lettering class from a couple versions earlier, you saw how fun it is to work with Procreate textures. One texture works wonderfully, but things can get a little trickier when you want to get other textures involved. In this week’s tutorial, I’m sharing one quick trick that makes introducing other textures super simple. In this tutorial, we’ll use a foil and watercolor texture, plus add a little holiday flair for good measure 🙂 Read on to see how!

GDPR Icon

Your Privacy Matters

We use cookies to customize and create content that’s most important to you. We’ll never share the info we collect.

View Privacy Policy