HomePosts Tagged "texture" (Page 5)

texture Tag

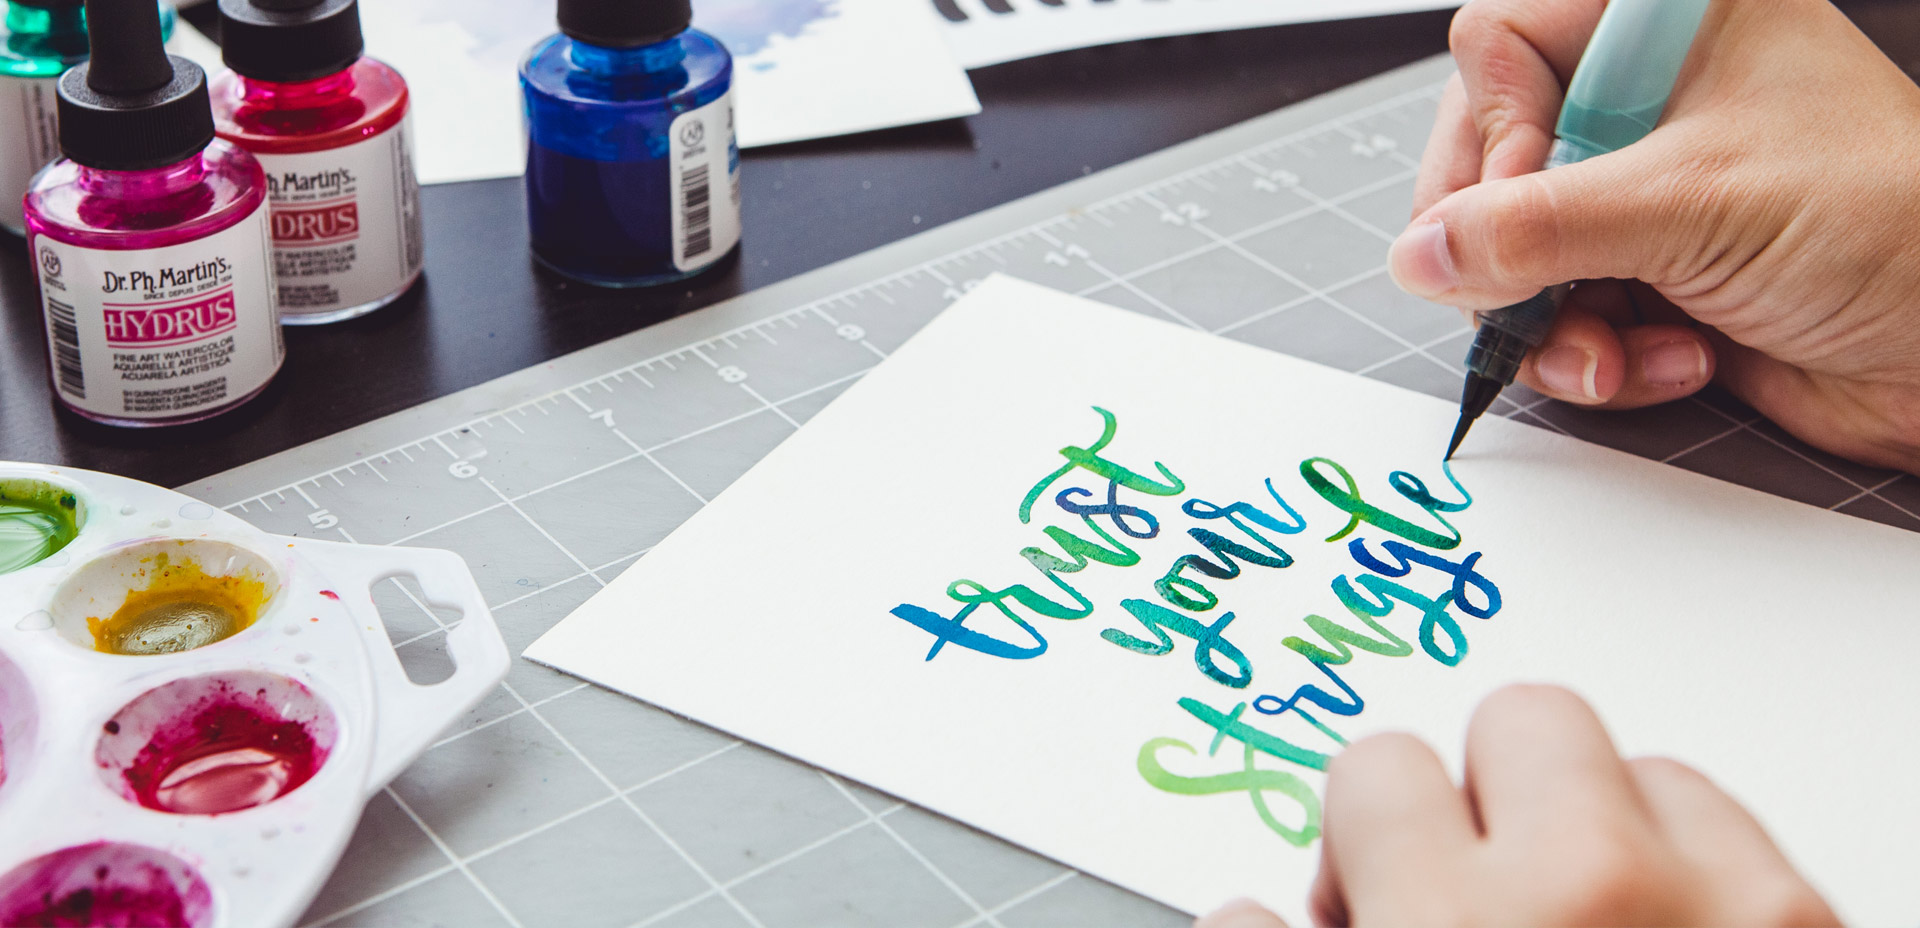
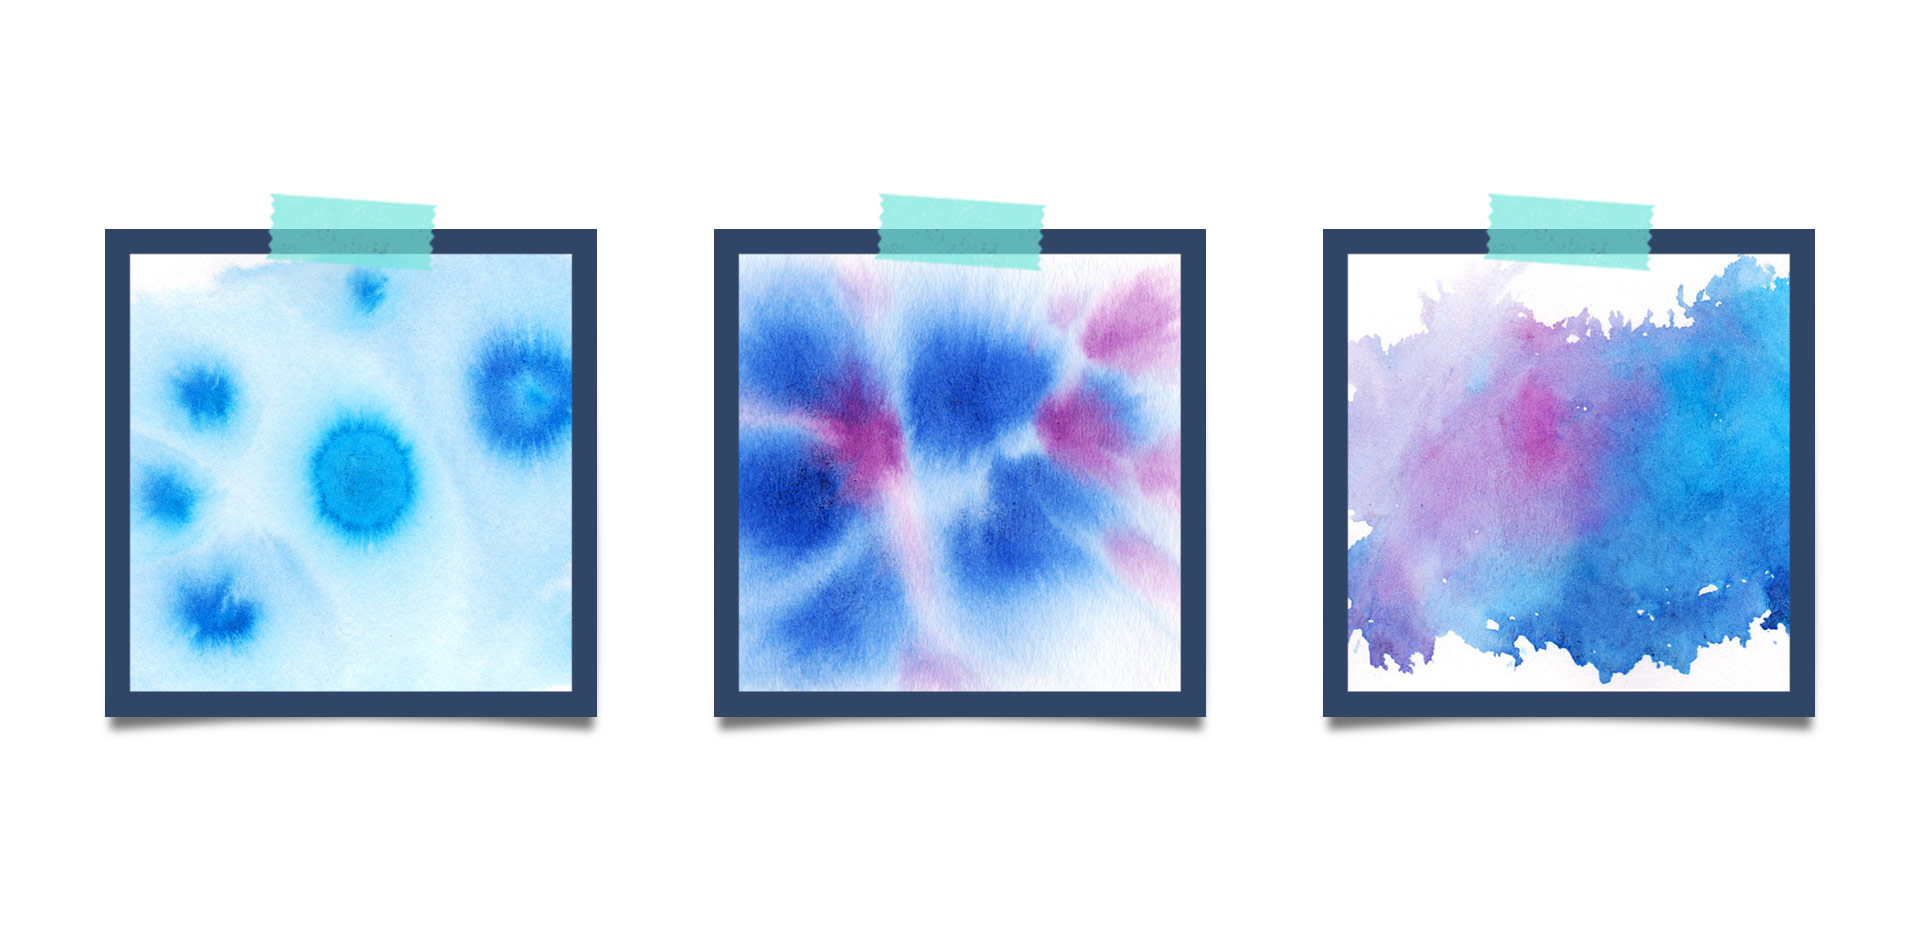
It’s been a little while since I’ve posted a watercolor tutorial! If you’ve been here for some time, you know we can’t have that 😉 This week I want to share how to create a custom watercolor photoshop brush! Having a watercolor photoshop brush in your brush library is super handy for two reasons: #1 you don’t have to file > place large textures or search for them on your computer, and #2 it keeps file sizes smaller. These are really quick to create and can be huge time savers. See the full tutorial below!

Somehow, it’s already the last Thursday in December, which means it’s time for your free January 2017 desktop wallpapers! This month’s wallpaper was created with FineTec watercolors using a small Pentel waterbrush on Astrobrights (Eclipse Black) cardstock. It was then photographed with a DSLR by Spence and brought into Photoshop where he adjusted color + vibrancies. After that, I resized the artwork and added dates within Photoshop, making it ready for use. So, this little guy is a labor of true wallpaper love 🙂  The download includes the wallpapers in two common resolutions: 1280x1024px and 1920x1080px, with and without dates. I’ve left the year off of the ‘no-dates’ versions, so you can use it for any January in the future, too!

Since Procreate’s latest update is less than a month old, it’s time for a new iPad lettering tutorial! If you checked out my iPad Lettering class from a couple versions earlier, you saw how fun it is to work with Procreate textures. One texture works wonderfully, but things can get a little trickier when you want to get other textures involved. In this week’s tutorial, I’m sharing one quick trick that makes introducing other textures super simple. In this tutorial, we’ll use a foil and watercolor texture, plus add a little holiday flair for good measure 🙂 Read on to see how!

Happy almost Thanksgiving! (here in the states, anyway 🙂 ) Since we’re hitting the end of November, it’s time for your free December 2016 desktop wallpapers! This month’s wallpaper pattern design was originally created with concentrated watercolors and a no.1 round brush on Canson 140# cold press watercolor paper. It was then scanned into the computer where final touches, recoloring and dates were added in Photoshop. The download includes the wallpapers in two common resoutions: 1280x1024px and 1920x1080px, with and without dates. I’ve left the year off of the ‘no-dates’ versions, so you can use it for any December in the future, too!

This past January, we created a foil stamp effect in Photoshop, and I’ve recently had a few requests on how to accomplish the same look in Illustrator. With the holidays fast approaching, now you’ll have plenty of time to use it in Illustrator, too! Not only can this look be applied to typography like in the example, but you can also export it as a graphic style. Exporting graphic styles allows the foil stamp effect in Illustrator to be applied to any vector element, as well. Pretty powerful stuff. At the end of the video, I share how to export those graphic styles to use them in new documents or share them with others. Read on to see it all!

Today is one of the biggest days to date on Every-Tuesday. Our very first long-form, self hosted course (only available on every-tuesday) is officially open today, titled Brush Lettering with Watercolor!

Two years ago, I decided to go all-in with my brush lettering. I tried (what felt like) every supply out there, watched demos, looked at inspiration, read books, you name it. My lettering was improving very slowly, and I experienced a lot of frustration. A lot of overwhelm. A lot of second guessing. It felt like I was doing everything right, but my outcomes just didn’t feel like they were quite there. I started implementing a few new techniques and that’s when things really took a turn for me. I remember the night it finally came together so well, like I had cracked a special code.

On Tuesday, we created extra unique watercolor textures using 3 simple and creative tricks. There’s something about the way colors blend together with water that’s kind of magical. One of my favorite indulgences is searching out abstract, beautifully colored textures and seeing how I can put my own spin on them. To keep those eye candy textures better organized, I’ve even started this pinterest board, too. In a follow up to Tuesday’s tutorial, I wanted to share 8 inspiring watercolor textures to light that extra spark if you needed a creative boost today 😉 I know there’s never a bad day to feast my eyes on these!

If you’ve been here for any length of time, then you know I  have a slight obsession with watercolor. Part of it is mixing beautiful color combinations together, and another is creating abstract and unique textures. Creating unique textures allows you to then use them in designs, producing an outcome no other person is capable of replicating – ever. And that makes everything even more special. As you might imagine, I’ve spent many hours experimenting with watercolors and this week I want to let you in on 3 simple tricks to create unique watercolor textures of your own. It doesn’t matter which kind of watercolors you have on hand, either – these tricks will work with em all 😉

I’ve only recently started incorporating Illustrator texture brushes into my work, and I regret not doing it sooner! Illustrator texture brushes offer so much hand made feel with such little effort, you almost feel like a magician 😉 To get started, all you need is any kind of vector texture like this set of inky brush strokes or these mini grit textures (both free!). From there, we convert them into Illustrator art brushes with specific settings and we’re done! This will be such a great addition to your regular workflow if you love including extra texture into your work. For the tutorial, we’ll create some inky and gritty typographic drop shadows in just a few quick minutes. Read on to see it all!

On Tuesday, we got crafty with mixing watercolors with diy embossing. In my opinion, this is one the most self-satisfying diy design/craft activities out there. There’s something about watching that embossing powder come to life with heat, and it’s literally eye candy every time. Today I’m sharing 5 simple, (but impressive!) DIY embossing ideas that will give your greeting cards, gift tags, stationery and artwork an extra level of cool. 😉 Read on for step by steps, exact supplies used and photos for each!

I think it’s pretty fair to say that diy embossing is reallllly popular right now. It’s easy to see why; First, there’s watching colorful powder stick magically to invisible ink. Next, there’s witnessing it look completely different (especially metallics) once heat is applied. The results look like they came from a pro print shop! I haven’t come across many videos of a watercolor/embossing combo, so it was time for that to change 🙂 I recently started applying embossing designs to my watercolor lettering and it makes for some really tactile + impressive outcomes.  This week I wanted to have some fun by sharing watercolor lettering with DIY embossing 3 ways. Everything used in the video listed with links below!

In many of the ventures I’ve taken into the depths of Instagram eye candy-land, adding some splatter to finished artwork is totally a thing. Here’s another thing though – splattering those babies is messy. Those little splatter dots actually go everywhere – I still have some on my keyboard from when I made this freebie 😁. If you’re taking your artwork digital, or editing things a little further, there’s a way to avoid those little keyboard/desk/everywhere ink freckles: pre-made splatters! This week’s freebie is a set of 3 varied mini ink splatter textures you can use at will. Grab them below, plus check out a few ideas + inspiration for using em!

GDPR Icon

Your Privacy Matters

We use cookies to customize and create content that’s most important to you. We’ll never share the info we collect.

View Privacy Policy