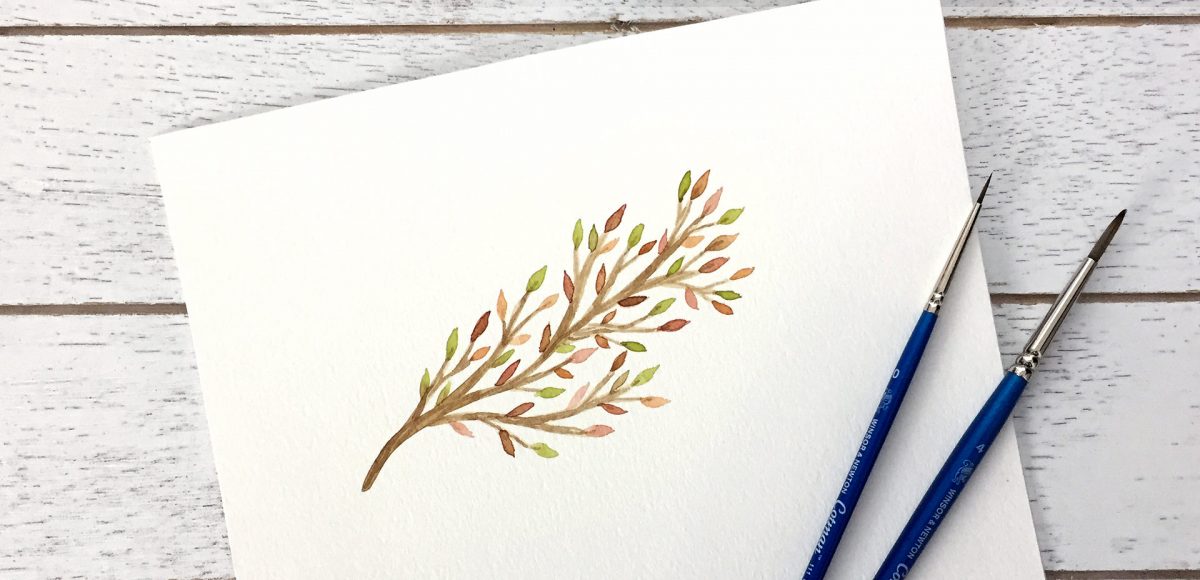
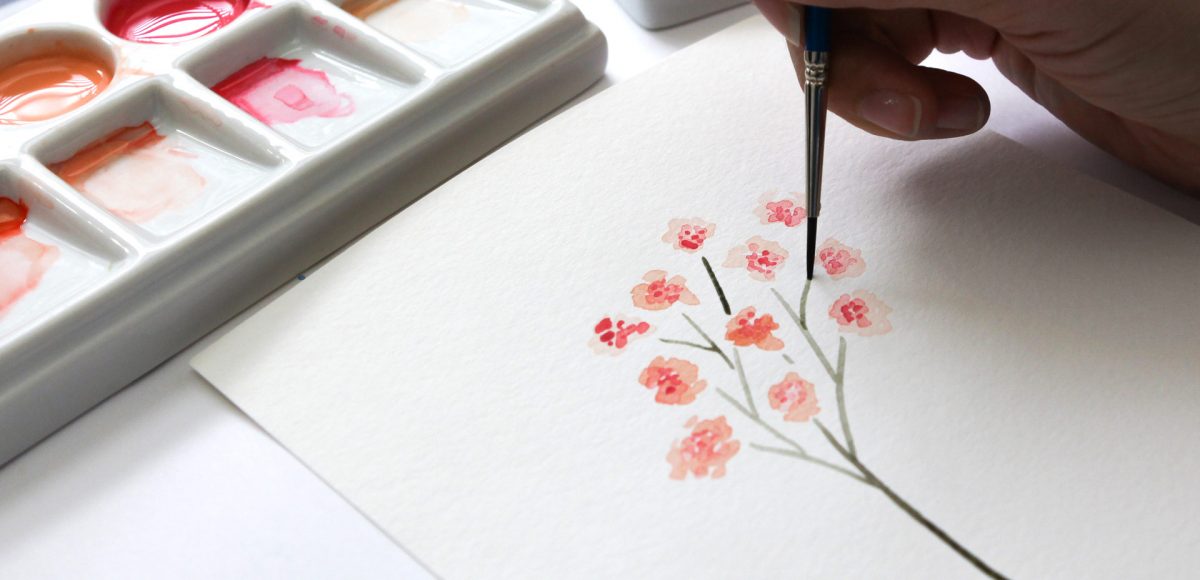
HomePosts Tagged "watercolour" (Page 2)

watercolour Tag

Next Monday, March 26th, I’ll be releasing my newest course titled Watercolor Florals for Graphic Design! I’m often asked how I created this watercolor leaves and florals kit, so I thought I’d share the entire process, from start to finish. In the course, you’ll learn how to paint, scan, digitize, enhance and sell digital watercolor florals. Part of creating florals meant to be used digitally (in Illustrator, Photoshop or templates you’d like to sell) require them to be created individually (vs. painting a full bouquet). Once they’re created and edited, you can then create an infinite number of arrangement and bouquet combinations using them. This makes painting just a few florals to start with really powerful, because they can lead to a large kit full of options.

Even though the course officially opens next Monday, today I wanted to share a video from the course on how to paint 4 loose style small watercolor florals. I’m giving away the course’s clickable resources list for free in this post, so you’ll have everything  you need to get started. If you’re an Every-Tuesday subscriber, you’ll also receive a special gift in your email the day the course opens 😉 Read on for the full tutorial and free resources download!

A few weeks ago, I shared some watercolor texture tricks using brush pens and I thought it’d be fun to follow it up with lettering effects! If you’re short on space, brush pens are a great alternative for creating beautiful + vibrant watercolor creations. In this week’s video, I’ll take you through 3 of my favorite watercolor lettering effects using brush pens!

Can you believe Valentine’s Day is next week?! If you’d like to DIY this year, this watercolor florals Valentine’s Day card in Adobe Illustrator can be created on a lunch break 😉 In this week’s tutorial, we create a quick and simple vector heart, then surround it with watercolor florals and a radial gradient background. It’s a print ready file, so you’ll be good to go for printing at home from start to finish. If you’re new to working with digital watercolor florals, there’s a free mini kit below to get you started!

This week, we’re returning to one of my favorite topics: watercolor textures! Ever since I received these brush pens in the mail, I have been swooning over all of the cool textures I’m able to create – and quickly, too! These are the most vibrant watercolor-simulated outcomes I’ve been able to achieve with brush pens, which makes the creation process that much more fun. Use these as backgrounds for your lettering, or even scan them in and make a digital texture or repeat pattern out of them! Read on to see 3 different watercolor texture tricks using brush pens below.

A lot of lettering lovers snagged an iPad Pro this past holiday season! I’m so excited for you to experience the total joy and possibilities that iPad lettering brings: no wasted paper or supplies, endless brush + color combinations and fewer stacks of artwork scattered around the house (just me?). As a graphic designer, I’ve been using Photoshop for nearly 15 years now and Procreate is similar in many, many ways. I’m constantly experimenting with Procreate, seeing if some of my Photoshop tricks carry over there + how to adapt them when the tools operate slightly differently.

This week, I want to share one of my favorites: combining textures for a watercolor glitter lettering effect! You might already know how to blend textures on top of white for this effect (which I share in the vid), but my little trick will make it possible on any colored background, too, opening up even more possibilities 😉

Welcome to week 6 of holiday hand lettering projects! If you missed the last five weeks, scroll below to click on links to all of them! This 6 week lettering tutorial series is wrapping up this week! The goal of the series was to gain new lettering tricks, learn about lettering supplies you might not have used before and create something you can use/gift right away. Each week we built on skills from the previous weeks, so if you need a refresher, be sure to rewatch any of the prior videos. This week, we’re creating watercolor JOY lettering, surrounded by seasonal branches and finished with gold and silver details! Read on for the step-by-steps!

Welcome to week 5 of holiday hand lettering projects! If you missed the last four weeks, you can catch up here, here, here and here 😉 This is a 6 week lettering tutorial series with the goal of gaining new lettering tricks, learning about lettering supplies you might not have used before and creating something you can use/gift right away. Every week we build on the skills from the previous week, so if you need a refresher, be sure to rewatch any of the previous videos. Check back every Tuesday from now until December 12th for a new holiday themed lettering project! This week, we’ll create metallic watercolor lettering surrounded by strings of lights! Read on to see how!

I’ve been breaking out my watercolors a bit more lately and have found myself painting a lot of autumn and winter themed illustrations. I thought I’d change things up a bit this week and share my method for painting an autumn watercolor branch. This is one of the first illustrations I learned how to paint and I love that there’s no pressure to get anything perfect. Add as many leaves, branches and organic curves as you’d like – there really is endless creative freedom here. We’ll go through the wet on dry technique, mix up custom pan set watercolors and talk about a few tips for painting leaves. This is the first Every-Tuesday watercolor painting tutorial – let me know if you’d like to see more in the future!

It’s the last Thursday in October, which means it’s time for your free November 2017 desktop wallpapers! This month, I decided to jump on the iPad to create a fall themed illustration/doodle explosion wallpaper 🙂 November is hand lettered with my own custom Procreate brush (all illustrations were created with that same texture brush) and the dates are set in my newest font, Skinny Jeans (caps style). The final illustration was exported out of Procreate as a psd, where it was slightly edited (subtle watercolor background texture added) and then combined and resized with the dates.

The download includes the November 2017 desktop wallpapers in two common resolutions: 1280x1024px and 1920x1080px, with and without dates. I’ve left the year off of the ‘no-dates’ versions, so you can use it for any November in the future, too!

It’s the last Thursday in September, which means it’s time for your free spooky/eerie October 2017 desktop wallpapers! I’ve been away from my watercolors a little more than I’d like, so it was time to bring them back for October! The ‘spooky’ texture was created using a saltwater wash with this Winsor & Newton pan set and a no.8 round brush. ‘October’ is set in my font, Hawthorne Script, and the dates are set in my other font, Espresso Roast (caps style). The texture was scanned in and everything was combined + enhanced in Photoshop.

The download includes the October 2017 desktop wallpapers in two common resolutions: 1280x1024px and 1920x1080px, with and without dates. I’ve left the year off of the ‘no-dates’ versions, so you can use it for any October in the future, too!

If you love lettering and watercolors, you’ve probably come across the watercolor galaxy effect. Whether just as a beautiful texture, or incorporated into lettering, it’s eye catching. Made from a variety of cloud-like colorful textures, it’s further detailed with doodled stars. There’s nothing like creating this traditionally with watercolors, but you can achieve this same look in Photoshop. In this tutorial, I take you through my process of creating and applying this watercolor galaxy effect to lettering, all within Photoshop. This is a bit of an advanced tutorial, so we’ll move through things quicker and with less detail than usual since there’s a lot to cover. Let’s dive into this galaxy!

As much as I love having digital calendars at my disposal, there’s still something about things written in by hand. If you feel this way too, this tutorial’s for you. In this video (perfect for beginners), we’ll create a printable calendar that fits any 8.5″x11″ or A4 sized paper. We’ll be making use of some handy Illustrator tools and by the end, you’ll have a watercolor floral calendar design fully created using Illustrator. We’ll use a watercolor floral bouquet from my kit here, but I also have a free mini kit you can pick up below if you’d like 😉 Let’s get started!

GDPR Icon

Your Privacy Matters

We use cookies to customize and create content that’s most important to you. We’ll never share the info we collect.

View Privacy Policy