HomePosts Tagged "type effect"

type effect Tag

This is one of my new favorite lettering effects in Procreate! A couple years ago, I showed how to do something similar in Photoshop, so I thought, “Why not try it in Procreate?” Turns out, it’s even easier in Procreate! I love how it looks with multiple letters, too. This week, we’re creating a paper cut out effect in Procreate. Read on to see how and pick up the colors + brush used in the tut for free!

A few weeks ago, I asked on my Instagram if anyone wanted to learn how to make animated gifs in Procreate. After reading through the responses, I knew I couldn’t stop with just one! So I created 2 tutorials 😉 The first one is meant for beginners: getting the basics down + understanding how the file needs to be built. The second tutorial is a bit more advanced, since we utilize masking to make ‘drawn in’ lettering. Now that Procreate offers an export option for animated mp4s, it’s even easier to post your animations straight to instagram. Read on to see both tutorials!

Within the past week, Procreate released their latest version, which allows you to add text! It’s been really fun playing around with the new feature and seeing how I’ll integrate text into future Procreate artwork. This week, I thought I’d share an easy way to create artwork with text, as well as sharing some masking tips, too. Read on for how to use text in Procreate!

Happy almost-Halloween! With all the fun crafts that Halloween inspires, I couldn’t let it pass without adding a DIY to the mix! It’s been a little while since we had a craft tutorial and this is my biggest one yet. This week, we’ll create some mixed media 3D Halloween lettering you can use as decoration anywhere! We’ll plan it out + paint it with watercolor, add details with fineliner pens AND add some sparkle to finish it off. I’ll take you through my process of painting 3D, pop-off-the-page lettering, as well as how I plan out flourishing to frame the final piece. Read on to create your own mixed media 3D Halloween lettering!

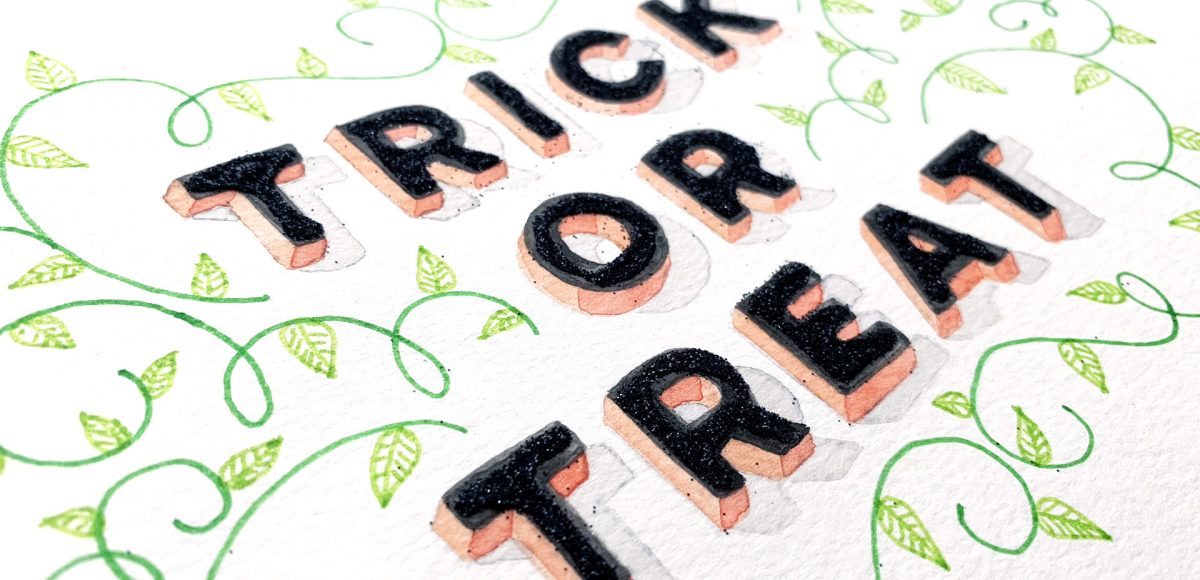
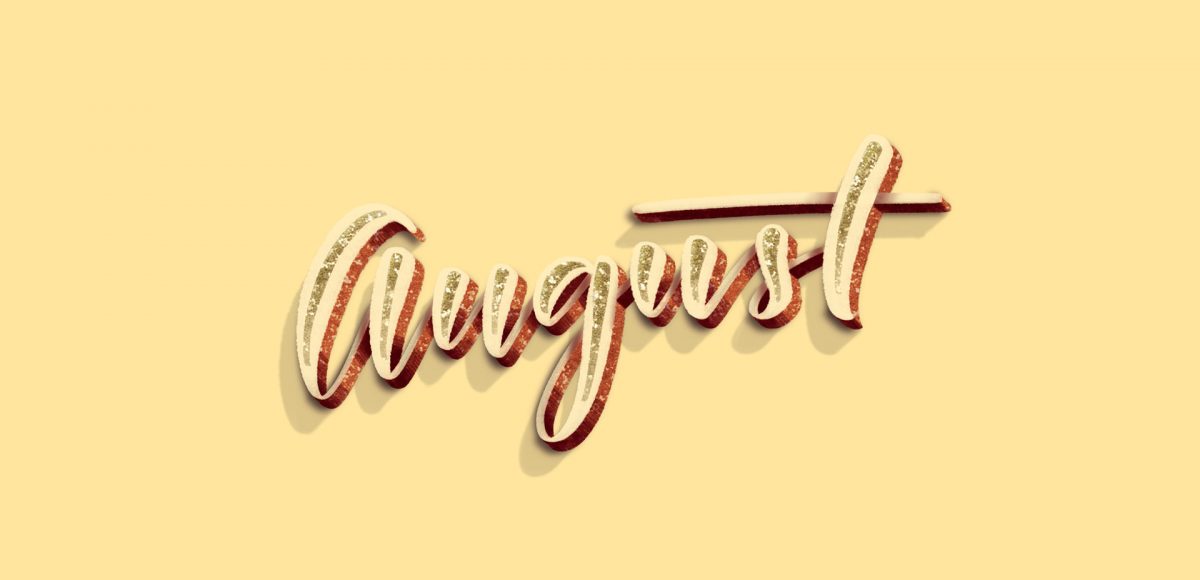
It’s the last Thursday in July, which means it’s time for your free August 2017 desktop wallpapers! It had been a little while since I created a desktop wallpaper using Procreate, so that was the plan for August. If you saw this post, then you know that I’ve been obsessing over 3D hand lettered signage lately. I wanted to experiment with bringing this same look onto the iPad, and after a few hours of playing around, I had exactly what I was going for. On a whim, I decided to integrate textures from my metallic procreate kit. The final design was exported into Photoshop where the dates were added using my font, Miss Magnolia. The addition of the glitter, especially, made this come to life and I already love having it on my desktop, even if it’s a little early 🙂

The download includes the wallpapers in two common resolutions: 1280x1024px and 1920x1080px, with and without dates. I’ve left the year off of the ‘no-dates’ versions, so you can use it for any August in the future, too!

A few months ago, I shared how to create a similar effect as this in Photoshop, and I was asked how to also do it in Procreate, so here we are! This week, I’m sharing how to create shadow depth typography using Procreate on an iPad. At first glance, you may think this is just a simple drop shadow, but this drop shadow is much larger and darker than what you can get by implementing it traditionally. It also fully connects to the word it’s attached to, while also extending further than you can get by just sliding a copy of your lettering and blurring it. I also share how to group layers, so you can move more than one item at a time, but still edit layers independently of one another. I promise it’s worth the 5 minutes this week! Read on to see it all 😉

One of my favorite typography books is Shadow Type by Steven Heller + Louise Fili. I’ve broken the hardcover spine with all of the times I’ve paged through, sticky noted the tops of others and left it flat open, absorbing as much as possible. What’s most impressive is the consistency and creativity with all of that 3D type, perfectly executed by hand. I’m constantly reminded of how lucky we are to have a program like Adobe Illustrator, making things in seconds that once took hours. One shadow type project I’ve been working to perfect is dimensional signage typography. I love how the typography looks 3D and oftentimes has a long shadow, extending in the opposite direction. In this week’s tutorial, I’m sharing my method of creating that signage typography look using Illustrator!

A few weeks ago, I shared how to create this effect using an iPad with Procreate. This week, I wanted to share how easy it is to create typographic floating shadows in Adobe Illustrator, too! The method I use utilizes the blend tool and pathfinder palette and a few simple steps. This effect is perfect for headlines, special art projects or even signage. Read on to see it in action!

Happy Tuesday, friends! Today we’re jumping into procreate with some tips on how you can quickly improve your iPad lettering by using the skeleton technique and a mono weight brush. The Skeleton Technique is a trick that, when used, can give your lettering dramatic results fast. We’ll start the tutorial by creating our own mono weight brush by altering a default/standard brush in procreate. Then, I’ll share my process for utilizing the skeleton technique, along with a few examples to get you started. Read on to see how!

Happy Tuesday! This week, I’m excited to revisit the world of watercolor lettering – one of my favorites, for sure 🙂 When Spence and I left our previous jobs, our coworkers gifted us the book, Shadow Type, by Steven Heller and Louise Fili. The binding is already breaking on it, from obsessing over the perfectly executed lettering from back in the day. It’s high on my list of type books, without a doubt. Anyway! As I was looking through it the other day, one of the images caught my attention and I wanted to try it with watercolor. I practiced it over and over until I had a process I was happy with. This week I’m sharing that process – of how to create a debossed watercolor lettering effect.

Happy Tuesday! It’s been a little while since we made some iPad lettering, so this week we’re creating floating shadows in Procreate. I’ve seen this effect referred to as ‘off shade’ before, but I’ve always thought of them as floating shadows. Essentially, it’s a drop shadow that’s disconnected, or there’s a space between your lettering and the shadow itself. I love how simple this effect is, but also how it adds that cool factor/semi 3D look right away. See how to apply this exact effect to your lettering below!

Jamie got in touch with me a few weeks ago, asking how to recreate the letters in this image. I loved that idea, though I had a bit of trouble tracking down the original source. I also wasn’t totally sure what to call this look, so we’re going with ‘pattern letters’ 😉

Essentially, we have letters with a multiply blend mode (so you end up with three colors including the overlap), plus a pattern element integrated into one of the strokes of the letter. This creates a semi-dimensional look, plus a beautifully colored one – perfect for modern headlines (or even logos!). Read on to create your own!

GDPR Icon

Your Privacy Matters

We use cookies to customize and create content that’s most important to you. We’ll never share the info we collect.

View Privacy Policy