HomePosts Tagged "video tutorial"

video tutorial Tag

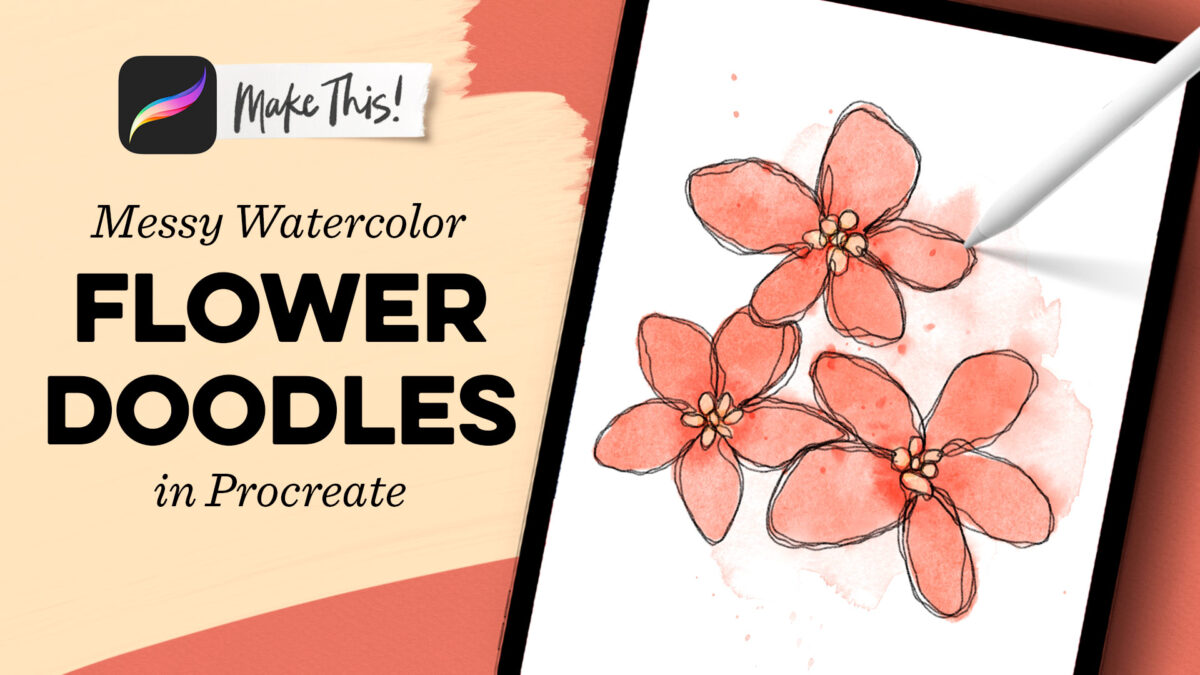
I feel like I will always have a need for cute and simple flower doodles. Whether it’s for an icon on a website or social media cover image, to even logos, stickers and stamps, or using with bullet journaling. The effort to create them definitely stretches far, and when it’s digital, reusing them couldn’t be easier 😉 This week, we’re diving into one of my all time favorites: messy watercolor flowers!

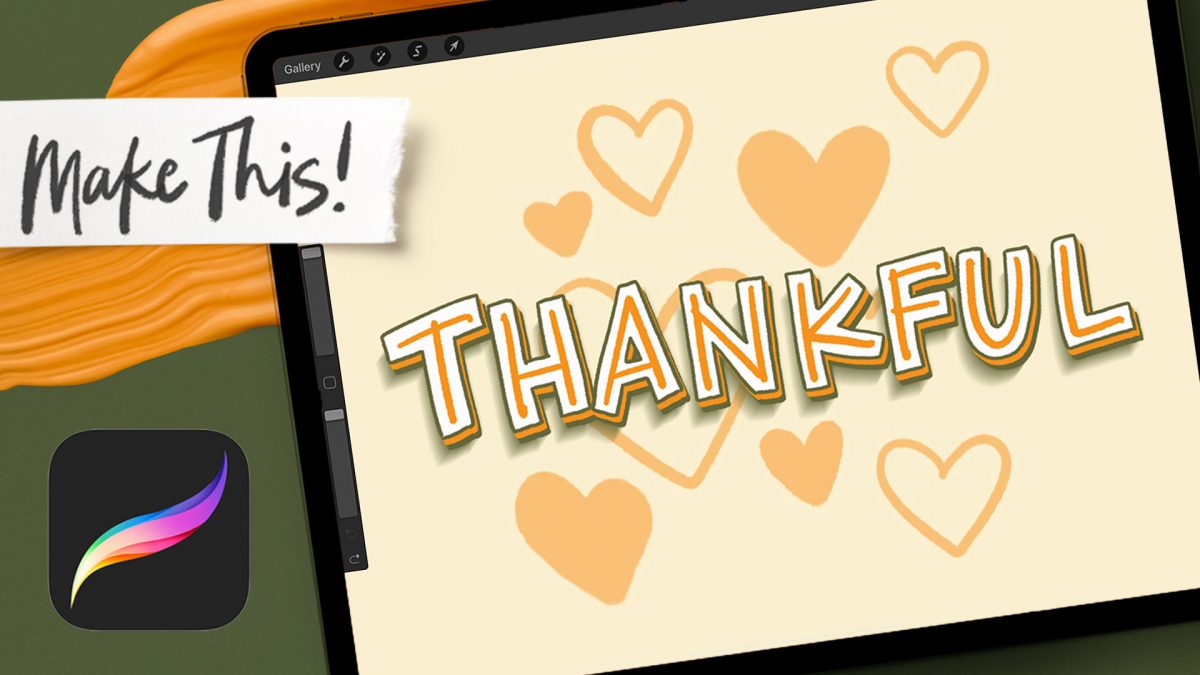
I’ve got a fun lettering project for you this week that you can use for any of your holiday social posts or stationery! In the video, we go through 5 different lettering enhancements, compiling each one onto the one before it. You can use any of these individually or stack them just the same, so there are plenty of options to make it your own.

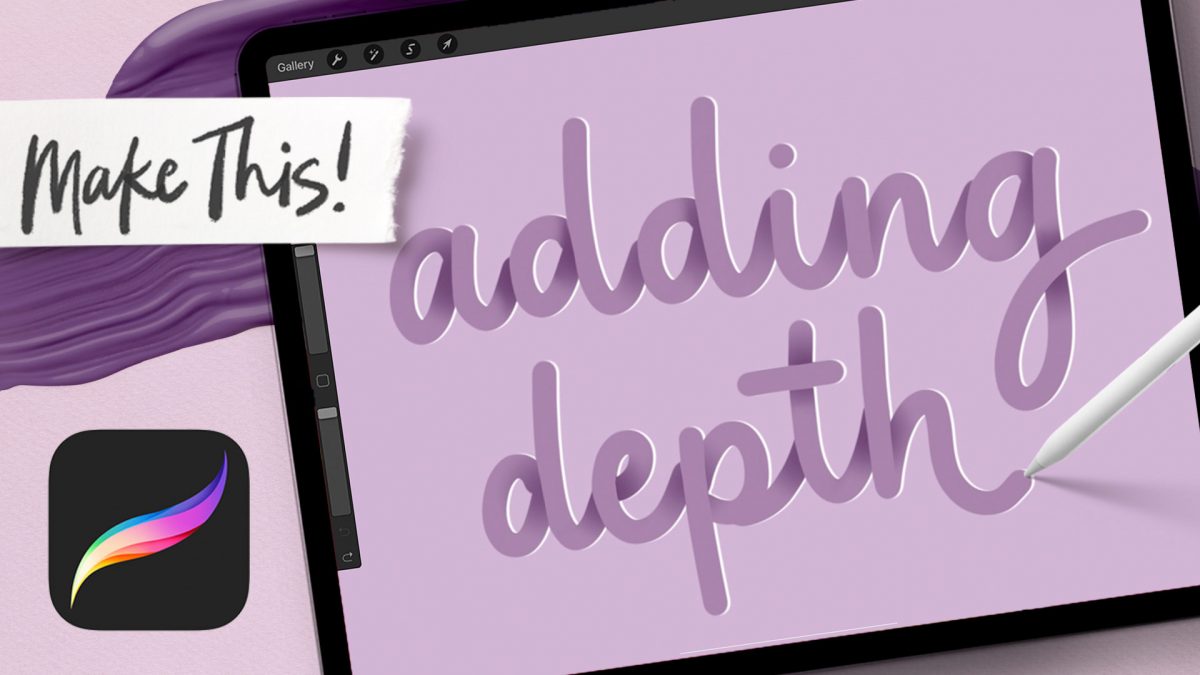
I’ve had a few requests for advanced tutorials, so if you’re up for a challenge, this week’s tutorial is for you! This is one of my favorite depth effects when it comes to lettering; I love how it starts out completely flat and things pop forward more and more as you go – soooo satisfying! You can use this same effect on overlapping shapes or even your favorite font if you don’t want to use lettering – win, win!

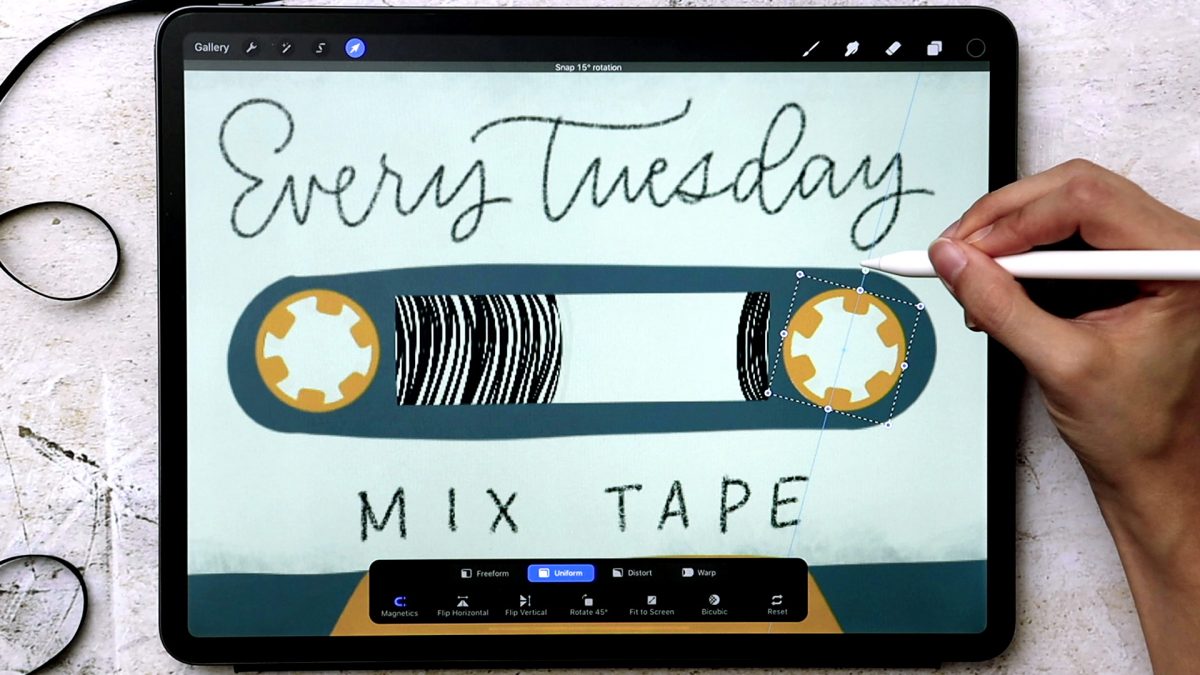
Happy Tuesday! This week, we’re creating an old school mix tape from scratch, then animating it! This is my most advanced animation tutorial yet – not only will we create a more complex design together, we’ll animated the tape wheels + tape simultaneously using the ping pong option in the animation assist panel. As always, the project color palette (and monoweight brush) are both available for free (also in the Resource Library.

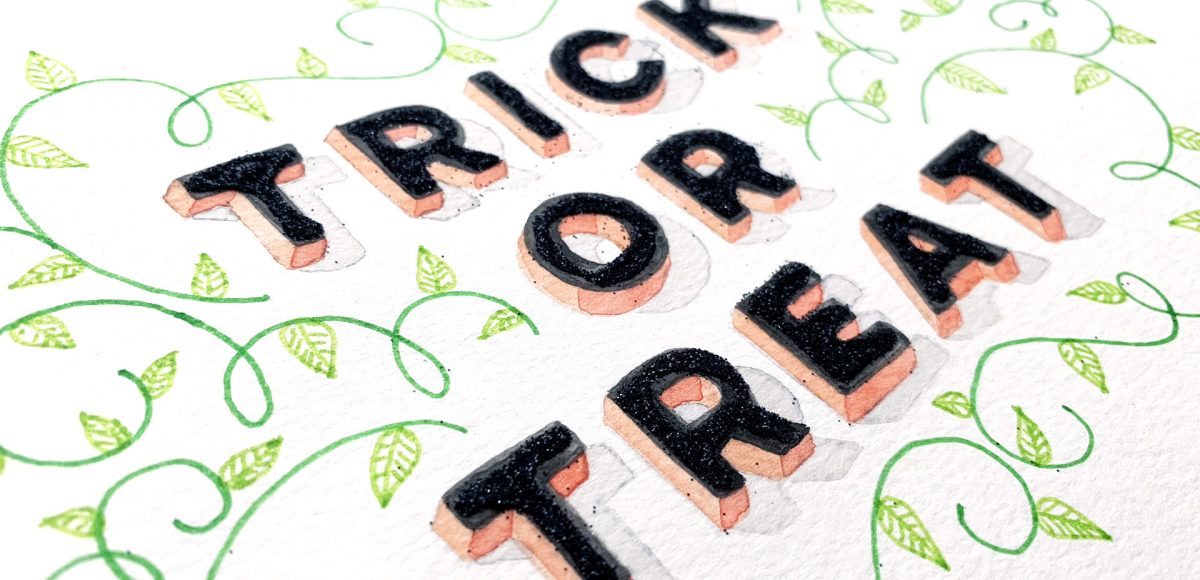
Happy almost-Halloween! With all the fun crafts that Halloween inspires, I couldn’t let it pass without adding a DIY to the mix! It’s been a little while since we had a craft tutorial and this is my biggest one yet. This week, we’ll create some mixed media 3D Halloween lettering you can use as decoration anywhere! We’ll plan it out + paint it with watercolor, add details with fineliner pens AND add some sparkle to finish it off. I’ll take you through my process of painting 3D, pop-off-the-page lettering, as well as how I plan out flourishing to frame the final piece. Read on to create your own mixed media 3D Halloween lettering!

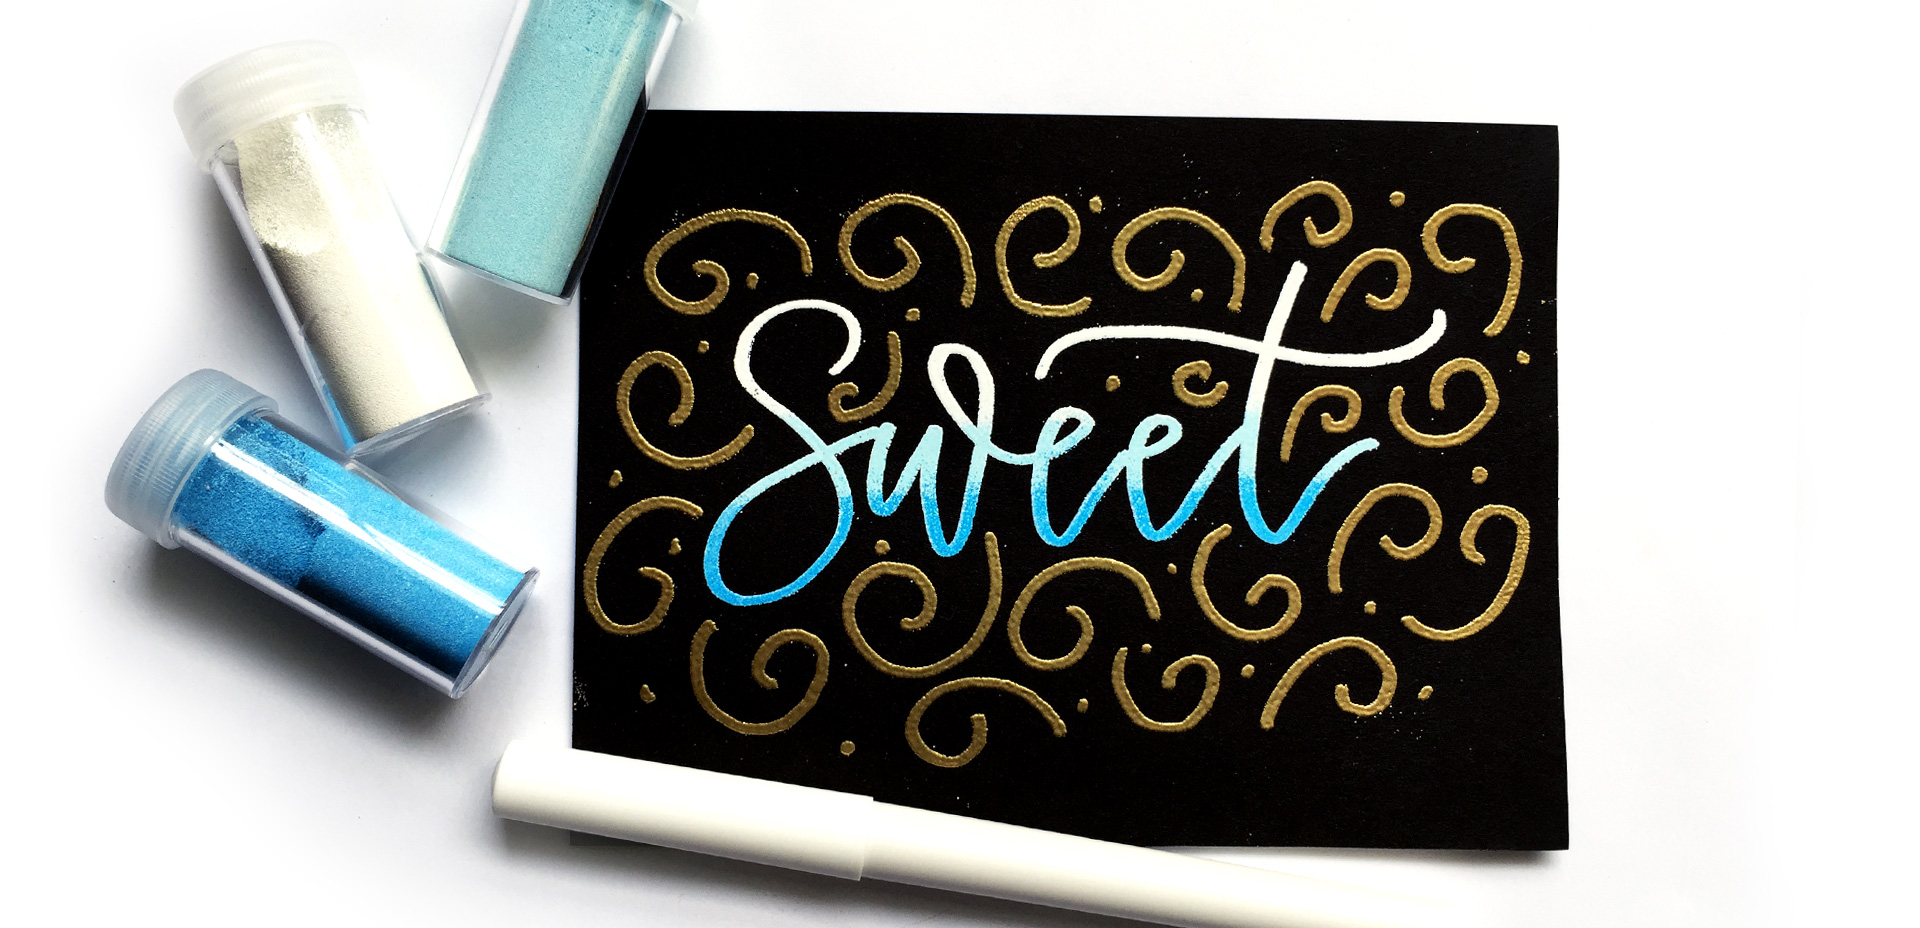
Happy December! Now that the holiday season is in full swing, I wanted to offer up a fun hand lettering technique for your (any time of the year) stationery, too! This ombre embossing effect is SO eye catching *and* I have a technique that avoids mixing your embossing powders together. Using this technique, you’re able to maximize the life of your powder purchases and create beautiful outcomes, too. Plus, look at the colors on black! I love the vibrancy and contrast embossing straight onto black produces. Swoon. Read on to see it all!

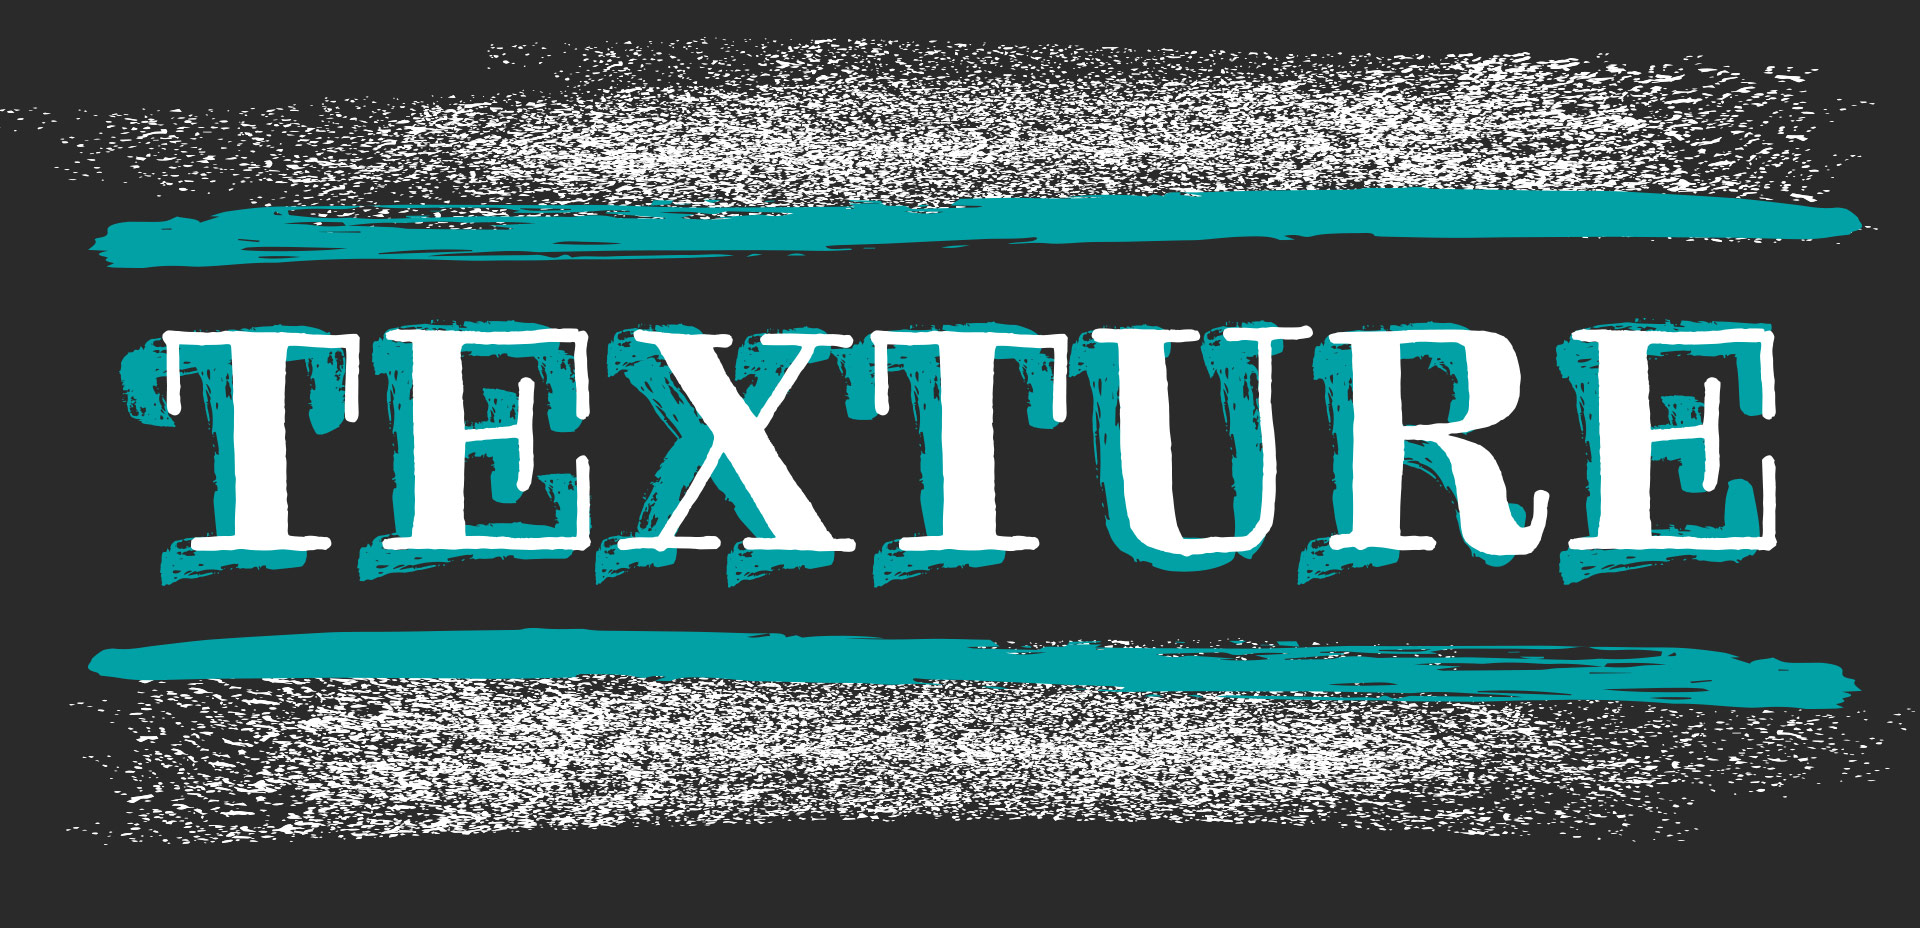
I’ve only recently started incorporating Illustrator texture brushes into my work, and I regret not doing it sooner! Illustrator texture brushes offer so much hand made feel with such little effort, you almost feel like a magician 😉 To get started, all you need is any kind of vector texture like this set of inky brush strokes or these mini grit textures (both free!). From there, we convert them into Illustrator art brushes with specific settings and we’re done! This will be such a great addition to your regular workflow if you love including extra texture into your work. For the tutorial, we’ll create some inky and gritty typographic drop shadows in just a few quick minutes. Read on to see it all!

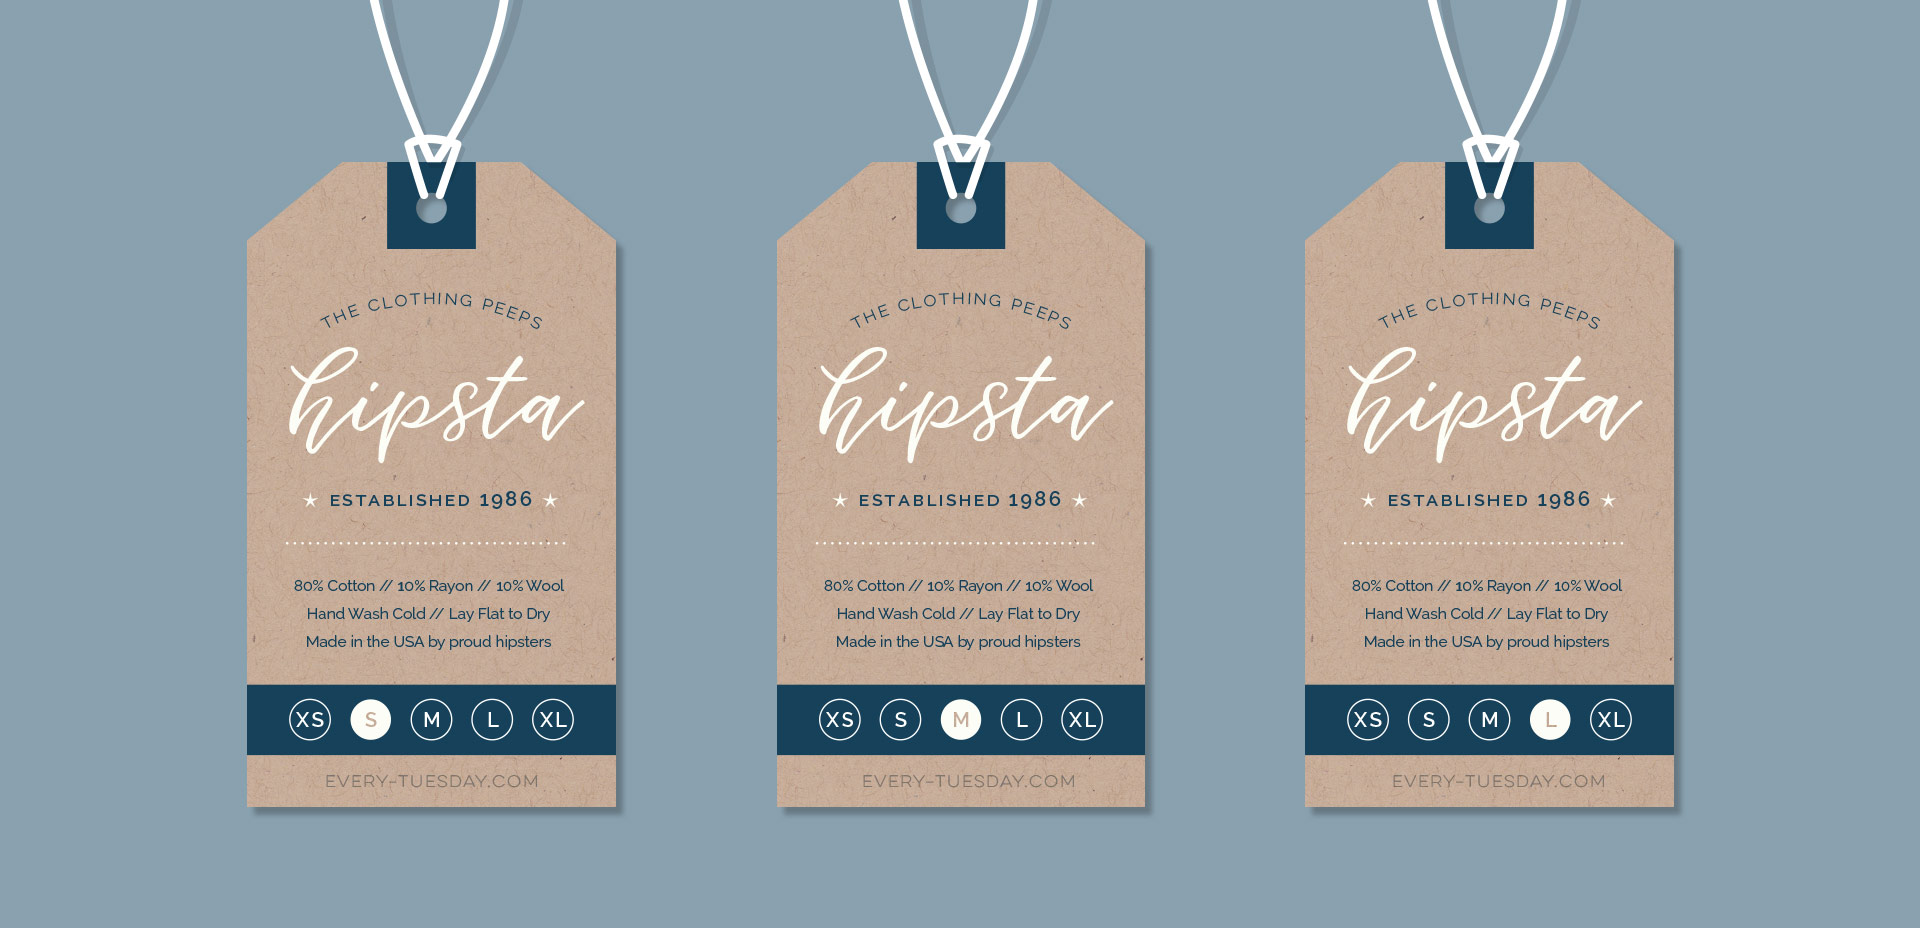
I’ve somehow always been drawn to really beautiful design on smaller items. It might just be the cuteness factor, but serious planning goes into hierarchy and layout in such a small space, and that has always been really impressive to me. Do you ever check what the clothing tags look like when you’re shopping? I remember the first time I ever obsessed over a clothing tag. It was when I was in high school and at the mall with friends (I probably should have known a career in design was imminent at that moment). Anyway, I wasn’t in love with whatever article of clothing it was (see? I can’t even remember that part!) but I loved that tag, so I bought it anyway (in my defense, I’ll also note this was before cell phones with cameras). Roll your eyes if you must. 😉

If you love thoughtful graphic design on smaller things too, this tutorial’s for you! In this week’s video, we’ll create a hipster style clothing tag from scratch using just Adobe Illustrator. Get started below!

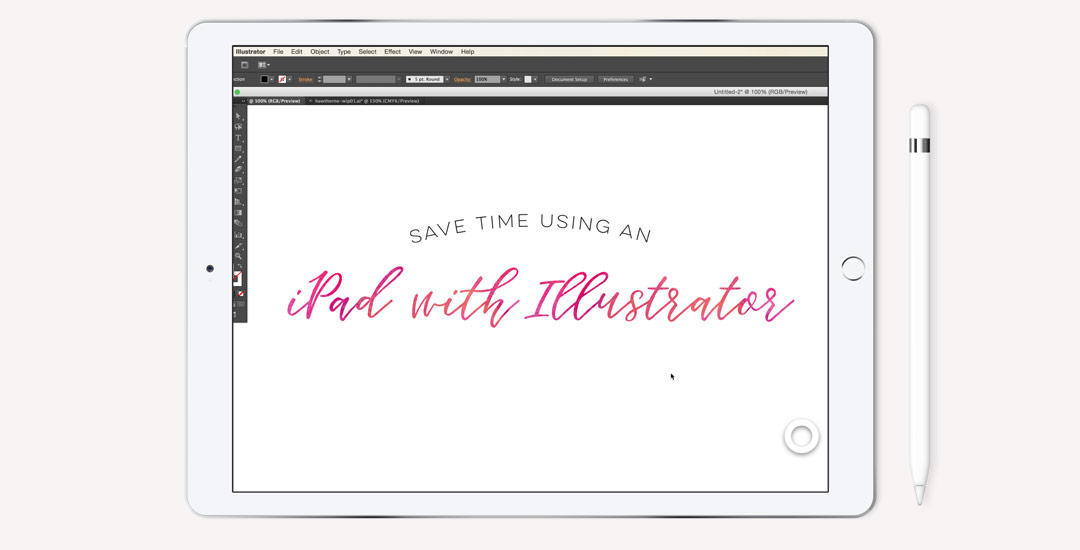
Ok, you guys. This one’s a game changer for real. No kidding, my workflow for editing vectors in Illustrator has been at least cut in half by now using my iPad with the app AstroPad. If you’ve seen this tutorial, or this one using the standard method of Wacom/mouse for edits/revisions, you’re going to love this one. You can also find a list of my top 5 affordable Wacom tablets here if you are interested in using that type of device. If you’ve checked our my Intro to iPad Lettering class, this will take things even further if you’re familiar with Illustrator – you can use this same method with Photoshop, but I find myself using it wayyyy more with Illustrator, so I’m focusing this video there. I spent some serious edit time on this so you could get the full effect of what’s happening on my computer vs. how I’m using the iPad – I walk you through basic edits of a design element and then show you how I used the iPad when I worked on my most recent font, Hawthorne Script. I’m not affiliated with AstroPad in any way, just really excited about how much time I’m about to get back in the future 🙂 See it all below!

Happy Tuesday! Hope you all had a great Thanksgiving! Spence, Nuna + I went low key + celebrated just the 3 of us together. After dinner, we spent the rest of the evening sipping blackberry rum fizzes, dipping italian herb bread in oil + vinegar we brought back from Sonoma + binge listening to Serial while Spence read coding tutorials + I doodled 🙂 ah, days off are the best!

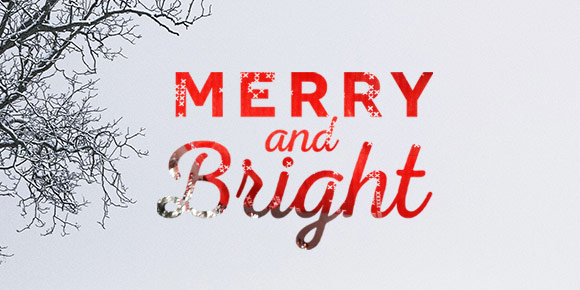
But it’s back to the grind for now.. I’ve been thinking about fun holiday themed tutorials I could make this year and this was one of the first ones that came to mind. You can use it on greeting cards, e-cards, gift tags, wrapping paper – you name it! And you can use the same technique all year long. In this week’s tutorial, we’ll mask an image inside of text in Photoshop in a few quick and easy steps. Click on to get started!

GDPR Icon

Your Privacy Matters

We use cookies to customize and create content that’s most important to you. We’ll never share the info we collect.

View Privacy Policy