HomePosts Tagged "adobe" (Page 4)

adobe Tag

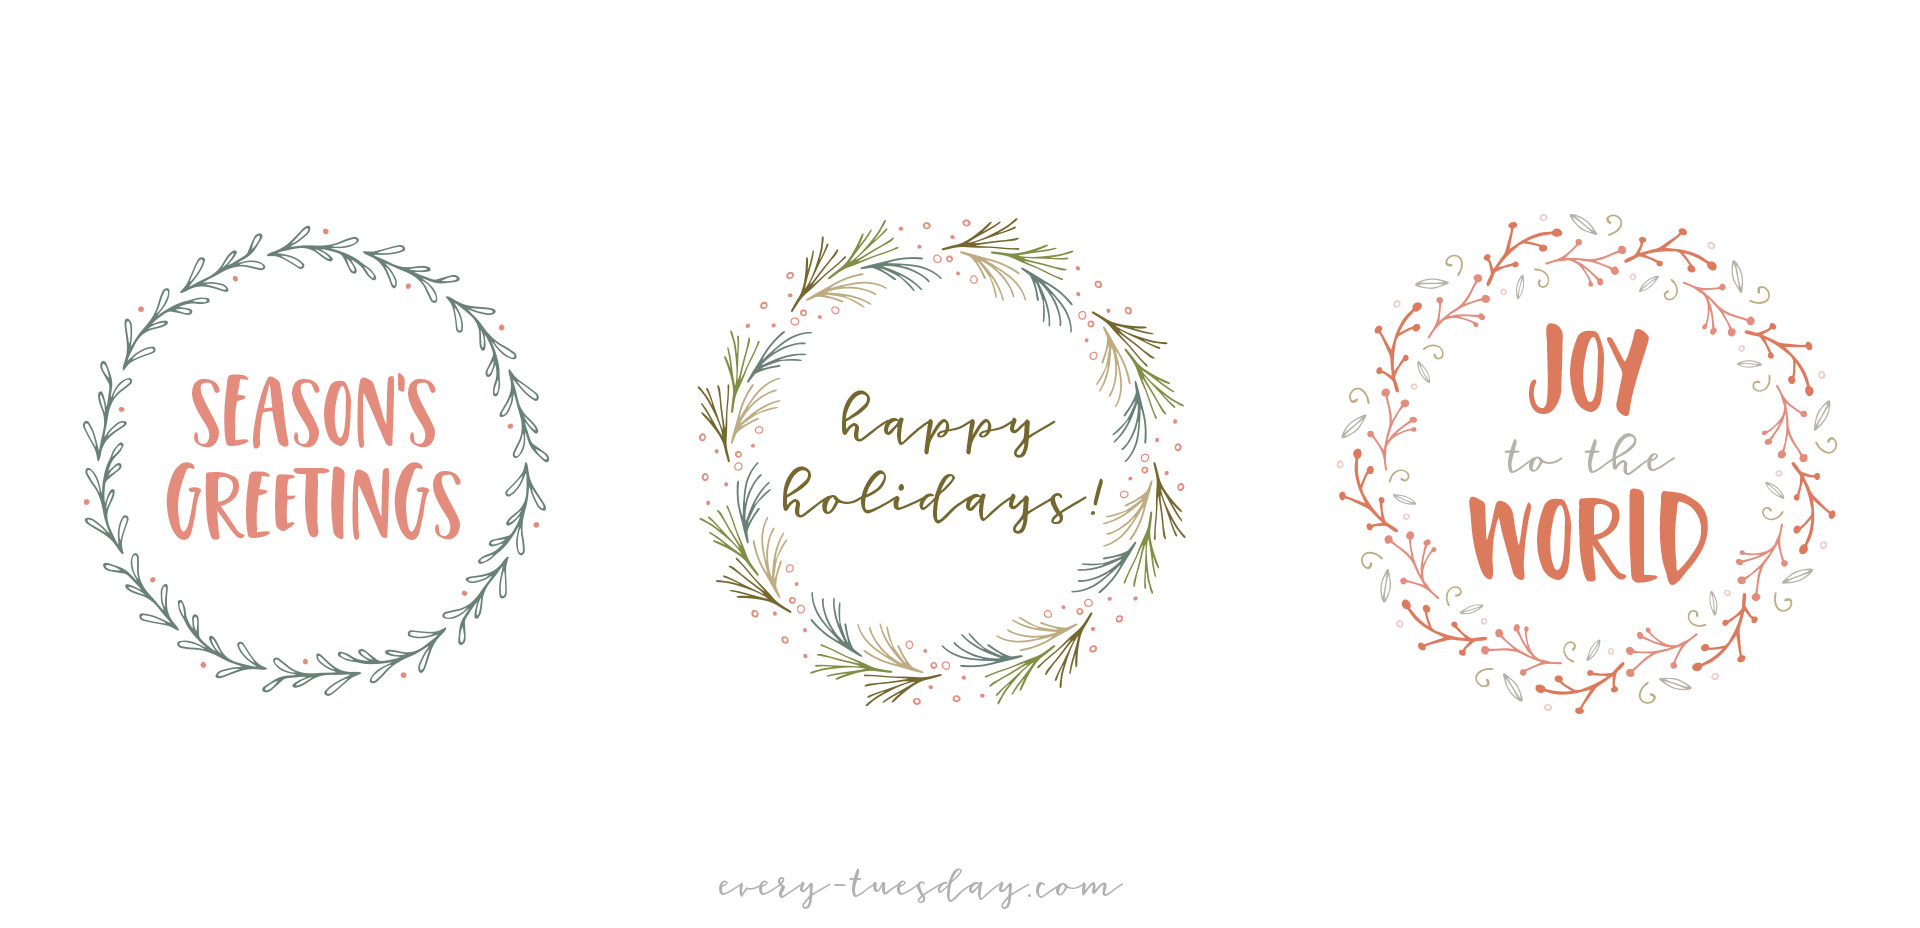
I really hope you’ve been enjoying these holiday Adobe Illustrator tutorials! They’ve been extra fun for me to share, and today’s video is no different. In this tutorial, we’ll create seamless pattern wreaths, once again utilizing the free holiday vector pack. These are really impressive looking and so, so easy to create! In the video, I walk you through the one thing to keep in mind when you make yours and then show how easy they are to use! Read on to see the full video!

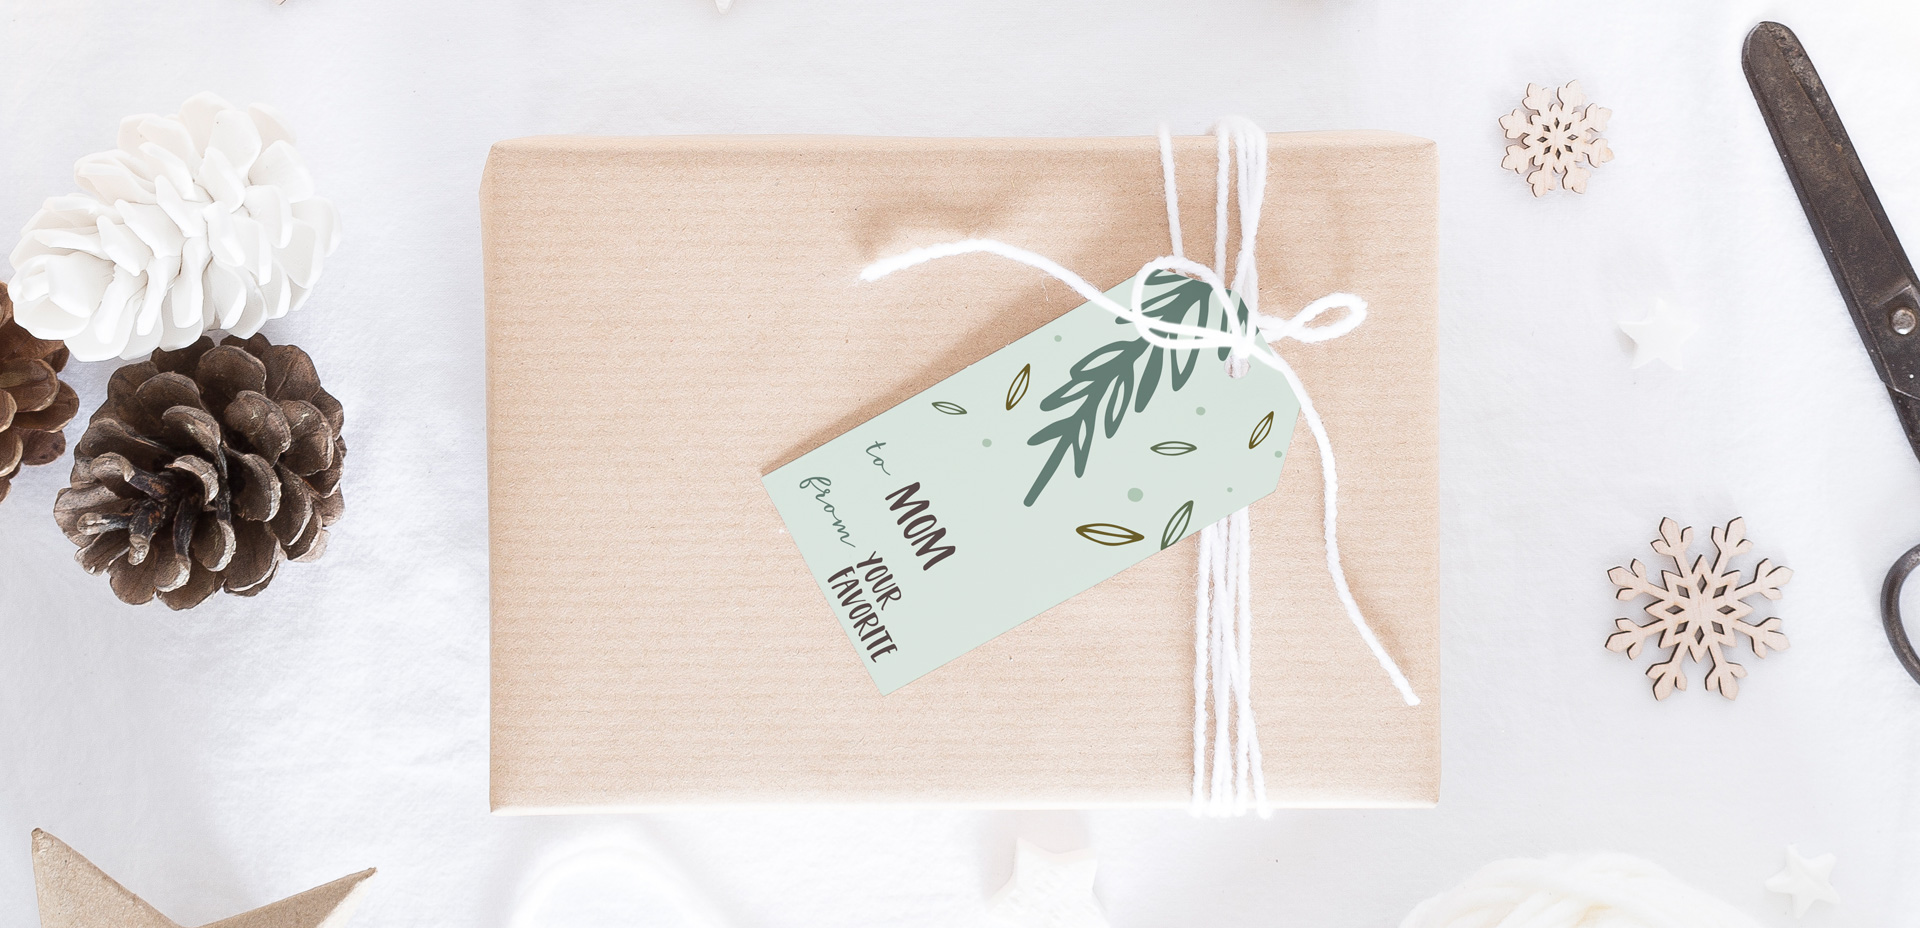
Get ready to add some extra beauty to your gifts this year with some custom designed holiday gift tags in Adobe Illustrator! Creating stationery items in Illustrator is honestly one of my favorite parts of graphic design. This week, keeping with the holiday theme, we’ll utilize the free holiday vector pack once again. Grab that vector pack, Adobe Illustrator and about 10 minutes and you’ll have your new gift tags ready for print. Read on to see how!

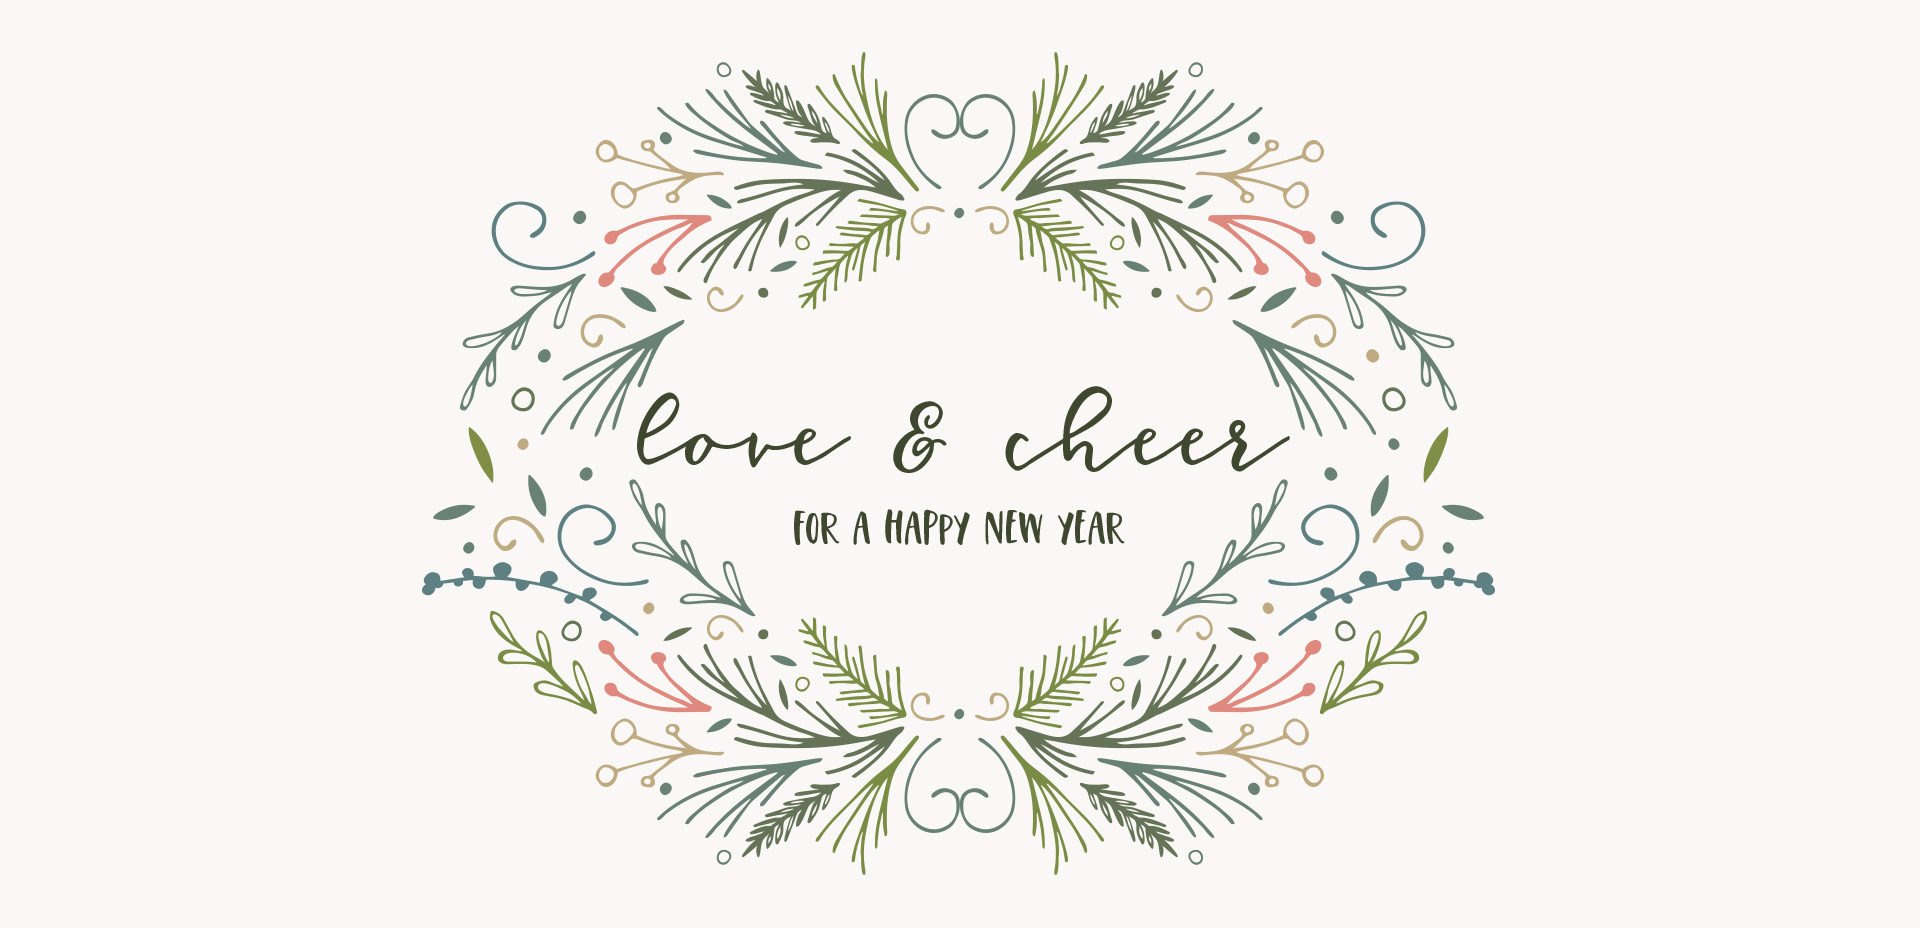
Piggybacking off of last week’s tutorial, this week we’re creating a holiday postcard in Adobe Illustrator! We’ll be using the free vectors from the holiday vector pack, so be sure to grab those if you haven’t already. Today is extra exciting, because I just released my newest font Espresso Roast, which we’ll be using, as well. It’s a font trio, so you get an all caps version, a script version and a symbols font. It’s full of fun personality and was designed so all styles pair perfectly together 🙂 Read on to see how to create a complex wreath design quickly using a few easy tips!

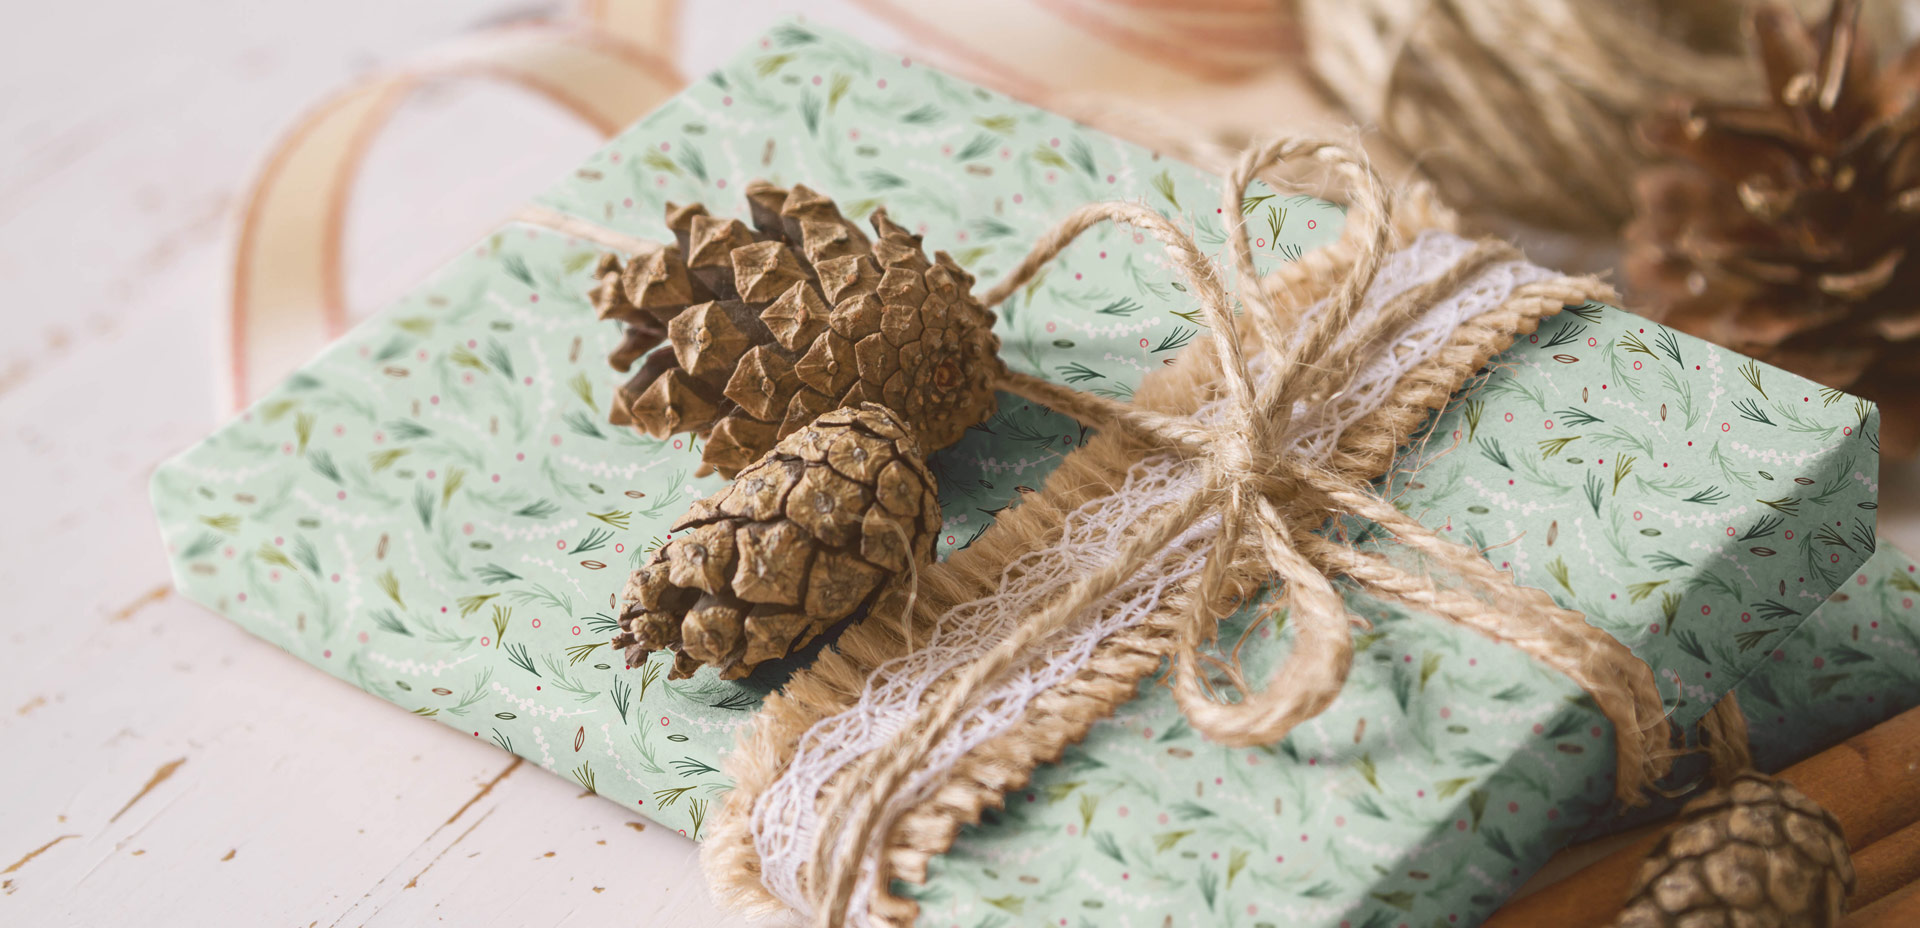
Welcome to the first holiday tutorial of the season! To kick things off, I thought it would be fun to create custom holiday gift wrap in Adobe Illustrator. Since gift wrap is essentially a repeating pattern, we’ll be walking through all of the steps of a seamless pattern using the pattern tool. Be sure to pick up last week’s free holiday vectors to follow along exactly! This pattern tutorial is a little different; not only will we create a seamless swatch, I’ll also share how to apply any background color to your pattern quickly (without re-entering the pattern tool)! Once our pattern is complete, we’ll export it and use an online service to upload and customize our gift wrap. By the end of the video, you’ll have everything you need to create your pattern and also get your custom holiday gift wrap printed for real! Everything you need included below!

Happy November! This year is seriously cruising by. Before we know it, we’ll need to start sending out holiday cards, and if you’re feeling ambitious, diy’ing some printable design work. I’ve got a bunch of holiday design tutorials planned, so I want to make things super easy on you this year. This holiday vector pack includes all the vectors you’ll need to create every upcoming tutorial! These come as vector-only since we’ll be working mostly in Adobe Illustrator. Working in Illustrator will allow us to use our artwork at any size we please, without ever losing quality or resolution. Get a head start with any projects you have in progress and grab all 33 unique vectors below!

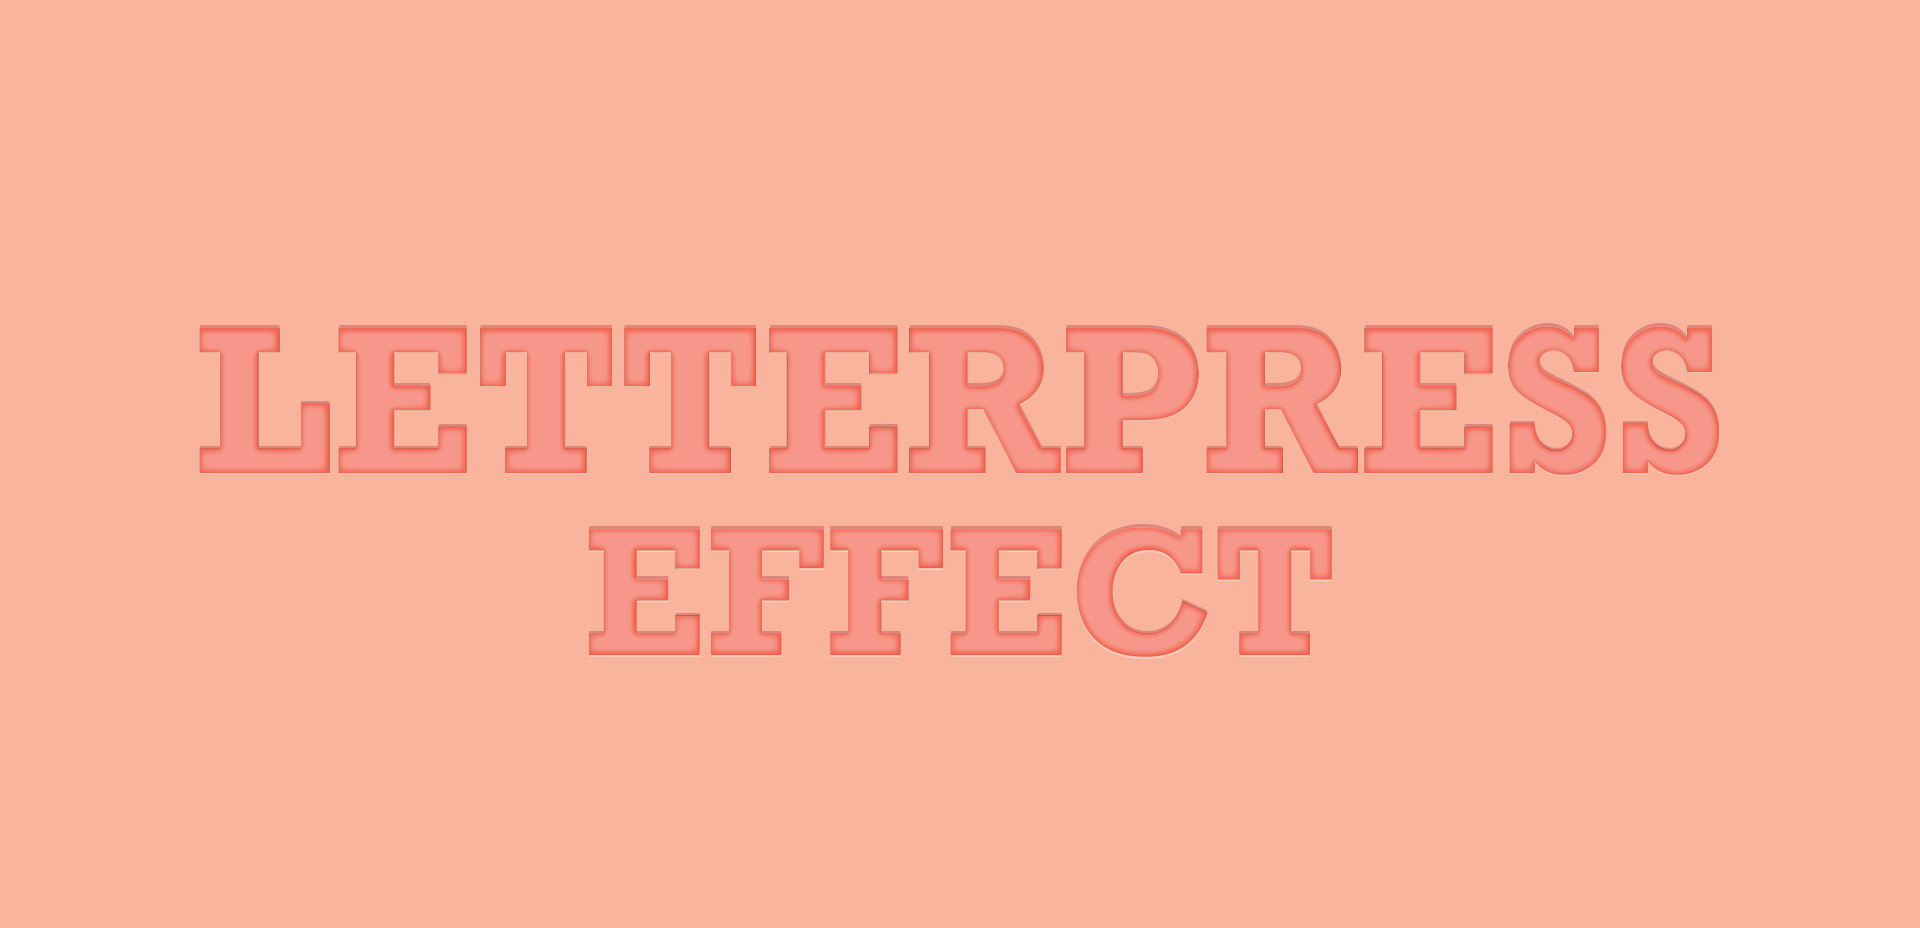
Last week, we created a realistic foil stamp effect using only illustrator and a seamless foil texture. This week, we’re borrowing some of the same tips, but simplifying. If you don’t have a texture on hand, but still want to add an element of cool, a letterpress effect is a great option. The letterpress effect simulates the impression a polymer plate makes on paper when it’s pressed into it. Letterpress has become increasingly popular over the last 5 years, but fun fact: letterpressing was never meant to be a final print effect. Letterpressing first began as a ‘test’ print before metal plates were developed which create stronger, deeper (and more expensive) impressions. In this week’s tutorial, adjust the settings for however strong of an impression you’d like as we create a letterpress effect entirely in Illustrator.

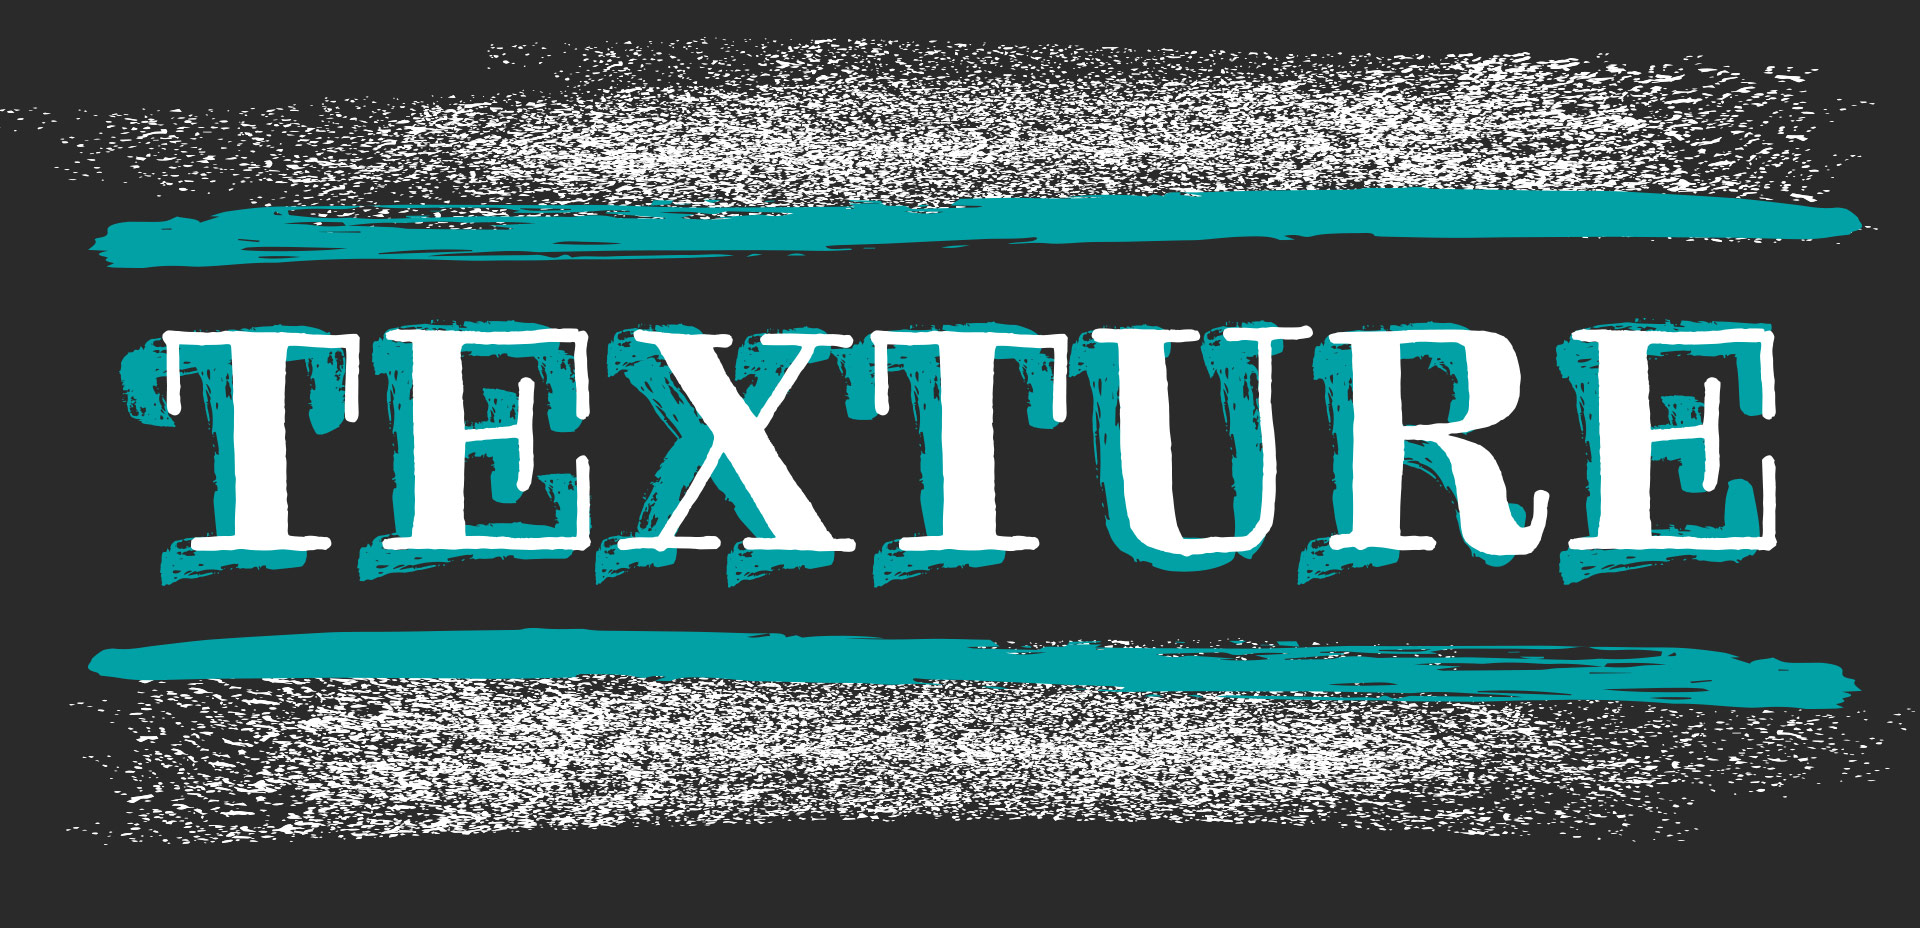
I’ve only recently started incorporating Illustrator texture brushes into my work, and I regret not doing it sooner! Illustrator texture brushes offer so much hand made feel with such little effort, you almost feel like a magician 😉 To get started, all you need is any kind of vector texture like this set of inky brush strokes or these mini grit textures (both free!). From there, we convert them into Illustrator art brushes with specific settings and we’re done! This will be such a great addition to your regular workflow if you love including extra texture into your work. For the tutorial, we’ll create some inky and gritty typographic drop shadows in just a few quick minutes. Read on to see it all!

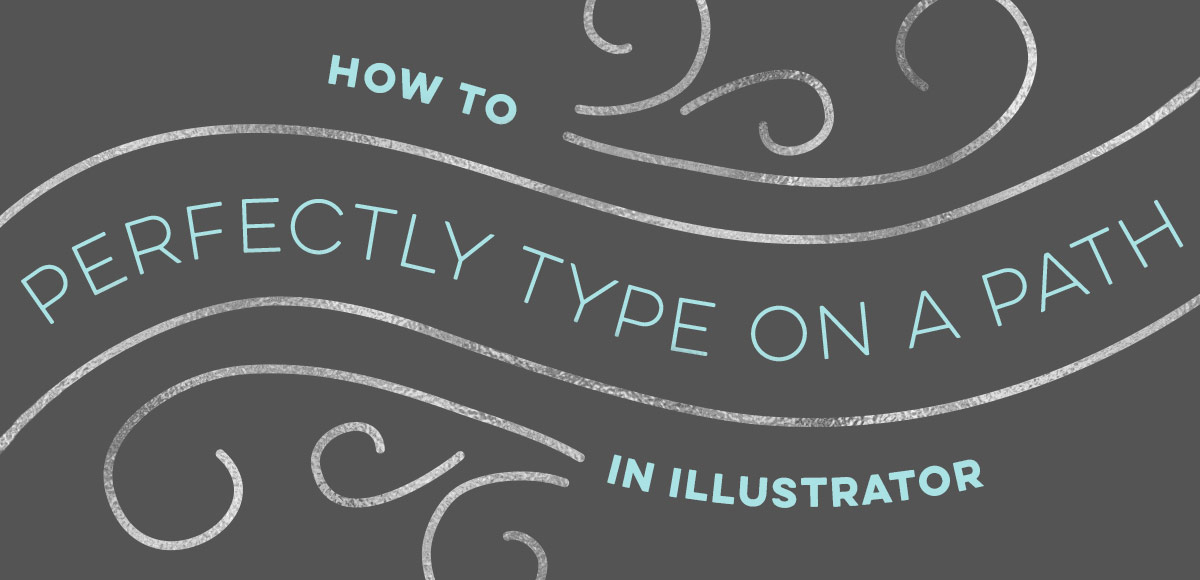
Let’s talk about something that’s massively important, but often gets overlooked: type on a path in Illustrator. You’re probably already familiar with the ability to select any text and go effect > warp, but that makes editing your text later on pretty difficult. The truth is, most of graphic design is experimenting, altering and adjusting. Because of this, the need to go back and adjust previously warped text quickly is a big deal. Luckily, Illustrator makes it super easy to customize text appearance along a path with a few handy tools. Prepare to take your layouts to a whole new level with these options in this week’s tutorial! Oh, and just in case you need to reference these tips later, I made you a free cheat sheet, too 😉

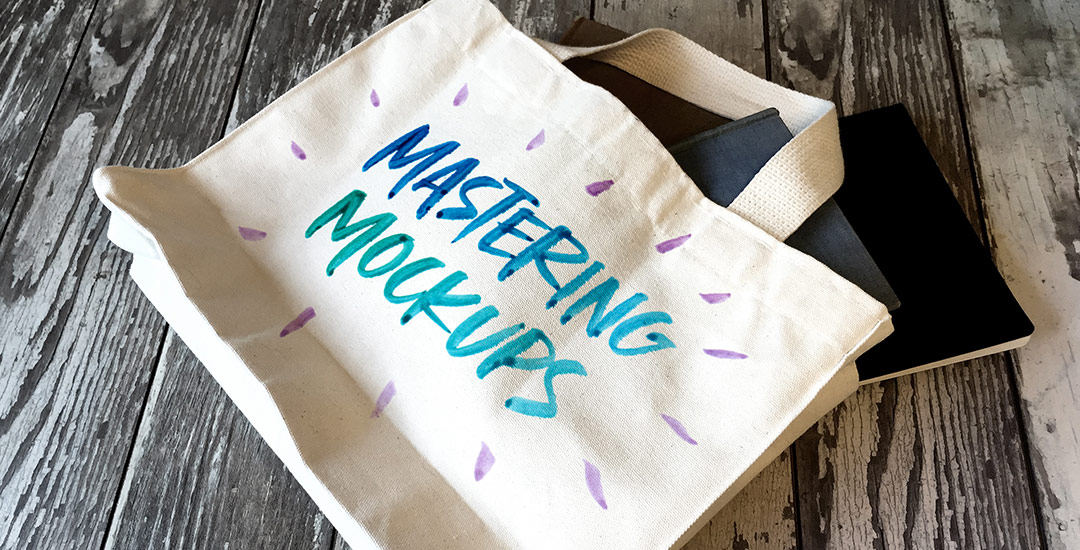
Happy Tuesday! I’m so excited I get to bring my newest online class to you this week, Mastering Mockups! In the class, we take original artwork, apply a little photoshop trickery, and put that artwork on products which look convincingly real. This is the perfect sales tool if you’re a seller on Etsy and need better product photography, if you’re a freelancer who wants to impress and convince your client to approve the artwork you created for them, or if you’d like to level up your design portfolio making fictitious projects come to life. You can also use the class’s techniques to create social media posts, blog images, digital product sales pages and more. Your enrollment in the class gets you all 4 base photos used in the class for free. With those photos, you’ll be able to follow along, completing every step as we go 😉

Keeping with tradition, I’m sharing the class trailer today, along with a bonus lesson from the class. In this lesson, we’ll create a single use, social media mockup. Are you ready to mock?! Everything below!

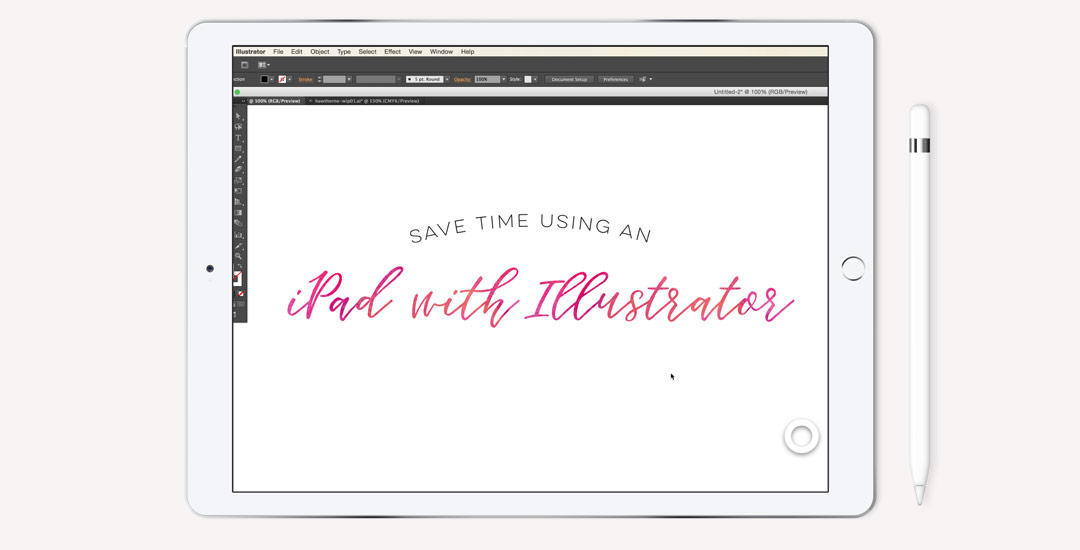
Ok, you guys. This one’s a game changer for real. No kidding, my workflow for editing vectors in Illustrator has been at least cut in half by now using my iPad with the app AstroPad. If you’ve seen this tutorial, or this one using the standard method of Wacom/mouse for edits/revisions, you’re going to love this one. You can also find a list of my top 5 affordable Wacom tablets here if you are interested in using that type of device. If you’ve checked our my Intro to iPad Lettering class, this will take things even further if you’re familiar with Illustrator – you can use this same method with Photoshop, but I find myself using it wayyyy more with Illustrator, so I’m focusing this video there. I spent some serious edit time on this so you could get the full effect of what’s happening on my computer vs. how I’m using the iPad – I walk you through basic edits of a design element and then show you how I used the iPad when I worked on my most recent font, Hawthorne Script. I’m not affiliated with AstroPad in any way, just really excited about how much time I’m about to get back in the future 🙂 See it all below!

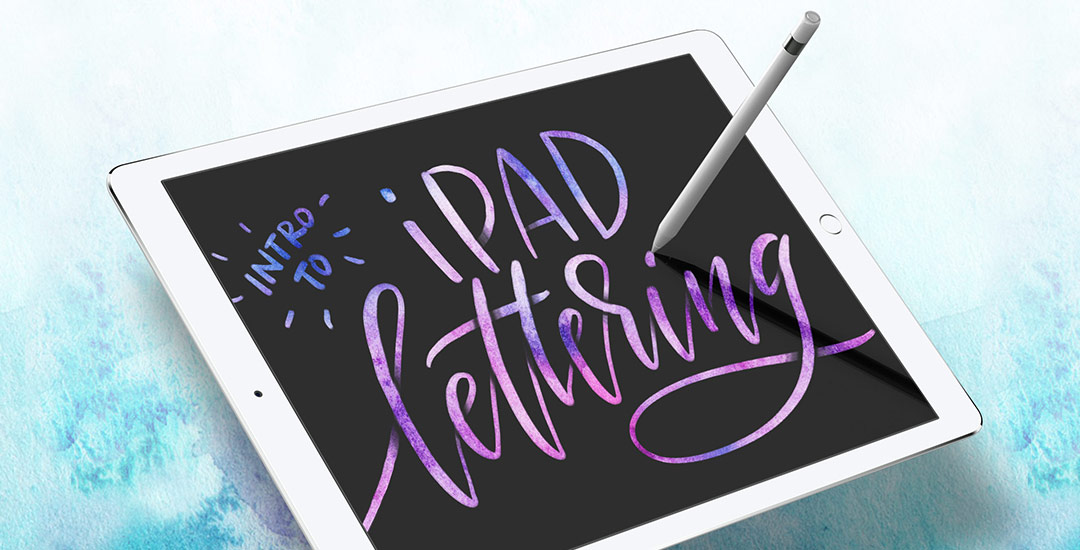
I’m excited to announce my newest Skillshare class, Intro to iPad Lettering! This week I wanted to share the trailer to the class and a bonus video that you would only be able to see if you were enrolled 🙂 This class is perfect for anyone new to lettering using an iPad or anyone on the fence about investing in one. With your enrollment, you’ll learn everything needed to get started and you’ll also receive 3 practice digital lettering guides and a metallic glitter texture to use on any of your future digital lettering. See all the details below!

GDPR Icon

Your Privacy Matters

We use cookies to customize and create content that’s most important to you. We’ll never share the info we collect.

View Privacy Policy