HomePosts Tagged "brushes" (Page 2)

brushes Tag

It’s been a little while since I’ve posted a watercolor tutorial! If you’ve been here for some time, you know we can’t have that 😉 This week I want to share how to create a custom watercolor photoshop brush! Having a watercolor photoshop brush in your brush library is super handy for two reasons: #1 you don’t have to file > place large textures or search for them on your computer, and #2 it keeps file sizes smaller. These are really quick to create and can be huge time savers. See the full tutorial below!

One of my favorite parts about this year was experimenting with more art supplies than I ever have before. I definitely didn’t love everything I tried, but I do have a list of favorite art supplies from 2016. I thought it would be nice to compile them this week into one nice, review-like list. If you’re looking to try some new ones in 2017, I hope this will help with the decision making. Reading actual (unbiased) user reviews is always so helpful for me, so that’s exactly what I wanted to offer. See the full list below!

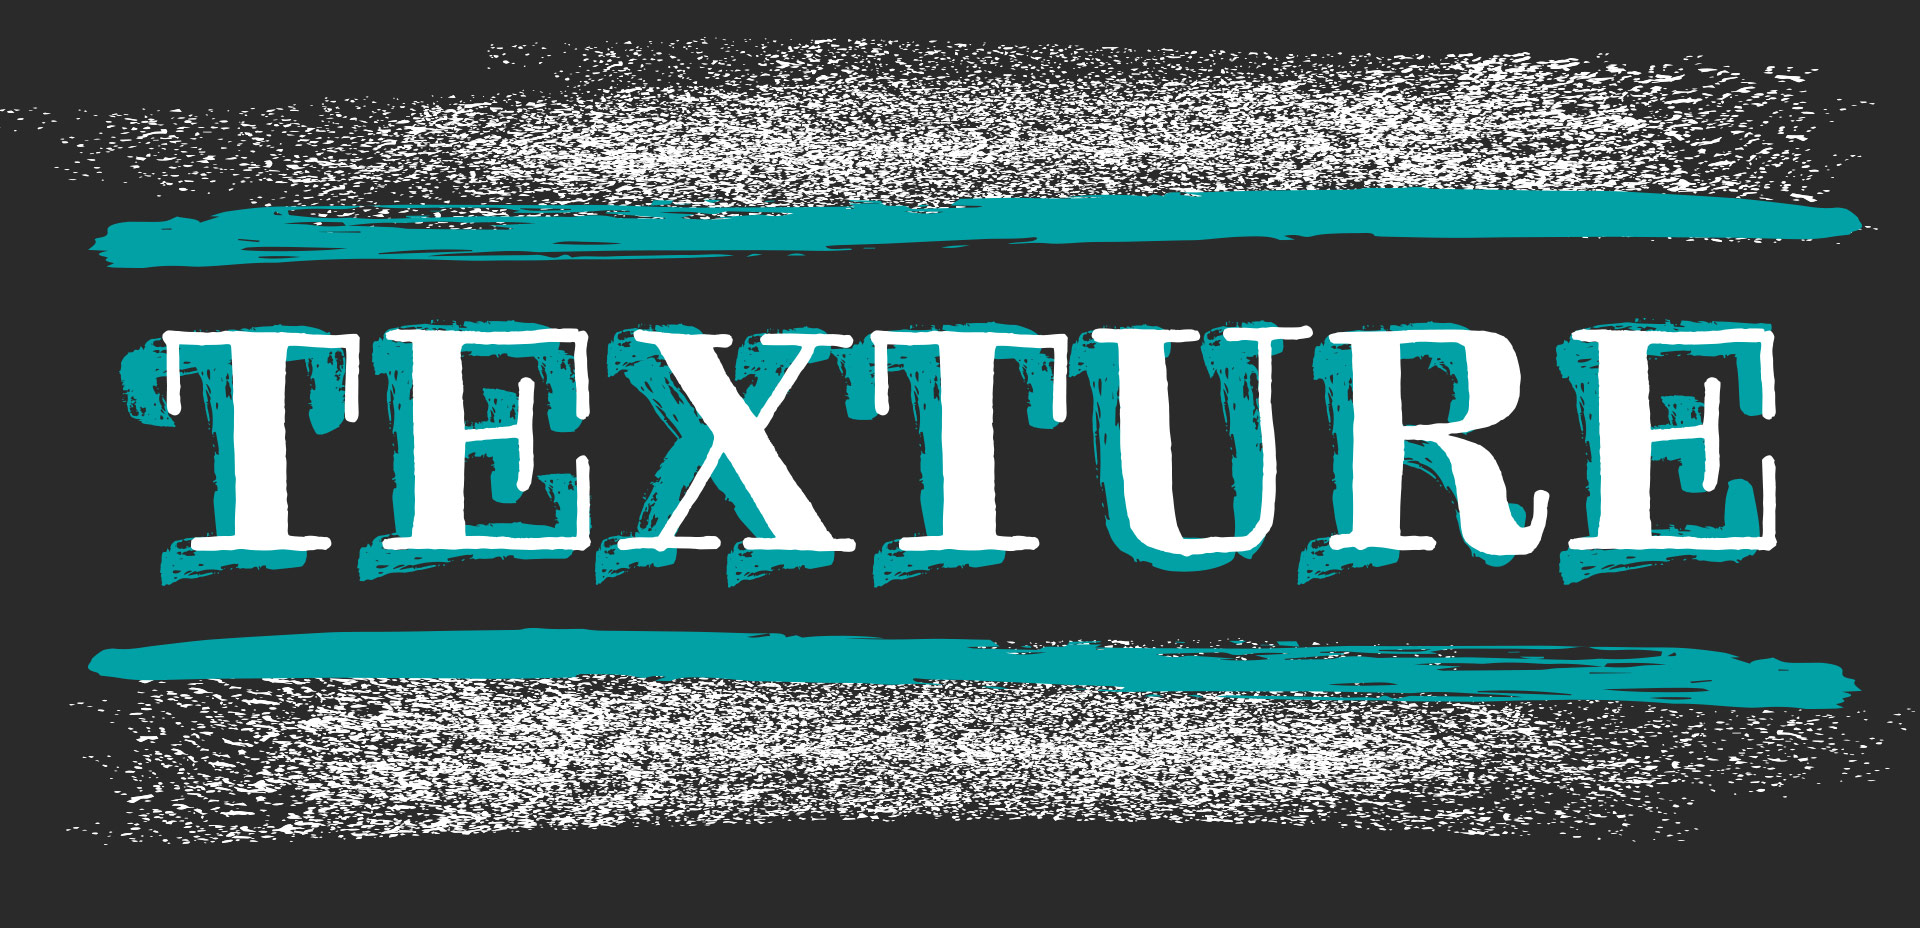
I’ve only recently started incorporating Illustrator texture brushes into my work, and I regret not doing it sooner! Illustrator texture brushes offer so much hand made feel with such little effort, you almost feel like a magician 😉 To get started, all you need is any kind of vector texture like this set of inky brush strokes or these mini grit textures (both free!). From there, we convert them into Illustrator art brushes with specific settings and we’re done! This will be such a great addition to your regular workflow if you love including extra texture into your work. For the tutorial, we’ll create some inky and gritty typographic drop shadows in just a few quick minutes. Read on to see it all!

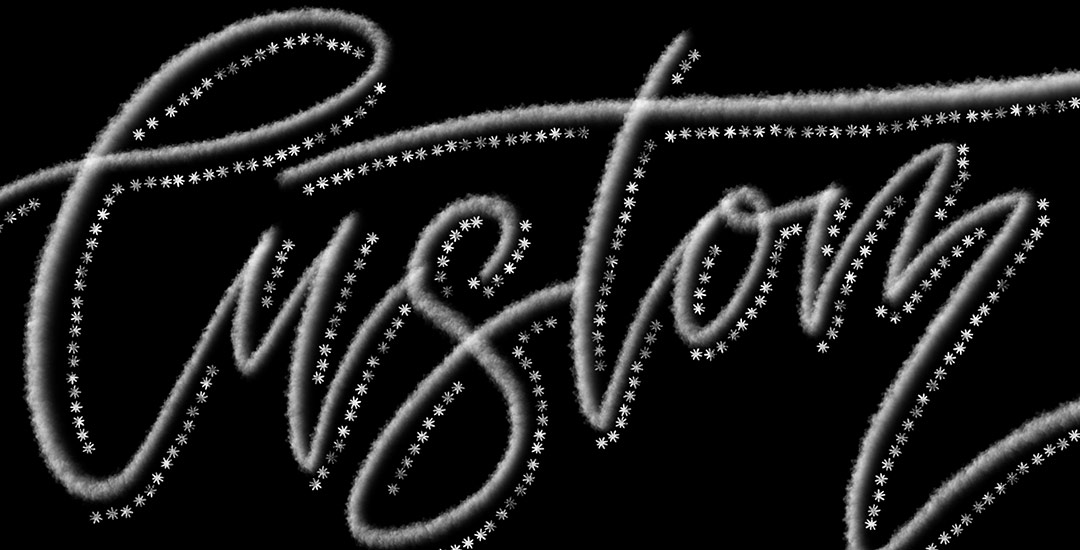
In my Intro to iPad Lettering class, we went through the entire library of brushes Procreate offers (which is amazing) and we also went over how to alter those same default brushes. If you’re looking for something less standard and more custom, Procreate allows you to create your own brushes from scratch, too! I love thinking up a doodle or a texture I haven’t seen in their library and being able to start using my own right away. In this week’s tutorial, I’ll share my full process on how to create custom Procreate brushes from scratch using Photoshop to perfect the design or texture and Procreate to apply brush settings. All the details below!

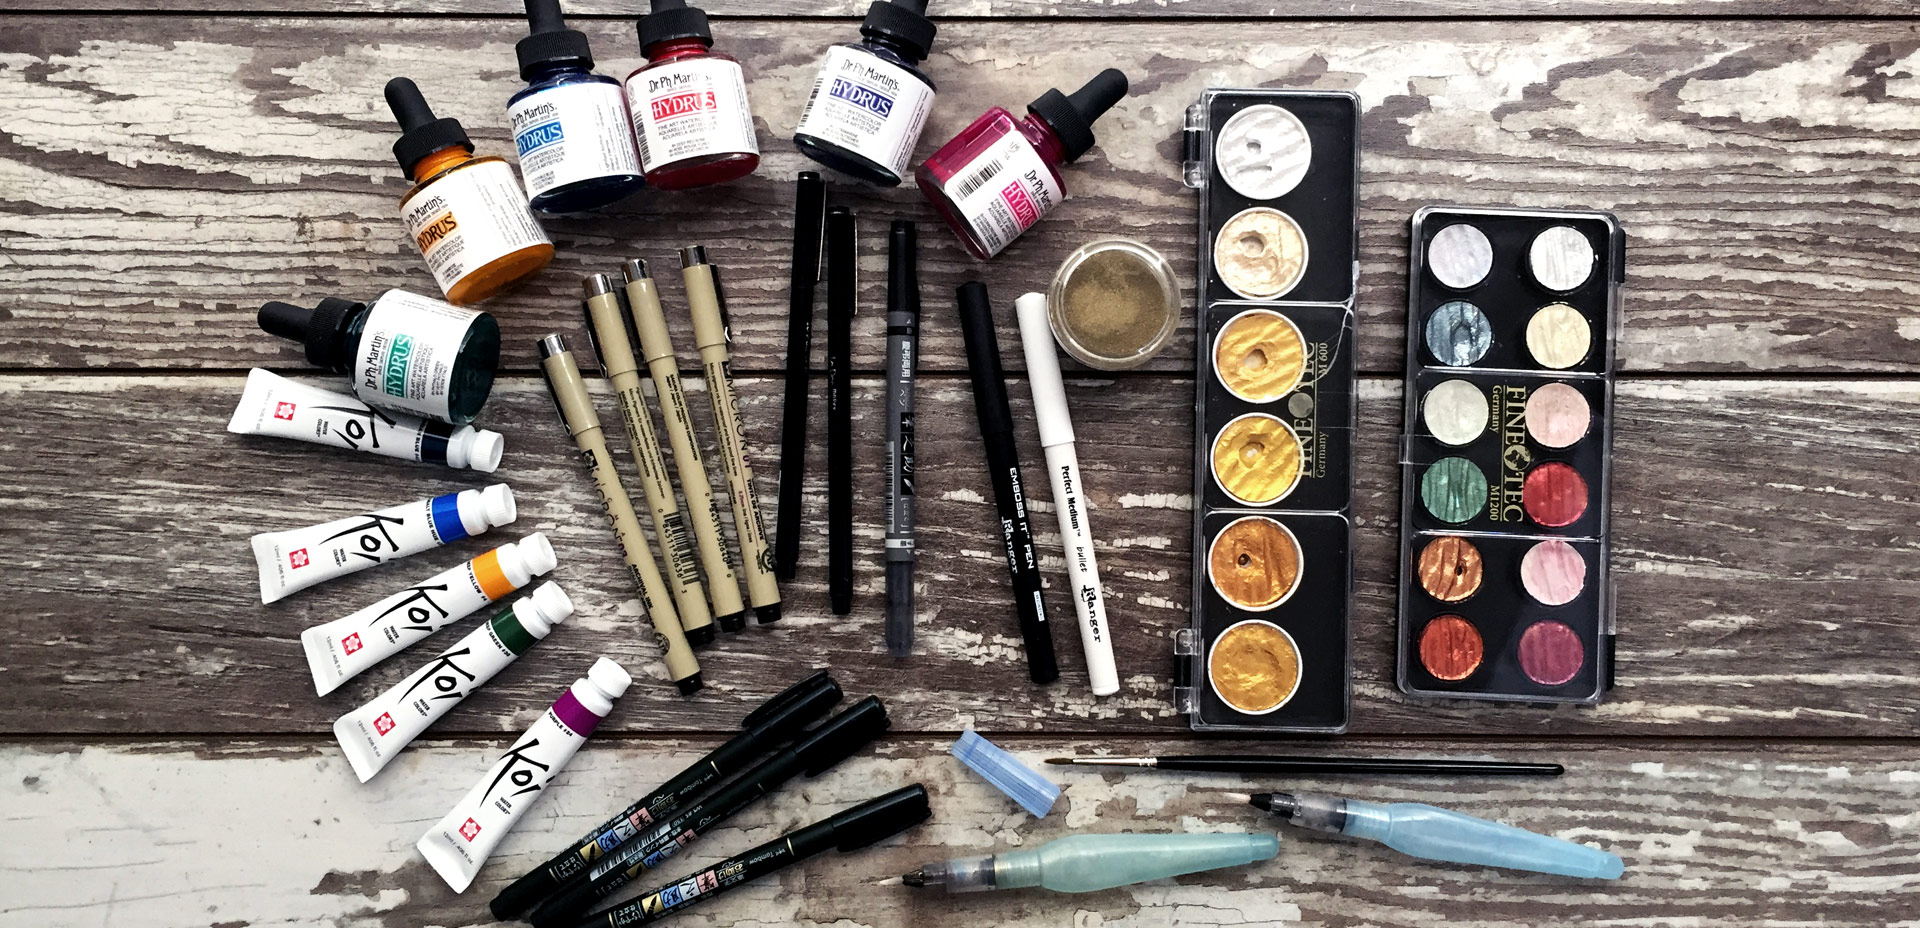
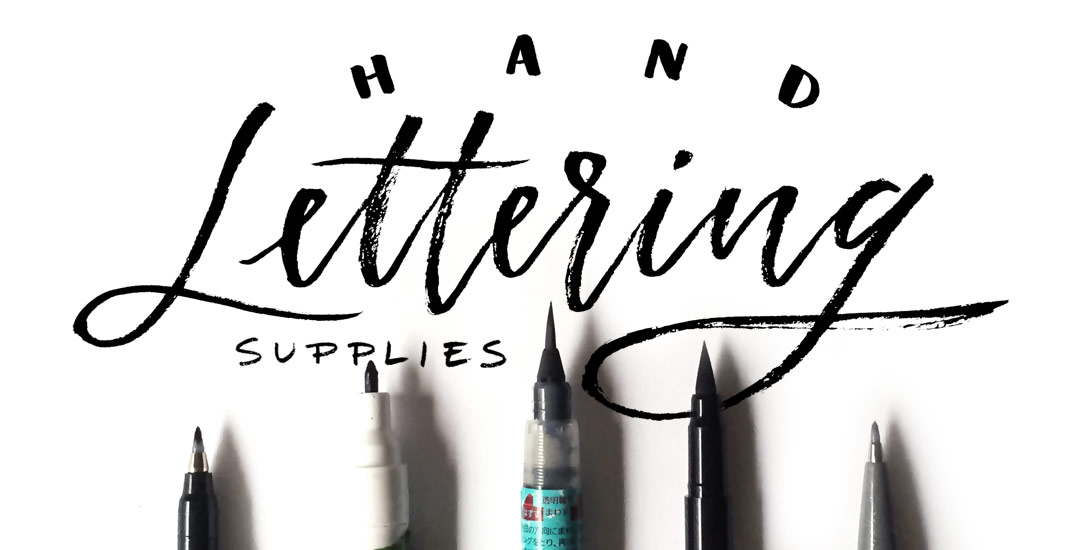
I experiment with new materials and supplies constantly for my (traditional) hand lettering. I would actually be scared to know how much time I’ve spent eyeing different hand lettering supplies (and reading their reviews) over on Amazon. I’ve invested in a lot of new ones this year and currently I have 5 favorites that I find myself always returning to and reordering. If you’re just starting out with lettering, or if you’re on the hunt for some new supplies but would like to read a real (almost every day) user review, here are my current top 5 favorite hand lettering supplies (totally unbiased, with no affiliation to any of em) 🙂

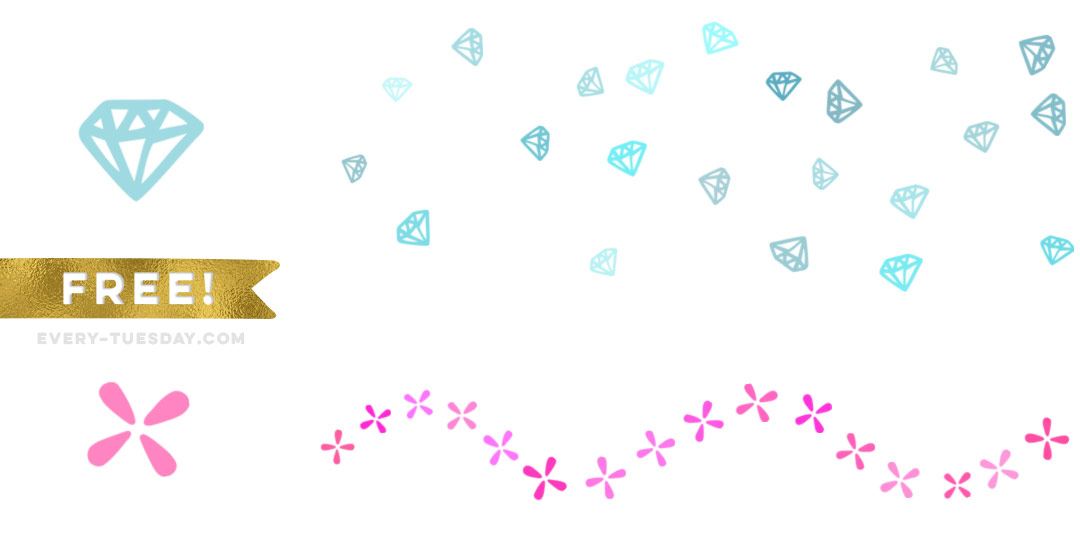
It’s been far too long since I created a freebie outside of the monthly desktop wallpapers, so today that is changing! If you checked out Tuesday’s tutorial, we went over all of the settings to create any custom Photoshop brush you’d like. Today’s freebie puts those settings into practice and includes 2 dynamic Phototshop brushes for you to use at will, on anything you’d like. If you have a Wacom tablet, pressure settings for size variation are already built into each brush 🙂 If you don’t have a Wacom, no sweat – the size will vary randomly instead of based on pressure. Install instructions are also included so you can begin using both brushes right away (use with Photoshop, CS3 or newer). Preview images and download link below!

Creating custom brushes in Photoshop is one of my favorite things to do! I love using them for lettering (paired with a wacom tablet), extra decorative elements or just to add a little bit of unique style to whatever I’m making. What’s even better is that they are really quick and easy to make and Photoshop offers a ton of settings to truly make them original. If you’ve checked out my Intro to Photoshop class, you could easily integrate a custom brush to really make your layout special!

In this week’s tutorial, I’ll walk you through what all of those settings do and we’ll create a custom brush in Photoshop together. At the end of the tutorial, you’ll have everything you need to start creating and using your own brand spankin’ new brushes 🙂 Everything is below!

This week’s tutorial isn’t the sexiest thing ever, but it’s extremely useful if you work on multiple machines, need to share digital assets with clients + fellow designers, are a super organized person looking to be more digitally organized, or have an old computer you’re in constant fear will crap out on you at any moment. This one’s for you!

One thing’s for sure, if you’ve been designing for any length of time, a program has crashed on you at some point and when you reopen, things look a little different in the swatches, brushes and patterns department. If you never saved these digital assets pre-crash, they are lost (along with that pleasant mood you had 5 seconds before) in file purgatory.

In this week’s tutorial, we’ll dull the pain of lost assets by going over exactly how to save patterns and brushes in Illustrator and Photoshop so you’ll know where to find them if you ever need a reinstall, or if you just want to share them. Read on to see how!

Happy Tuesday! A few months ago, I shared how to create a confetti brush in Photoshop and I’ve gotten a few requests since then on how to do the same in Illustrator. It’s a slightly different process, but can absolutely be done! In this week’s quick tip tutorial, I share how to create a confetti brush in Illustrator using two different examples: uniformly sized circular confetti and randomly scaled and rotated star confetti. This time of year, when real confetti is imminent, now you’ll have limitless digital confetti potential, too! Read on to see how!

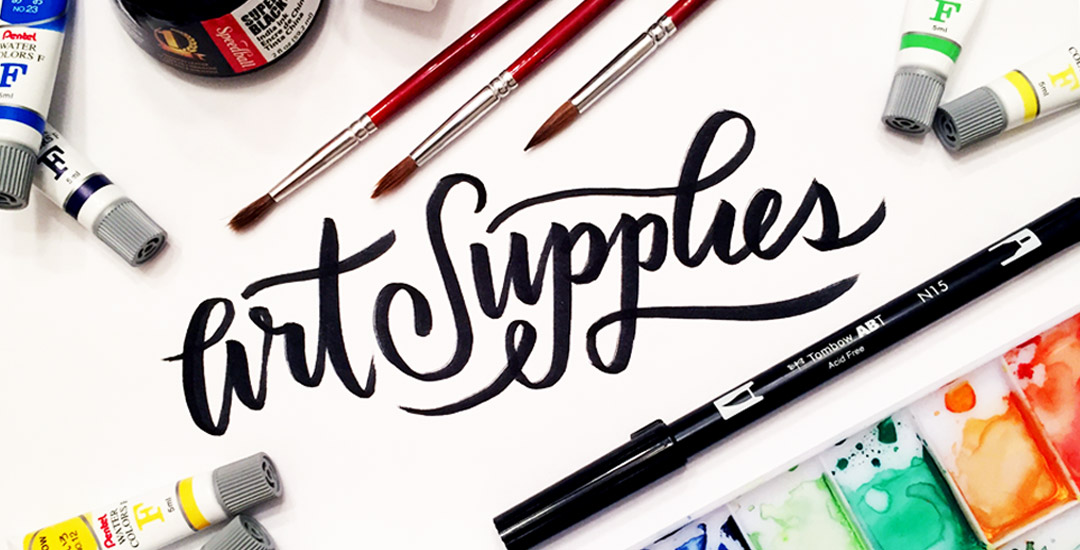
As many of you know, I’ve been kind of crazy about watercolors lately (check out my new Skillshare class, this tutorial, or this one for proof!) and have started receiving emails asking what art supplies I’m using for creating my fine art assets – whether it’s textures, lettering, or just types of paper. Today I wanted to share the exact art supplies I’ve been using on a weekly basis to create everything you’ve seen here over the last few months. I hope this list will eliminate some of your own guess work (as I researched all of these supplies thoroughly before investing in them) – and help you to create your own future assets!

It’s that time of the year when there are a bunch of events to celebrate: graduations, weddings and anniversaries from weddings before. Confetti is obviously a must have, real and digital. 🙂 That’s why we’re creating our own digital custom confetti brush in Photoshop in this week’s video tutorial! We’ll create the shape of our confetti, adjust color at the slide of a knob, and even control how much it scatters in a few quick and easy steps. Prepare to start confetti-tizing all of your digital celebration themed work from here on out 🙂 Let’s get started!

GDPR Icon

Your Privacy Matters

We use cookies to customize and create content that’s most important to you. We’ll never share the info we collect.

View Privacy Policy