HomePosts Tagged "diy" (Page 8)

diy Tag

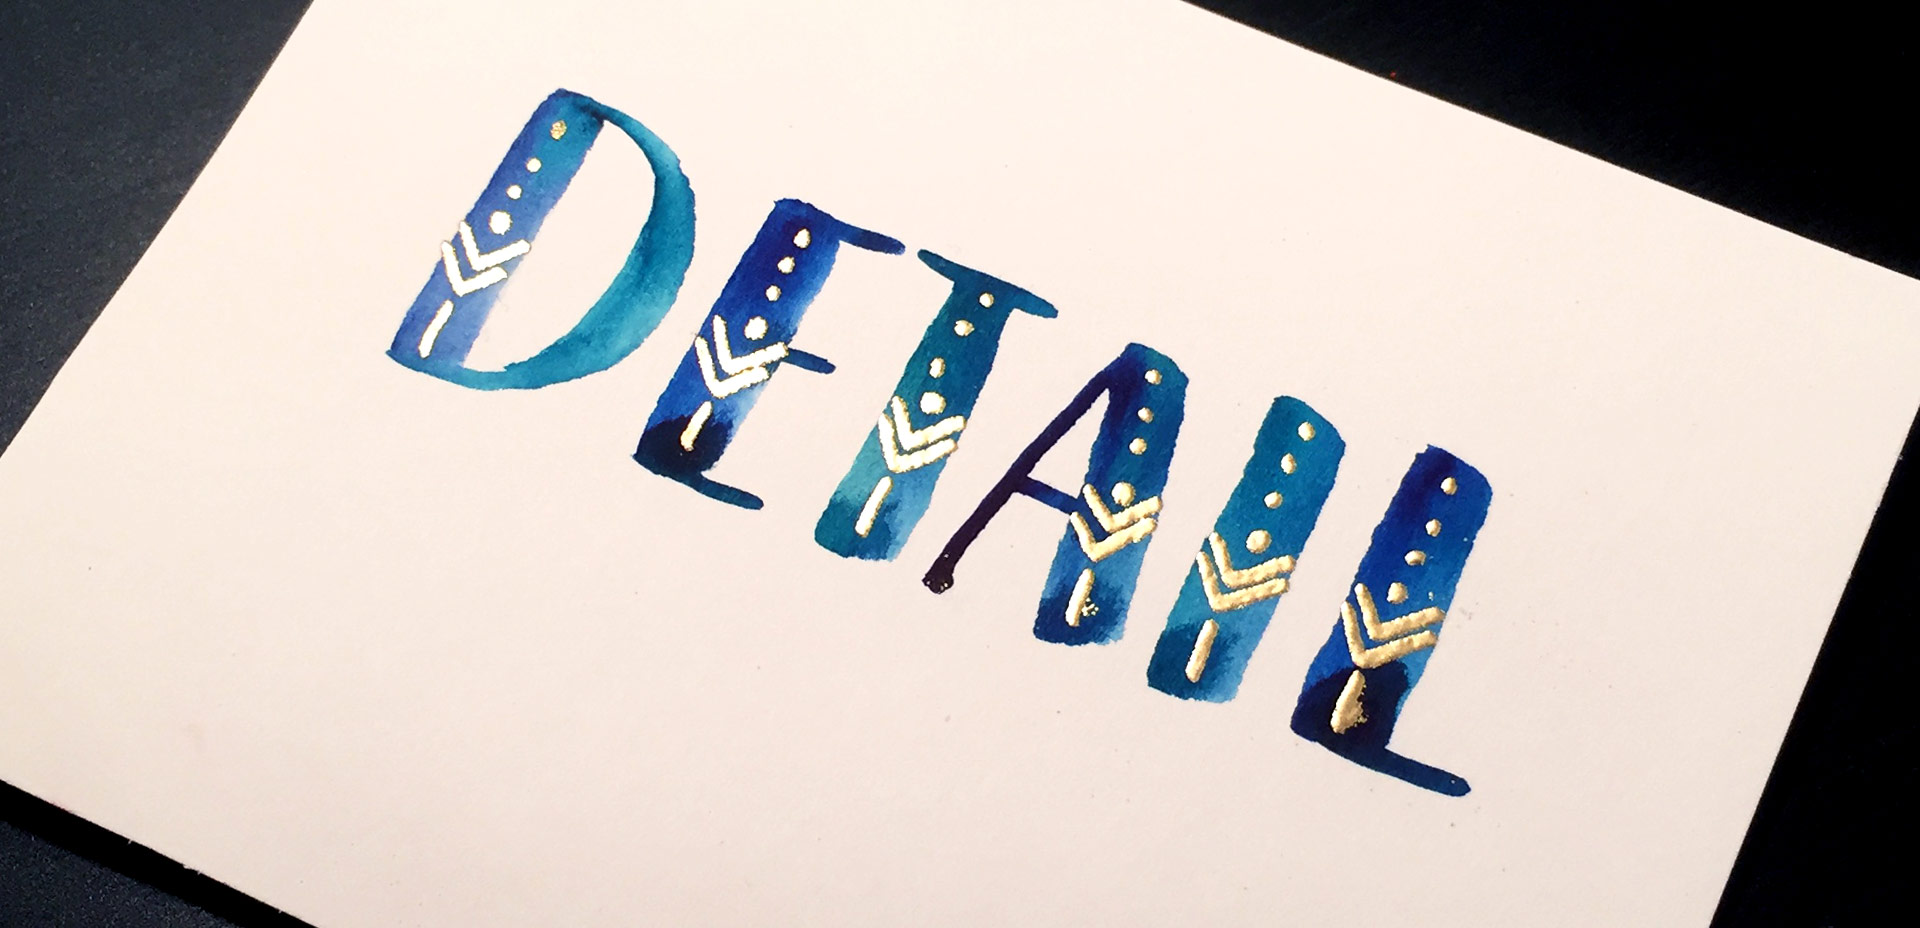
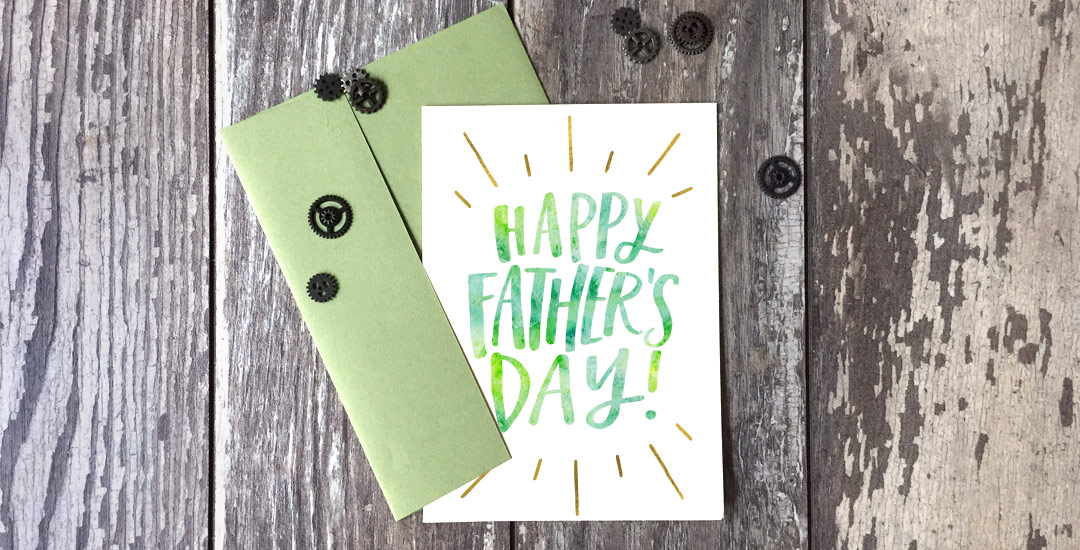
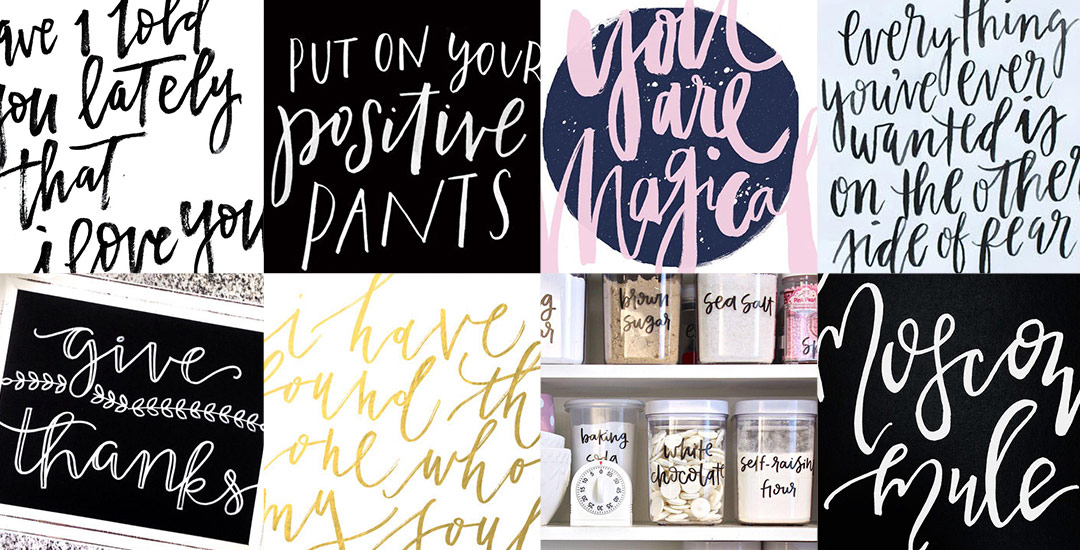
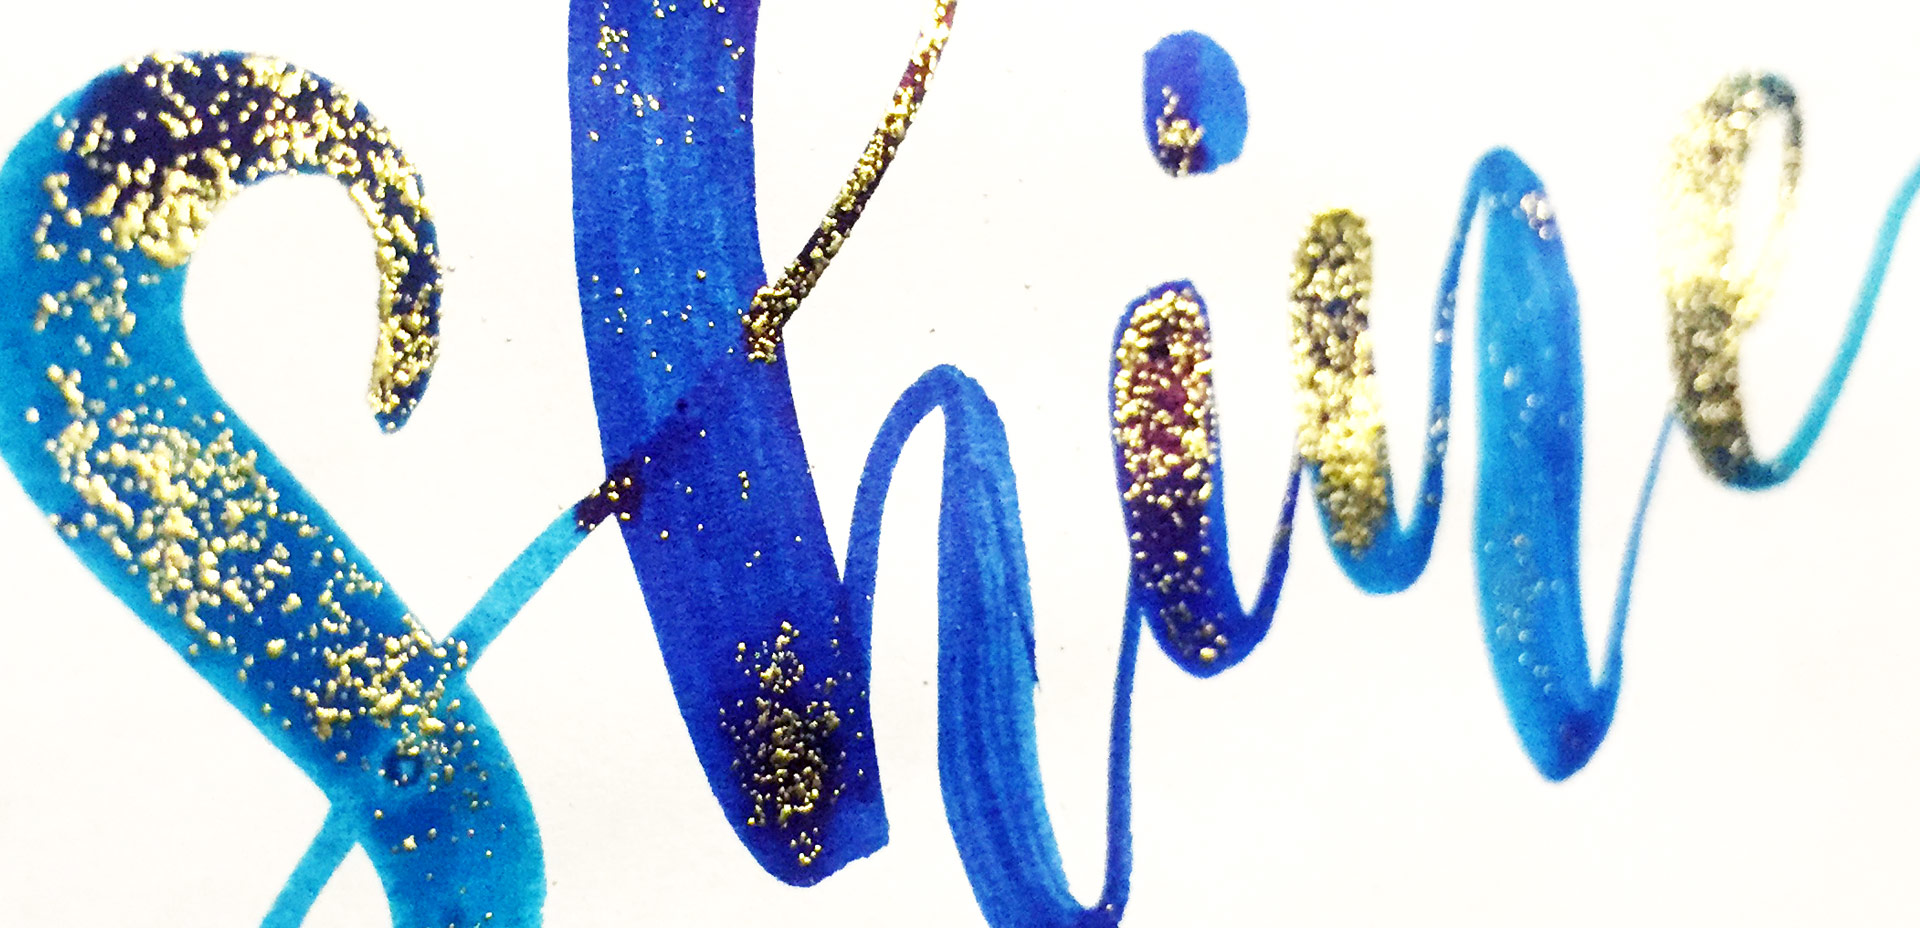
On Tuesday, we got crafty with mixing watercolors with diy embossing. In my opinion, this is one the most self-satisfying diy design/craft activities out there. There’s something about watching that embossing powder come to life with heat, and it’s literally eye candy every time. Today I’m sharing 5 simple, (but impressive!) DIY embossing ideas that will give your greeting cards, gift tags, stationery and artwork an extra level of cool. 😉 Read on for step by steps, exact supplies used and photos for each!

I think it’s pretty fair to say that diy embossing is reallllly popular right now. It’s easy to see why; First, there’s watching colorful powder stick magically to invisible ink. Next, there’s witnessing it look completely different (especially metallics) once heat is applied. The results look like they came from a pro print shop! I haven’t come across many videos of a watercolor/embossing combo, so it was time for that to change 🙂 I recently started applying embossing designs to my watercolor lettering and it makes for some really tactile + impressive outcomes.  This week I wanted to have some fun by sharing watercolor lettering with DIY embossing 3 ways. Everything used in the video listed with links below!

Happy Tuesday! Today is one of my favorite kinds of Tuesdays, because I get to share a brand new class with you! I’m not going to lie, this class was a lot of work to prepare and record. There were 3 days where I was up until 5am putting every last detail in, so today, I’m breathing easier. 🙂 If you’ve followed along in past classes like Waterbrush Lettering Essentials and Bounce Lettering, you already have the perfect foundation for this one. Instead of a class focused on how to hand letter, this one is all about using your hand lettering.

I want to start by saying a gigantic THANK YOU! for all of your kind comments from Tuesday’s tutorial (it even got a shout out from Adobe!). Spence and I have been doing some serious planning these days to make your experience here as best as it can be. The first baby step was implementing the new keyboard shortcuts on videos, a Tuesday Tips section and easy-to-pin images. But, that’s just the beginning. 😉 I can’t wait to share some of the other new ideas we’re planning to implement in the months and year to come!

Until then, if you’re a little short on list-designing time, I wanted to give away the design created in the tutorial this week as a free printable in 3 color schemes. There are 2 of each color per sheet, so you can print them all, or just print the color you like best 😉 Download link and preview images below!

To learn how to create your very own digital planner, check out this tutorial here!

Happy Thursday! To celebrate the launch of Mastering Mockups this week, I thought I’d throw in another little extra bonus (did you catch the free lesson from the class in Tuesday’s video?). If you like putting your calligraphy or artwork on stationery, this week’s freebie was made just for you! With just a couple of clicks (full written step-by-step on using the file below!), you can place your artwork on this greeting card, just like in the preview image, in less than a minute! Use this for your own product sell pages or social media posts to get your work noticed quickly – grab the file below!

Father’s Day is just a little over 2 weeks away! If you’d like to go DIY this year or get yours in the snail mail early, this week’s freebie is a Father’s Day card printable. The download includes a pdf with print instructions, trim + score marks all included. The final, trimmed size is 4″x6″ (vertical) which can fit perfectly in any A4 sized envelope. Extra preview image and download link below!

As we get closer to the end of April, I looked up when Mother’s Day was this year and was surprised to see it’s pretty early – May 8th! Looks like we’re also getting a Friday the 13th in May, which happens to be both my mom’s and my youngest sister’s birthday. I see a lot of card making in my near future 🙂

Speaking of cards – if you’re short on time or want to go DIY this year, here’s your opportunity to take care of things early for an on time mailbox delivery. This week’s freebie is a printable Mother’s Day card with a folded size of 6″x4″ (perfect for any A4 sized envelope). The card is laid out on an 8.5″x11″/A4 sized sheet of paper with all trim marks included so you can print it out at home without any hassle. Download link and preview image below!

Happy Tuesday! I want to start by saying wow to everyone who has checked out Bounce Lettering! I’m so grateful for all of the kind feedback and I am so impressed and inspired by all of the wonderful projects that are coming out of the class! I thought I’d take bounce lettering/waterbrush lettering even a little further this week with a free add-on tutorial to both classes.

A style that is gaining in popularity over on Instagram is rainbow brush lettering. It would take foreverrrr to alternate colors to form a word, let alone form the word as pretty as you’d like with so many re-dips. In this week’s video, I’m sharing a trick for applying a rainbow of color to your brush lettering without a zillion re-dips in the process 🙂 There are two methods shown in the video – one to ease you into the process and the other to take full advantage of all the colors you’d like. Links to the products used + everything you need to know to start rainbow brush lettering below!

With the release of my new class, Bounce Letters: Adding Character to your Hand Lettering this week, I thought it was only right to share a little bit of bounce lettering inspiration! I love how the bounce effect can really be used with any kind of lettering style. From quotes, to pantry labels, to plain old phrases, the addition of a bounce can give something plain or simple a pretty big personality. So grab a pen, paintbrush, marker, or crayon and put your new skills to work because you’re about to get hit with inspiration 😉 Click on any image below to be brought to its source!

I’ve been asked quite a few times recently how to take one layout and have multiples of it on a single page when printing. In other words, if you have an invitation that’s 4″ wide by 6″ tall, you’d want to fit two of them on an A4 or 8.5″x11″ sheet of paper instead of just one. This is an especially great idea for anyone who sells digital printables through etsy, or delivers digital printables to clients which are editable/customizable in Adobe Reader, like in this tutorial I created awhile back. If you’ve ever wondered what the quickest way of doing this in Illustrator is (with trim marks included so you get the exact size you need), here’s the answer 🙂

Things have changed quite a bit in the last 5 years. Back then, it was perfectly acceptable to attach a pdf (which you had a zillion different variations of) to an email, but that just isn’t the case anymore. Pdf portfolios are a dated way of portfolio delivery on top of taking up valuable space in a potential employer’s inbox. Enter the digital portfolio age where having an online digital portfolio presence is essential for a graphic designer. Luckily, you don’t have to be a programmer or a super nerd to get your work online and looking fine 😉

This week, I’m rounding up options to get your portfolio up as quickly as possible, looking as professional as possible, and collecting some nice SEO in the process. All of the options – free and for a fee – available below!

GDPR Icon

Your Privacy Matters

We use cookies to customize and create content that’s most important to you. We’ll never share the info we collect.

View Privacy Policy