HomePosts Tagged "typography" (Page 4)

typography Tag

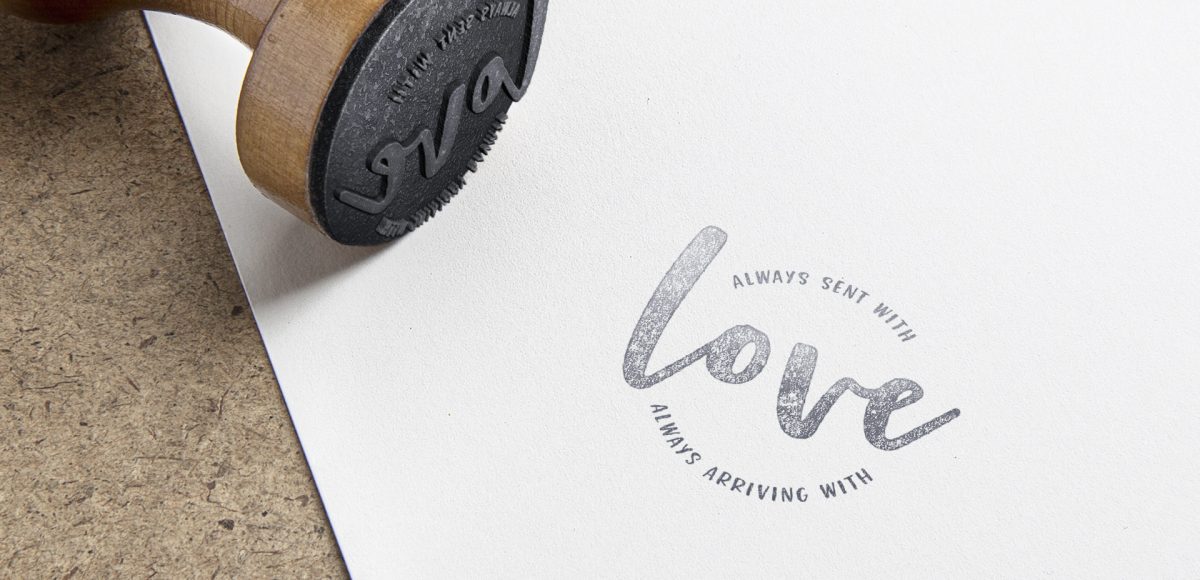
A while back, I shared how to type along a path in Illustrator, but what if that path is circular or closed? How to you get the text to run perfectly along the outside or inside of the circle? And if you start on one side, how do you nudge it just slightly without ruining everything? These are some questions that evaded me longer than they should have when I was starting out. Circular text is important! It’s great for logos, icons, stickers and custom rubber stamps just to name a few. Read on to master circular text in Illustrator and never wonder again!

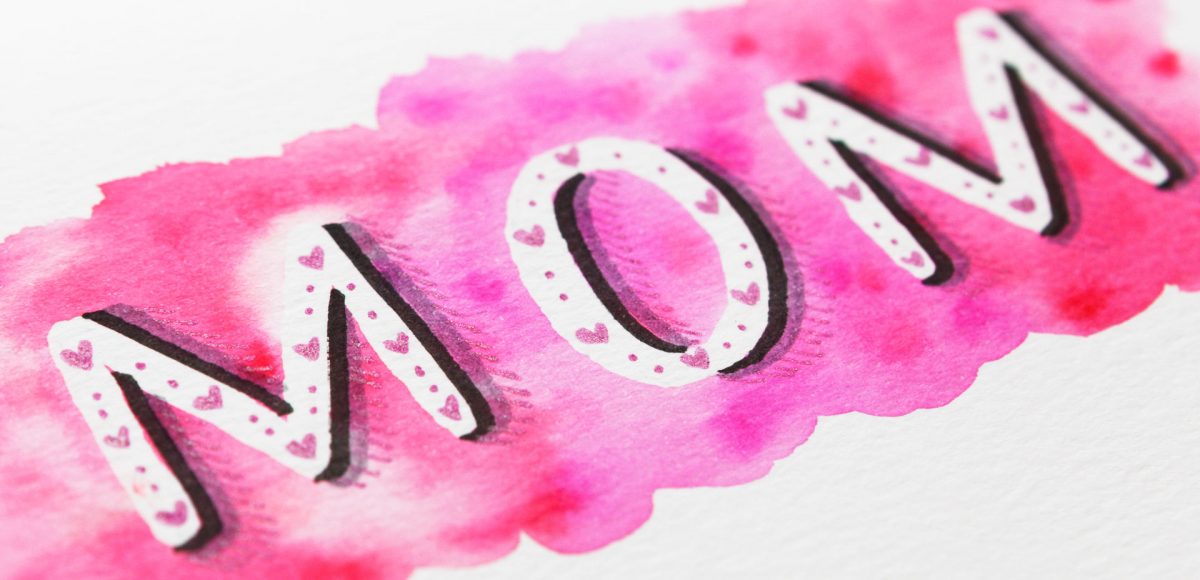
With Mother’s Day right around the corner, this week, we’re DIY’ing a hand lettered watercolor Mother’s Day card! My mom’s birthday is actually on Mother’s Day this year, so I had to think of something extra special 🙂 Cue masking fluid, brush pens, a watercolor effect and some lettering enhancements! In this week’s video, I share my trick for protecting your paint brush with masking fluid, how I cut down watercolor paper for greeting cards, use brush pens to create a watercolor texture and use regular lettering supplies to add final details. Pick up all the supplies shown and catch the full video below!

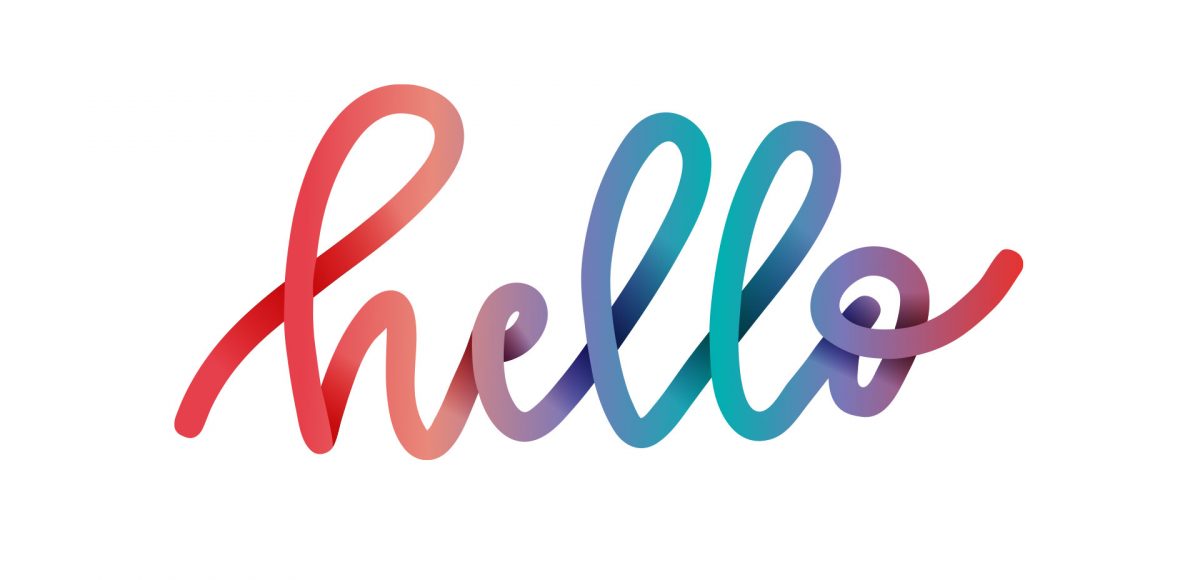
You may have seen this style of lettering floating around instagram and created in Procreate on an iPad. In this week’s tutorial, I share how to create the same effect, but in Illustrator. By using Illustrator, everything can be infinitely rescaleable since it’s vector-based. We’ll utilize some features you may not be aware of that you can use for future work, too. This is a slightly advanced tutorial, so the pace is a bit quicker. If you’re new to Illustrator, allow some extra time (or check out some beginner tutorials first). Read on to create colorful gradient lettering in Adobe Illustrator!

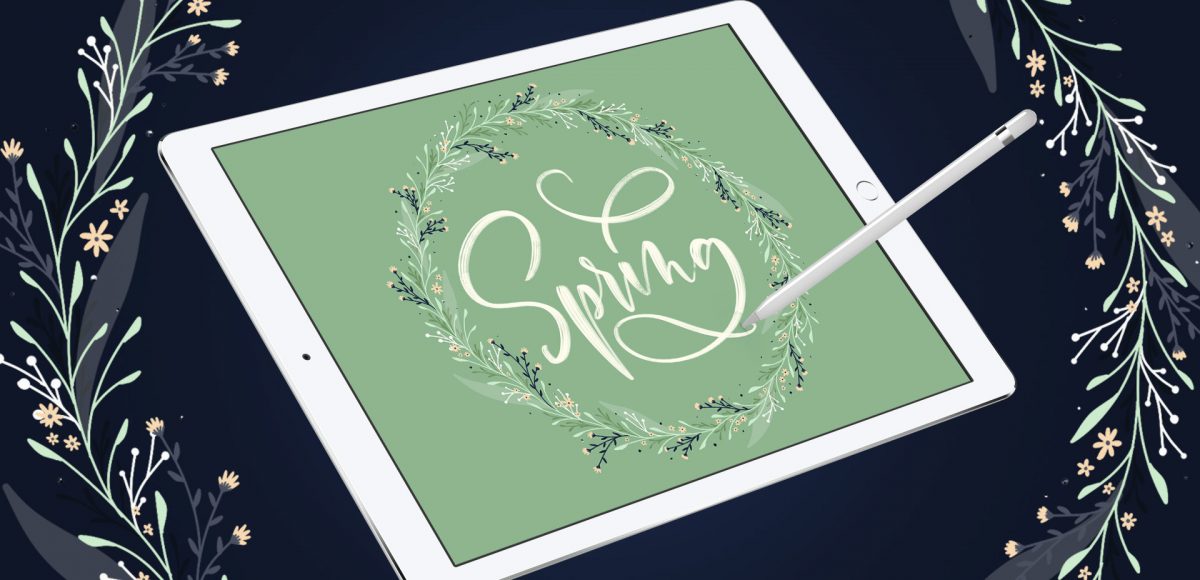
In celebration of Spring, I thought it would be fun to keep the floral party going into Procreate! The last couple of weeks we painted watercolor florals and this week we’re drawing digital ones 😉 In this week’s tutorial, we’ll plan, customize and create custom floral wreaths in Procreate. I’m using an iPad Pro (12.9″, 256GB), Apple Pencil, Procreate and my custom monoline procreate brush for this (available for free in the resource library). The color palette shown in the video is also available below if you’d like to use it. Let’s get started!

As designers today, we are extra gifted with the ability to make passive income from digital products. While ‘passive’ can be a bit misleading (because there is continual work to maintain and build on your product offering), to a large extent, it allows designers to experiment + create more without the continual pressure of seeking new freelance work. So what do I mean by passive income? Creating digital products (like templates, fonts, textures, etc.) once and selling them over and over again without additional work. Create it once, sell it forever. And with digital products, there are many options with where and how to sell that makes the entire process automated once the product is made.

In this week’s video, I’ll walk through those selling options and the how making passive income off of my fonts has changed my creative future.

A lot of lettering lovers snagged an iPad Pro this past holiday season! I’m so excited for you to experience the total joy and possibilities that iPad lettering brings: no wasted paper or supplies, endless brush + color combinations and fewer stacks of artwork scattered around the house (just me?). As a graphic designer, I’ve been using Photoshop for nearly 15 years now and Procreate is similar in many, many ways. I’m constantly experimenting with Procreate, seeing if some of my Photoshop tricks carry over there + how to adapt them when the tools operate slightly differently.

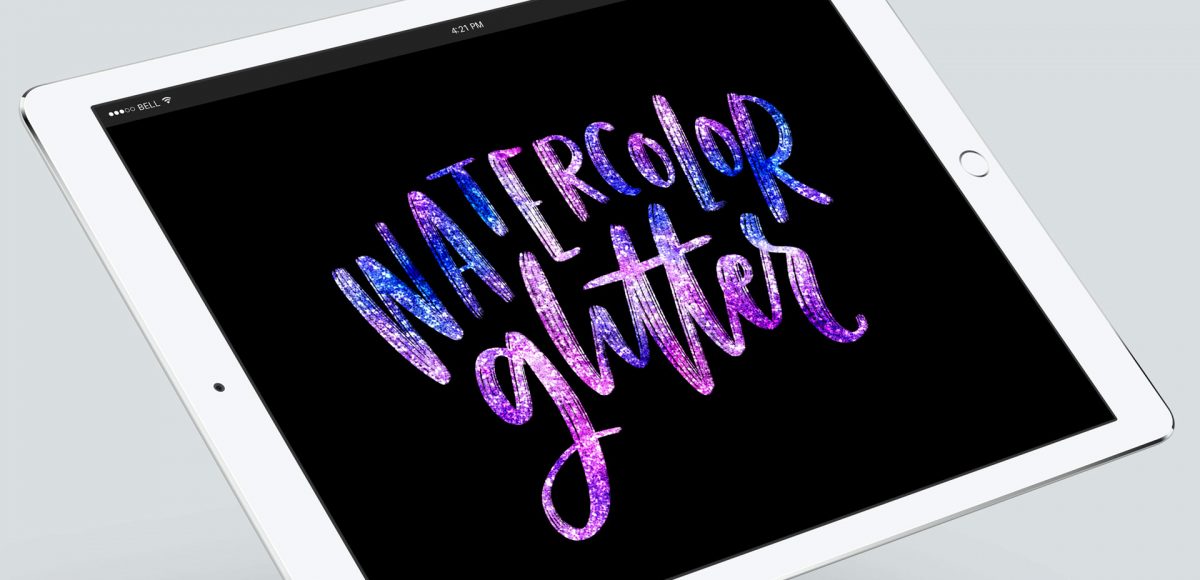
This week, I want to share one of my favorites: combining textures for a watercolor glitter lettering effect! You might already know how to blend textures on top of white for this effect (which I share in the vid), but my little trick will make it possible on any colored background, too, opening up even more possibilities 😉

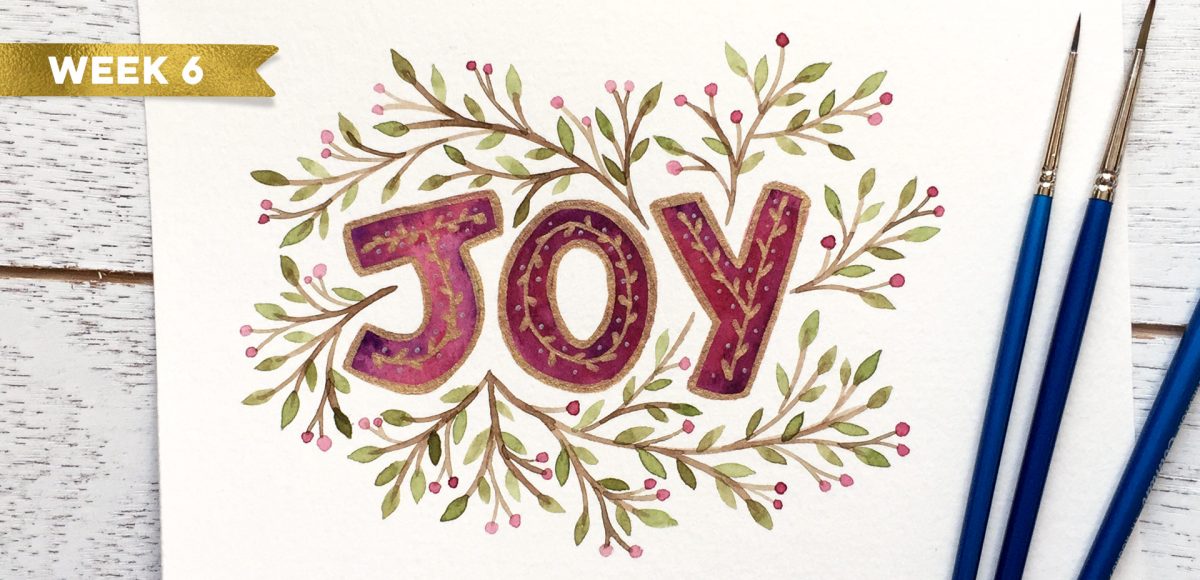
Welcome to week 6 of holiday hand lettering projects! If you missed the last five weeks, scroll below to click on links to all of them! This 6 week lettering tutorial series is wrapping up this week! The goal of the series was to gain new lettering tricks, learn about lettering supplies you might not have used before and create something you can use/gift right away. Each week we built on skills from the previous weeks, so if you need a refresher, be sure to rewatch any of the prior videos. This week, we’re creating watercolor JOY lettering, surrounded by seasonal branches and finished with gold and silver details! Read on for the step-by-steps!

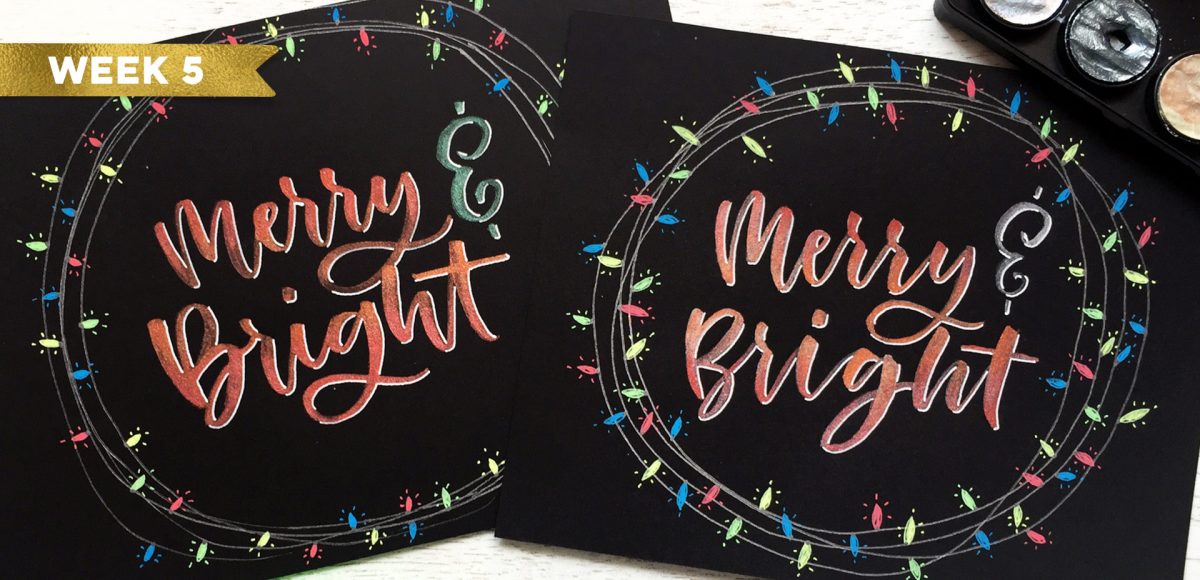
Welcome to week 5 of holiday hand lettering projects! If you missed the last four weeks, you can catch up here, here, here and here 😉 This is a 6 week lettering tutorial series with the goal of gaining new lettering tricks, learning about lettering supplies you might not have used before and creating something you can use/gift right away. Every week we build on the skills from the previous week, so if you need a refresher, be sure to rewatch any of the previous videos. Check back every Tuesday from now until December 12th for a new holiday themed lettering project! This week, we’ll create metallic watercolor lettering surrounded by strings of lights! Read on to see how!

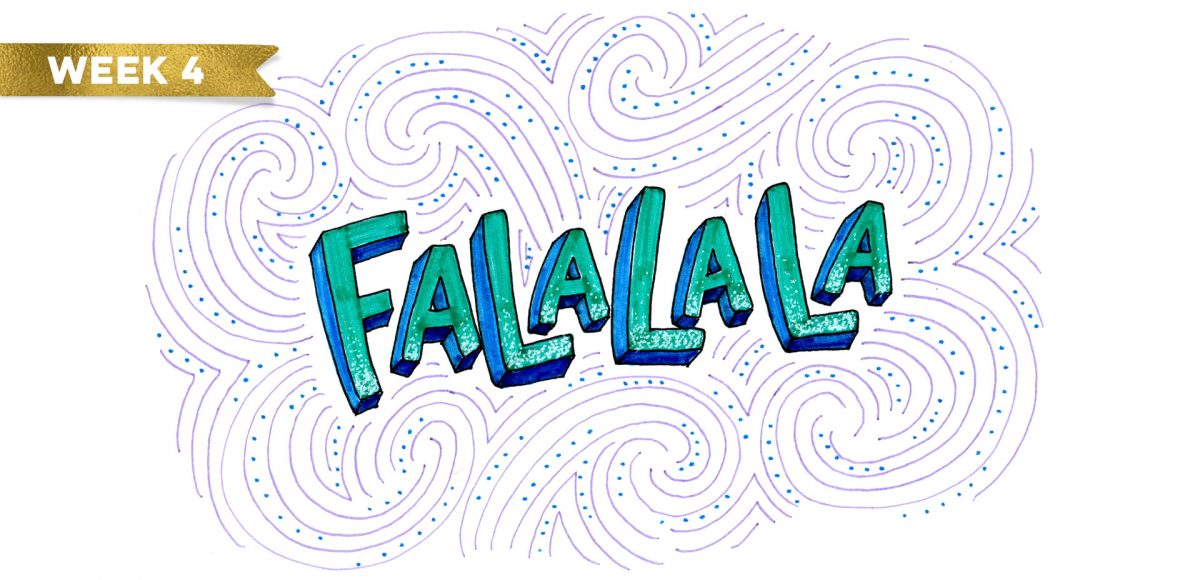
Welcome to week 4 of holiday hand lettering projects! If you missed the last three weeks, you can catch up here and here and here 😉 This is a 6 week lettering tutorial series with the goal of gaining new lettering tricks, learning about lettering supplies you might not have used before and creating something you can use/gift right away. Every week we build on the skills from the previous week, so if you need a refresher, be sure to rewatch any of the previous videos. Check back every Tuesday from now until December 12th for a new holiday themed lettering project! This week, we’ll create 3D block lettering embellished with simple decorative flourishes. Read on to see how!

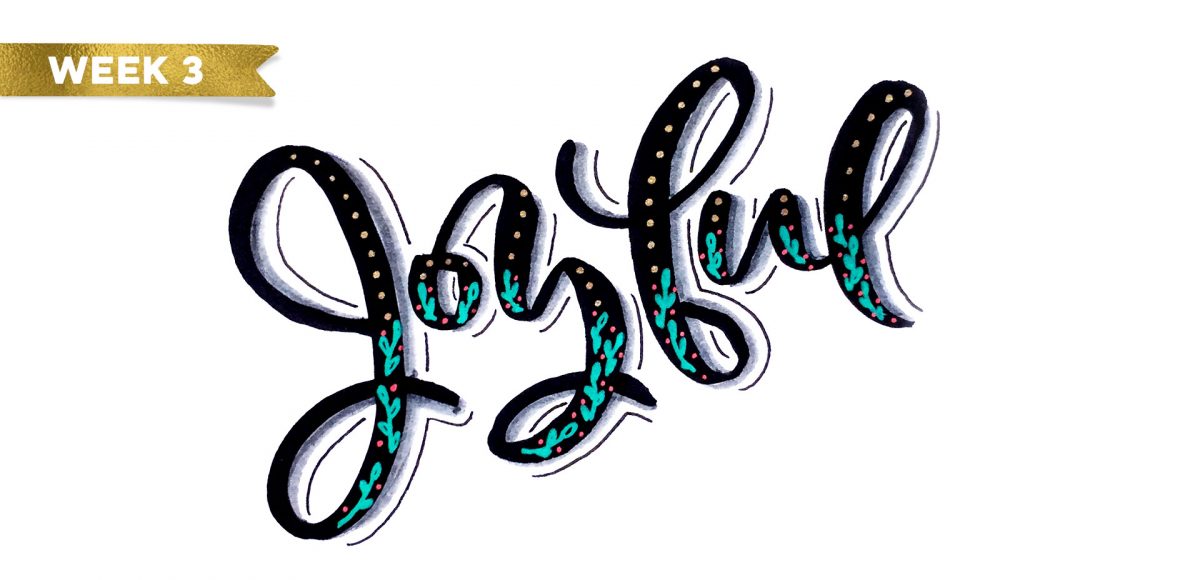
Welcome to week 3 of holiday hand lettering projects! If you missed the last two weeks, you can catch up here and here 😉 This is a 6 week lettering tutorial series with the goal of gaining new lettering tricks, learning about lettering supplies you might not have used before and creating something you can use/gift right away. Every week we build on the skills from the previous week, so if you need a refresher, be sure to rewatch any of the previous videos. Check back every Tuesday from now until December 12th for a new holiday themed lettering project! This week, we’ll create decorative lettering by utilizing gel pens on top of black lettering that has a 3D feel to it. Read on to see how!

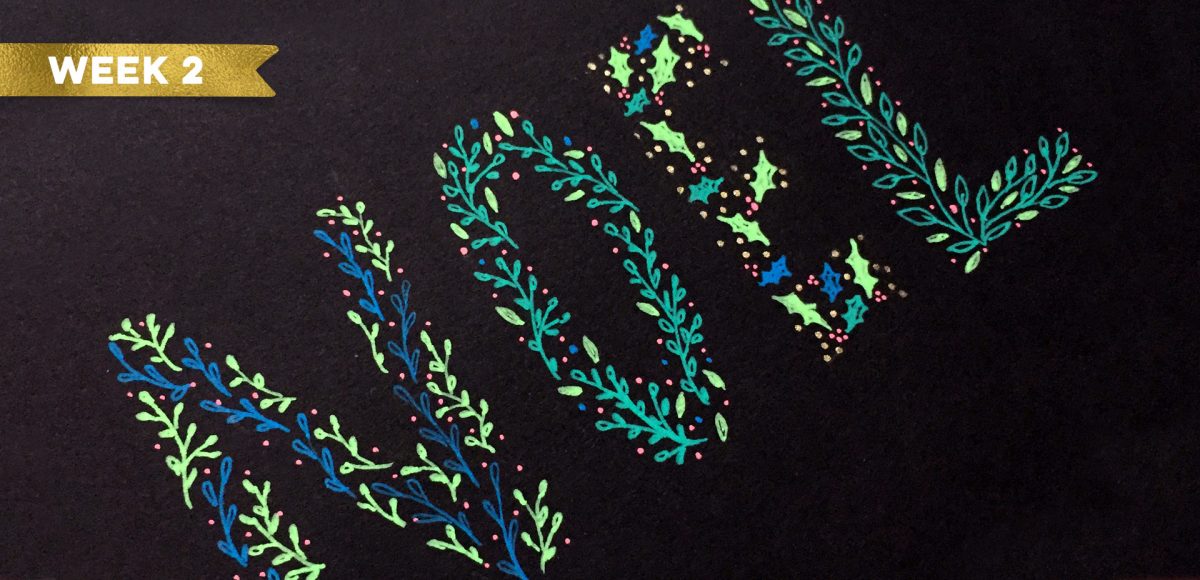
Welcome to week 2 of holiday hand lettering projects! If you missed last week’s project, pop over here to check it out! This is a 6 week lettering tutorial series with the goal of gaining new lettering tricks, learning about lettering supplies you might not have used before and creating something you can use/gift right away. Check back every Tuesday from now until December 12th for a new holiday themed lettering project! This week, we’ll create colorful and decorative NOEL lettering! Read on to see how 😉

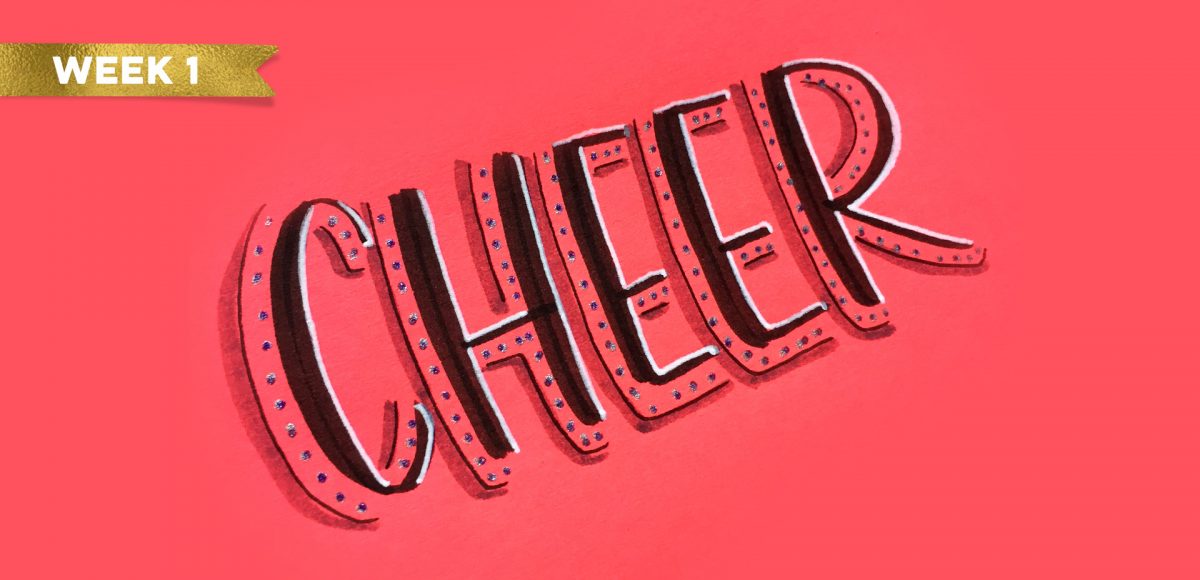
Welcome to the first week of holiday hand lettering projects! This is a new tutorial series spanning 6 weeks, starting today. Every Tuesday, we’ll create a new holiday-inspired lettering project you can then use on your holiday stationery (like gift tags, greeting cards, homemade ornaments, etc.). The goal of this series is to gain some new lettering tricks, learn about lettering supplies you might not have used before and to create something you can use/gift right away. Since we’re starting in early November, you’ll have plenty of time to practice and prepare for December celebrations. I also have another surprise that comes with participating in these weekly projects below!

GDPR Icon

Your Privacy Matters

We use cookies to customize and create content that’s most important to you. We’ll never share the info we collect.

View Privacy Policy