HomePosts Tagged "vector" (Page 4)

vector Tag

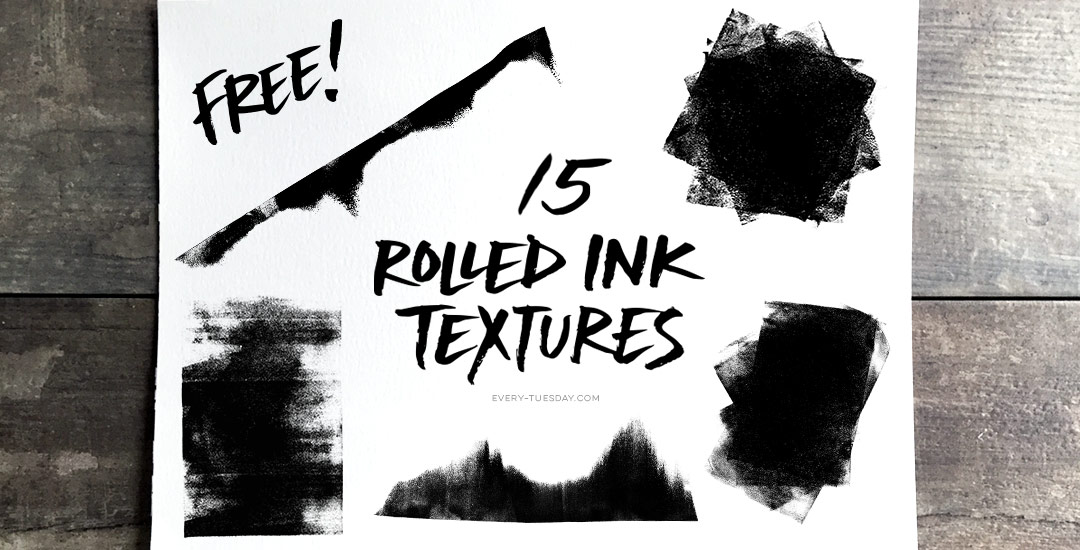
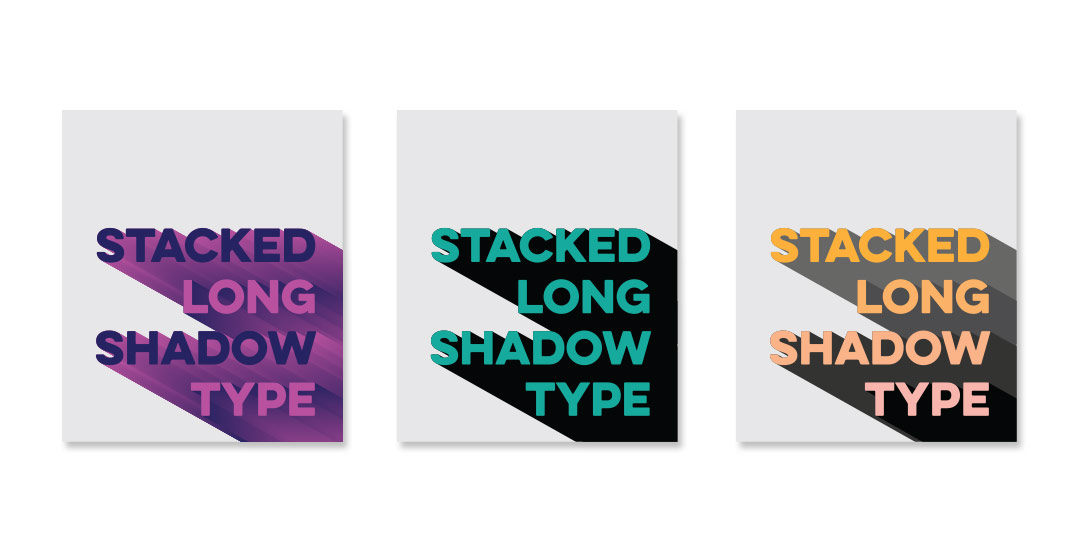
I’ve only recently started incorporating Illustrator texture brushes into my work, and I regret not doing it sooner! Illustrator texture brushes offer so much hand made feel with such little effort, you almost feel like a magician 😉 To get started, all you need is any kind of vector texture like this set of inky brush strokes or these mini grit textures (both free!). From there, we convert them into Illustrator art brushes with specific settings and we’re done! This will be such a great addition to your regular workflow if you love including extra texture into your work. For the tutorial, we’ll create some inky and gritty typographic drop shadows in just a few quick minutes. Read on to see it all!

On Tuesday, we walked step by step, creating our own hipster-style clothing tag vector shapes and designs from scratch in Illustrator. Knowing which shape you’d like your tag to be when you begin informs all of the design decisions you make afterwards. The cool thing about tags is that there are soooo many options when it comes to shapes! I’ve found having a few ideas in mind of which shape I’d like helps me to sketch out a bunch of ideas quickly, which makes my final shape decision a confident one.

I’ve somehow always been drawn to really beautiful design on smaller items. It might just be the cuteness factor, but serious planning goes into hierarchy and layout in such a small space, and that has always been really impressive to me. Do you ever check what the clothing tags look like when you’re shopping? I remember the first time I ever obsessed over a clothing tag. It was when I was in high school and at the mall with friends (I probably should have known a career in design was imminent at that moment). Anyway, I wasn’t in love with whatever article of clothing it was (see? I can’t even remember that part!) but I loved that tag, so I bought it anyway (in my defense, I’ll also note this was before cell phones with cameras). Roll your eyes if you must. 😉

If you love thoughtful graphic design on smaller things too, this tutorial’s for you! In this week’s video, we’ll create a hipster style clothing tag from scratch using just Adobe Illustrator. Get started below!

There’s something that feels soooo good about crossing off items on a to do list. Having a written list keeps me on track every day of the week. Most times, I grab a scrap sheet of paper and bullet my to-do’s out, but it’s never quite as satisfying as when they’re written on a custom design. In this week’s video tutorial, we’ll create our own designed to do list from scratch, perfectly prepared for printing in a few quick and easy steps, so you can start crossing items off to your heart’s desire 😉 All of the steps below!

It’s been a little while since I shared a freebie texture, so today I’m sharing some ink textures! I started using these rolled ink textures in my artwork a while ago, the most recent example being this one to show off Tuesday Script. I’ve even masked these into typography using the same method as watercolor typography for some really nice textured type results. If nothing else, they are sooooo fun to play around with and add that little extra handmade feel to any kind of artwork. The best part? Every texture comes as a vector ai file for versions of Illustrator, CS3 or newer PLUS every texture comes as a transparent png, so it’s cake to use with any other kind of software 😉 Preview images + download link below!

I’ve had a few requests on how to replicate the look of the incredible artwork by Eiko Ojala and I’m so excited to share my interpretation of it this week. This week’s tutorial is a little more advanced, but I have tutorials for every part I speed through and I’ve linked to all of them under the video if you’d like a more thorough explanation. This technique can be used for so many cool applications – logos, greeting cards, branding, web graphics, etc. We’ll start out in Illustrator creating our organic shapes and finish everything up in Photoshop, adding in shadows and textures to complete the layered letter look. See how it all comes together below!

Ok, you guys. This one’s a game changer for real. No kidding, my workflow for editing vectors in Illustrator has been at least cut in half by now using my iPad with the app AstroPad. If you’ve seen this tutorial, or this one using the standard method of Wacom/mouse for edits/revisions, you’re going to love this one. You can also find a list of my top 5 affordable Wacom tablets here if you are interested in using that type of device. If you’ve checked our my Intro to iPad Lettering class, this will take things even further if you’re familiar with Illustrator – you can use this same method with Photoshop, but I find myself using it wayyyy more with Illustrator, so I’m focusing this video there. I spent some serious edit time on this so you could get the full effect of what’s happening on my computer vs. how I’m using the iPad – I walk you through basic edits of a design element and then show you how I used the iPad when I worked on my most recent font, Hawthorne Script. I’m not affiliated with AstroPad in any way, just really excited about how much time I’m about to get back in the future 🙂 See it all below!

This week’s tutorial comes courtesy of Kori, who requested an overview of the Illustrator Pathfinder Palette and I thought it was a great idea! The pathfinder palette is a ridiculous time saver when it comes to creating custom lettering, flourish designs, and vector-based Illustrations just to name a few. In this week’s video, we go over my favorite and most used pathfinder options. We’ll also go through a brief overview of the other options for you to get started. As a bonus, I’ve created a couple of Illustrator pathfinder palette cheat sheets (pdfs), so you have them handy whenever you may need them in the future. Download link to the cheat sheets and full overview video all below!

A few months ago, I shared how anyone with any version of Adobe Illustrator can create a seamless pattern. Once Adobe created CS6 a few years back, they included the pattern tool and it was a giant game changer for anyone who loves to create vector patterns. Not only did it make the entire pattern creation process faster, it eliminated Illustrator’s tendency to get glitchy with those white hairlines that would sometimes appear in our patterns.

In this week’s tutorial, we’ll go over everything the pattern tool can do, all the different pattern styles you can create using the same elements, and we’ll do it all by using the same menu. Head’s up, this tutorial only applies to CS6 or newer versions (CC) Illustrator users. Let’s make some patterns!

Happy Tuesday! I’ve gotten quite a few requests lately on layout design for a business card, so this week I wanted to share some design friendly layouts that could be used for different types of businesses, and also make each one print-ready using Illustrator. At the end of this tutorial, you’ll have 3 business card design layouts (front and back!) you can print at home using the bulk print method, or send off to a professional printer. Read on to see how – links to the fonts and resources used included below!

Happy Tuesday! This week’s tutorial comes courtesy of Brittany, who shared this photo with me, which I agreed would make a great quick tip tutorial! As a bonus, I’m sharing how to create multi-colored long shadow typography, in case you’d like to use more than one color for your shadows 🙂 We’ll create every version quickly in Illustrator using one simple tool and a couple of extra time saving options. This is perfect for gig posters, MTV-esque retro designs, greeting cards, or paired with simple icons. Read on to see it all!

GDPR Icon

Your Privacy Matters

We use cookies to customize and create content that’s most important to you. We’ll never share the info we collect.

View Privacy Policy